Image2Docker is a tool to convert some Windows Server roles to Docker containers (on Windows, for sure).
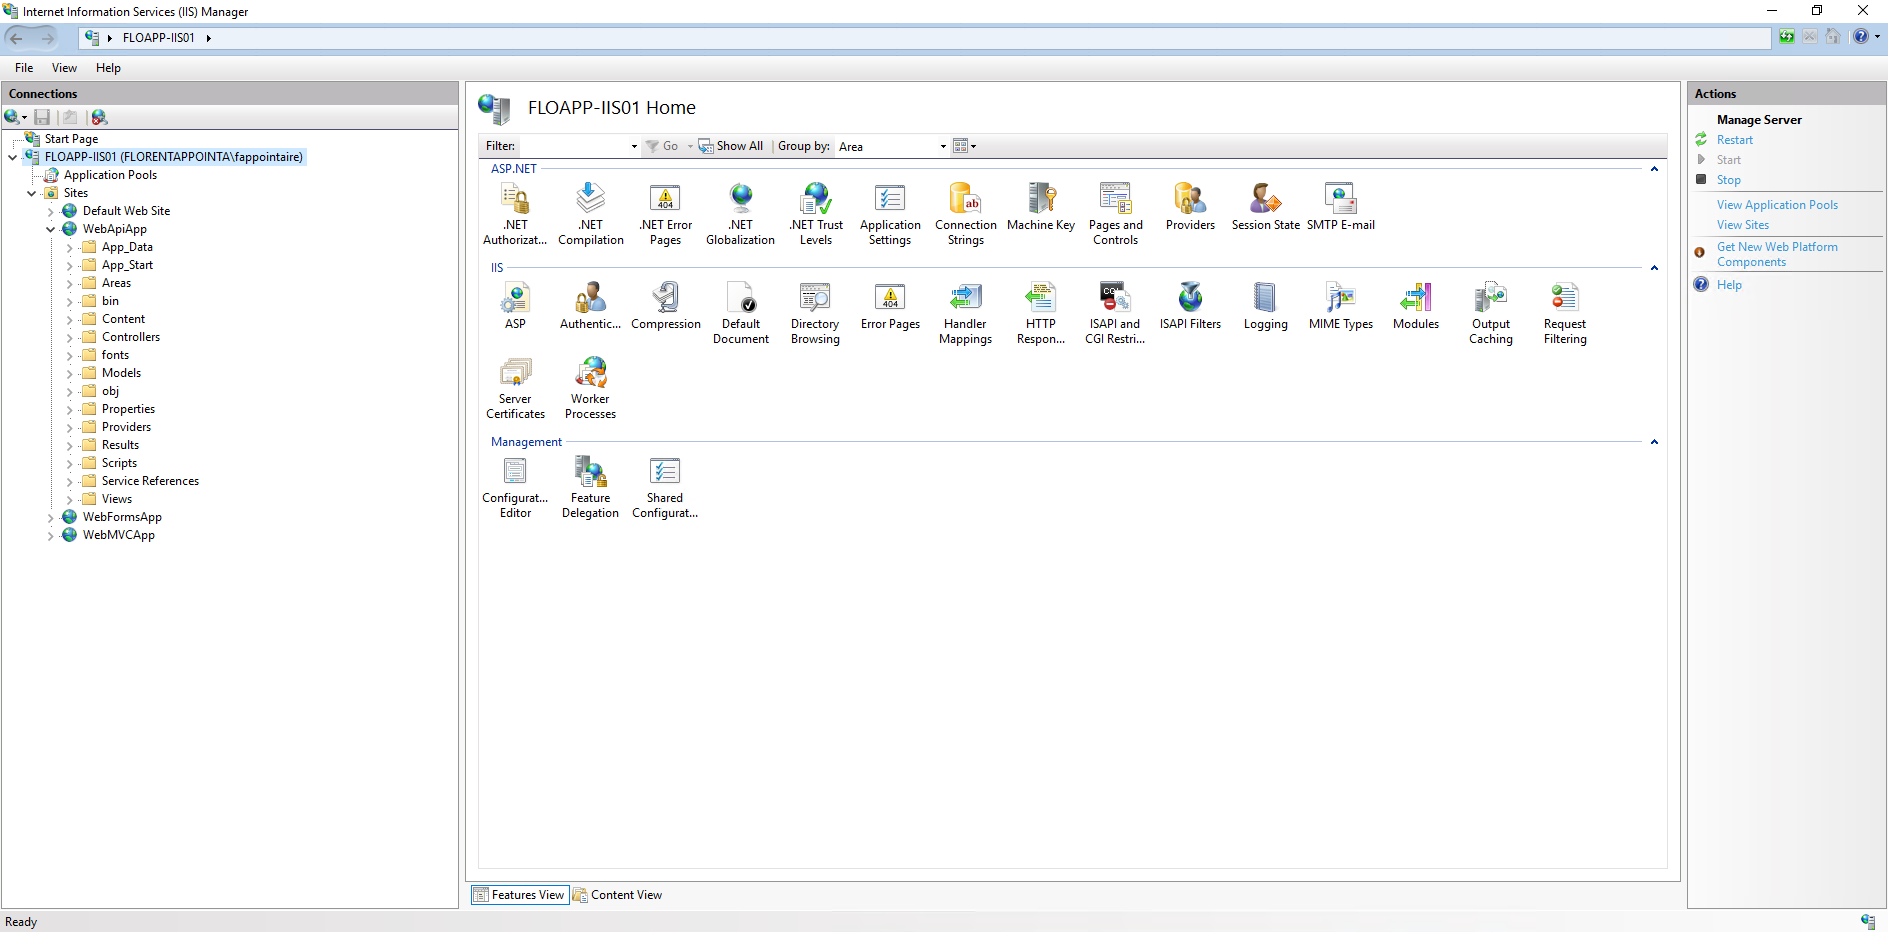
With this new version, it’s possible to extract ASP.NET website to run them in containers. To start, I created a VM with 3 ASP.NET websites. This is the view that I have from IIS Manager:
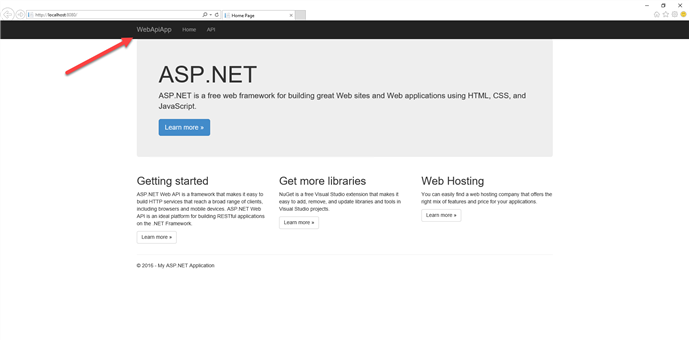
And the view from Internet Explorer:
Here, we will migrate the WebApiApp website from Windows Server to Windows Container. To start, on the client/server that you’ll use to convert these sites, install the Image2Docker PowerShell Module:
|
1 |
Install-Module Image2Docker |

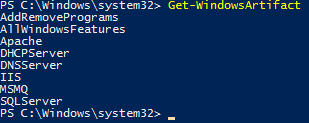
Following are rules that you can convert from Windows Server to Windows Containers:
Now, copy the VHD or VHDX where your websites are stored. Execute the following command to extract all website of this VHDX:
|
1 |
ConvertTo-Dockerfile -ImagePath C:\Temp\FLOAPP-IIS01_OS.vhdx -OutputPath C:\Temp\GlobalIIS -Artifact IIS -Verbose |
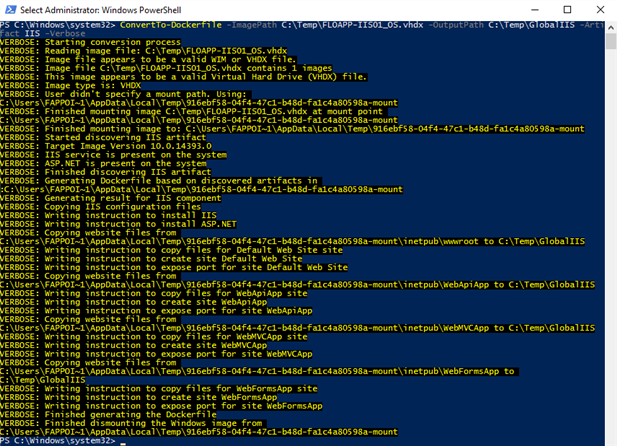
Argument ImagePath contains the path to your VHD/VHDX, the parameter OutputPath is the path where files will be copied and, finally, the parameter Artifact is IIS to specify to check the only website and nothing else. After few moments, your websites are extracted:
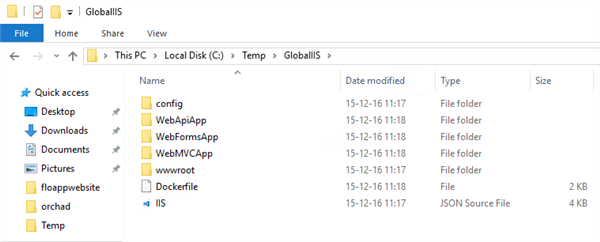
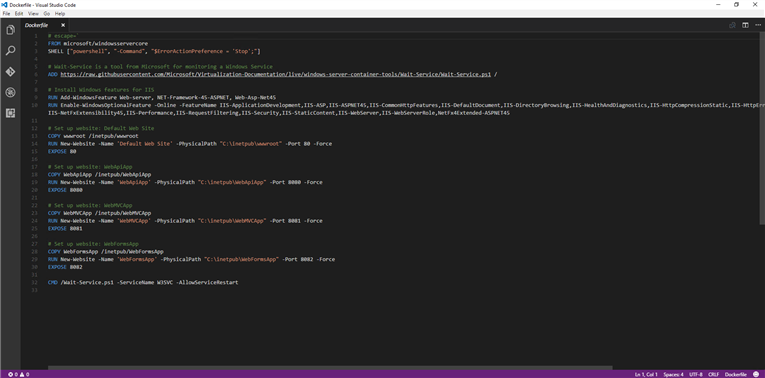
As you can see, a Dockerfile appears. This file contains all parameters that are necessary to create a WindowsServerCore image in a container, add IIS features to execute ASP.NET website, copy sources in the right IIS folder of the container and finally, expose the port publicly:
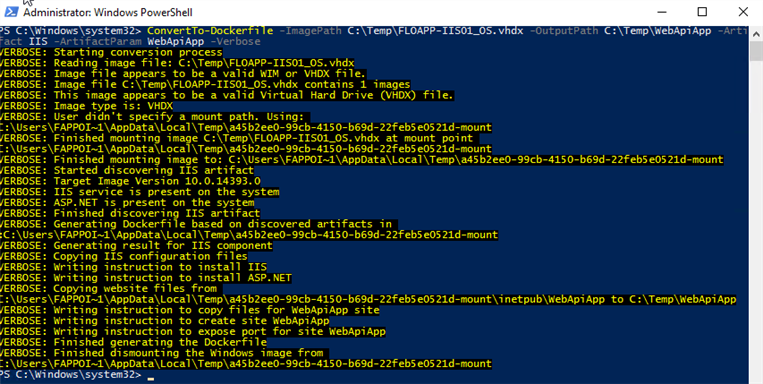
I’ll now extract one site, by adding the ArtifactParam parameter, followed by the name of the website:
|
1 |
ConvertTo-Dockerfile -ImagePath C:\Temp\FLOAPP-IIS01_OS.vhdx -OutputPath C:\Temp\WebApiApp -Artifact IIS -ArtifactParam WebApiApp -Verbose |
Following is the Dockerfile associated, with this time, only one website. This is normal because I asked to extract only the WebApiApp website:

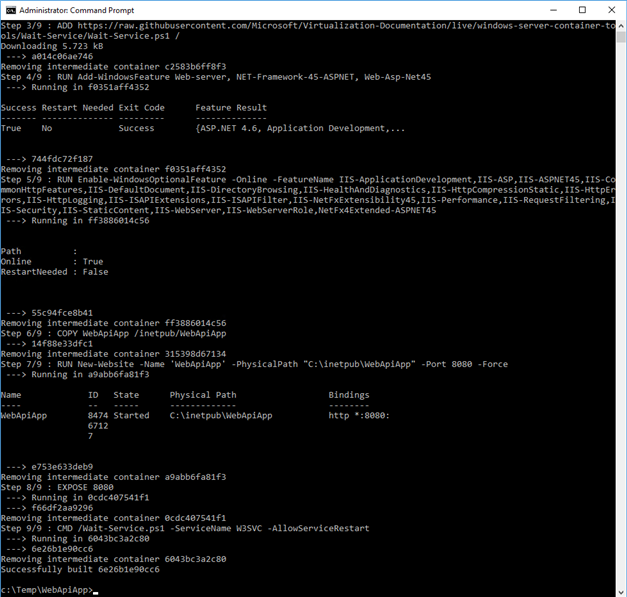
We will now create the docker image based on this Dockerfile. To create the image, move to the folder where is stored the Dockerfile and execute the following command. You can modify the name of the image, which is in my case florentapp/webapiapp:
|
1 2 |
cd C:\Temp\WebApiApp docker build -t florentapp/webapiapp . |
Now, create a container from this image. For me, I’ll expose port 8080 that I link with the port 8080 of the website in my container. I’m giving a name to this container webapiapp. The command docker logs gives me the information about logs of the container, and especially the moment that the IIS service is started:
|
1 2 |
docker run -d -p 8080:8080 --name webapiapp florentapp/webapiapp docker logs webapiapp |

After that, use the command docker inspect to find the IP address of your container to access the website:
|
1 |
docker inspect webapiapp |
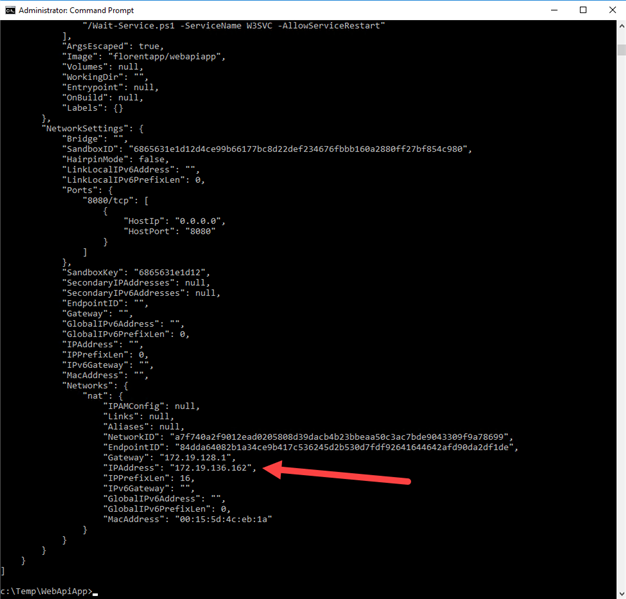
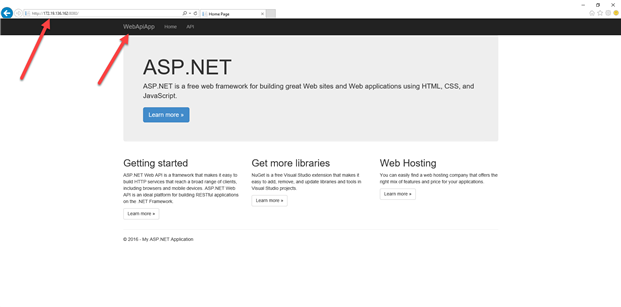
With Internet Explorer, you can access to your website which is in your container:
http://172.19.136.162:8080/
On the server which executes the IIS container, you will have a new service running, w3wp, for each IIS container that will be created on this server.
I hope that this example and the script will help you to migrate quickly your websites to Windows Containers.
If you have any questions, don’t hesitate to ping me 🙂


