
1. Create the DevOps project
Azure DevOps (previously VSTS) allows you to automate the deployment of resources, whether ARM template (JSON), PowerShell, CLI, Terraform, etc.
Today, I’m going to focus on the integration with Terraform. Be careful, I’ll not go into Terraform details in this article, so you need to know the technology.
The pricing for Azure DevOps is available here:
https://azure.microsoft.com/en-us/pricing/details/devops/azure-pipelines/
By default, you’ve 5 users free.
Before starting, make sure you’ve an Azure DevOps organization in your subscription:

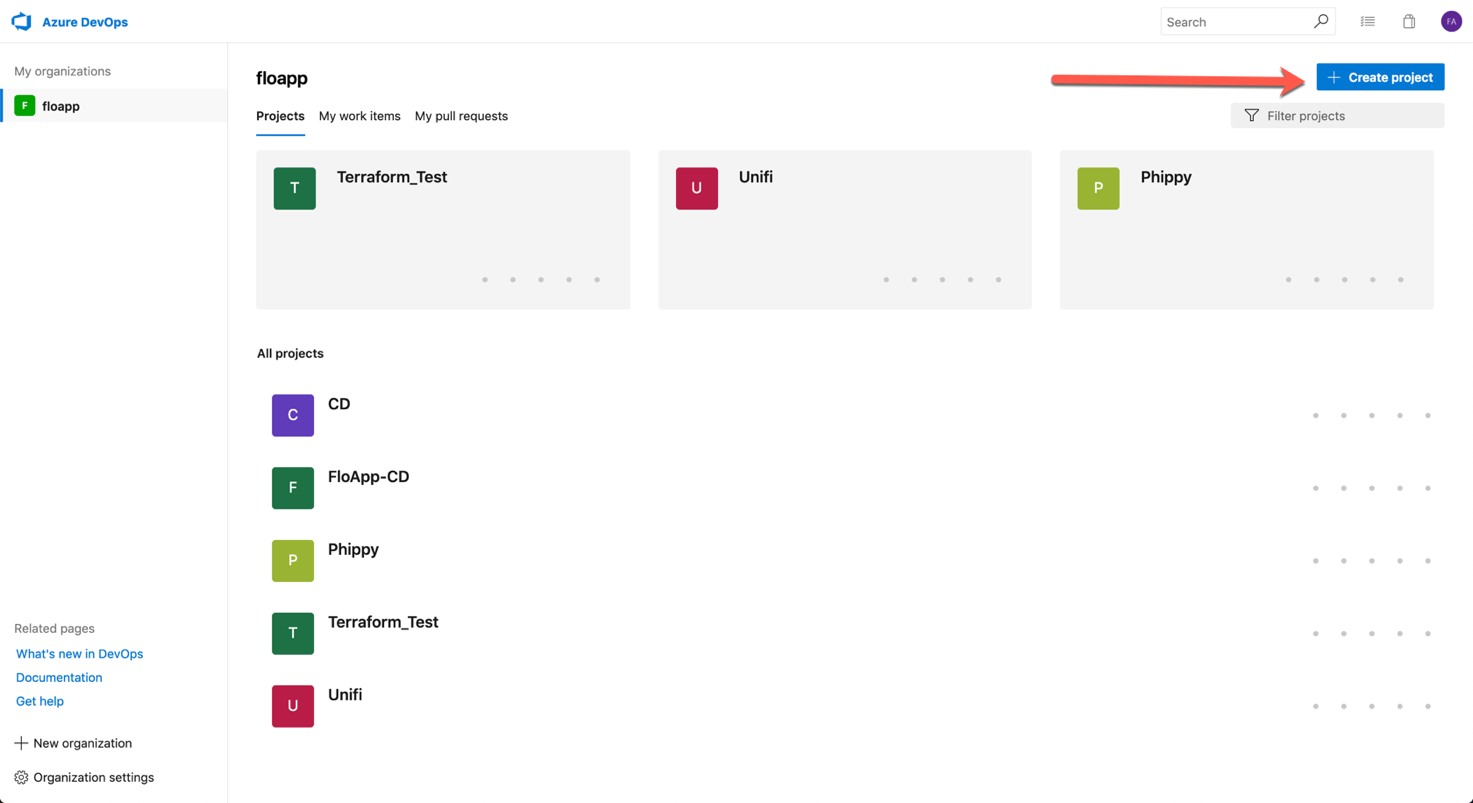
Open via the URL your Azure DevOps and create a new project by clicking on Create project:
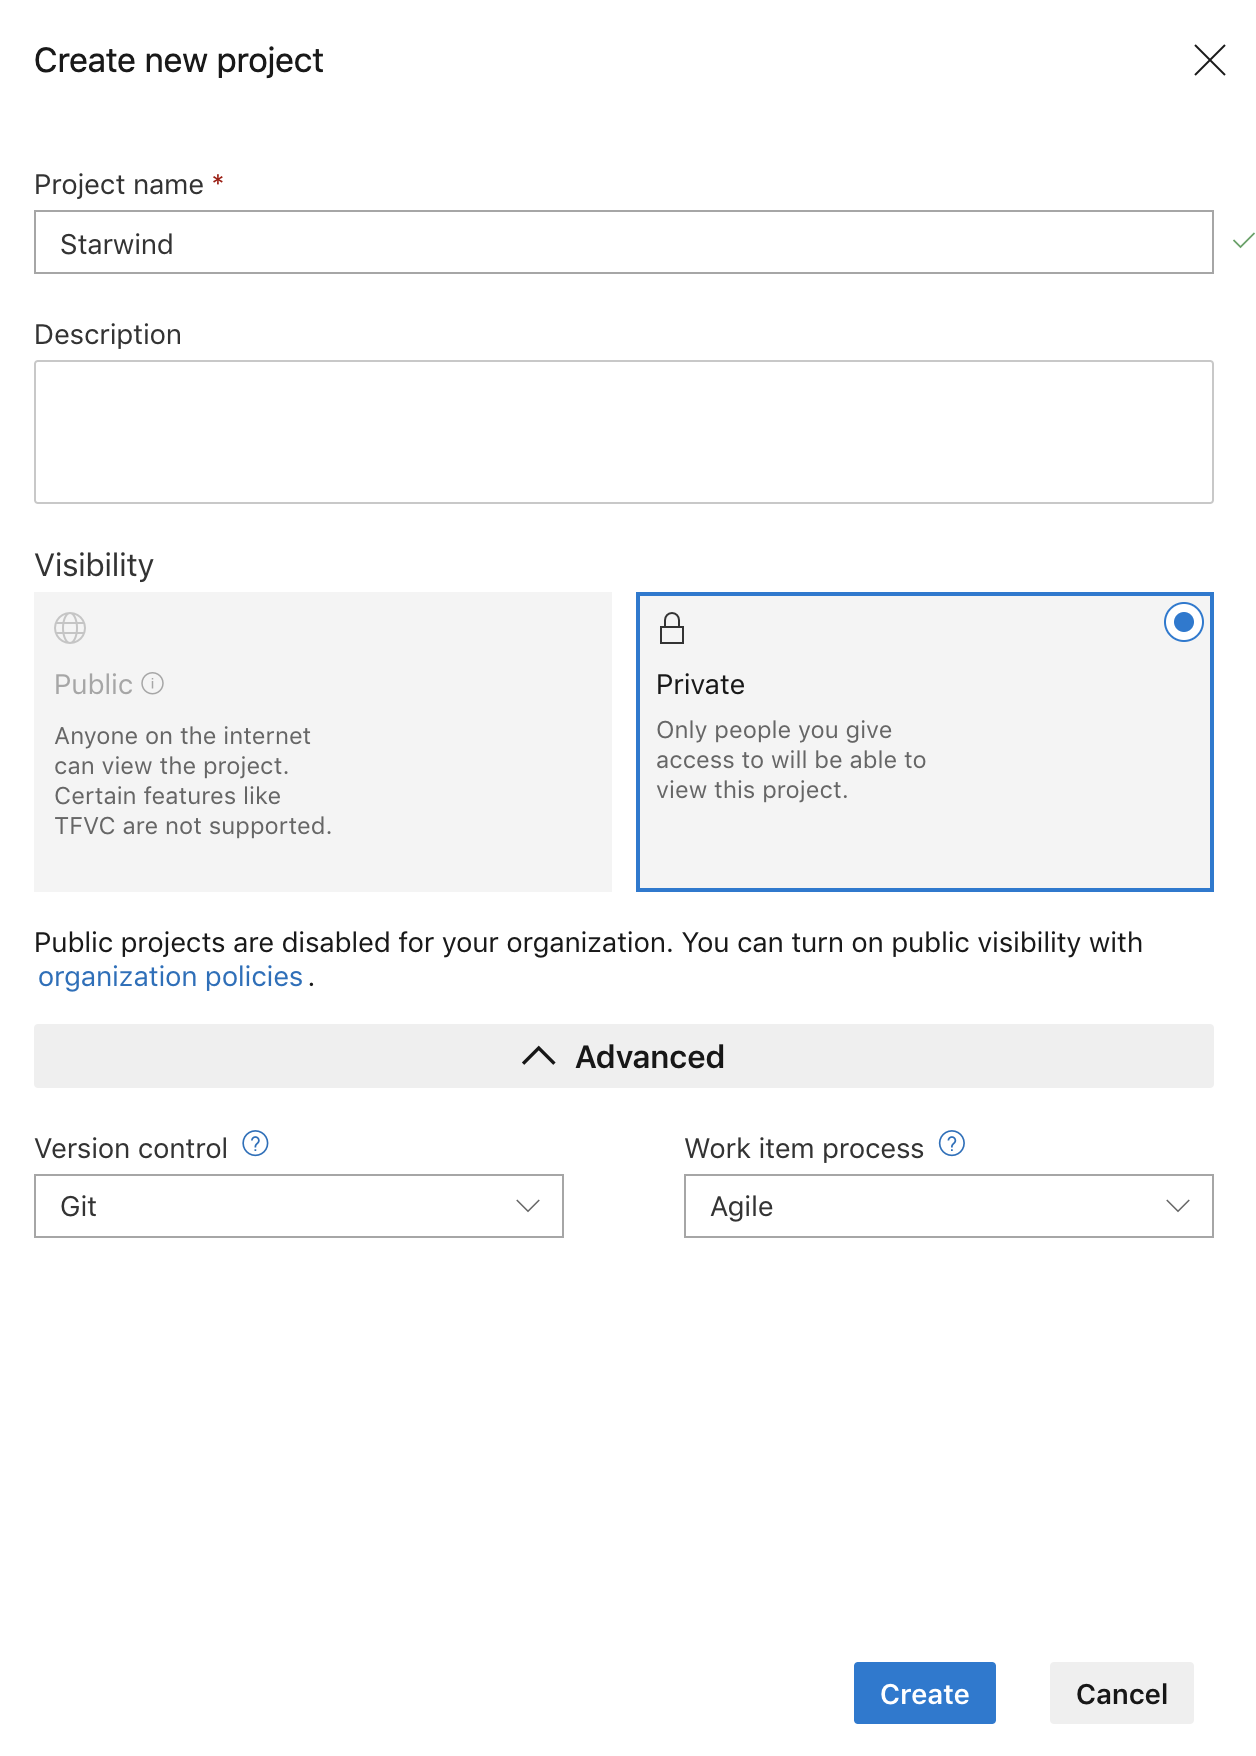
Give it a name and click on Create:
When the project is created, you can invite people, etc.:
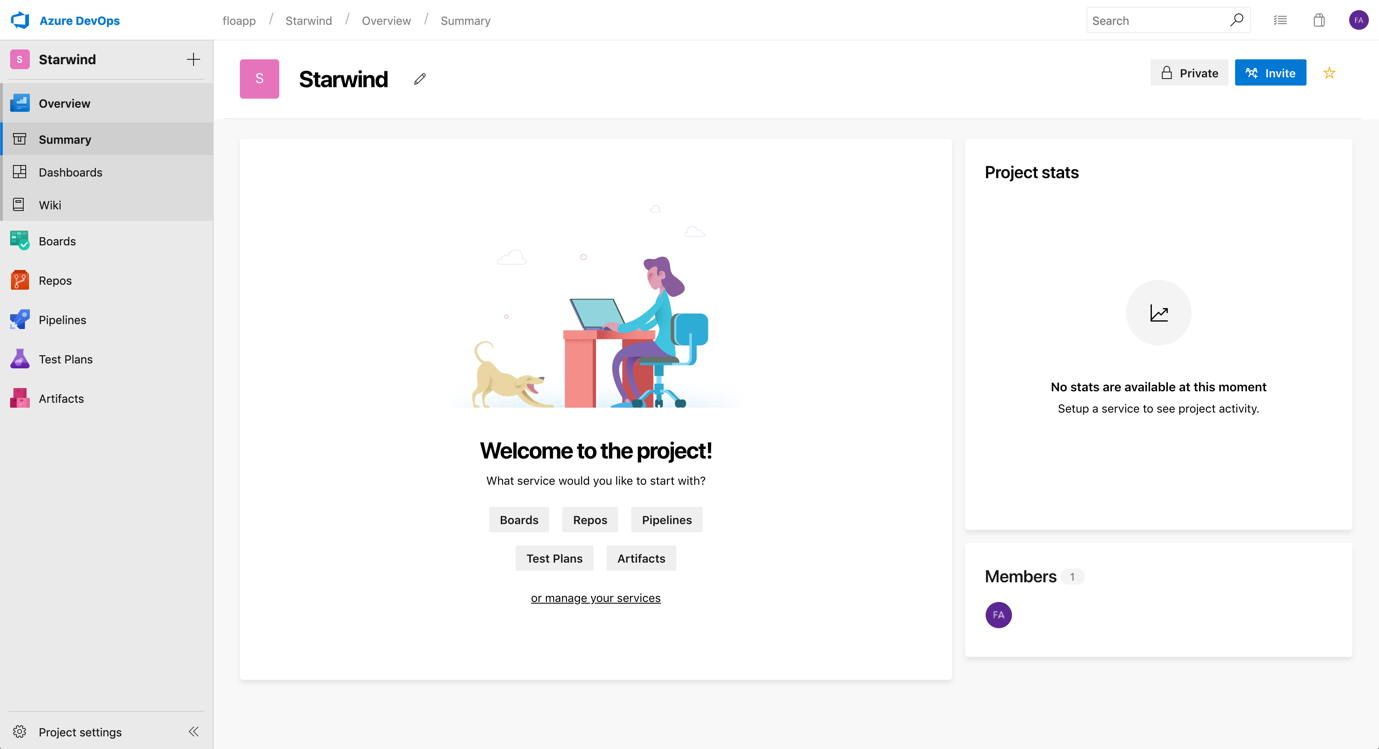
On the left, go into Repos > Files and add one or more files in the directory. You can add a README for example, to initialize the project, by clicking on Initialize:

When the initialization is finished, you’ll have at least one file in your repository:

Here, create a folder, with 2 files, main.tf and variables.tf:
 2. Terraform code
With following Terraform code, I’ll deploy 1 VNet in Azure, with 2 subnets. As you can see, for some variables, I’m using __ before and after the variable. It’s to be able to use variables, directly in Azure DevOps. The code use dis the following :
Main.tf
|
Variables.tf
|
3. Create your first build
We will now create the build, which will check if resources have been modified in a particular folder, and thus, create a new build for our future release. Click on Pipelines > Builds > New Pipeline:

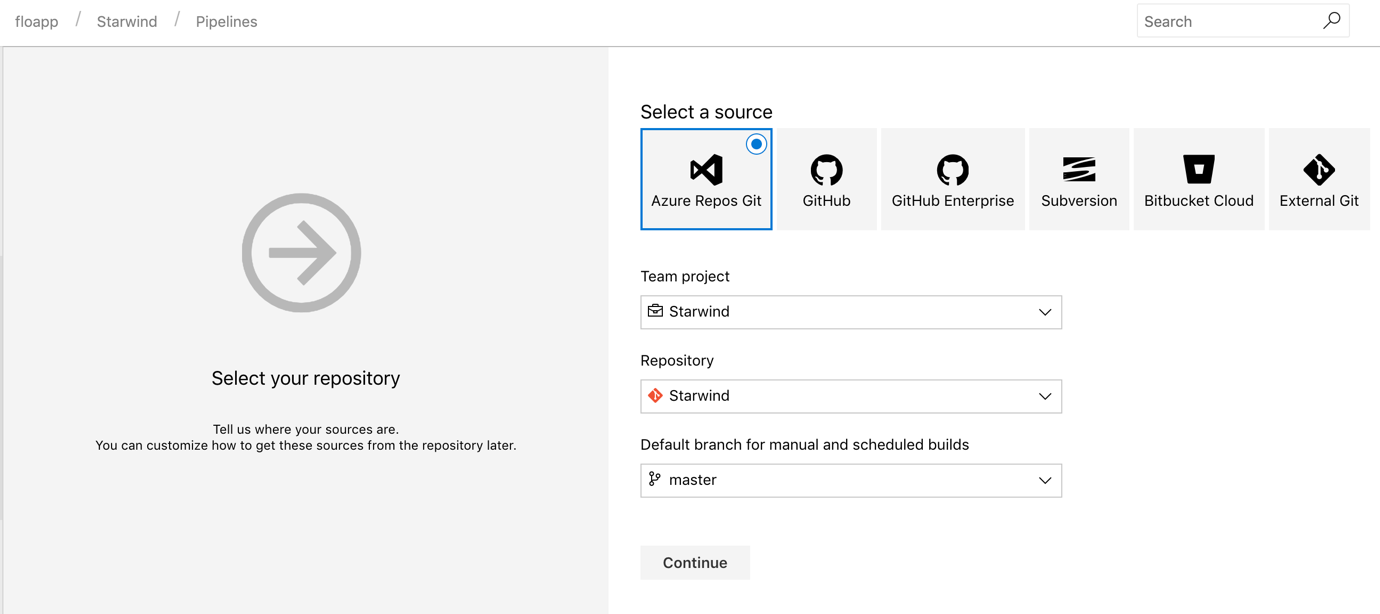
Here, choose where sources are located and validate:
Choose the template that you want to use, empty job for me:

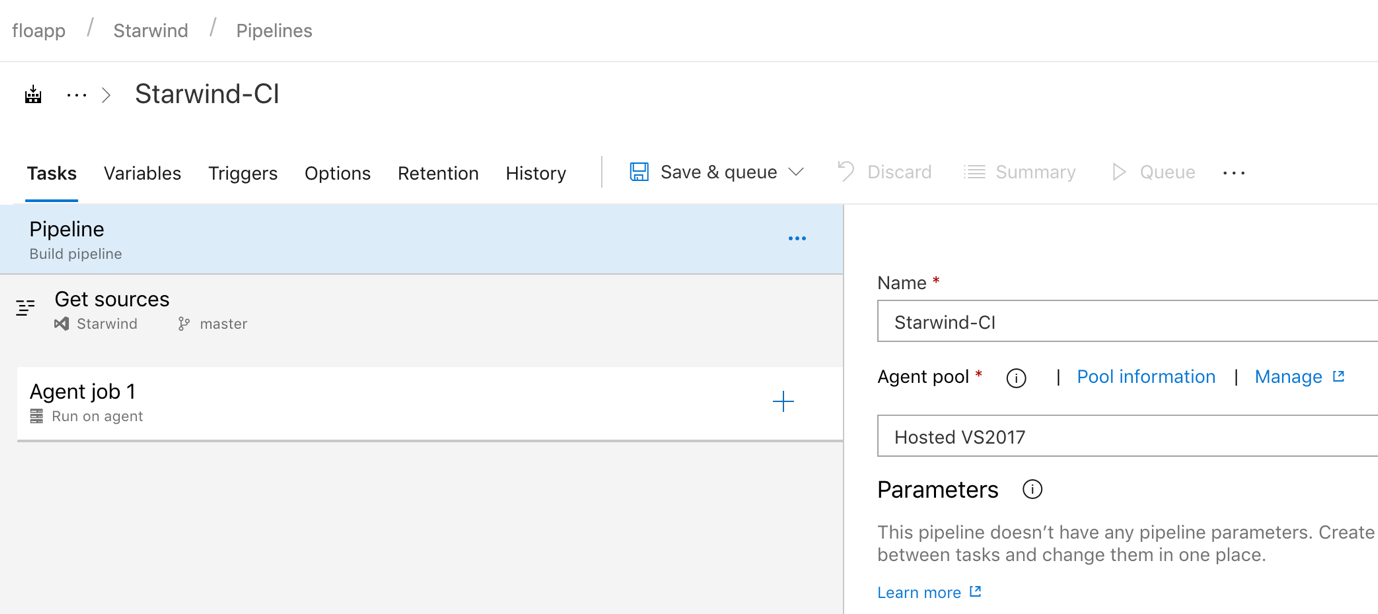
Give a name, choose a pool where an agent is installed. This pool can be deployed on one of your VMs, to limit costs:
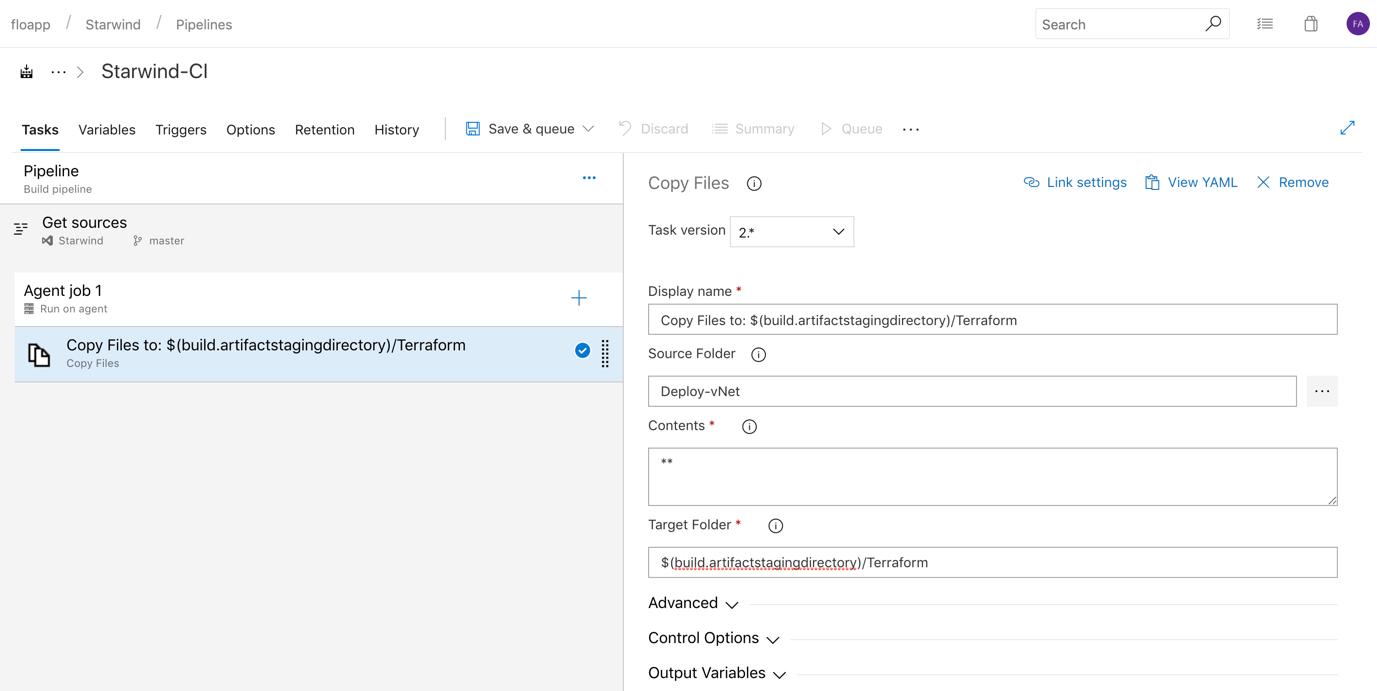
Add a job with type Copy Files. Give a name, choose the folder where you created your files main and variables, and choose to copy all content. The target folder must be the following: $(build.artifactstagingdirectory)/Terraform
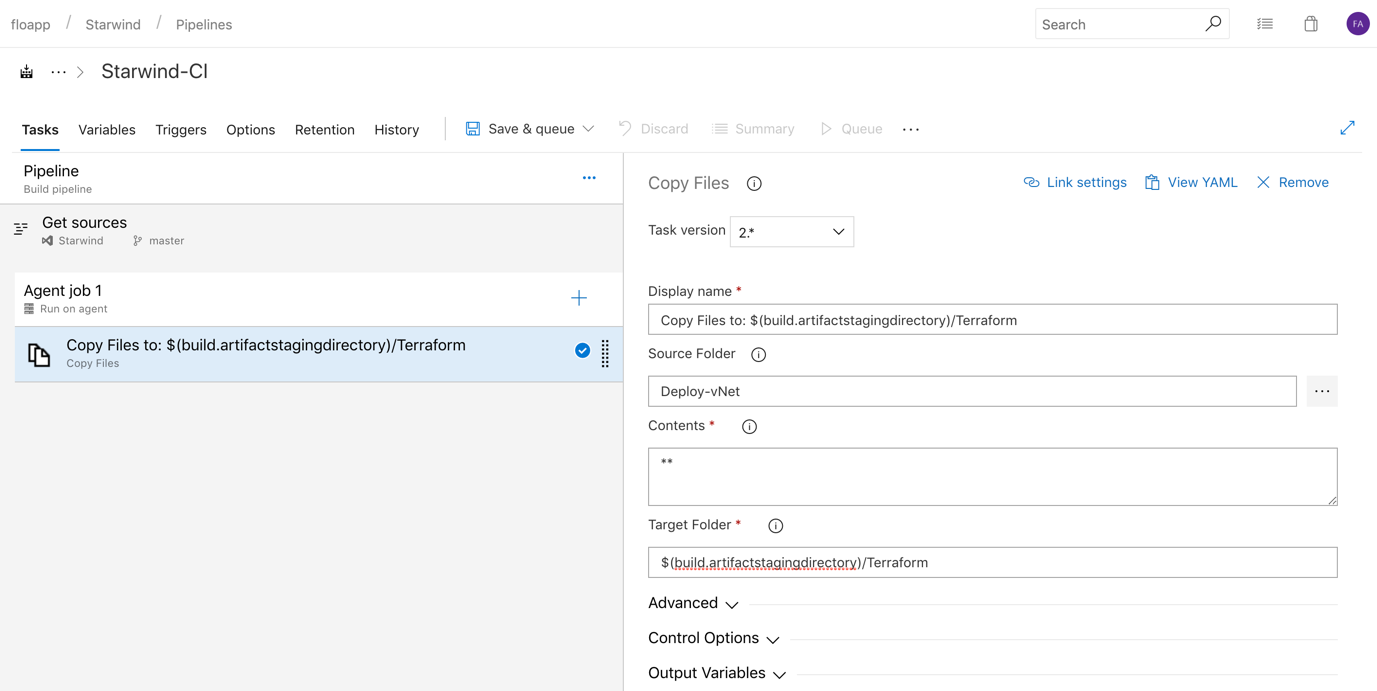
Add a job with type Publish Build Artifacts and leave it with default parameters:
Click now on Triggers to activate the CI (Continuous Integration) to launch this build, after each file modification that exists in the master branch:

Save and execute the build:

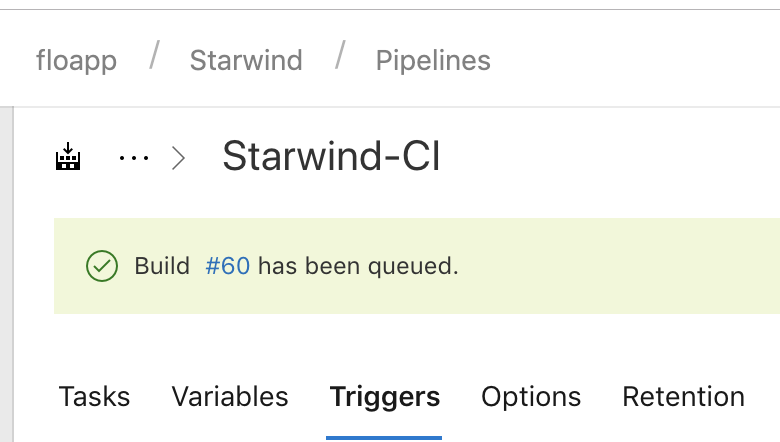
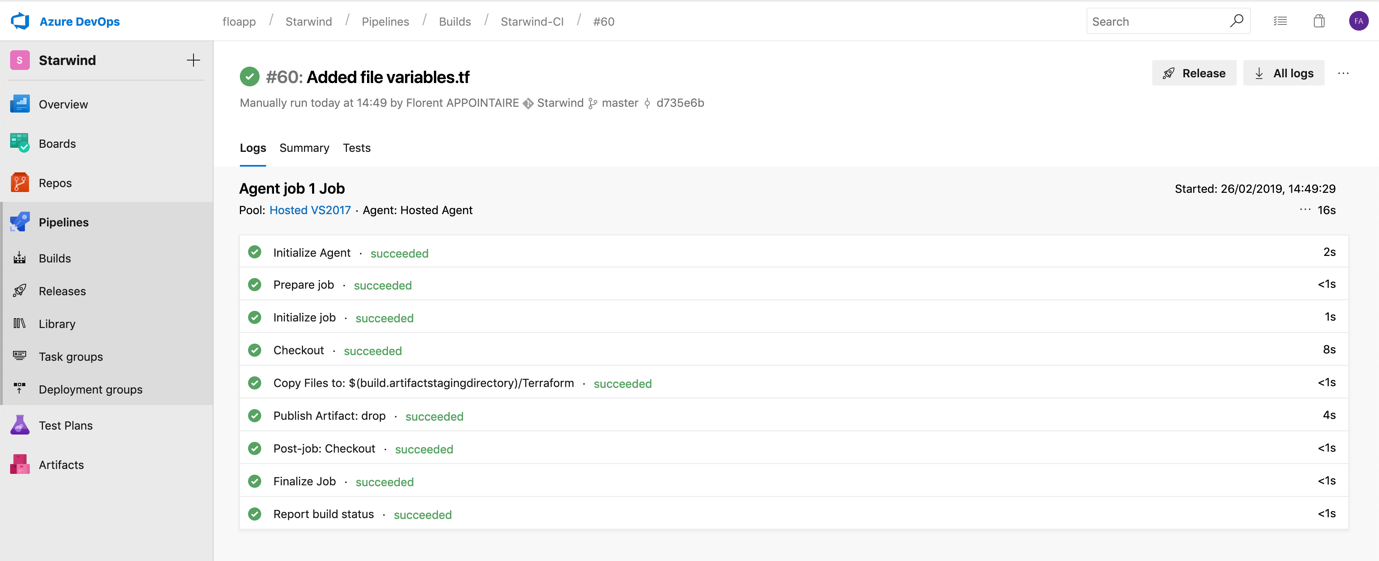
After few seconds, our build was executed correctly:
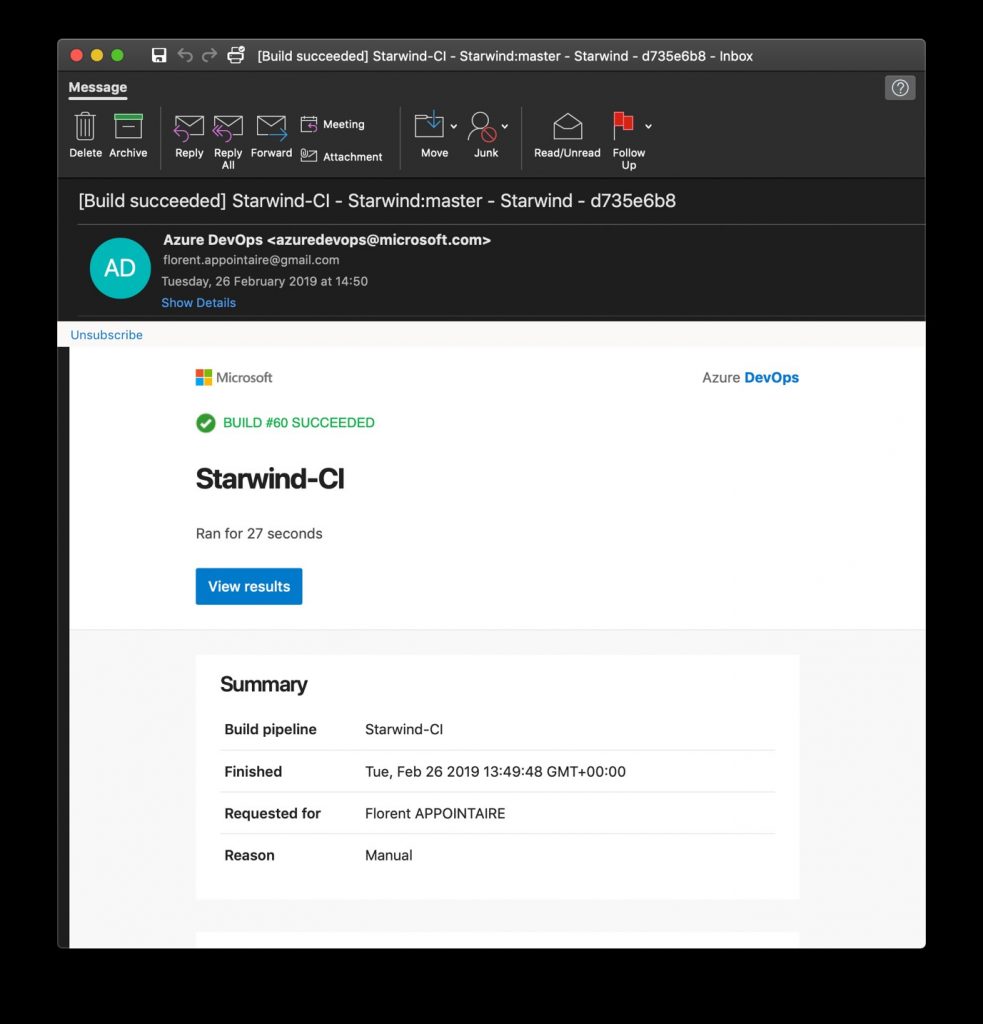
You will receive an email to tell you that everything works well with the last build:
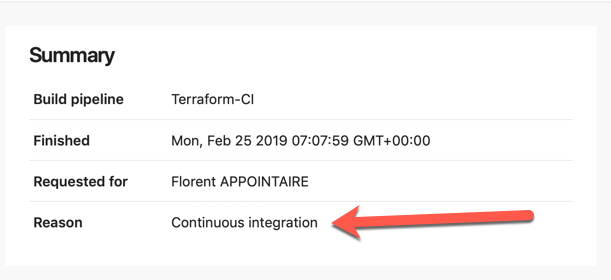
And with CI activated, the reason of the execution with this new build is Continuous integration:
In the next article, we will see how to build our first release to deploy the Terraform template.


