Microsoft released a few weeks ago now, Windows Virtual Desktop, in Public Preview. You can read the full news here: https://www.microsoft.com/en-us/microsoft-365/blog/2019/03/21/windows-virtual-desktop-public-preview
The complete documentation is available here: https://docs.microsoft.com/en-us/azure/virtual-desktop/overview
To get started, register your Azure Tenant on this site: https://rdweb.wvd.microsoft.com/ . Choose the Server App option and connect to your Azure tenant with an account who has admin rights on the subscription:
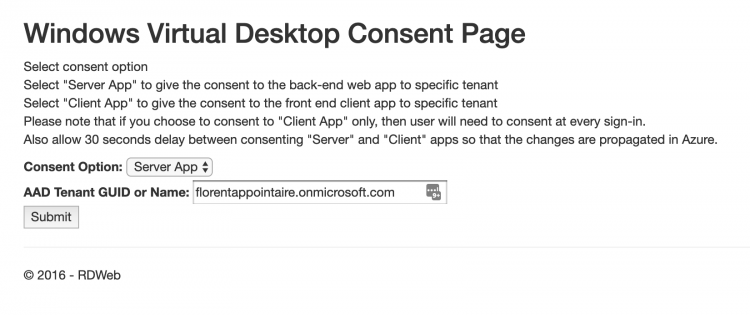
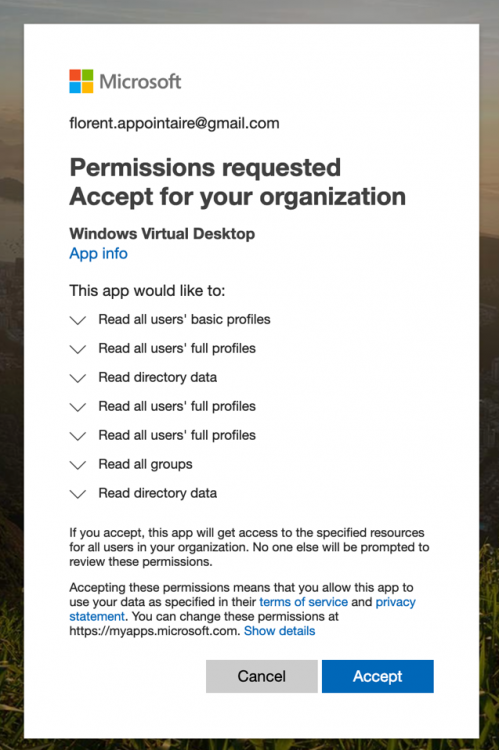
Wait a minute after validating (the time that is needed to do the replication on Azure):
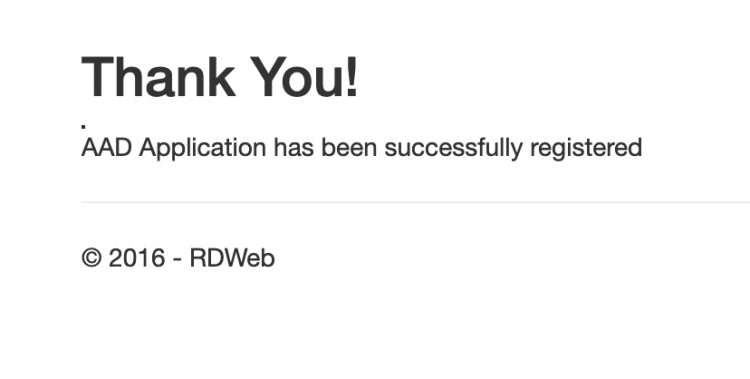
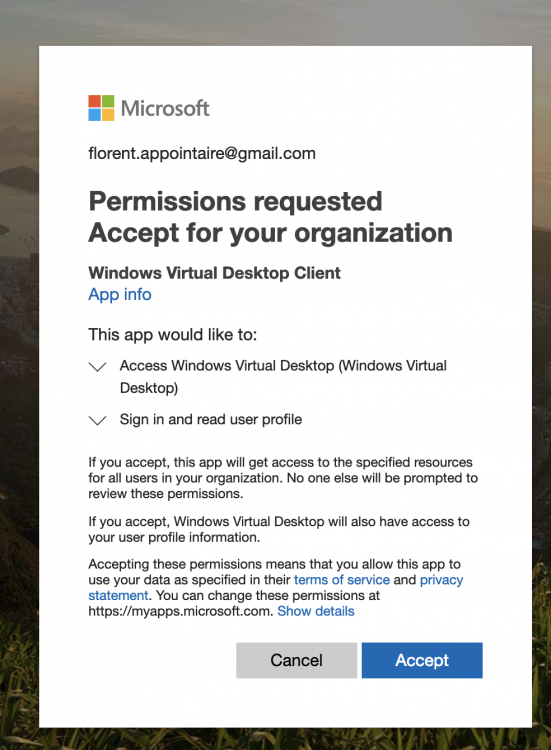
Do the same, but with the Client App option:
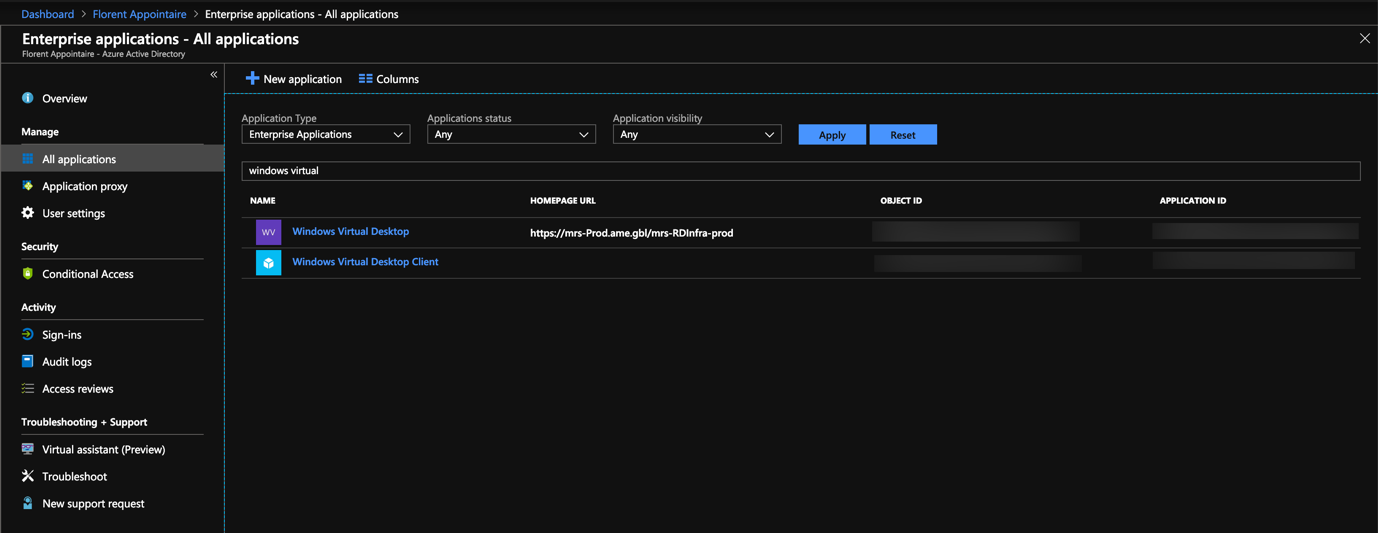
You should now see 2 new business applications in your Azure AD:
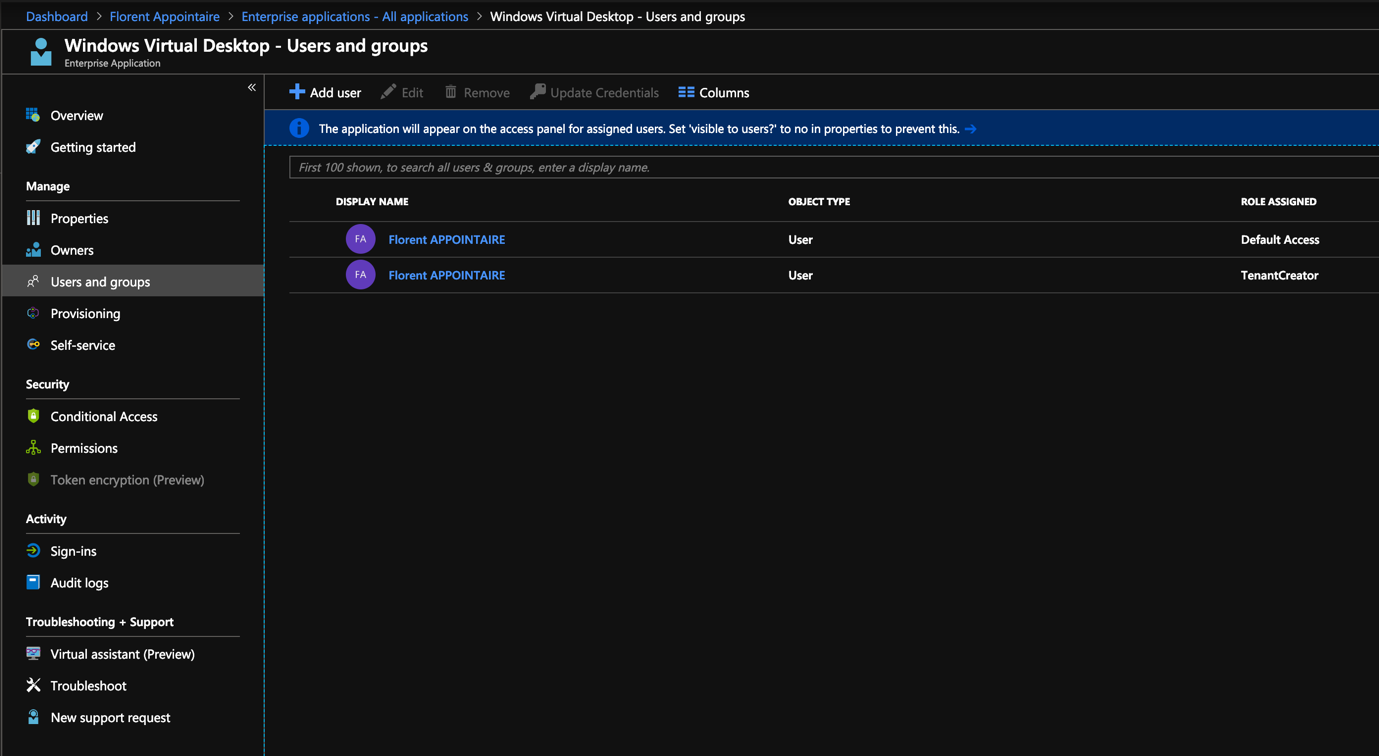
Now you must add one or more users with the role TenantCreator to allow the creation of RDS pool:
Now it’s time to create a tenant for the Windows Virtual Desktop. It is in PowerShell that it happens. This last module is not compatible on Mac, even if it installs without worry:
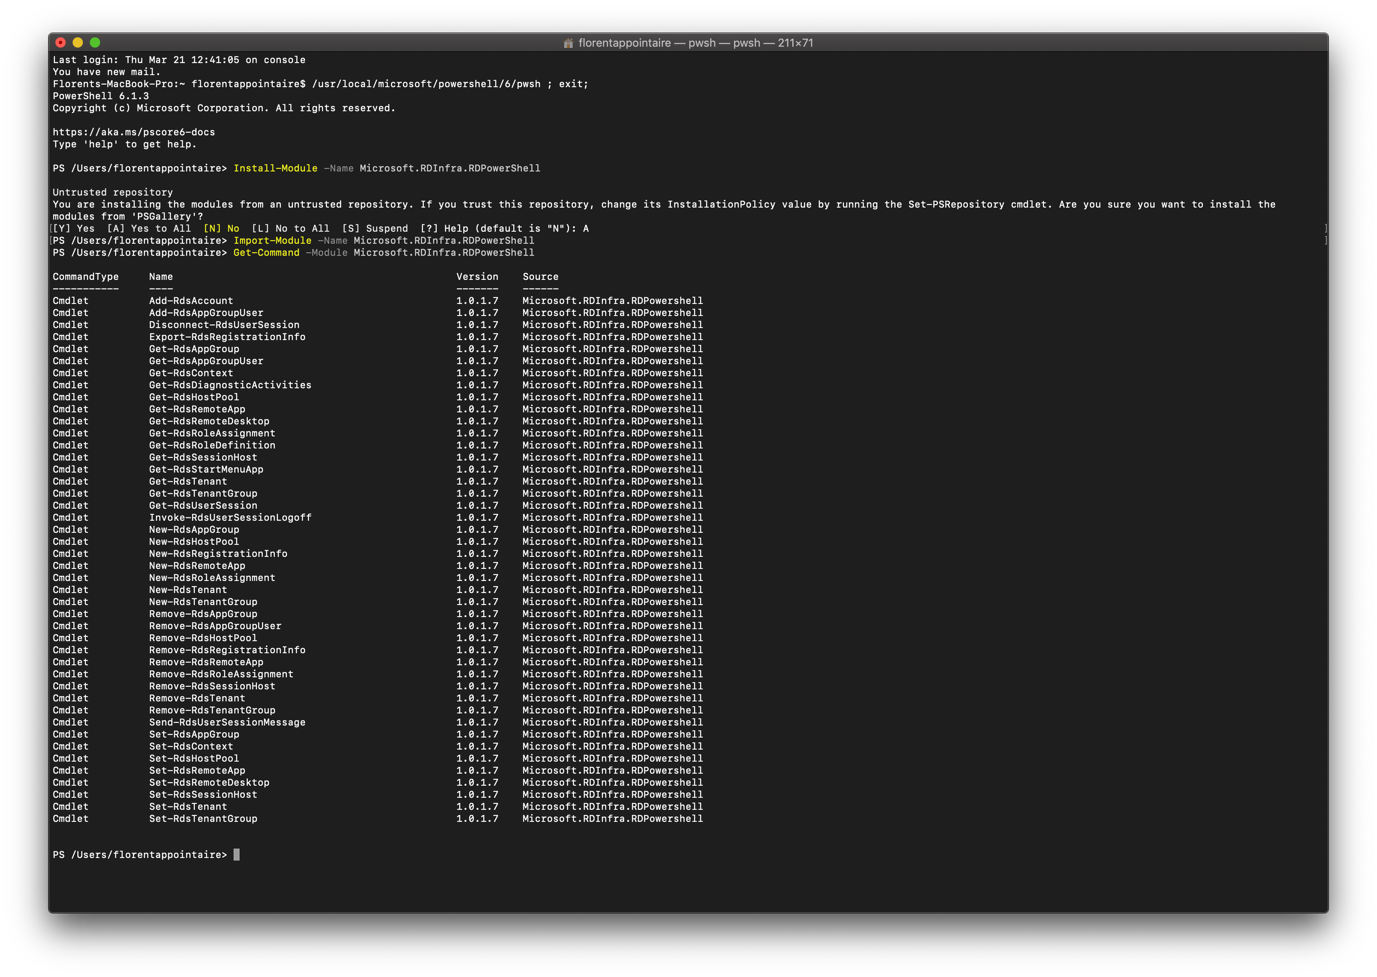
You will need Windows and the following script, with your information, to create the tenant:
|


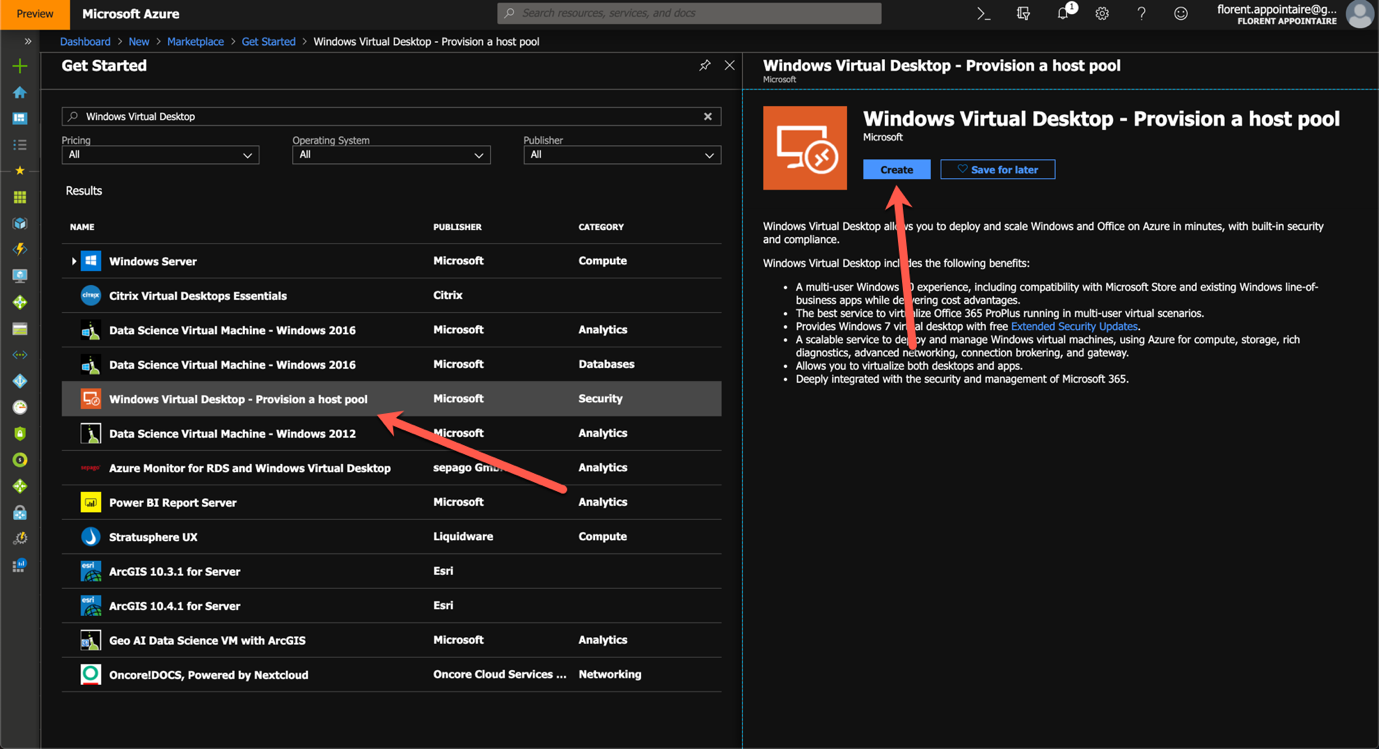
We can now start the creation of our RDS pool. In the marketplace, look for host pool and select the following item:
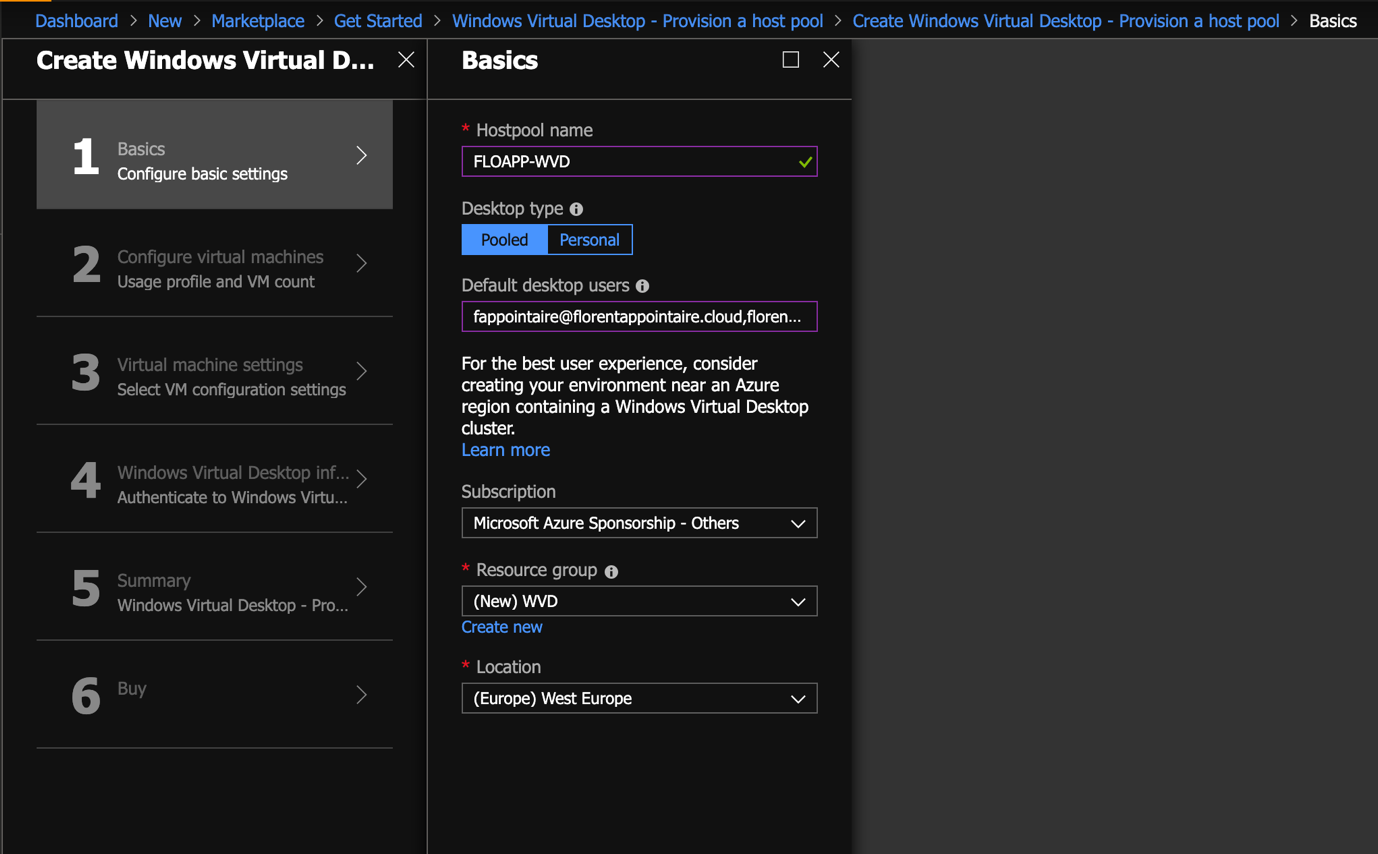
We must now provide the following information during the first step:
- The name of your pool
- Whether it will be personal or shared desktops
- The names of the users who will have access (see the end of the article to add new users)
- The subscription you defined in the previous script
- A name for the RG
- The location
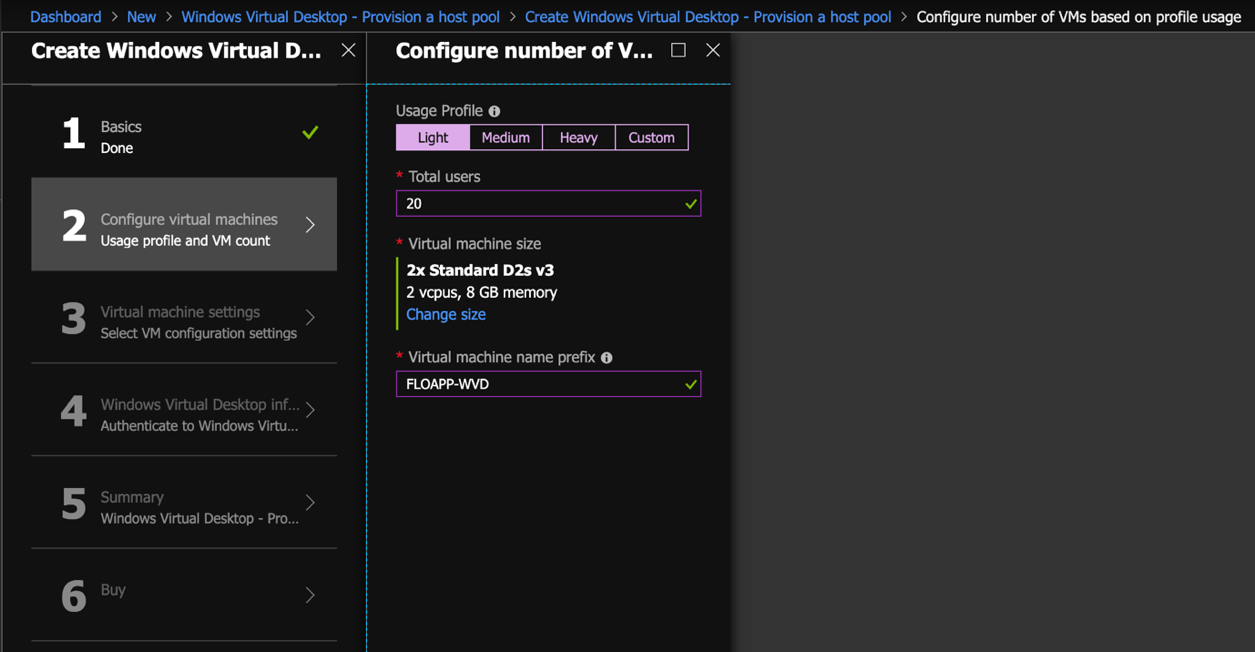
In the second step, you must choose the type of user profile, this corresponds to the RAM / CPU per user, the number of users you plan to add, and finally the size of the VM, which depends on the CPU / RAM and the number of users, will deploy +/- VM. Finally, give a name for the computer, which will be incremented starting from 0, as and when:
Then choose where your source image comes from, the OS, the type of storage, and provide a user who has the right to join a server to the domain. You can also specify the OU where the servers will be added. Then choose a VNet and a subnet, which can communicate with a domain controller:

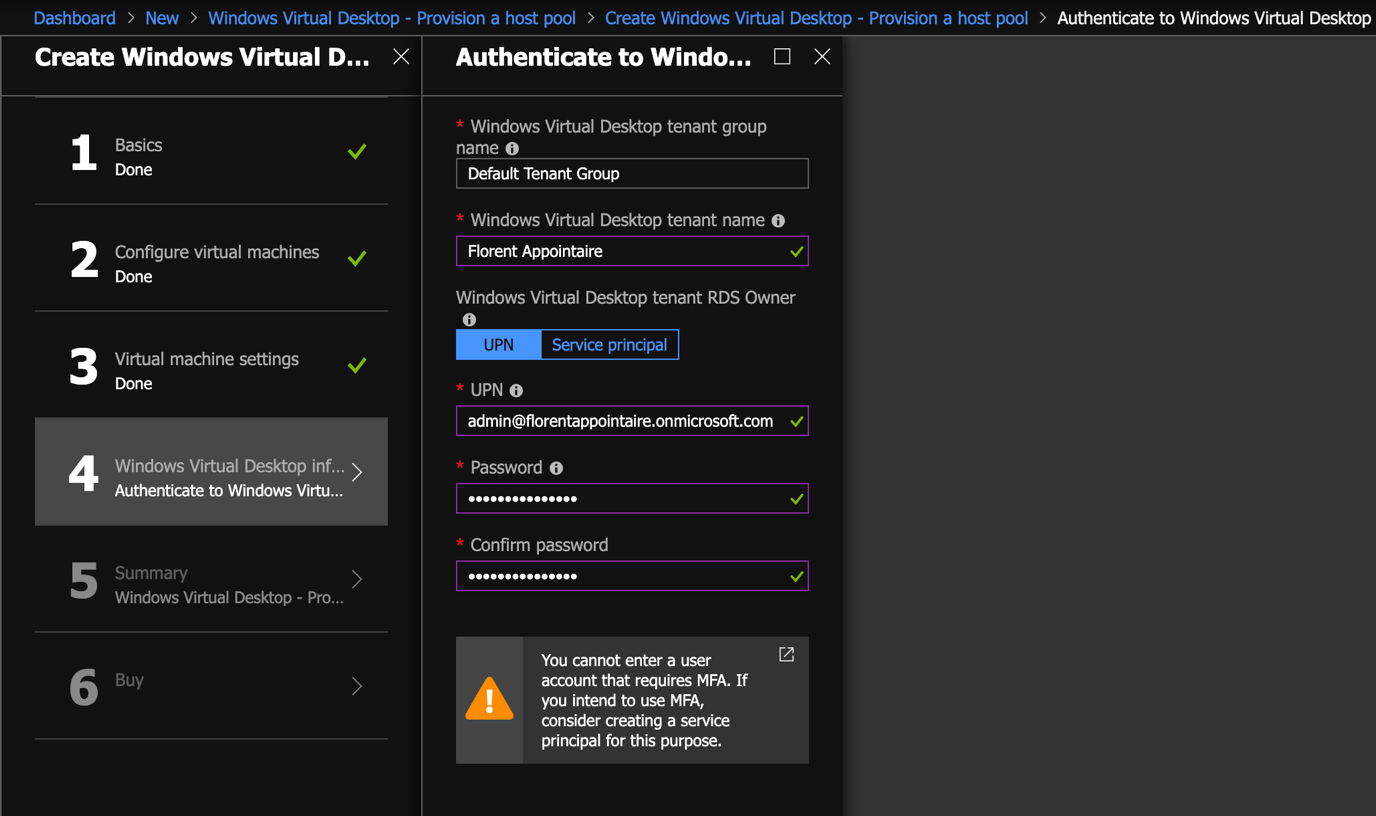
Then give the name of the holding group you created earlier (Default Tenant Group by default), the name of your tenant that you defined with the script, and the UPN (without MFA) of the account or Primary Service that you have added in the Windows Virtual Desktop enterprise application with TenantCreator rights:
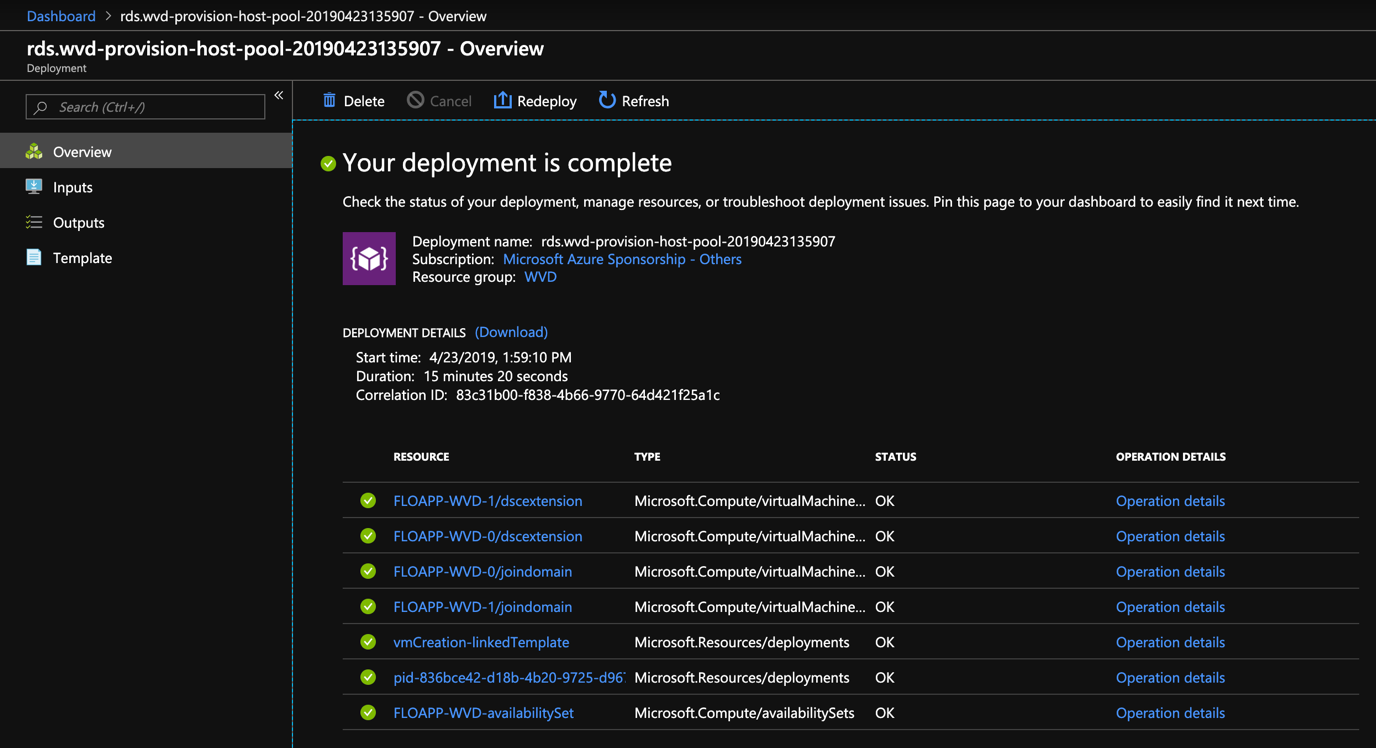
Validate the last two steps, and after a few minutes, depending on the number of VMs to deploy, the deployment is complete:
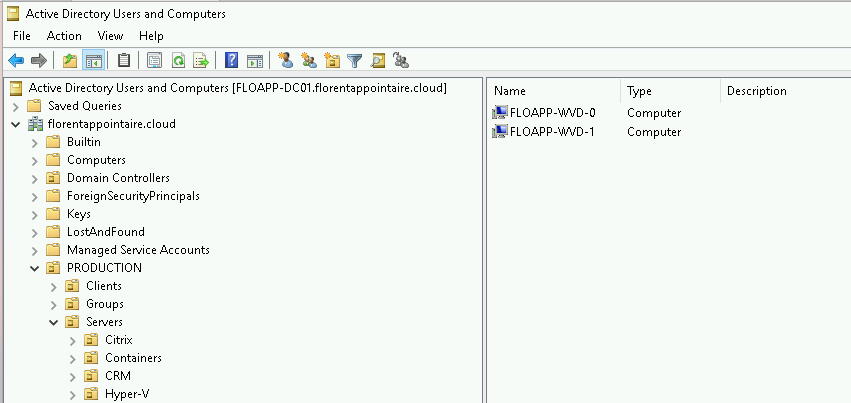
And the 2 servers are in the domain, in the OU that I had provided:
To add a new user to the RDS pool, use the following commands:
|
![]()
Go now to http://aka.ms/wvdweb or https://rdweb.wvd.microsoft.com/webclient/index.html and log in with a user who has the rights. You should see this:

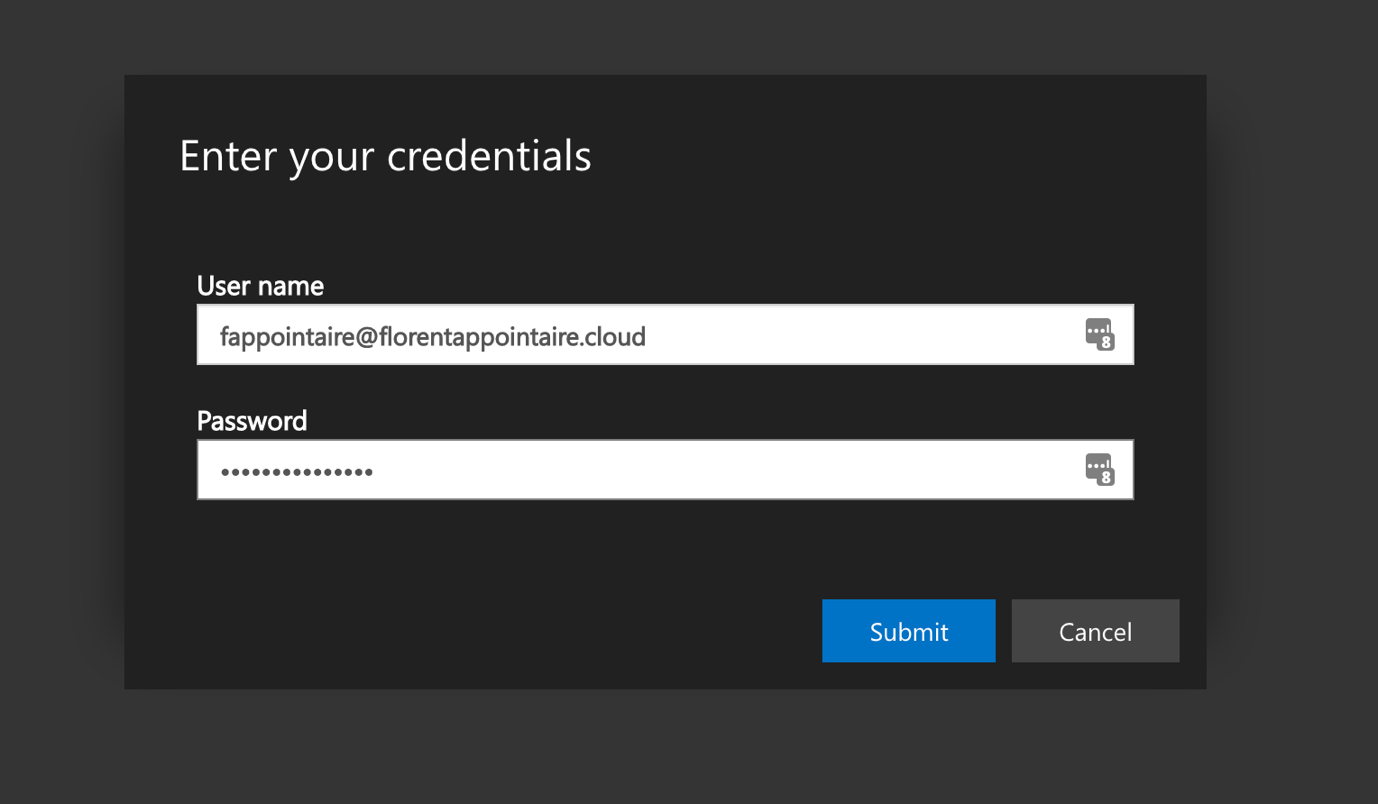
Choose to connect to a remote desktop session, and sign in again:
You can now work directly from your web browser, with a session hosted on Azure:

In the next article, I’ll show you how to publish apps 🙂


