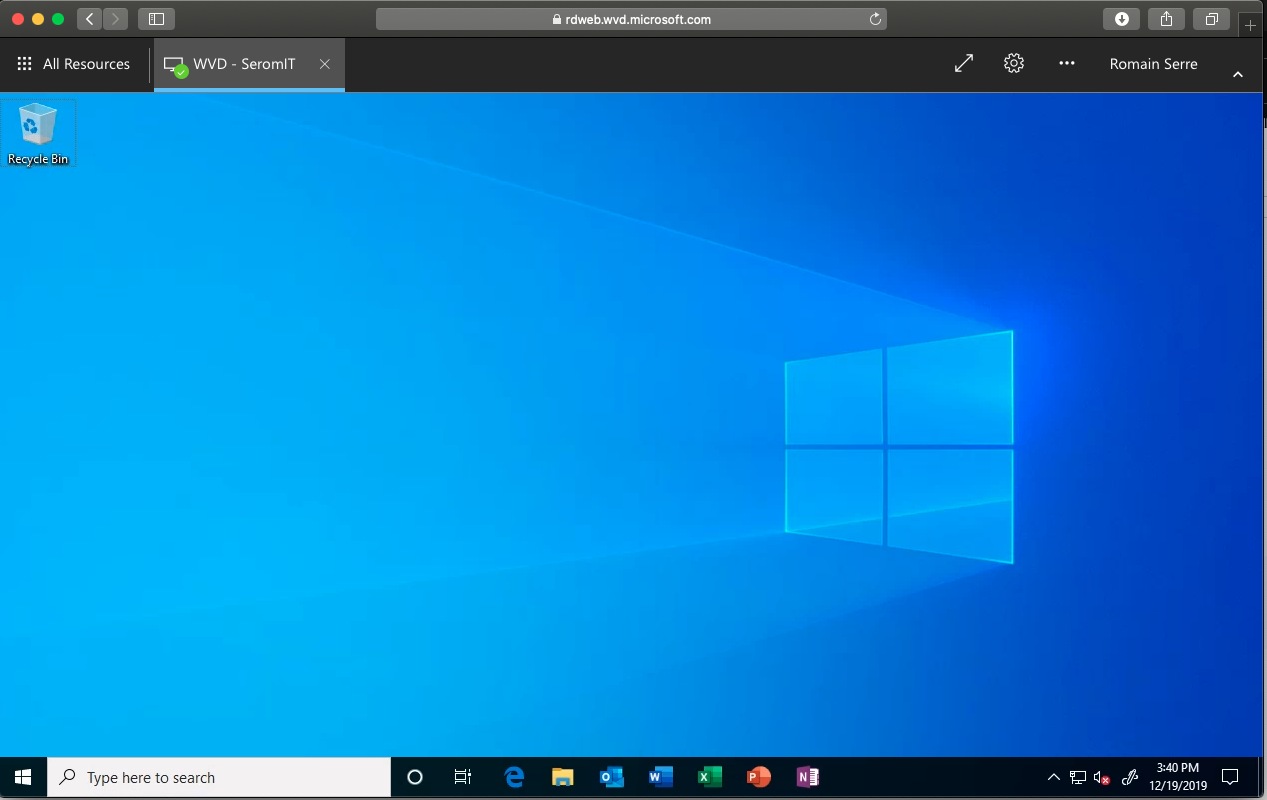
Windows Virtual Desktop is a virtual desktop solution hosted in Microsoft Azure. It provides a virtual desktop infrastructure based on Windows 10 and RDS servers based on Windows Server.
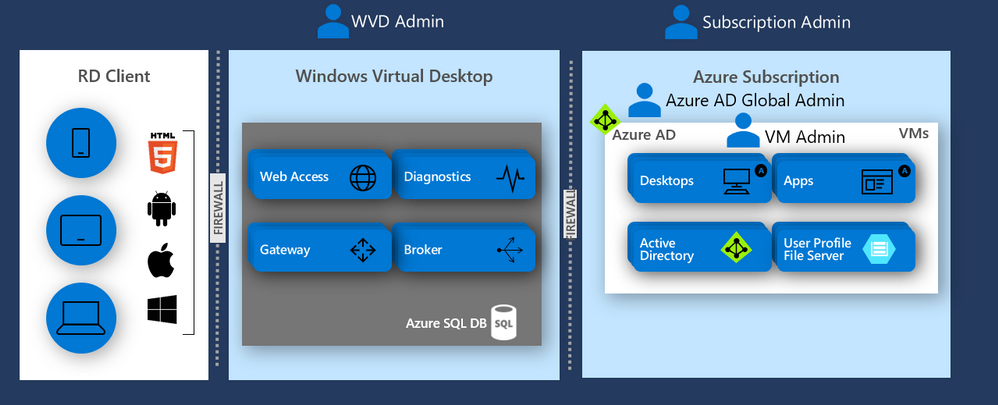
Because a Remote Desktop web client is used, you can connect from any operating system such as Windows, Mac OS or linux. Windows Virtual Desktop deploys and hides the complexity of a Remote Desktop infrastructure. That means that you don’t need to manage the Web Access, Gateway or Broker server. In this topic, I’ll deploy a Windows Virtual Desktop infrastructure based on Windows 10.
Requirements
Before taking screenshots to write this topic, I implemented the following things:
- An On-Premises Active Directory
- A verified custom domain for Azure AD
- A virtual network with a dedicated subnet for Windows Virtual Desktop
- A site-to-site VPN between On-Premises and Azure
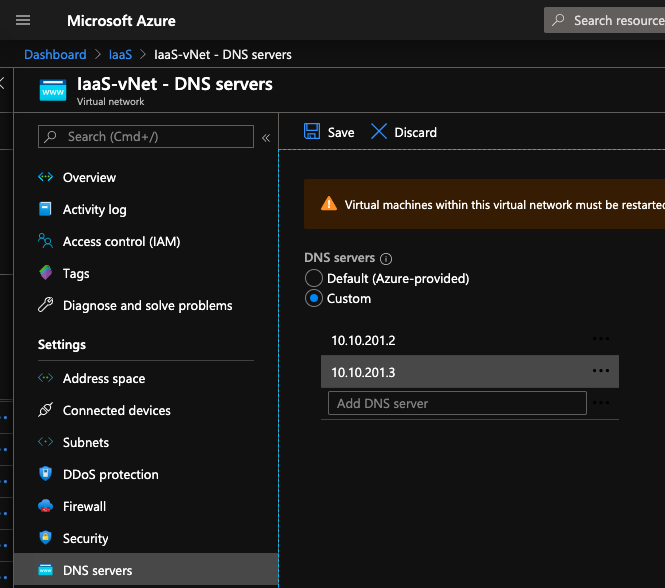
I configured a custom DNS in virtual network. These IPs are that of my domain controllers located On-Premises.
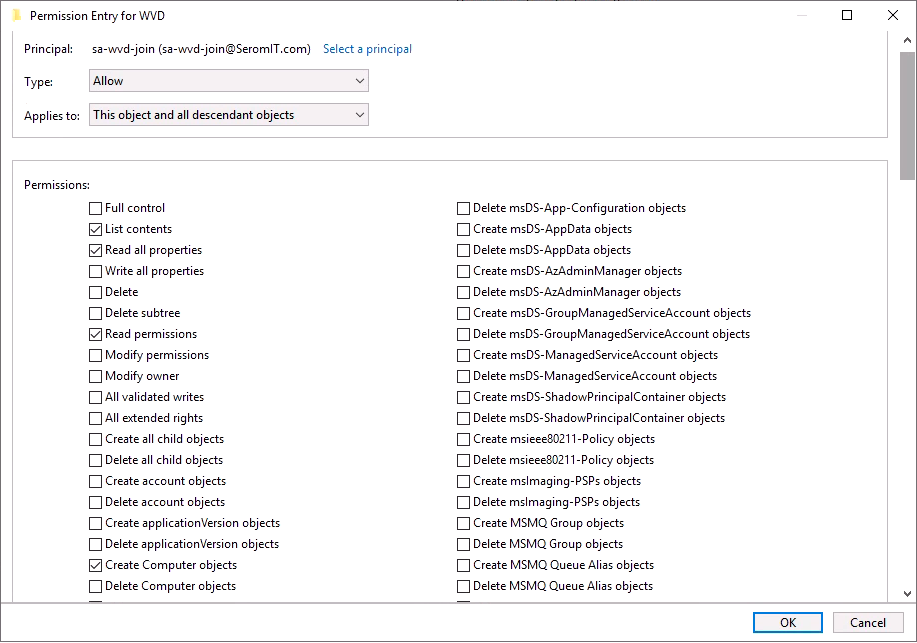
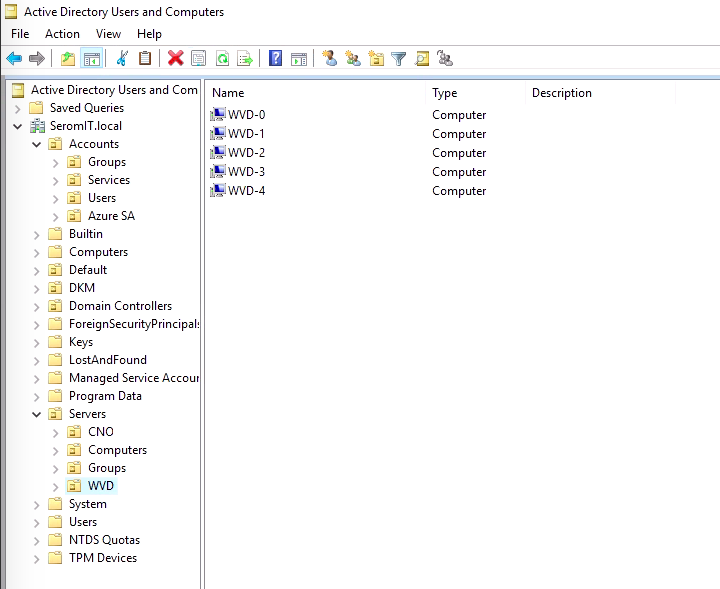
I created an account in Active Directory called sa-wvd-join that will be used to join the Windows Virtual Desktop machine to the domain. Then, I created a dedicated OU for Windows Virtual Desktop where I gave the permission to Create Computer objects to sa-wvd-join.
Grant Windows Virtual Desktop Service in Azure AD Tenant
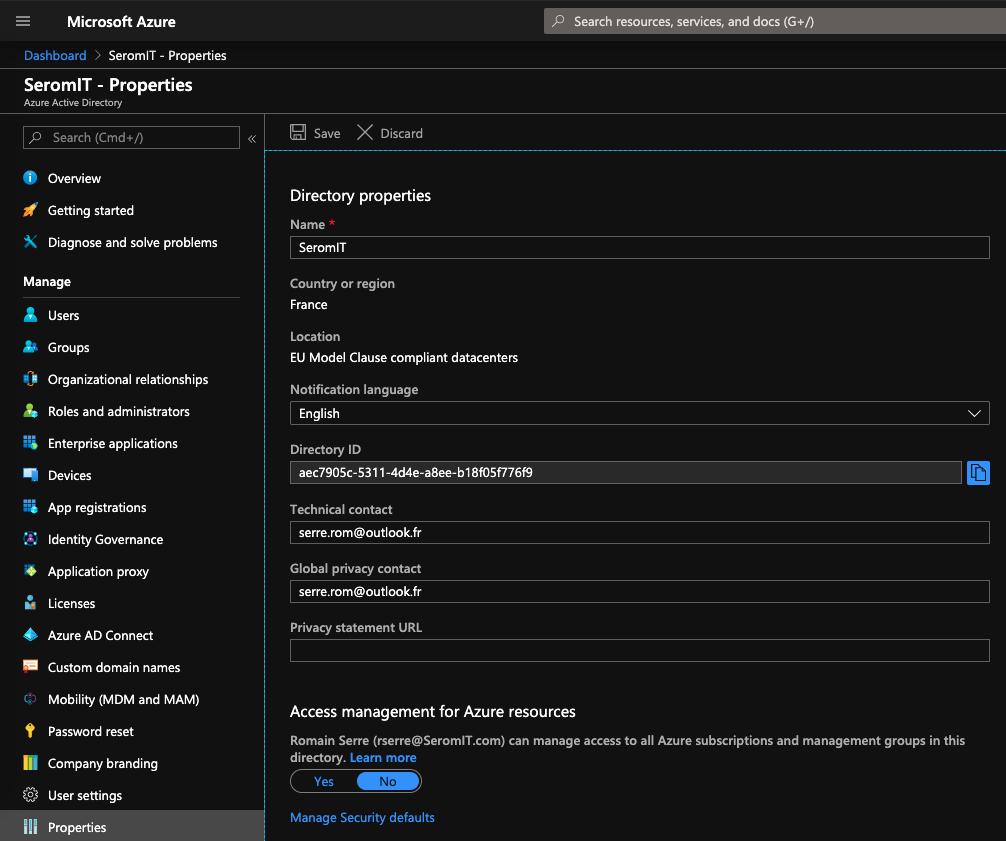
First, open Azure AD and navigate in Properties to locate your Directory ID. Copy it and keep it in a notepad.
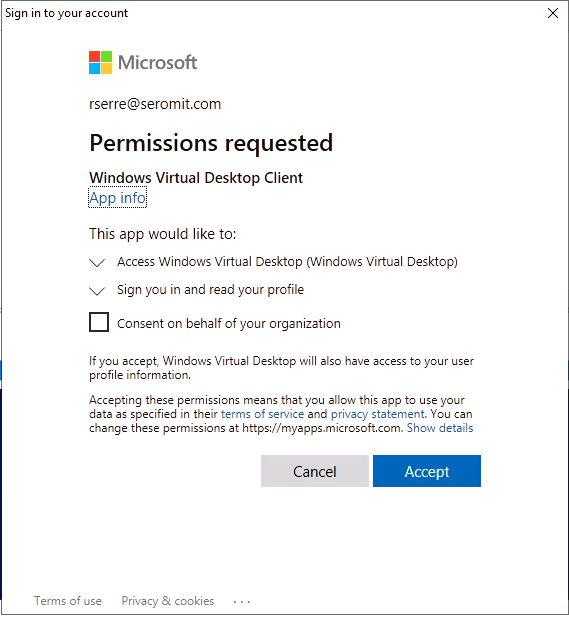
Open a web browser in private and navigate to https://rdweb.wvd.microsoft.com. Select Server App and paste your directory ID.
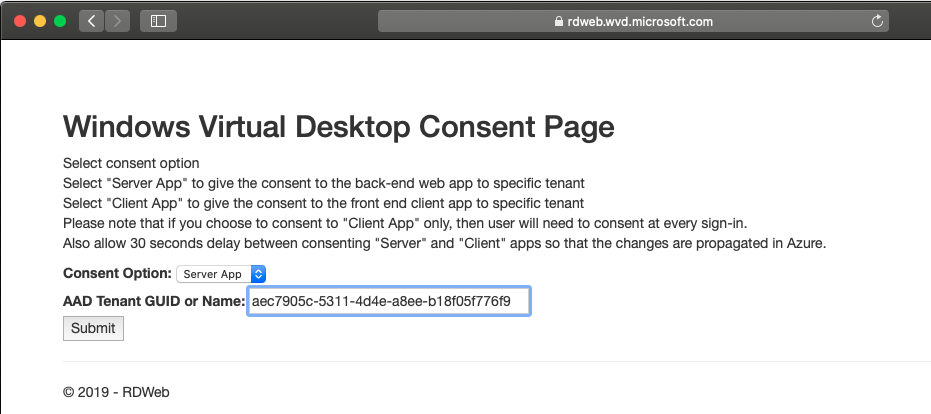
Specify your credentials and accept to give the permissions.

Allow the User to Create a Windows Virtual Desktop Tenant
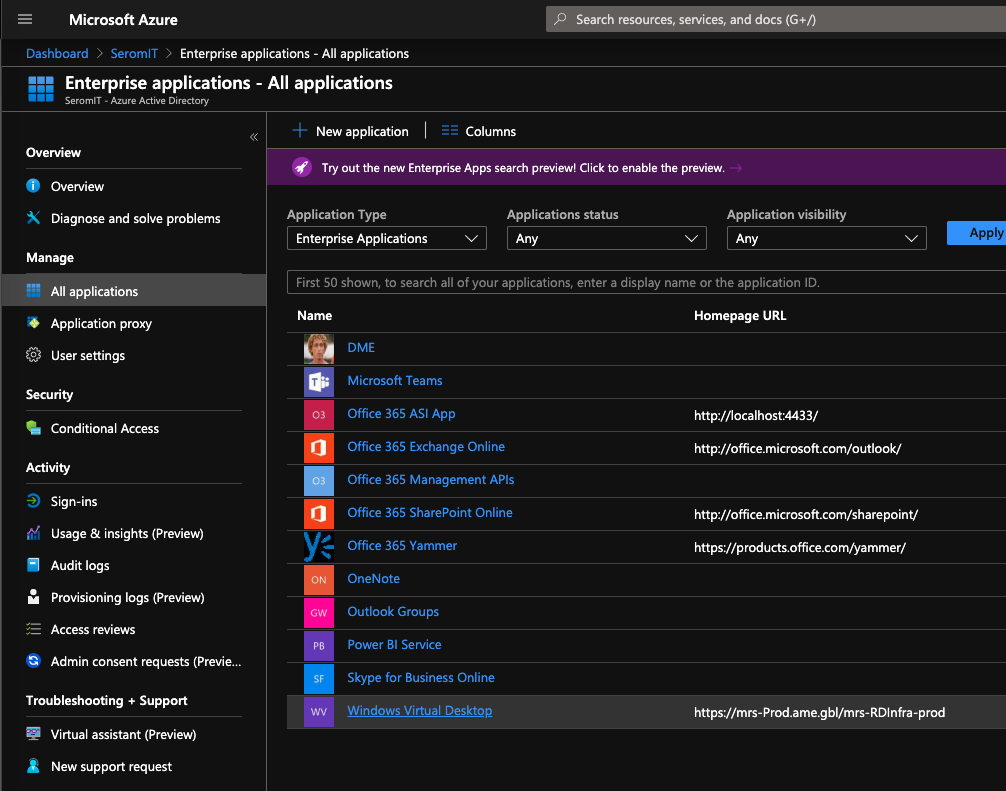
Go back to Azure AD and navigate to Enterprise applications – all applications. A Windows Virtual Desktop should be there. Click on it.
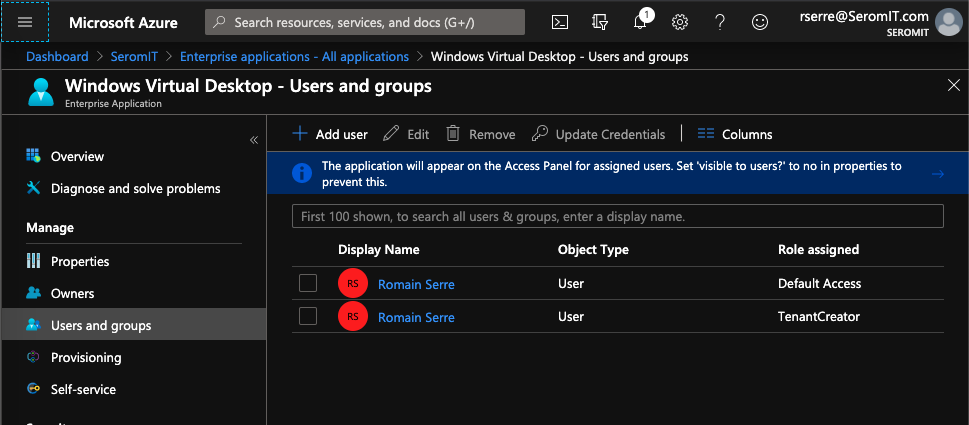
Then, add a user with the TenantCreator role.
Create a Windows Virtual Desktop Tenant
First, grab your Azure subscription ID and your directory ID you copied previously to a notepad. Run the following script to create a Windows Virtual Desktop tenant by changing the IDs and tenant name to yours.
|
1 2 3 4 5 6 7 8 9 10 11 12 13 |
Install-Module -Name Microsoft.RDInfra.RDPowerShell Import-Module -Name Microsoft.RDInfra.RDPowerShell $brokerurl = "https://rdbroker.wvd.microsoft.com" $aadTenantId = "aec7905c-5311-4d4e-a8ee-b18f05f776f9" $azureSubscriptionId = "79140c7f-41cc-4861-9bfa-d7f2bc46d5c9" Add-RdsAccount -DeploymentUrl $brokerurl New-RdsTenant -Name SeromIT -AadTenantId $aadTenantId -AzureSubscriptionId $azureSubscriptionId |
Copy to a notepad the TenantGroupName and the TenantName. You will need it later.

Deploy Windows Virtual Desktop Infrastructure
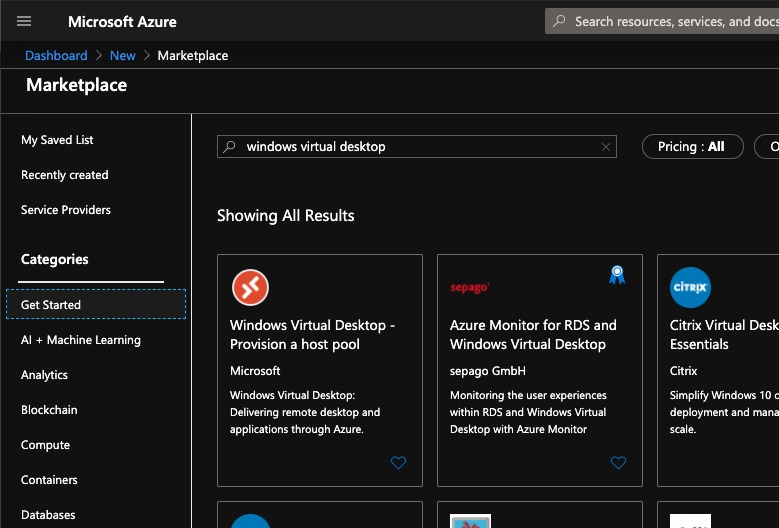
Open Azure Portal and navigate to the marketplace. Specify Windows Virtual Desktop. Click on it.
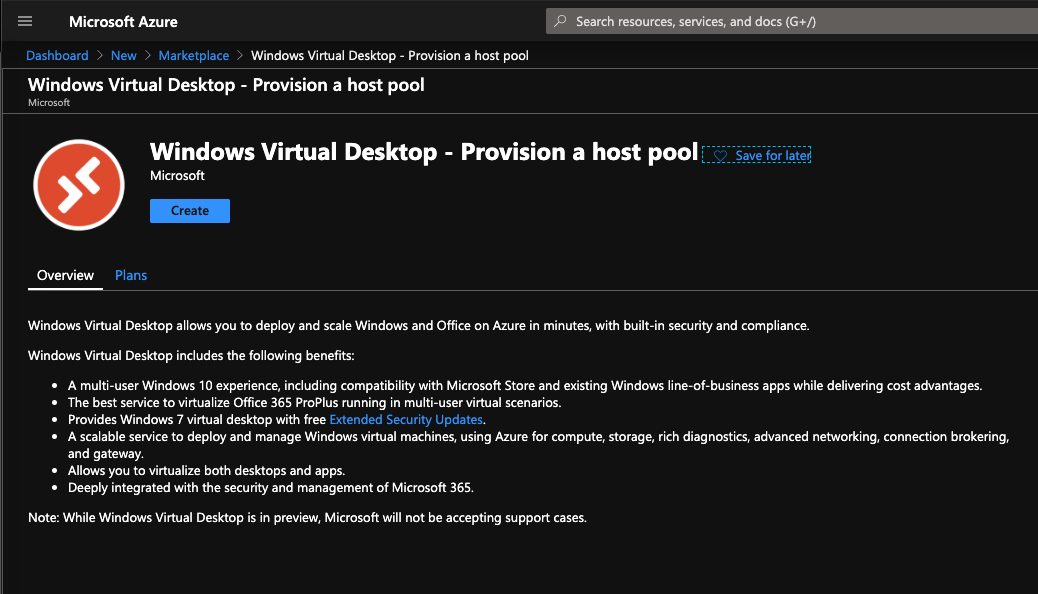
Next, click on create.
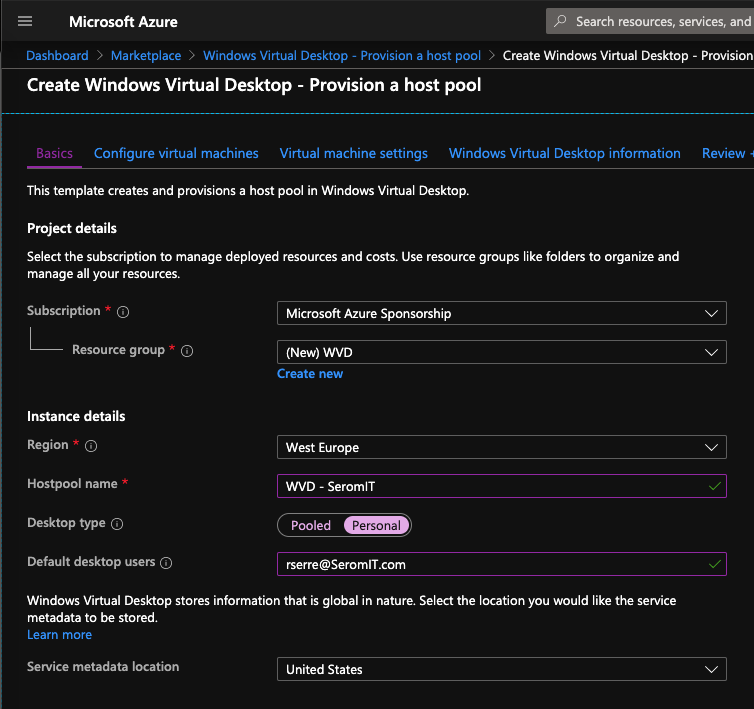
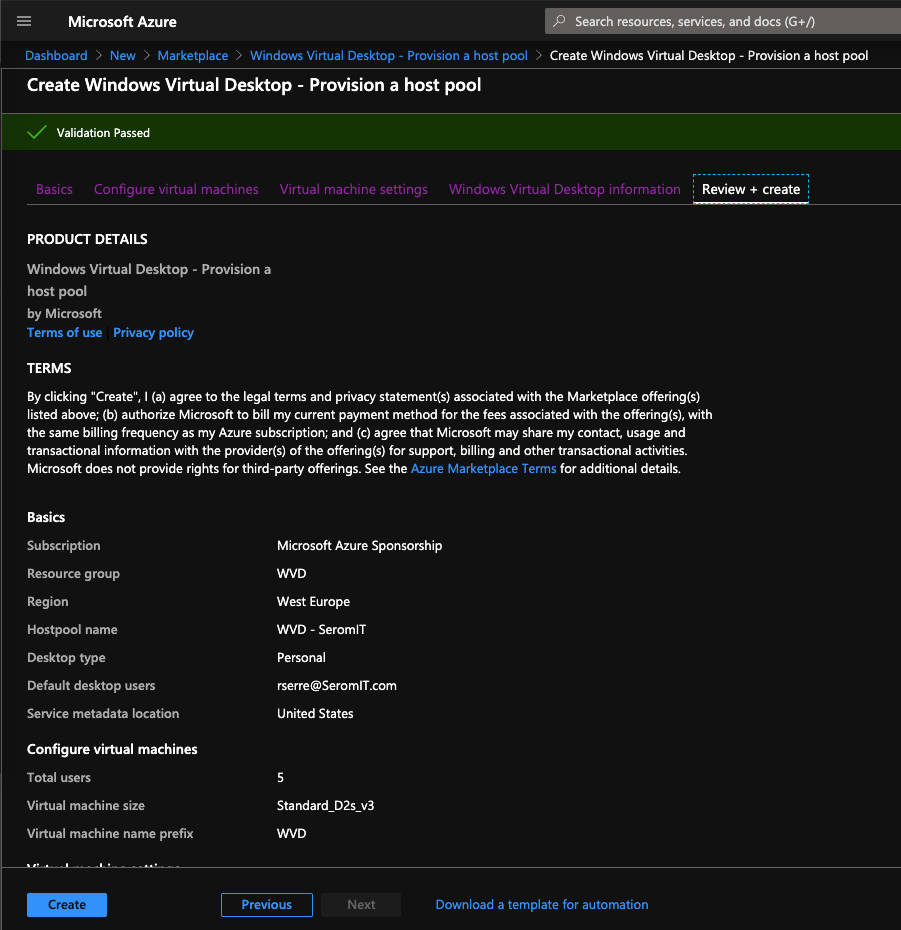
Thenm specify a resource group, a hostpool name and a region. You can create a pooled or a personal desktop type. In a pool desktop type, users will share Azure VM, and in a personal desktop type, each user will have a dedicated Azure VM.
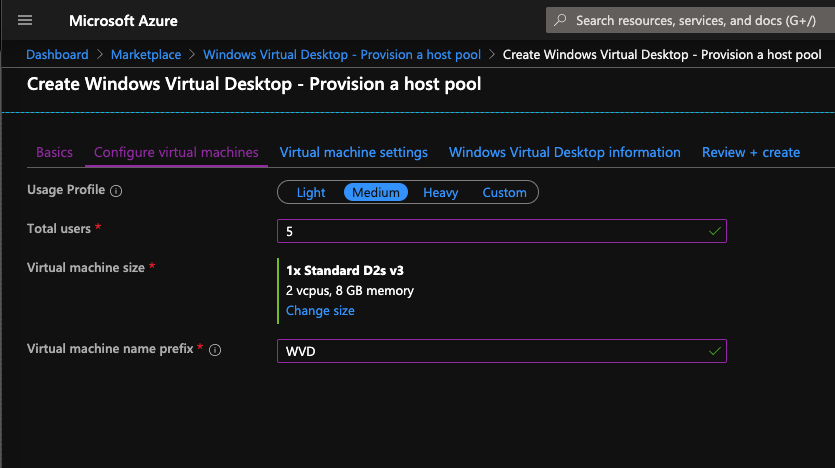
Then, specify the number of users, the VM size and a prefix for a VM.
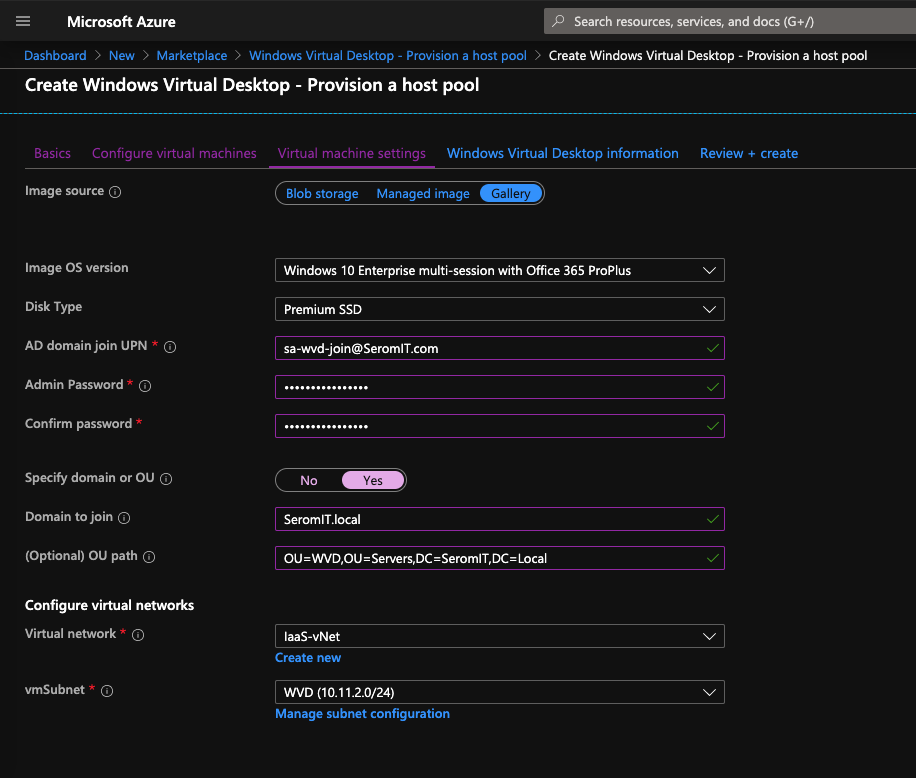
Next, choose an Image OS version. You can pick up an image from the gallery or you can deploy a Windows Virtual Desktop infrastructure based on your own image. Then, choose the disk type you want. Regarding Active Directory, I specified the following settings:
- AD domain join UPN: the account I created in Active Directory to join Windows Virtual Desktop machine to the domain;
- Admin Password: password of the above account;
- Domain to join: the Active Directory domain name;
- OU Path: OU path to the dedicated OU I created in requirement section.
Then, I selected the virtual network and the dedicated subnet for Windows Virtual Desktop.
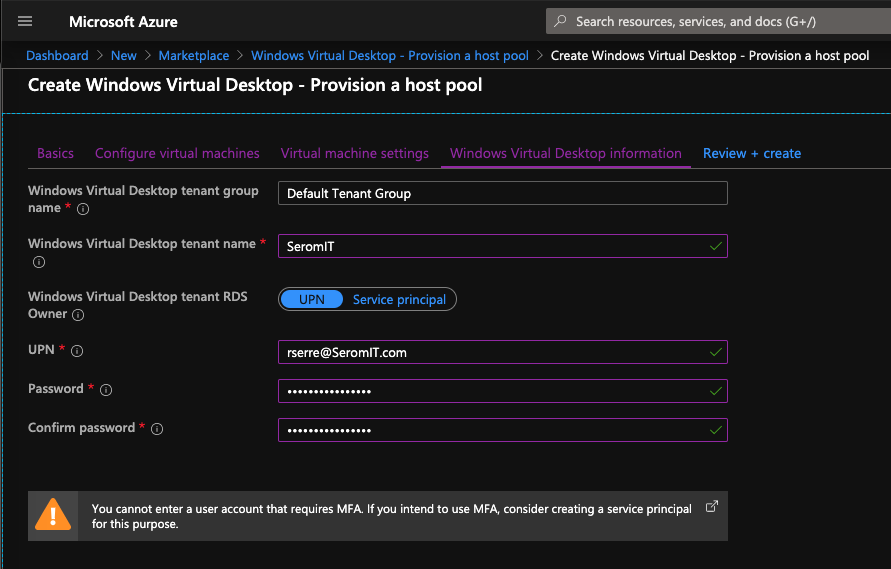
Next, specify the tenant group name and the tenant name you wrote previously in the notepad. Then, specify credentials that have permissions in Windows Virtual Desktop application in Azure AD.
Finally, review your settings and click on Create to start the deployment.
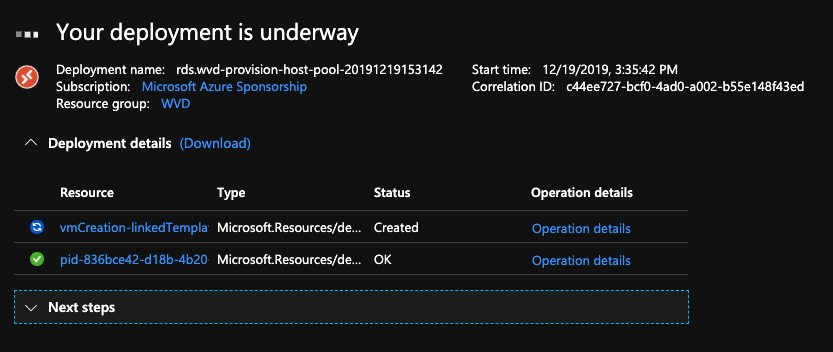
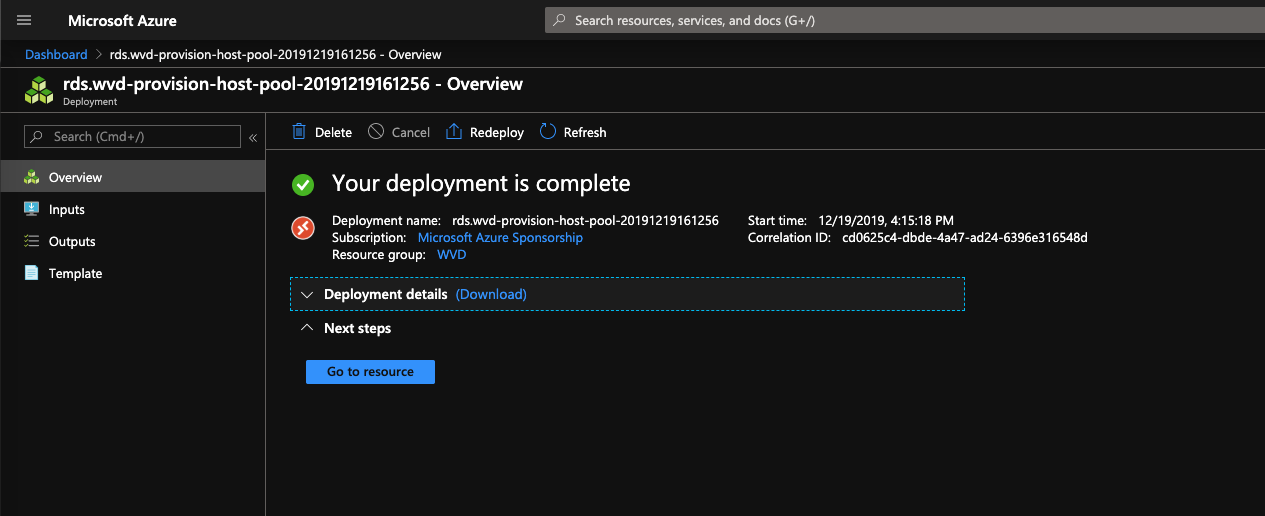
Once the deployment is finished successful, I get the Windows Virtual Desktop machine inside my On-Premises Active Directory in the specified OU.
Now you can browse https://rdweb.wvd.microsoft.com to connect to the Windows Virtual Desktop with your credentials.
