In a previous topic, I talked about Veritas for Office 365 to backup Office 365. Today I’d like to show you another solution based on Veeam Backup for Office 365. Compared to Veritas, Veeam Backup for Office 365 is not SaaS. That means that you have to deploy your own infrastructure: the server (physical, virtual or Azure VM) that will host Veeam Backup for Office 365 and the repositories. The repository can be the server itself and/or an object storage such as a storage account in Microsoft Azure.
When I talk about Veeam Backup for Office 365 with customers, I introduce always two architectures:
- One where the Veeam server is located On-Premises and the repository can be On-Premises or in Microsoft Azure.
- One where the Veeam server is a VM located in Microsoft Azure and the repository is a storage account in Microsoft Azure.
For this topic, I installed Veeam Backup for Office 365 v5 in the VM that already hosts Veeam Backup & Replication. The repository is a storage account in Microsoft Azure. This topic presents the configuration to backup Office 365 (Sharepoint, Teams, Exchange Online and Onedrive). I’ll write another one to show how to restore data.
Connect the Office 365 tenant to Veeam Backup for Office 365
To add the tenant to Veeam, open the console and navigate in Organizations. Then click on Add Org.

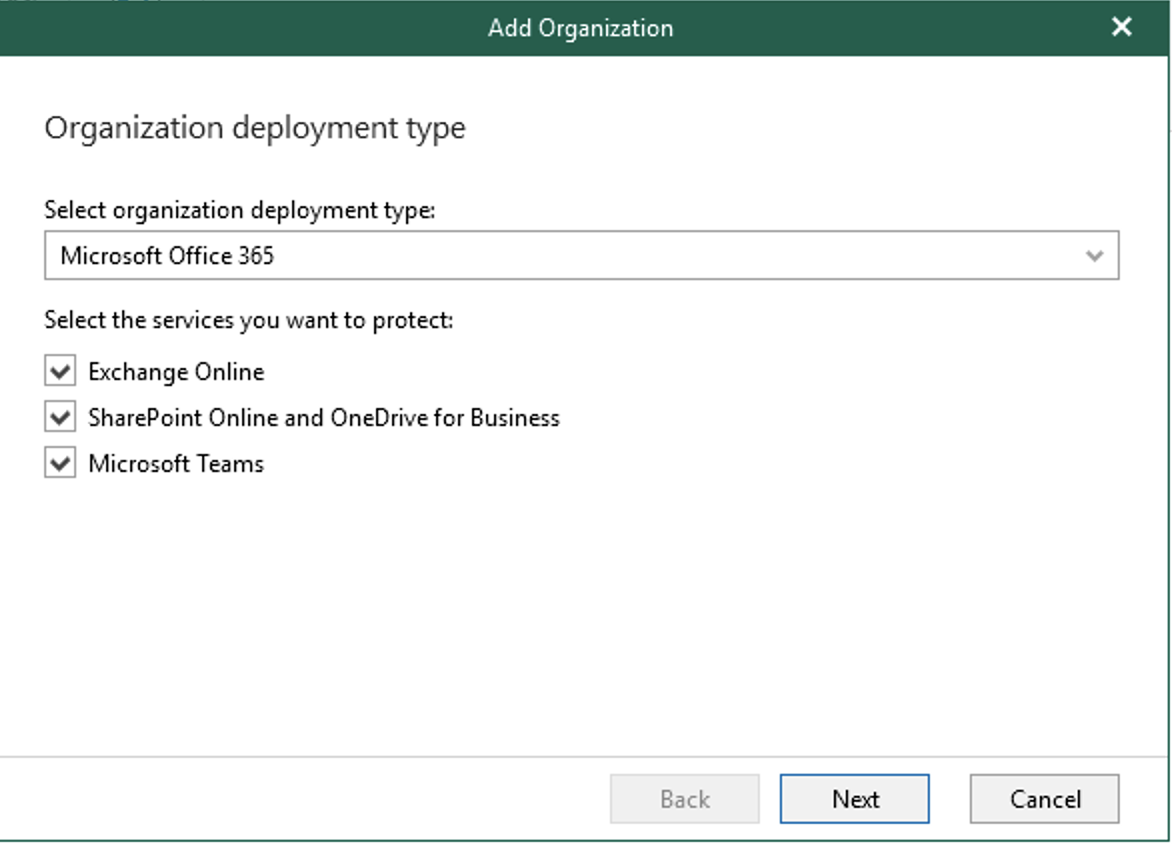
Select Microsoft Office 365 and the service you want to protect.
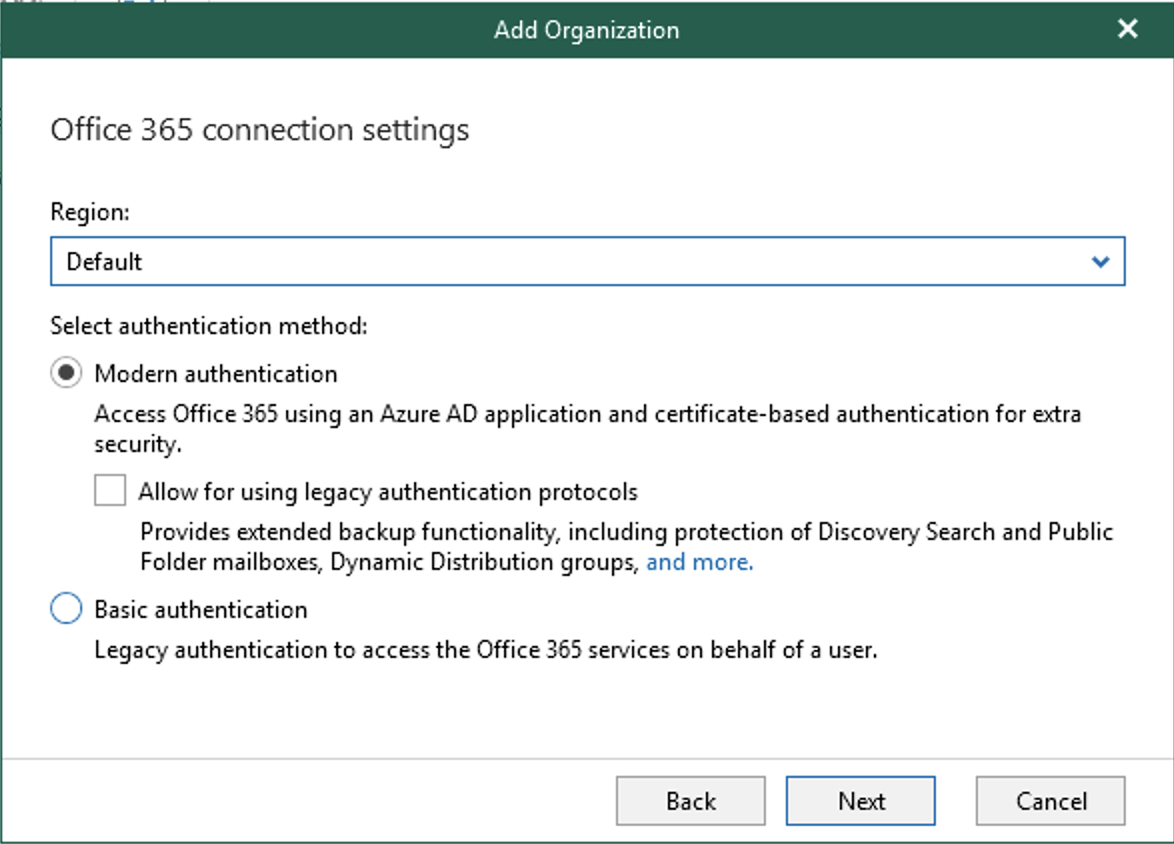
Next choose the region and the authentication method:
- If you choose Basic authentication, you have to create an account in Azure AD and give him permissions such as impersonate in Exchange Online. So this service account is sensitive because it has many permissions in your O365 tenant
- If you choose Modern authentication, an Azure AD application is registered, and the authentication is based on a certificate. I prefer this one that is more secure than the first one.
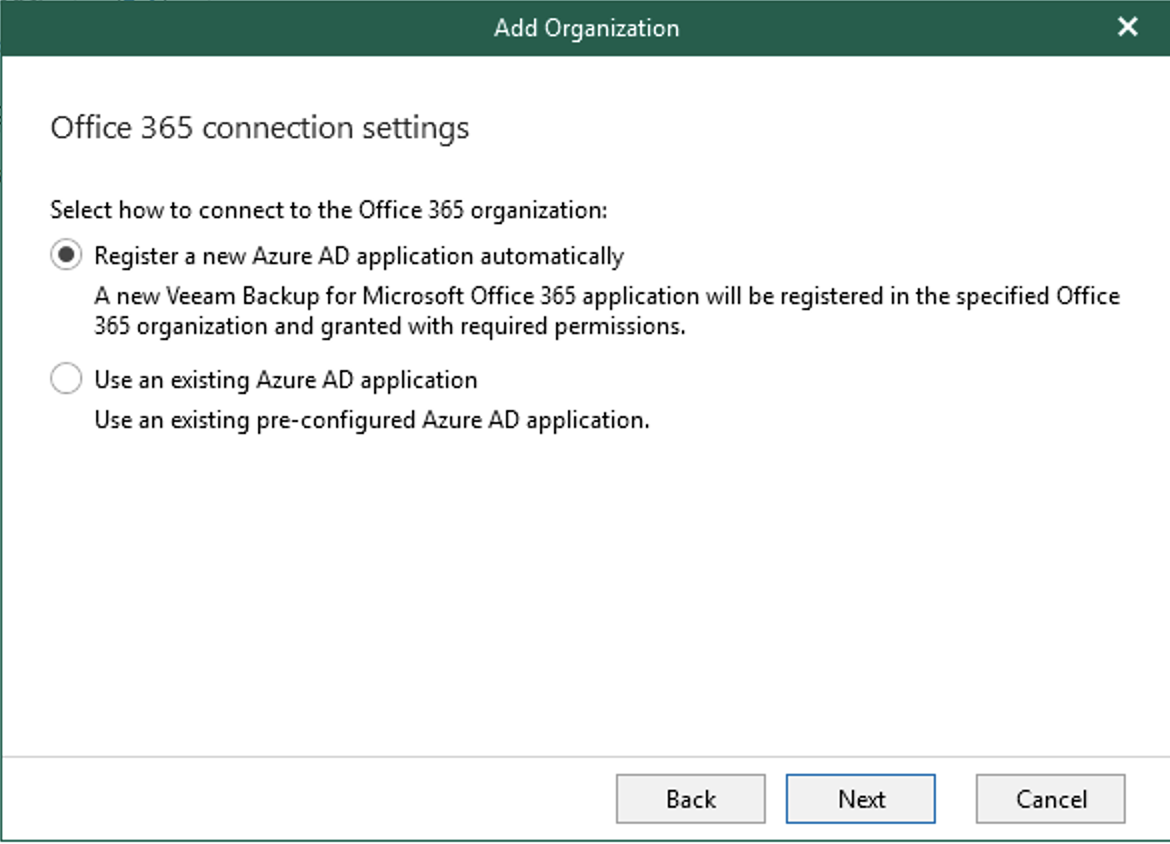
Then choose Register a new Azure AD application automatically.
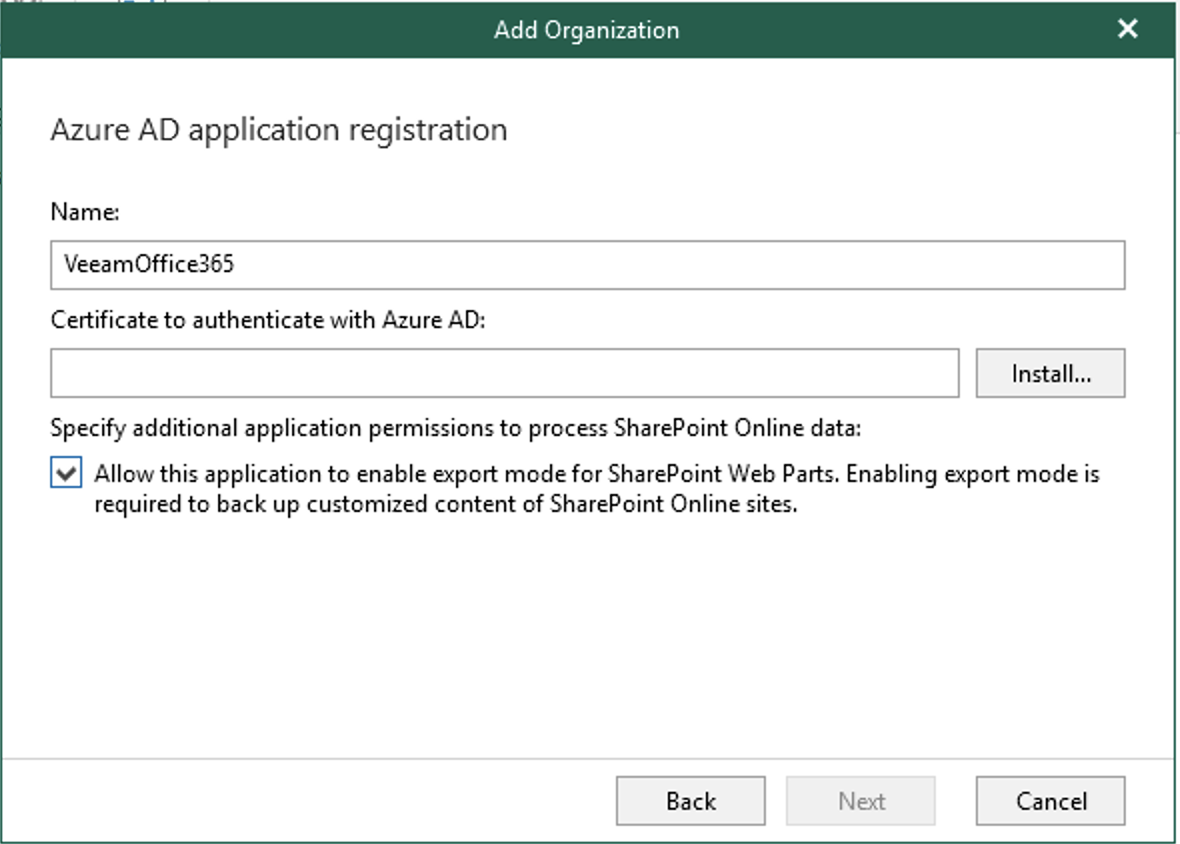
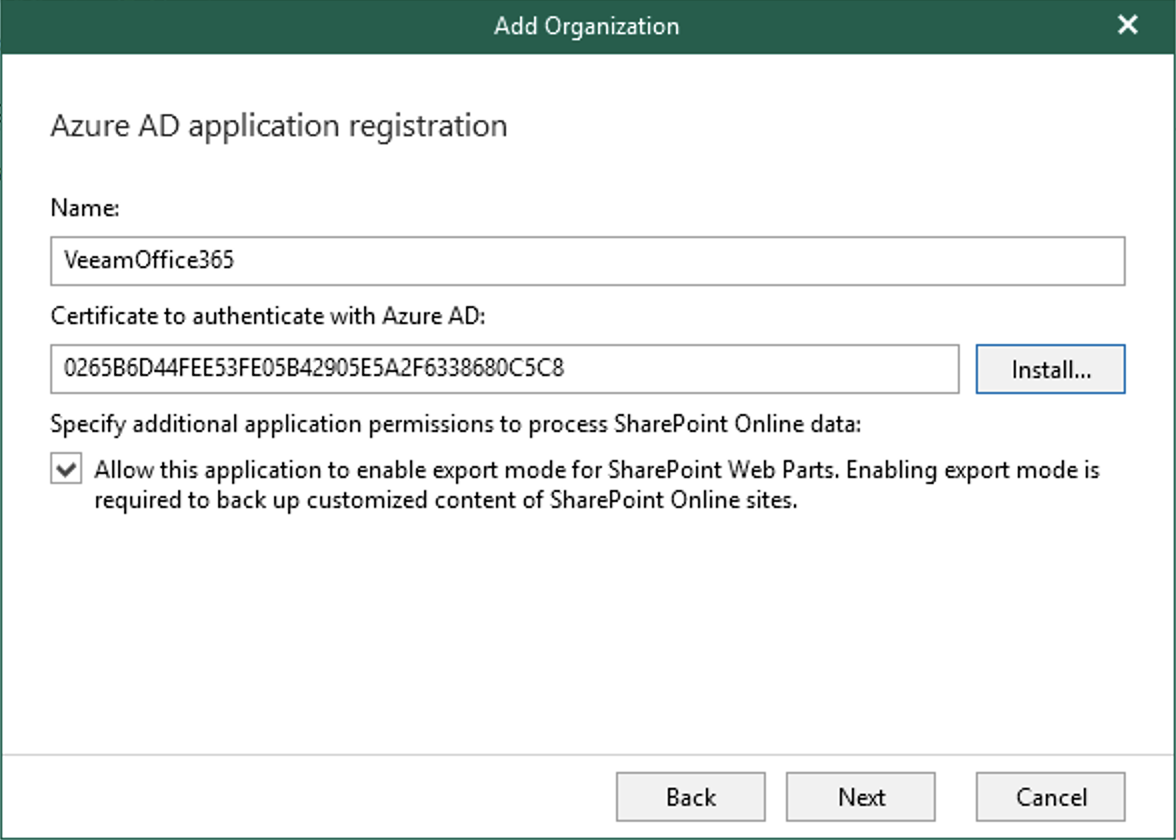
Specify an Azure AD application name and then click on Install to choose a certificate.
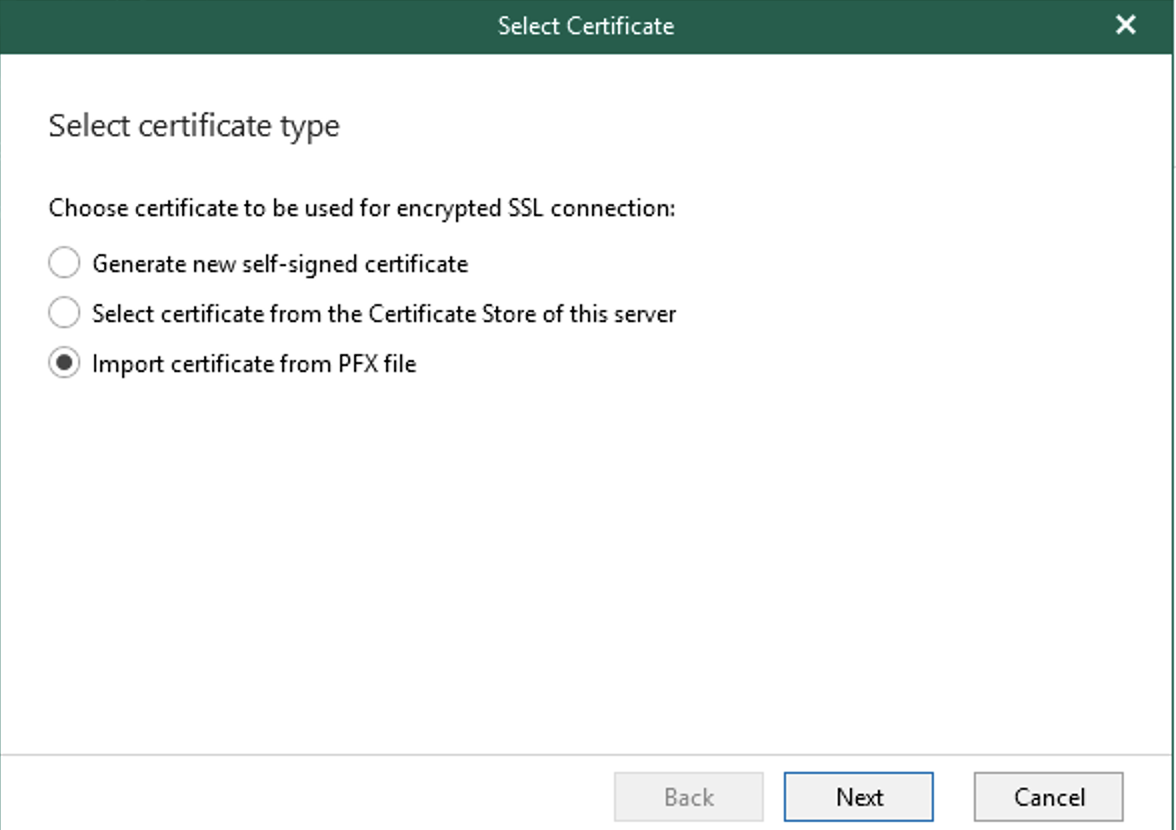
Select the certificate type you want. You can generate a self-signed certificate or use your own certificate. I have a wildcard certificate provided by DigiCert. I have a PFX file so I choose this option
Then specify the certificate path and the PFX file password.

Now the certificate thumbprint appears and you can click on Next.
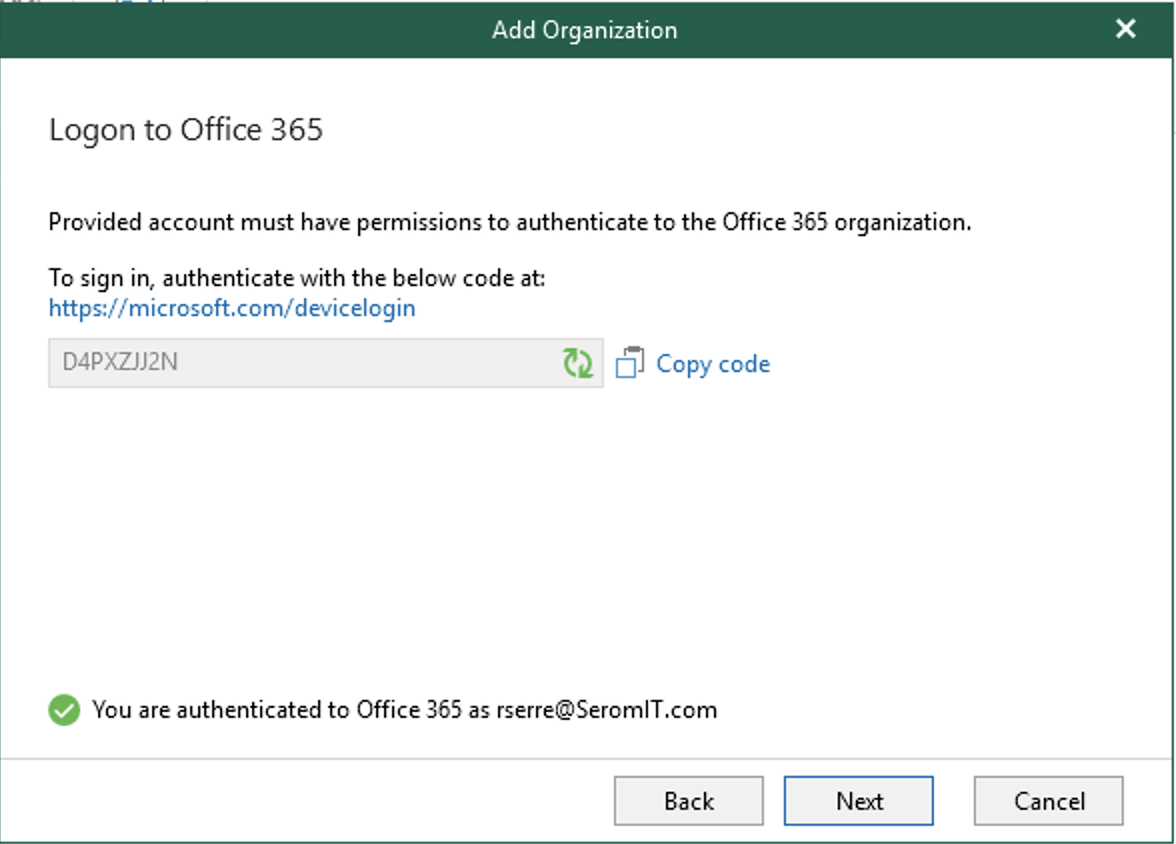
Veeam asks you to authenticate to Office 365 tenant with permissions to register Azure AD applications.
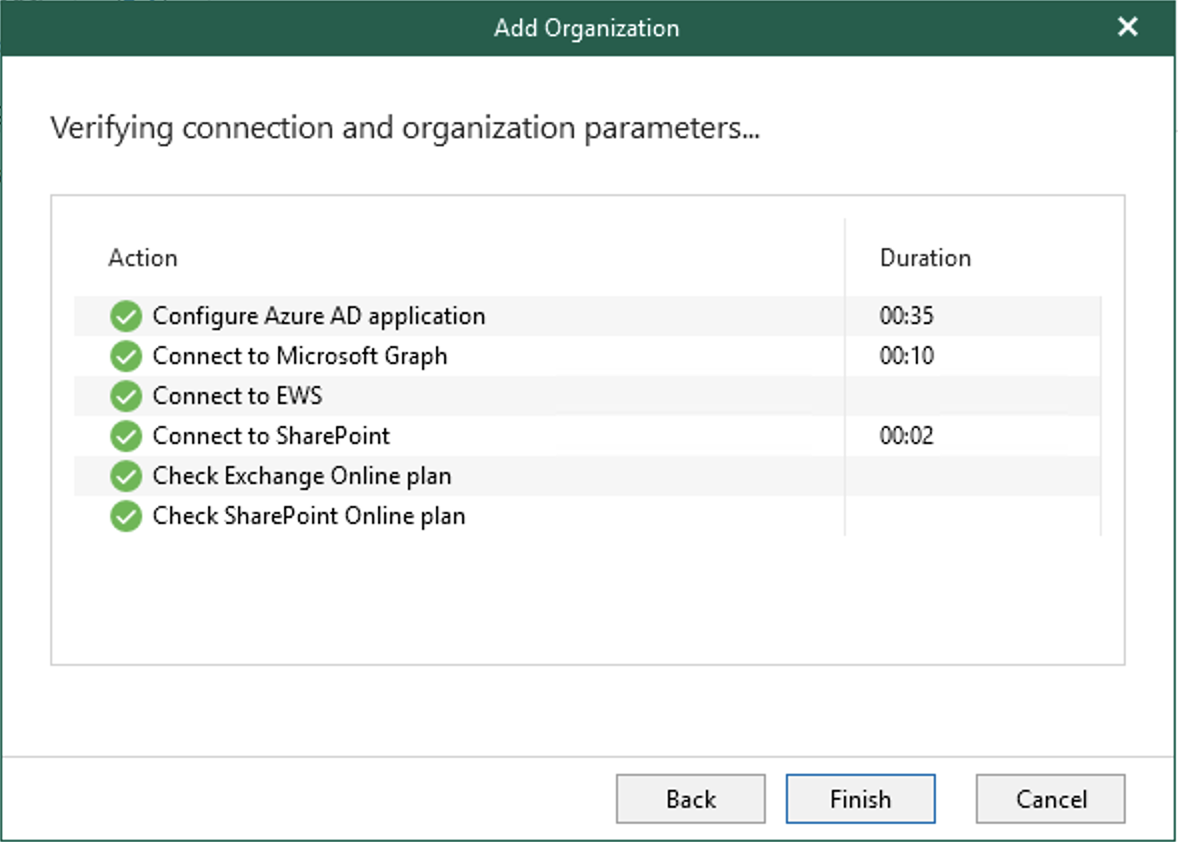
When the Azure AD application is registered, Veeam should be able to connect to each product in Microsoft Office 365.
Add an object storage to Veeam for Office365
P.S: In this section I add a Microsoft Azure storage account. However you need to have enough free space in the Veeam Backup for O365 server before data are destaged in the storage account.
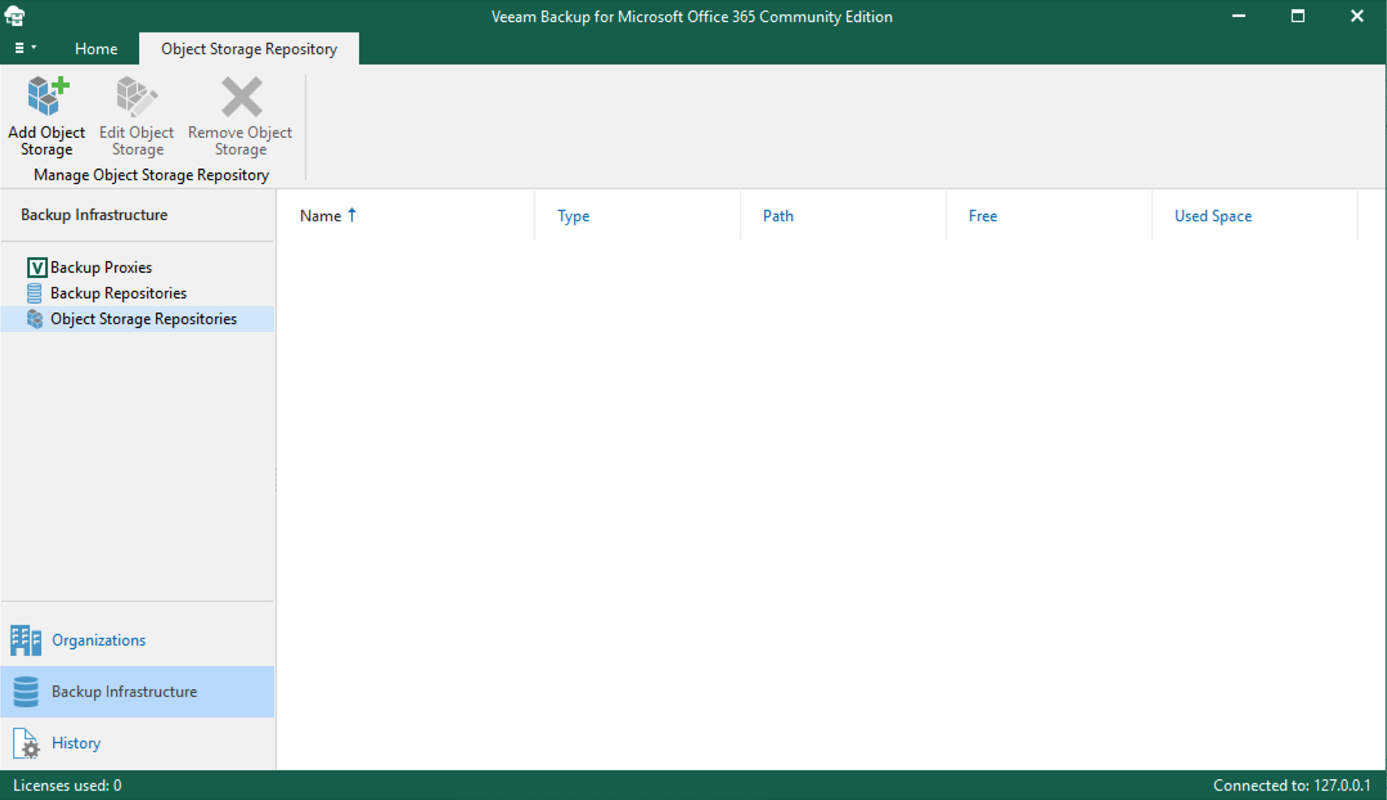
Now navigate to Backup Infrastructure and select Object Storage Repositories. Then click on Add Object Storage.
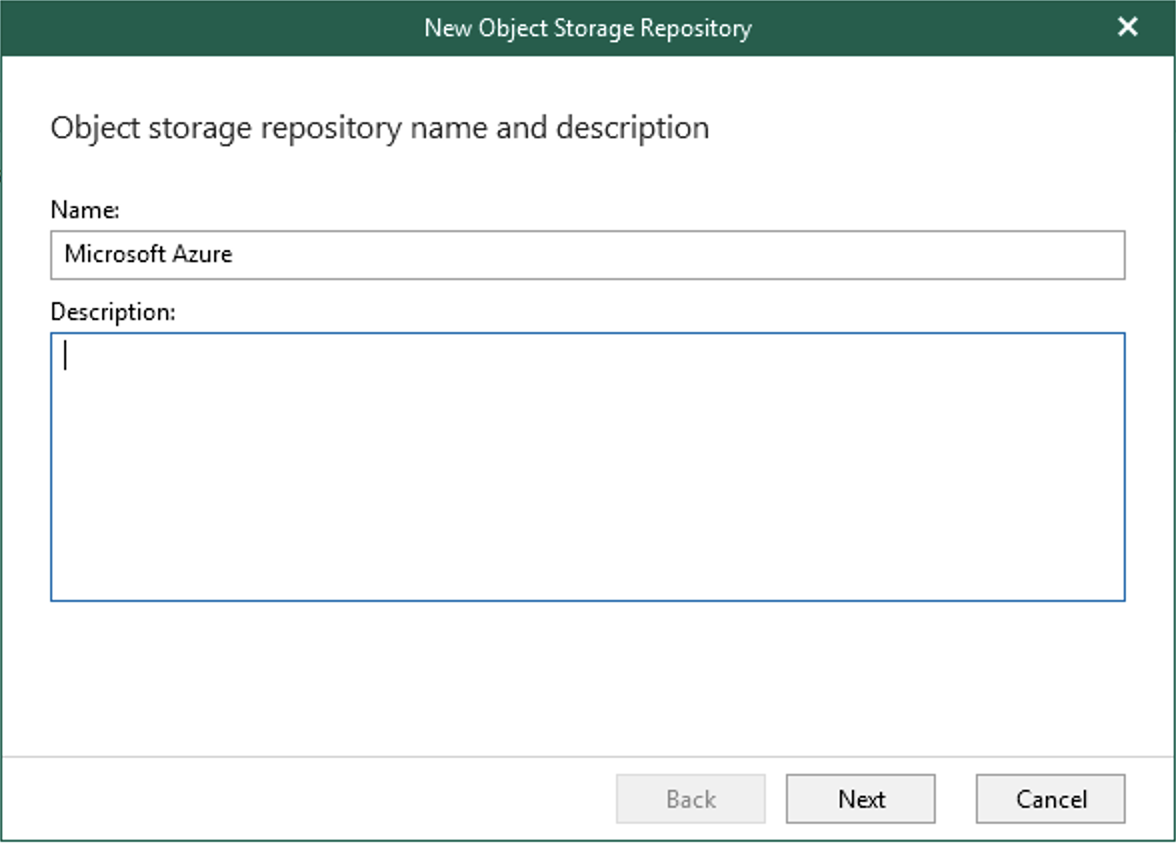
Specify a name for the object storage repository.
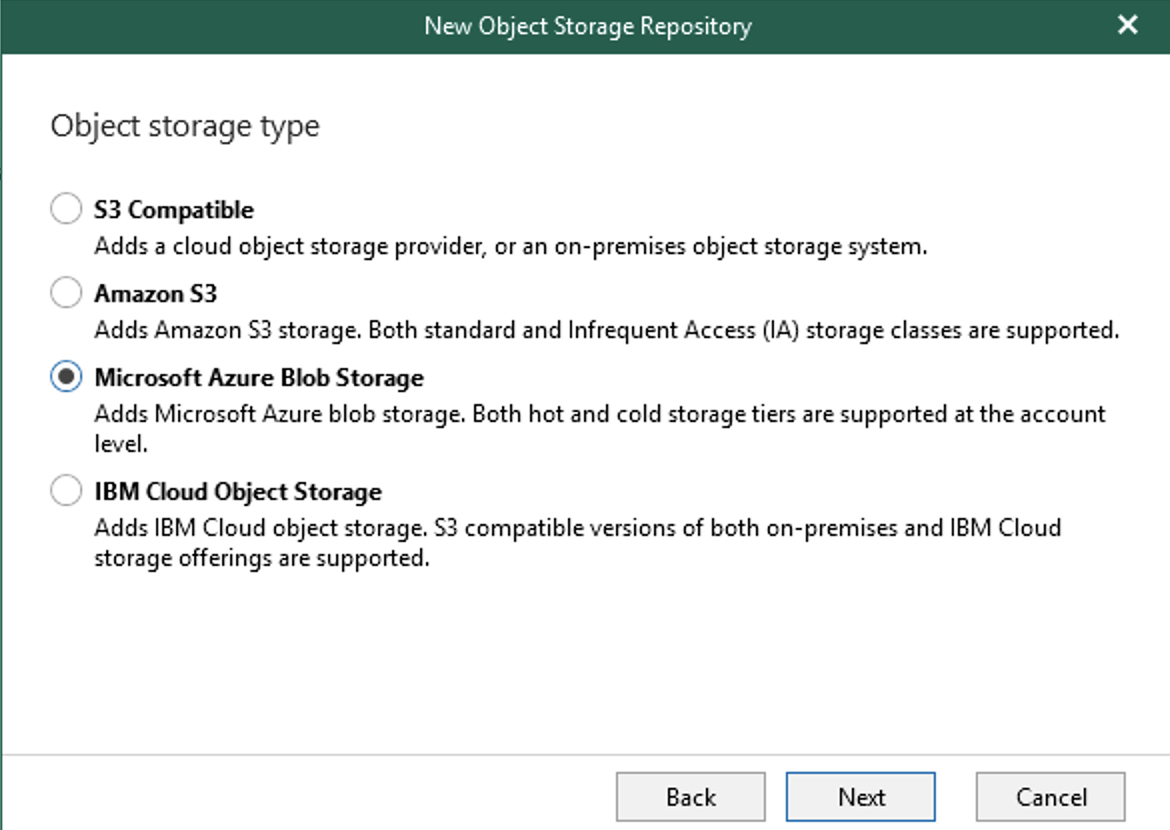
I choose Microsoft Azure Blob Storage.
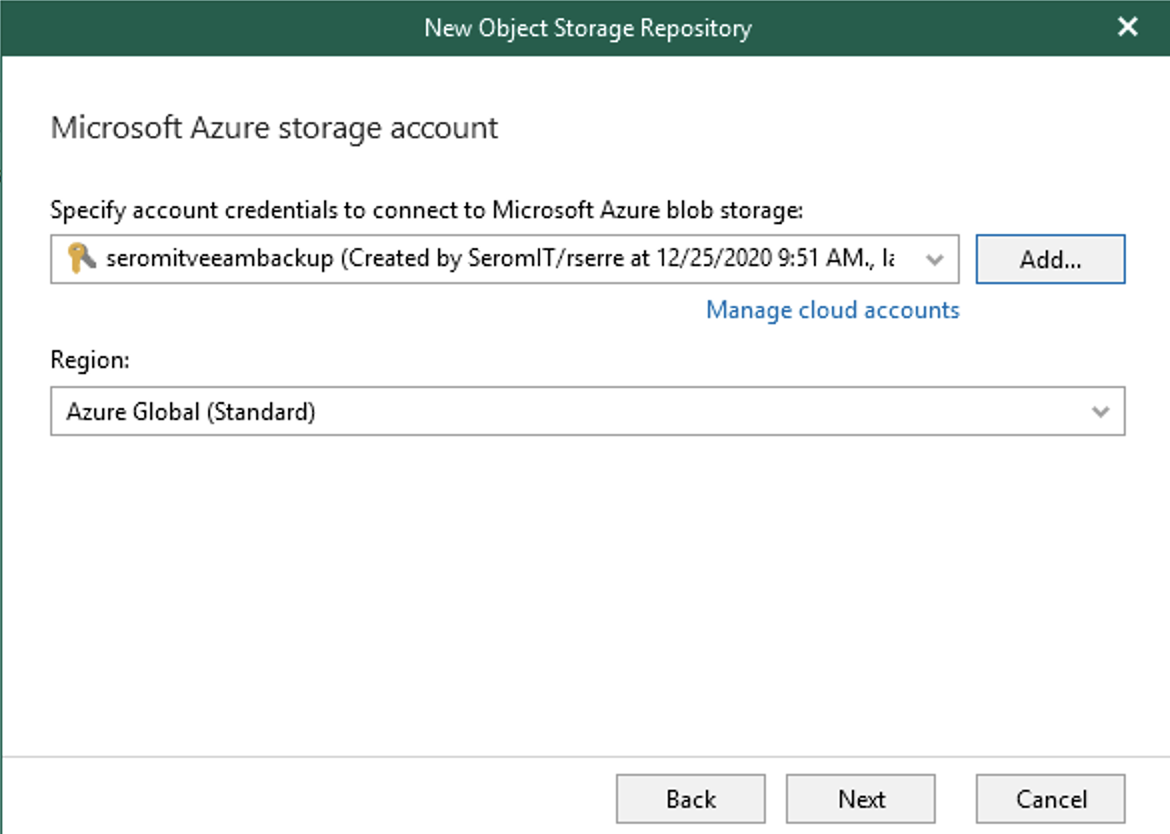
Then specify the account credentials to connect to the storage account. The login is the name of the storage account and the password is one of the access keys.
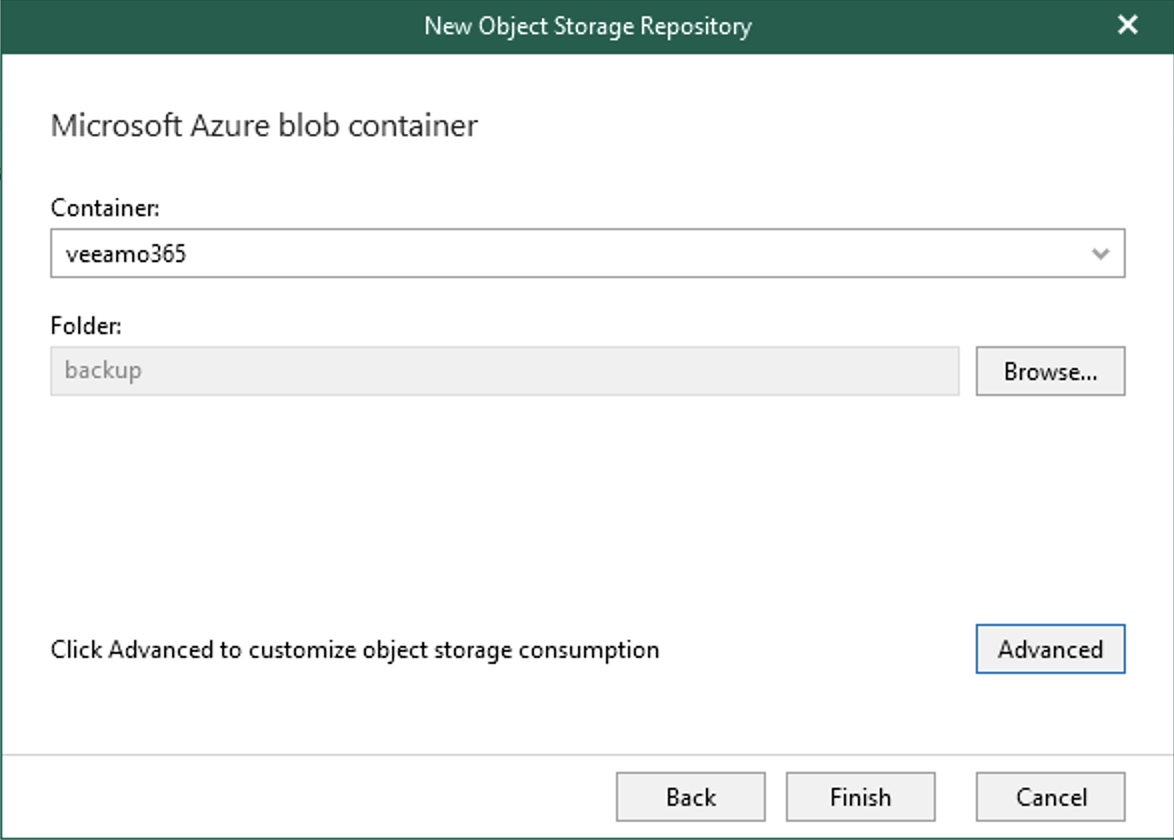
Select the container where you want to store backup data and the folder.
Create a backup job
In Veeam Backup for Office 365, navigate in Organizations, select your O365 tenant and click on Backup.

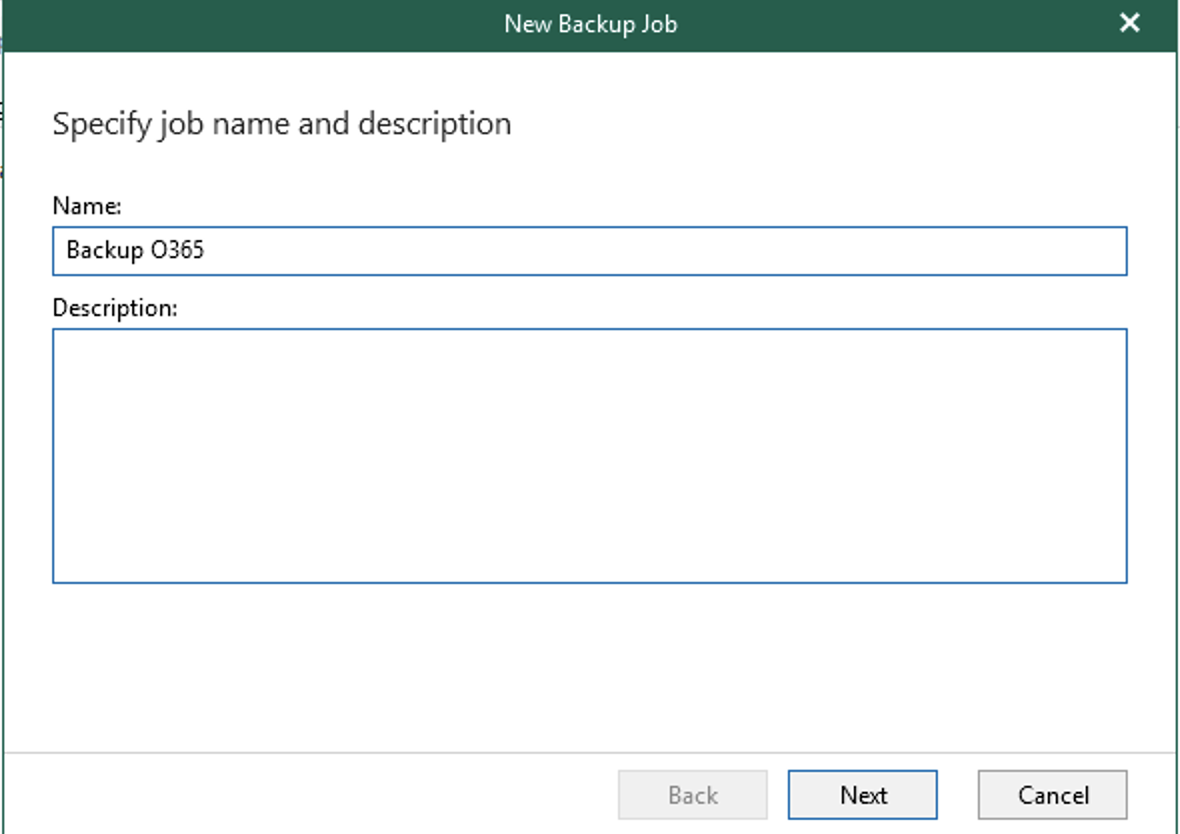
Specify the name of the backup job and click on next.
Now you have two options: backup the organization entirely or select the object you want to backup.


You can exclude some objects to the backup job. You can for example backup entirely your organization and exclude Sharepoint if you don’t use it (for example).

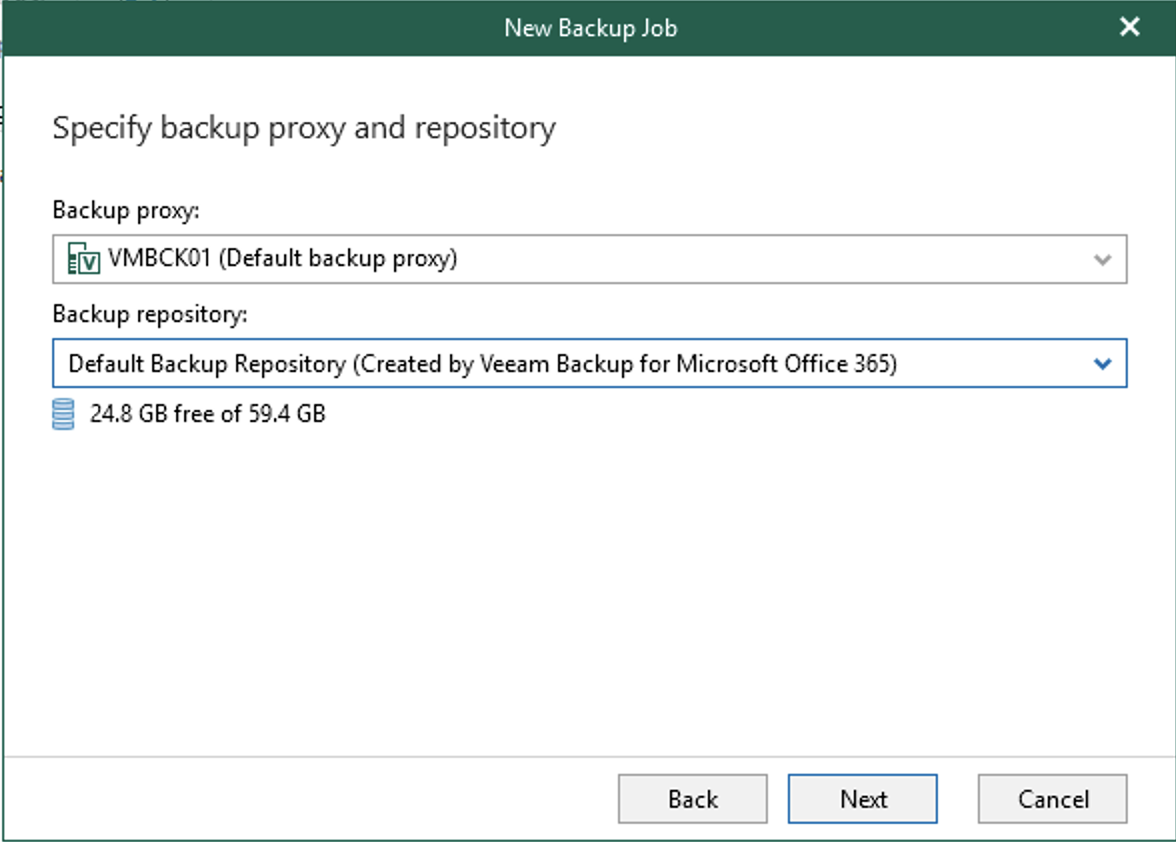
Then select your backup repository. First backup will be written in backup repository and then they will be destaged in the object storage.
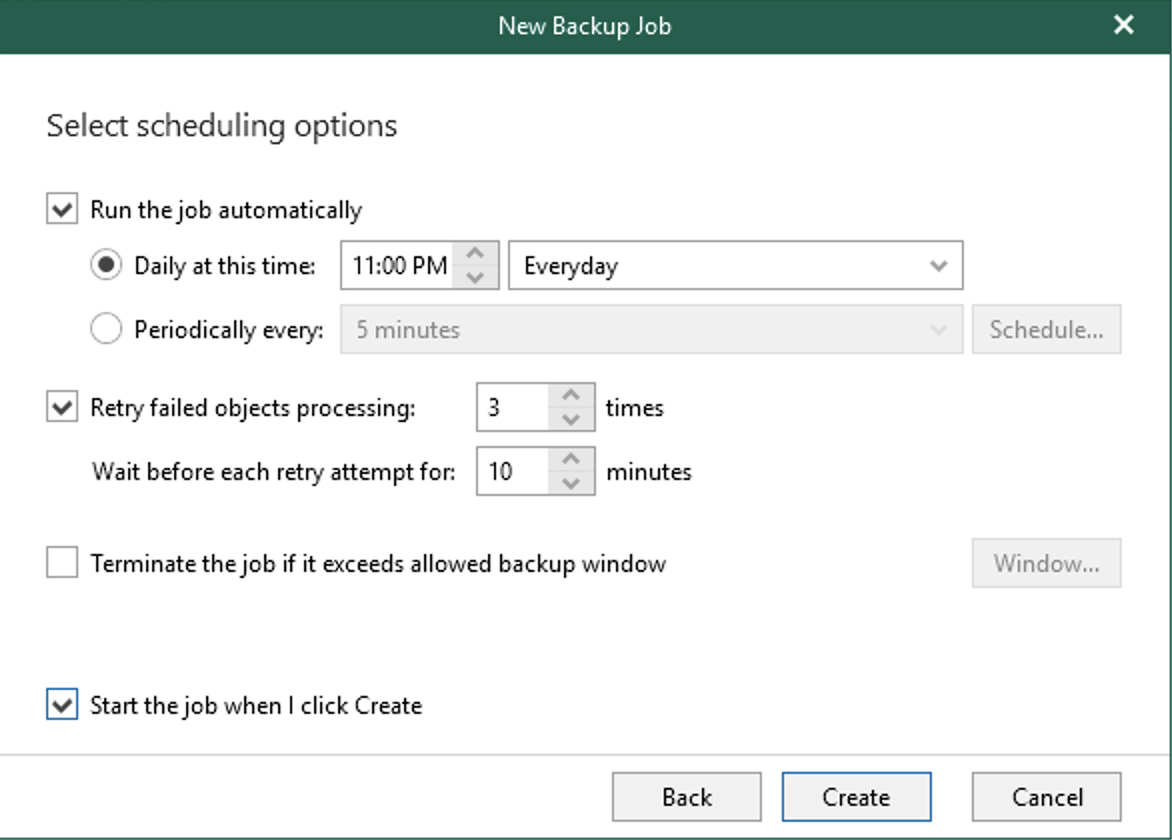
Finally, specify the backup scheduling and click on Create.
In the next topic, I’ll show you how to restore data from Veeam Backup for Office365.


