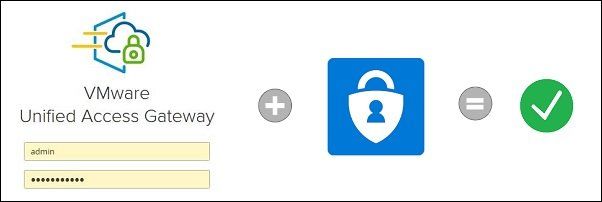
To secure external accesses, you can configure the UAG with Azure MFA leveraging the SAML-based authentication feature.
Latest Unified Access Gateway (UAG) versions provide the SAML-based multifactor authentication feature that make the authentication process stronger utilizing MFA solutions such as Azure MFA.
Prerequisites
To configure Azure MFA for the Unified Access Gateway, you need to meet some prerequisites:
- An Azure license that includes MFA feature.
- A working Azure AD Connect to synchronize the on-premises Active Directory users into Azure Active Directory.
- Azure MFA must be enabled for users or groups.
Configure the Azure environment
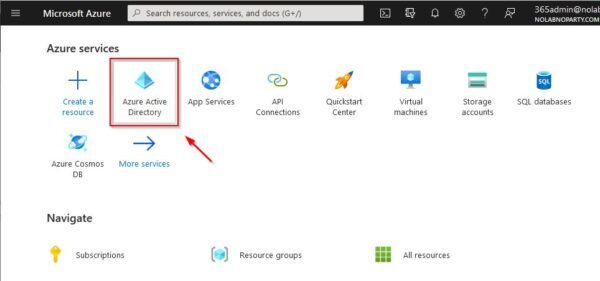
Login to your Azure portal using the global administrative account. Click on Azure Active Directory icon.
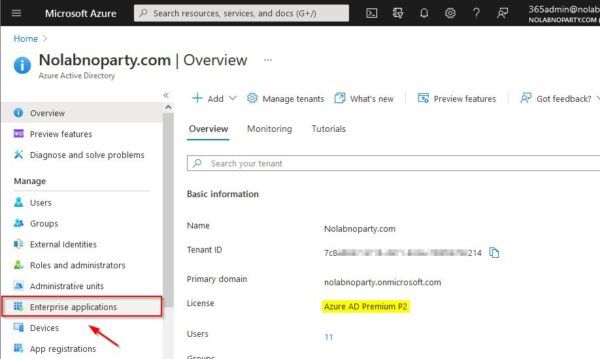
Make sure you have the correct Azure license to leverage MFA capabilities. Select Enterprise application.
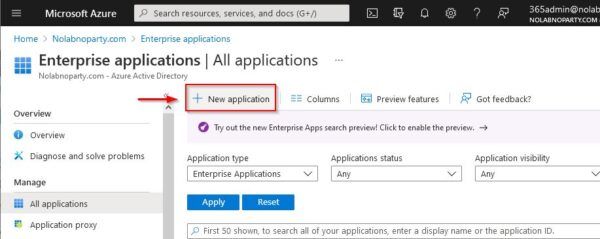
Click New Application.
Select Non-gallery application.
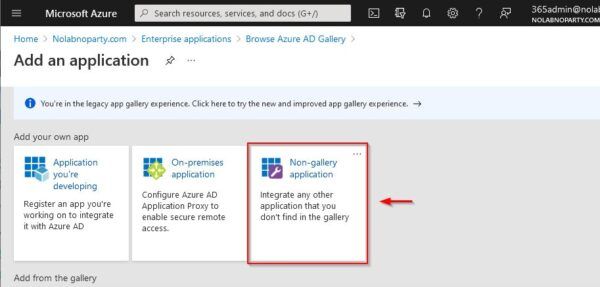
Enter the Name for the new application and click Add.
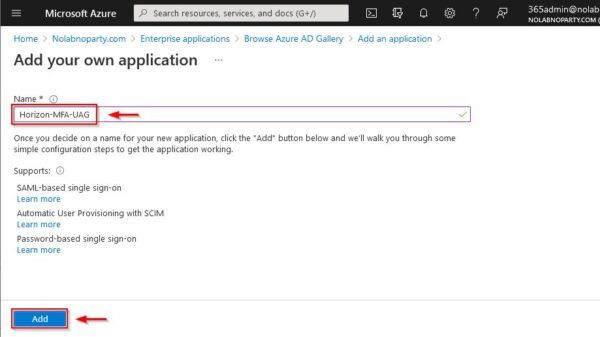
The application needs to be assigned to users or groups. Select 1. Assign users and groups.
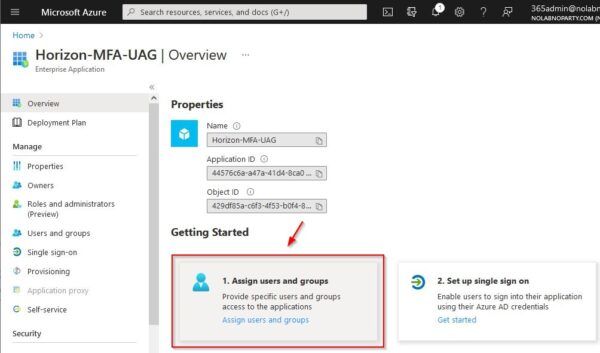
Click Add user/group.
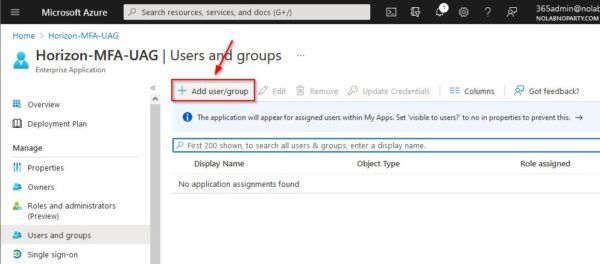
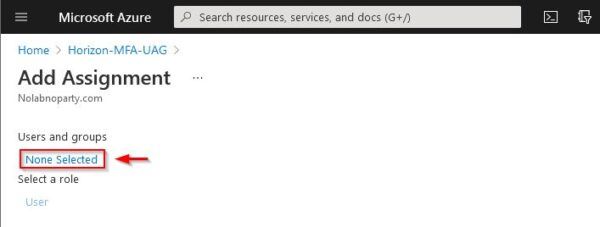
Click the None Selected link to add users or groups.
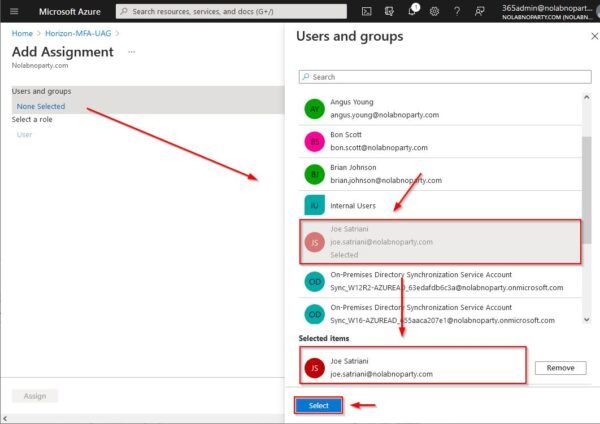
Select the desired users or groups then click Select.
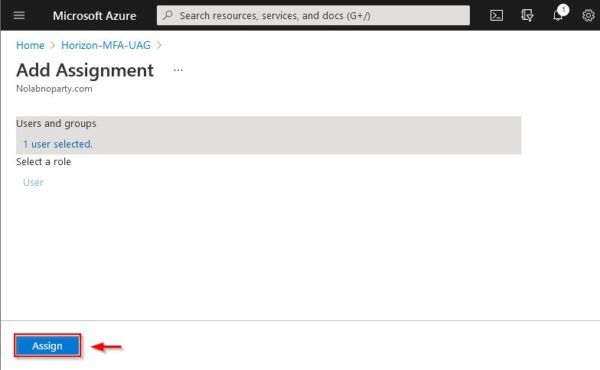
Click Assign.
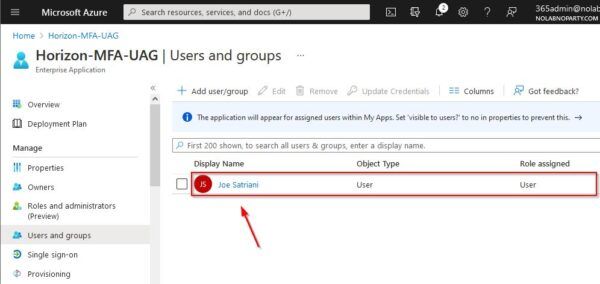
The user assigned to the application.
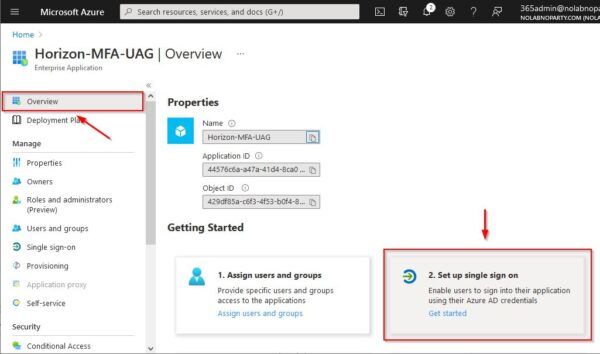
From the homepage select Overview and click 2. Set up single sign on.
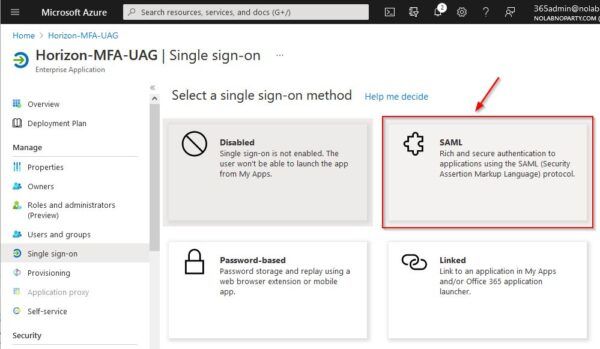
Select SAML.
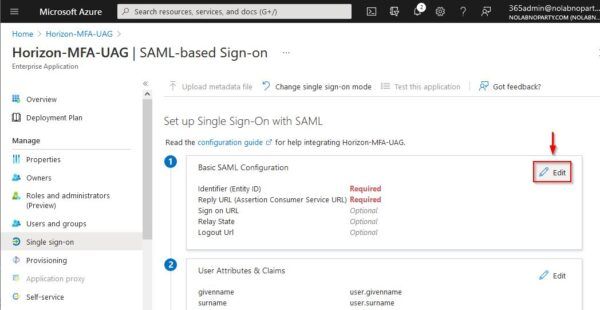
Click Edit in the Basic SAML Configuration section.
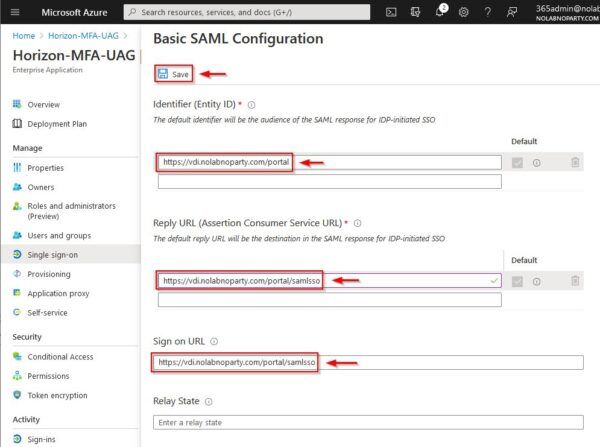
Enter the following parameters:
- Identifier (Entity ID) = your Horizon portal URL
- Reply URL (Assertion Consumer Service URL) = your UAG SAML SSO URL
- Sign on URL = your UAG SAML SSO URL
Click Save when done.
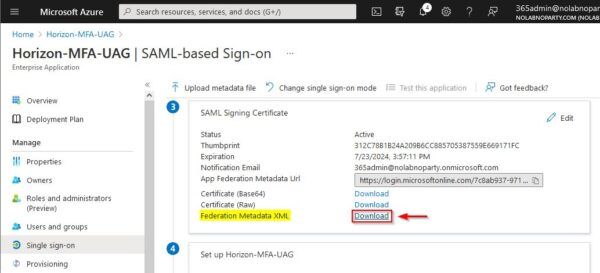
Go to SAML Signing Certificate section and click the Download link for the Federation XML Metadata file.
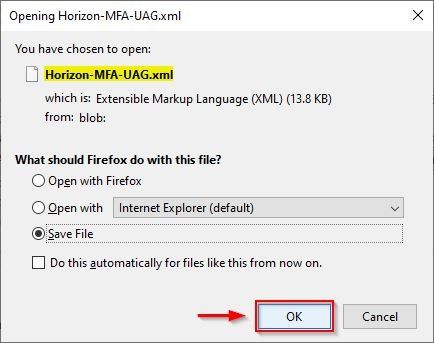
Click OK to save the file.
Configure the UAG
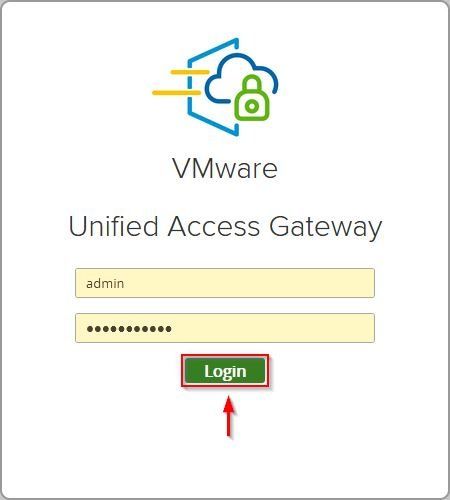
When the Azure environment has been prepared, access the UAG to configure the SAML authentication. Enter the admin credentials and click Login.
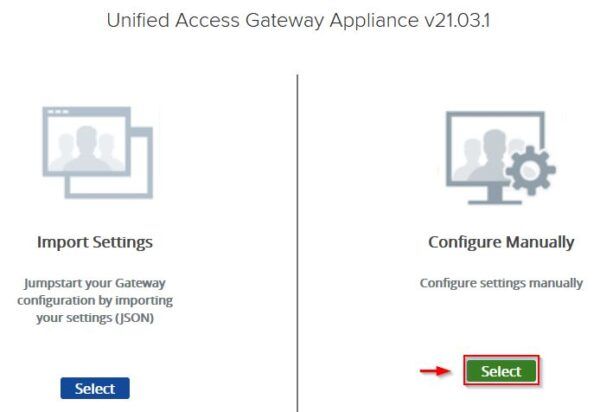
Click Select in the Configure Manually settings.
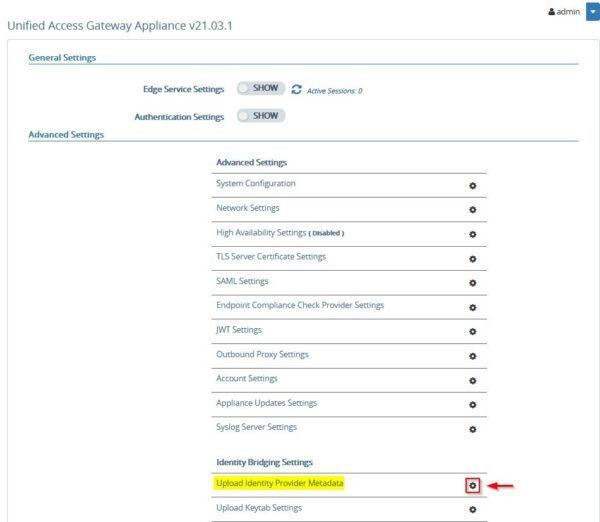
Under Advanced Setting, access the Upload Identity Provider Metadata section by clicking the Settings icon.
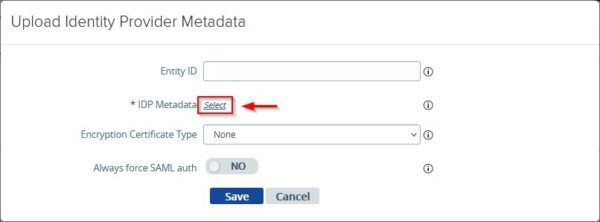
Click the Select link for IDP Metadata.
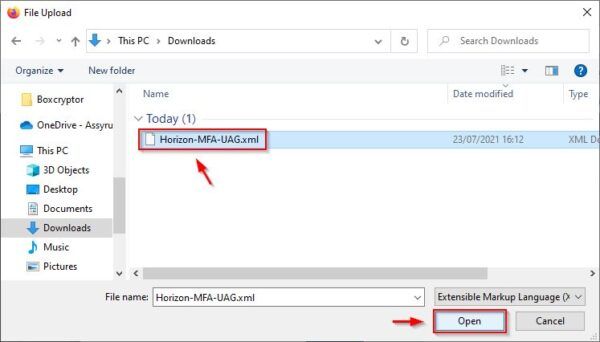
Select the file previously downloaded from Azure and click Open.
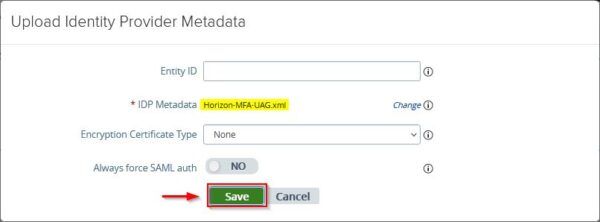
Click Save to apply the configuration.
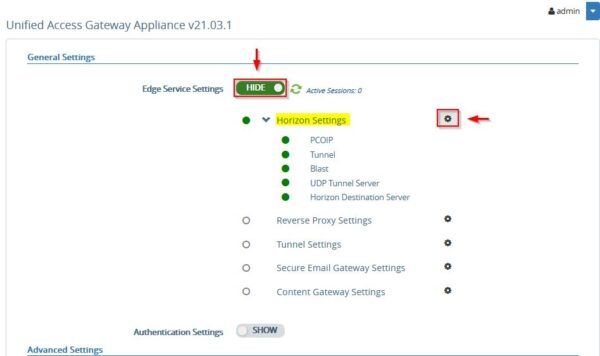
Now go to Edge Service Settings and access the Horizon Settings section.
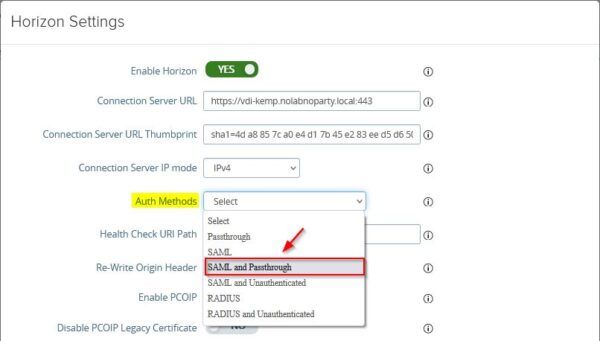
At the bottom of the window, click the More link to display additional options. Select SAML with Passthrough from the Auth Methods drop-down menu if you are not using TrueSSO (select SAML if you have TrueSSo in place).
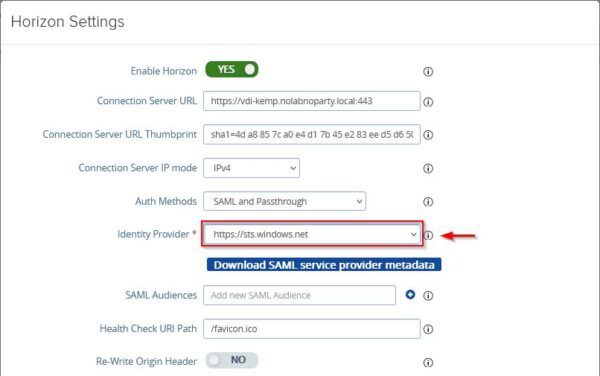
Enter the name of the Identity Provider for Azure MFA https://sts.windows.net. Click Save at the bottom to save the configuration.
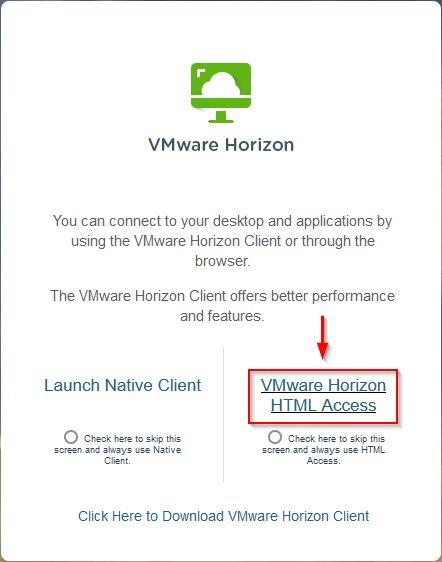
Access the Horizon Portal and select the preferred client to access the infrastructure.
Access the Horizon infrastructure
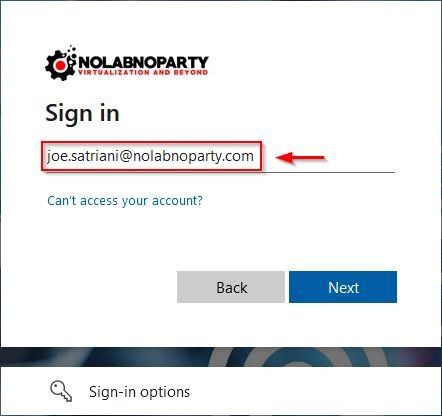
Enter the user previously configured and click Next. The user is authenticated in Azure
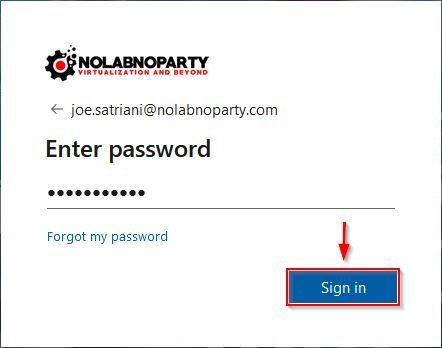
Enter the password and click Sign in.
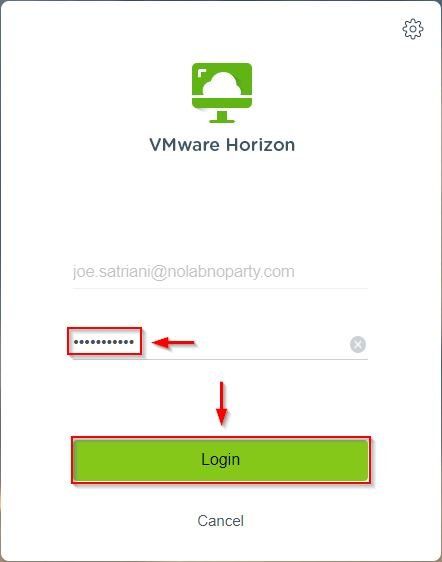
You are now prompted to enter the password for the Active Directory authentication. Click Login. Because TrueSSO is not configured in this example, you need to insert the password twice even if the same user for Horizon and Azure AD has been used.
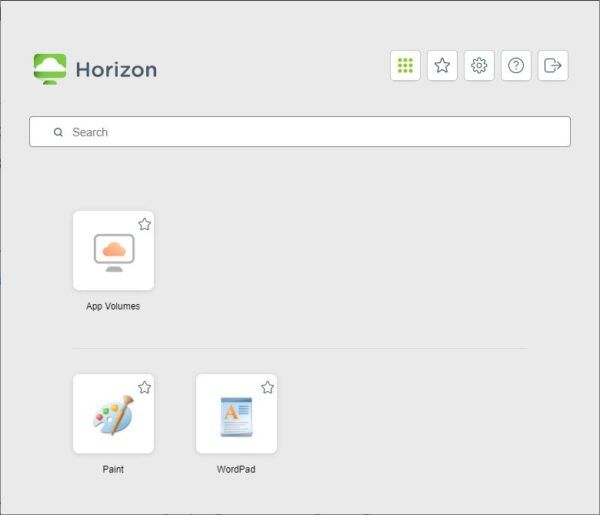
The user is authenticated and granted the access to the Desktop Pool for which it has been entitled.
Integrating Microsoft Azure MFA with VMware UAG allows the administrators to add an extra layer of security to access the Horizon infrastructure and new deployments should include MFA for external accesses.


