If you work with Azure DevOps, you probably automate a lot of tasks and actions, but you may also need to automate the Azure DevOps tasks. For instance, automating the project creation, automating the pipeline creation, etc. In this article, I will describe how to start an existing release in your Azure DevOps project using PowerShell and REST API. We will need to create a Personal Access Token.
To create a Personal Access Token, log into Azure DevOps in this organization. In the right top corner, click on the user icon:

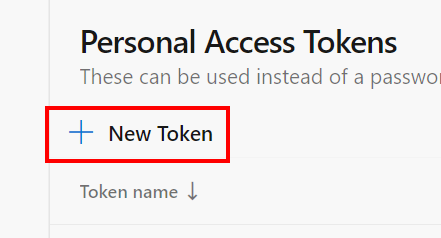
Select “Personal access tokens“, then click on “New Token“:

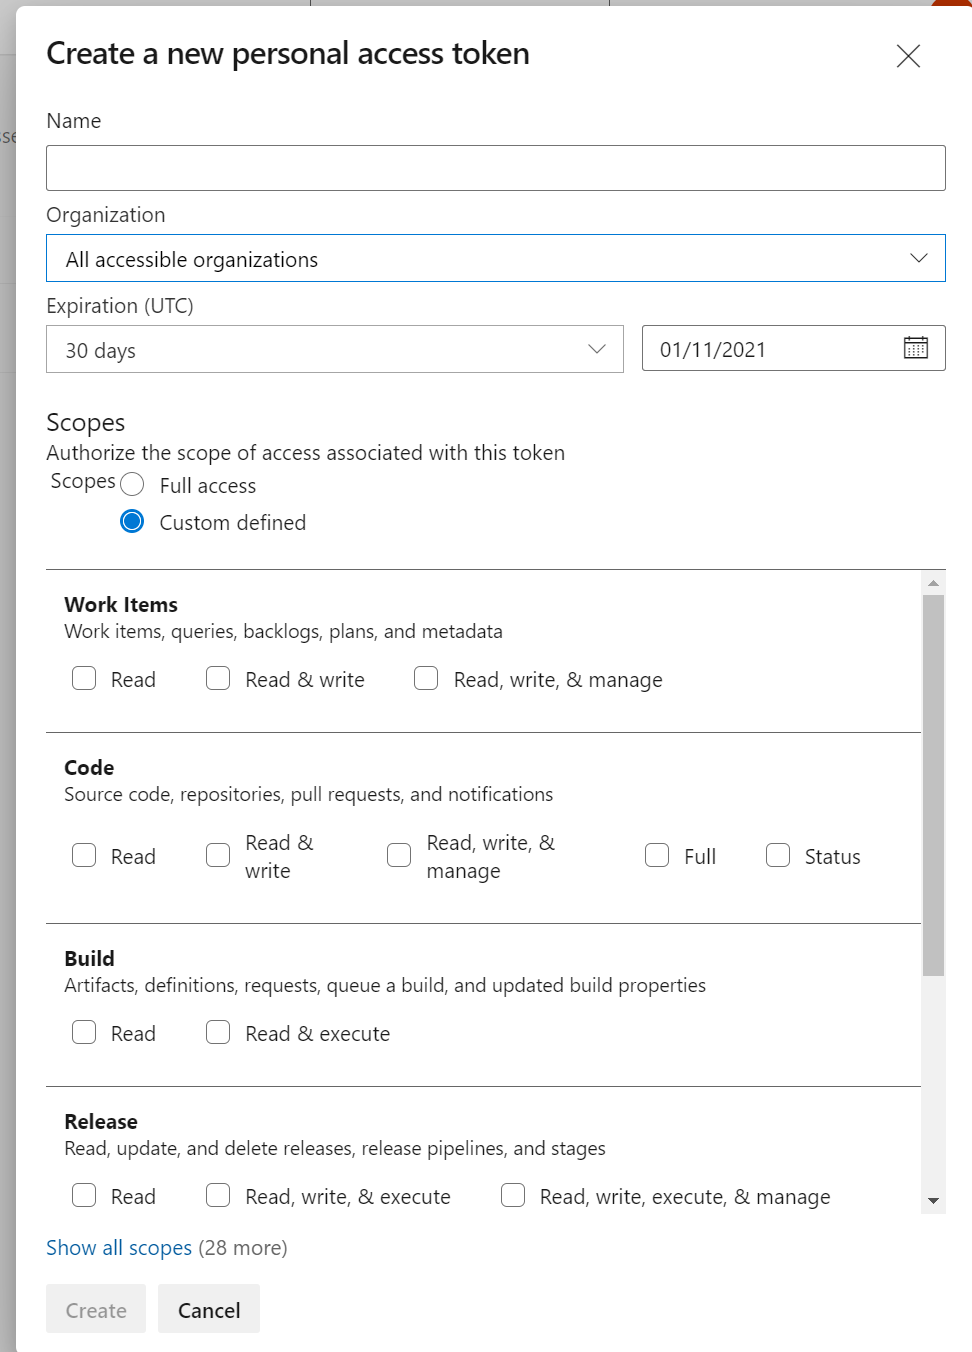
You can then define the scope of your application. The token defines how the application will interact with Azure DevOps Services. If you just need to read information, do not give extra permissions to the token.

To access Azure DevOps Service Rest API, we need to send a basic authentication header. The basic authentication HTTP header will be in the following format:
|
1 |
Authorization: basic xxxxxxxxxxxxxxxxxxxxxxxx |
The credential needs to be Base64 encoded. You can do it easily in PowerShell:
|
1 2 3 4 5 |
$AzureDevOpsPAT = "xxxxxxxxxxxxxxxxxxxxxxxxxxxxxxxxxxxxxxxxxxxx" $AzureDevOpsAuthenicationHeader = @{Authorization = 'Basic ' + [Convert]::ToBase64String([Text.Encoding]::ASCII.GetBytes(":$($AzureDevOpsPAT)")) } $AzureDevOpsAuthenicationHeader |
If you run this code, you should see something similar:

Now that we know how to authenticate to Azure DevOps API, let’s run a simple task: how to list our Azure DevOps projects. First, you must use the authentication code
|
1 2 3 |
$AzureDevOpsPAT = "xxxxxxxxxxxxxxxxxxxxxxxxxxxxxxxxxxxxxxxxxx" $AzureDevOpsAuthenicationHeader = @{Authorization = 'Basic ' + [Convert]::ToBase64String([Text.Encoding]::ASCII.GetBytes(":$($AzureDevOpsPAT)")) } |
Then, use the “projects” URI:
|
1 2 3 4 5 |
$UriOrga = "https://dev.azure.com/<ORGA>/_apis/projects?api-version=5.1" $output = Invoke-RestMethod -Uri $UriOrga -Method get -Headers $AzureDevOpsAuthenicationHeader $output.value |
Run the output variable and you will see your projects with some details:

Now, I will explain how to run a release through PowerShell. Please, note that I will deploy an existing release, which means that the release is already deployed in my portal, and I will run once again the same release.

To run a release, you must find the release ID and the environment ID. To find these values, open the Azure DevOps portal, and find the expected release. Click the “Logs” tab:

Then, look at the URL address bar and search for the “release ID” and “environment ID”:

You will need these values in your PowerShell code later. Of course, if you want to run a new release, you first need to create a release first: https://docs.microsoft.com/en-us/rest/api/azure/devops/release/releases/create?view=azure-devops-rest-6.0)
Now, let’s start by creating a PowerShell code that will start an existing release. First, add the authentication code with the Personal Access Token:
|
1 2 3 |
$AzureDevOpsPAT = "xxxxxxxxxxxxxxxxxxxxxxxxxxxxxxxxxxxxx" $AzureDevOpsAuthenicationHeader = @{Authorization = 'Basic ' + [Convert]::ToBase64String([Text.Encoding]::ASCII.GetBytes(":$($AzureDevOpsPAT)")) } |
Add the following URI to request the release. To run an existing release, we need to update the definition and the status:
|
1 2 3 4 5 6 7 8 9 10 11 |
$uriAccount = "https://vsrm.dev.azure.com/<ORGA>/<PROJECT> /_apis/Release/releases/<ReleaseID>/environments/<EnvironmentID>?api-version=6.0-preview.1" $parameters = @{ "status"="InProgress" "scheduledDeploymentTime"="" "comment"="Started from PowerShell" } |
Here, we need to convert the parameters in the JSON format:
|
1 |
$json = $parameters | ConvertTo-Json |
To finish, we use the “Patch” method to update the release status:
|
1 2 3 |
$output = Invoke-RestMethod -Uri $uriAccount -Method Patch -Headers $AzureDevOpsAuthenicationHeader -Body $json -ContentType application/json $output |
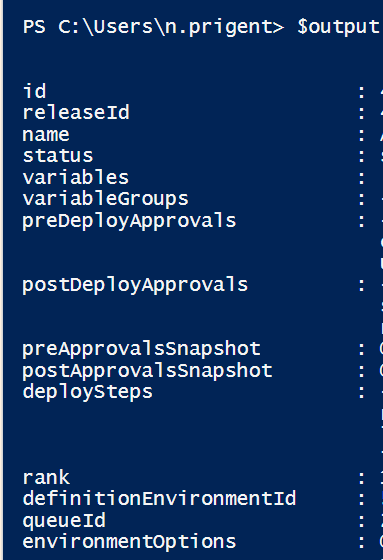
After running this code, the output variable will give you a lot of information about the release.

Switch back to the Azure DevOps portal and go to the release section to confirm the status:

Open the release, go to the “History” tab. You will notice 3 steps:
- Queued (you can see the comment that we wrote in the PowerShell code)
- Triggered
- Succeeded

That’s all! The release has been deployed with PowerShell.
You can read more information about how to update a release through API: https://docs.microsoft.com/en-us/rest/api/azure/devops/release/releases/update-release-environment?view=azure-devops-rest-6.0


