One of the great features of Azure DevOps is the possibility to automate deployment of Apps, Azure Resources, etc. via Azure Pipelines.
You can create your own script, your own pipeline, and give the possibility to a team, for example, to deploy resources, just with this Azure Pipelines, and without having any rights on the Azure Platform.
Some resources in Azure can cost a lot, like GPU VM for example.
So, in this case, something that you can do, is to put an approval workflow. When someone will deploy a resource, the approver will receive an email, and can approve/decline.
In my example, I created a simple script to deploy a resource group:
|
1 |
az account set --subscription ce6d976b-5197-4ae5-8467-173ddf912b64 |
|
1 |
az group create -l westeurope -n rg-starwind-azdevops |
This CLI script will be called from the Azure Pipeline. Create the following yaml file, to create the pipeline later:
|
1 2 3 4 5 6 7 8 9 10 11 12 13 14 15 16 17 18 19 20 21 22 23 24 25 26 27 28 29 30 31 32 33 34 35 36 37 38 39 40 41 42 43 44 45 46 47 48 49 |
trigger: - none pool: Default resources: repositories: - repository: Approval type: git name: 'Arc-Aks-Starwind/Approval' stages: - stage: build jobs: - deployment: CreateNewRG displayName: "Create New RG" environment: Approval strategy: runOnce: deploy: steps: - checkout: Approval - task: AzureCLI@1 displayName: "Create New RG" inputs: azureSubscription: 'Microsoft Azure Sponsorship - Dev' scriptLocation: 'scriptPath' scriptPath: '$(Build.SourcesDirectory)/newrg.azcli' |
For the azureSubscription, choose the service connection that has rights on the Azure Subscription.For the name, in resources, you need to put the project followed by the name of the Git repo where the script is located.
And, the name of the script. When it is done, you should have something like this:

In Pipelines > Environments create a new environment. On the 3 dots, click on Approvals and checks. Choose the name of one or more approvers. And options that you need:

In pipelines, import the YAML file created before:

Change the environment variable with the name of your environment that you created for the approval. Click on Run to test it. The approver will receive an email:

Click on Review Approval and on Review:


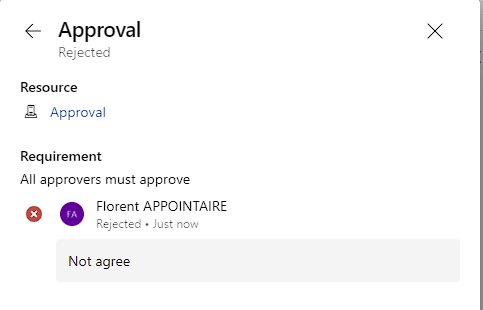
You can do what you want, and put a comment:

The requester will receive an email, but without the comment. He needs to connect to the Azure DevOps portal to see the comment.
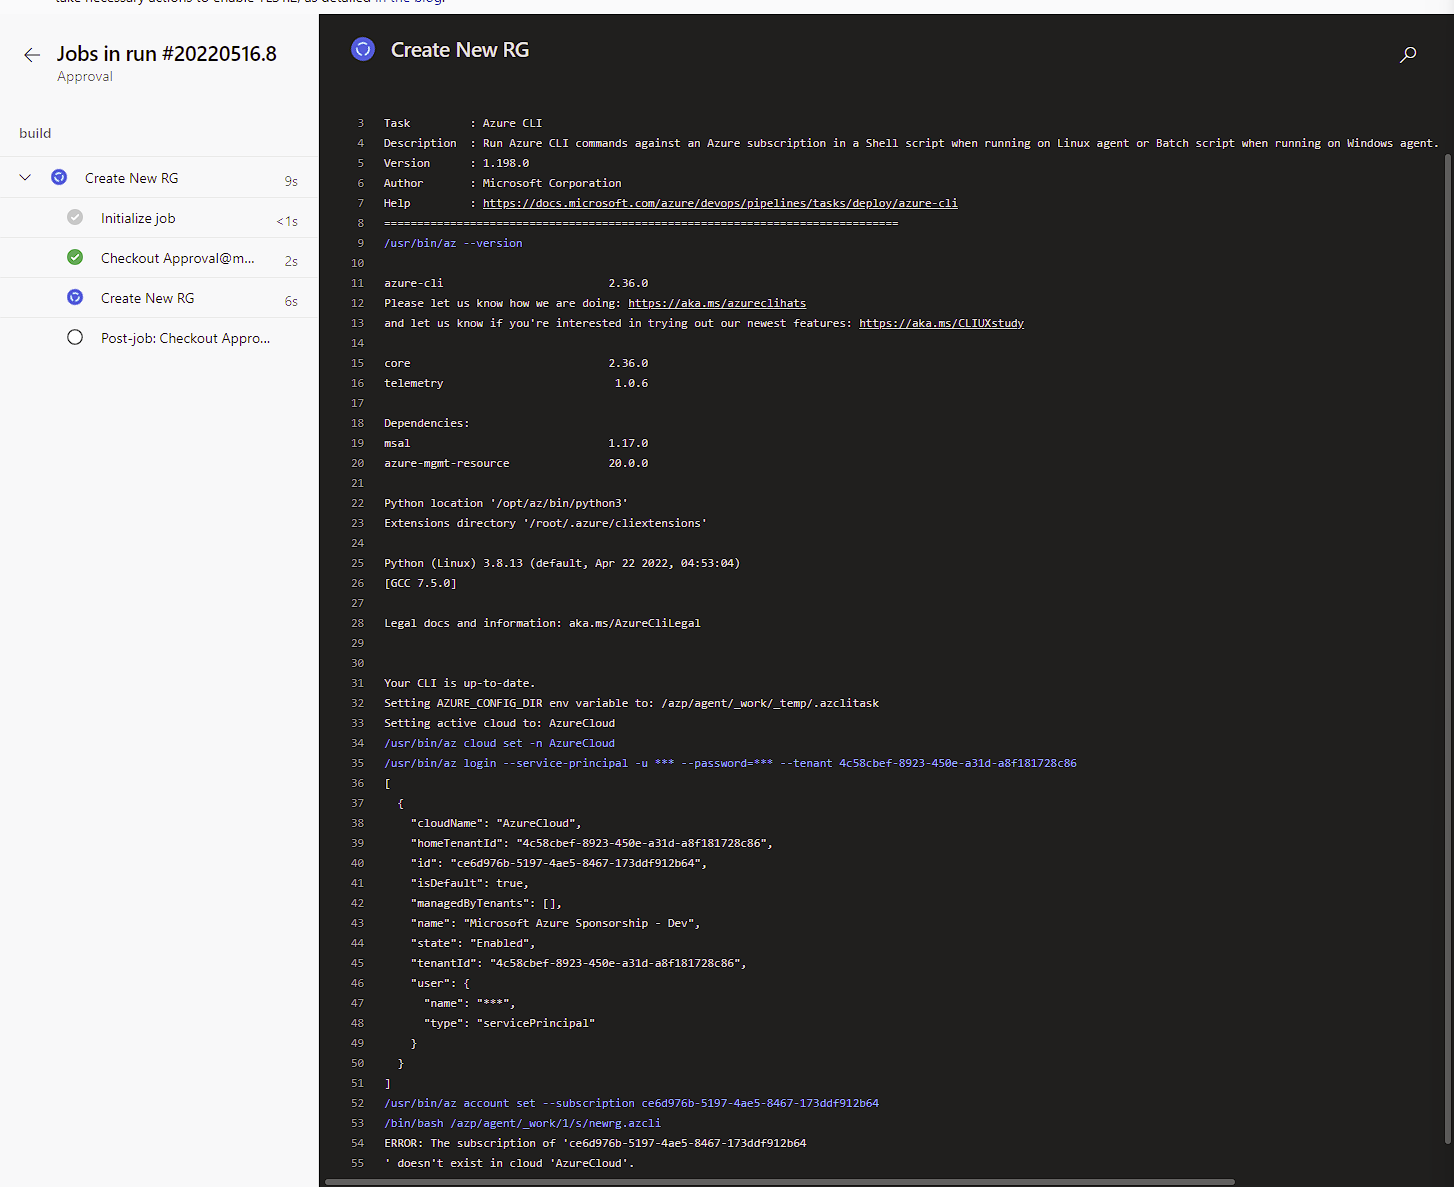
And, if I approve the request, the pipeline runs:

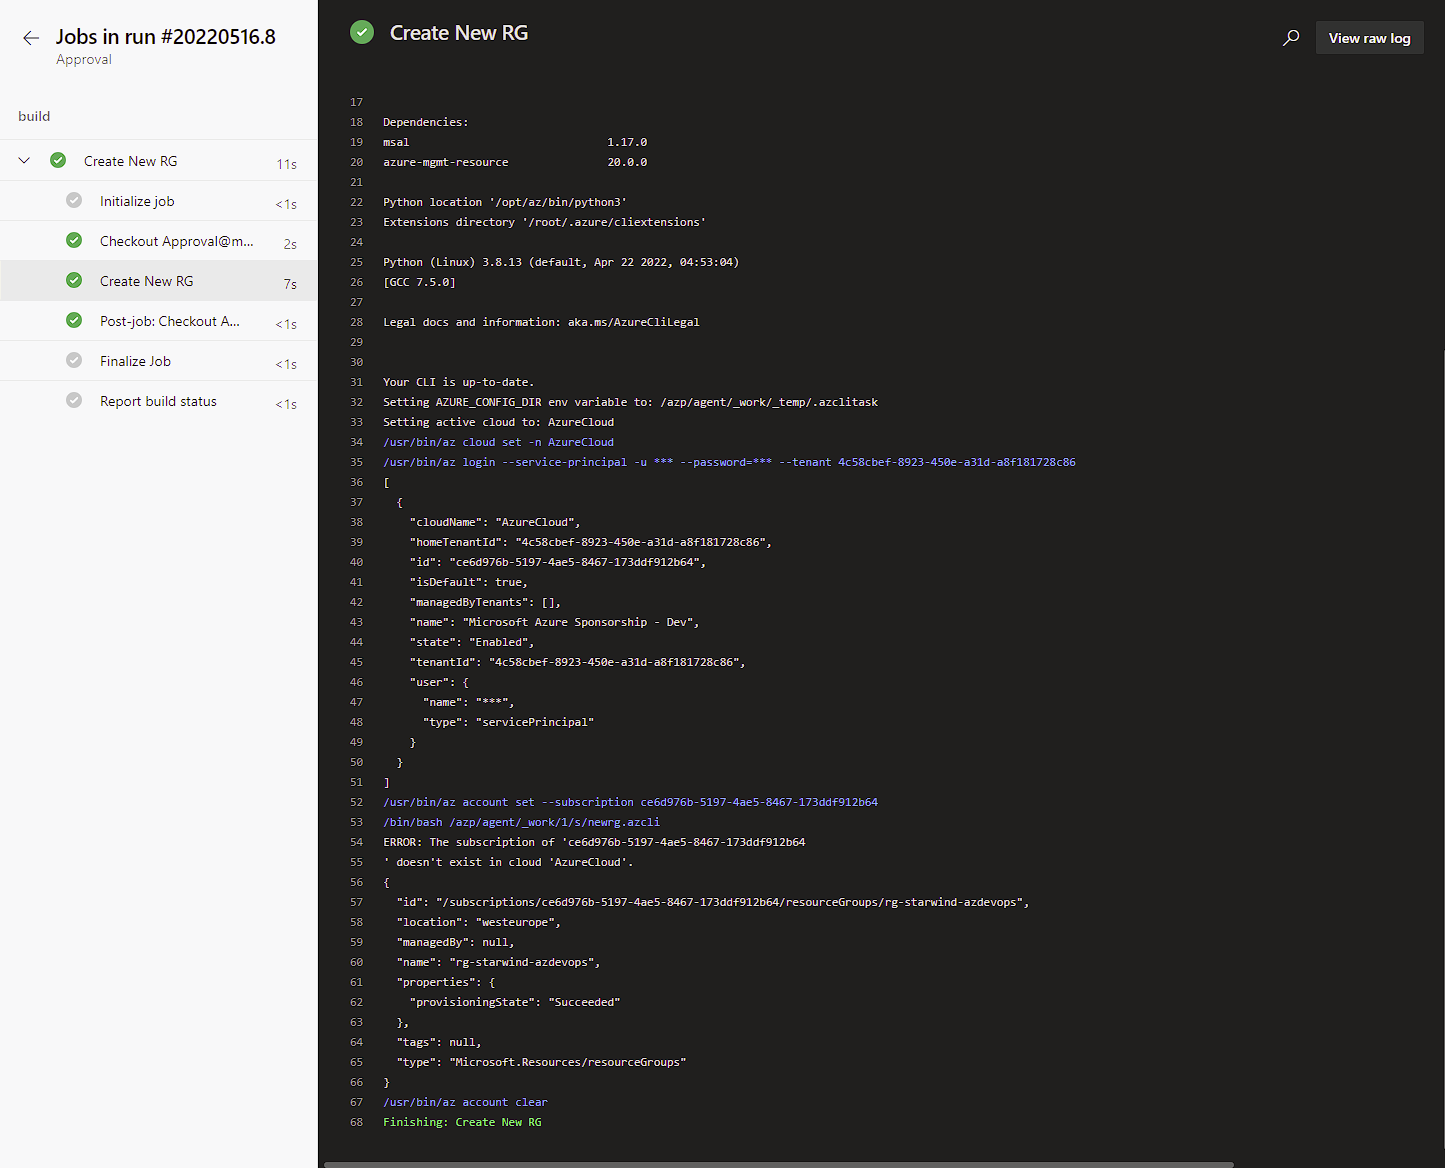
The pipeline finished without any error:

The resource group has been created on Azure, with the SPN dedicated for that:

As you can see, it is very simple to keep running pipeline under control.


