Azure shared disks is a feature that allows you to attach a managed disk to multiple virtual machines simultaneously. It can be very interesting if you want to migrate your clustered applications from on-premise to your Azure subscription. There are some limitations that you can read on the Microsoft documentation : https://learn.microsoft.com/en-us/azure/virtual-machines/disks-shared
In this article, I explain how to create a shared disk, attach it to two virtual machines and then use it for a failover cluster.
Getting started
First, create a shared disk. From the portal, go to “Disks” section, and create a new one.
Then in the “advanced” tab, select the max shares which depend on how many virtual machines the disk will be attached to. In my case, I want to attach the disk to two virtual machines for my cluster. Select the disk size and validate the wizard.

For my cluster, I use a proximity placement group to organize my resources.

When creating the virtual machine, select the proximity placement group previously created.

I also use availability set, so the proximity group is automatically selected

Now, open a PowerShell console or use the Cloud Shell console form the portal.
We want to attach the shared disk to both virtual machines. Gather configuration data for virtual machines and shared disk :
|
1 2 3 4 5 |
$dc2 = Get-AzVM -Name “dc2” $vm2 = Get-AzVM -Name “VM2” $sd1 = Get-AzDisk -ResourceGroupName <RG_Name> -DiskName “SharedDisk” |

Now, we attach the shared disk :
|
1 2 3 |
$dc2 = Add-AzVMDataDisk -VM $dc2 -Name “dc2” -CreateOption Attach -ManagedDiskId $sd1.Id -Lun 0 $vm2 = Add-AzVMDataDisk -VM $vm2 -Name “VM2” -CreateOption Attach -ManagedDiskId $sd1.Id -Lun 0 |

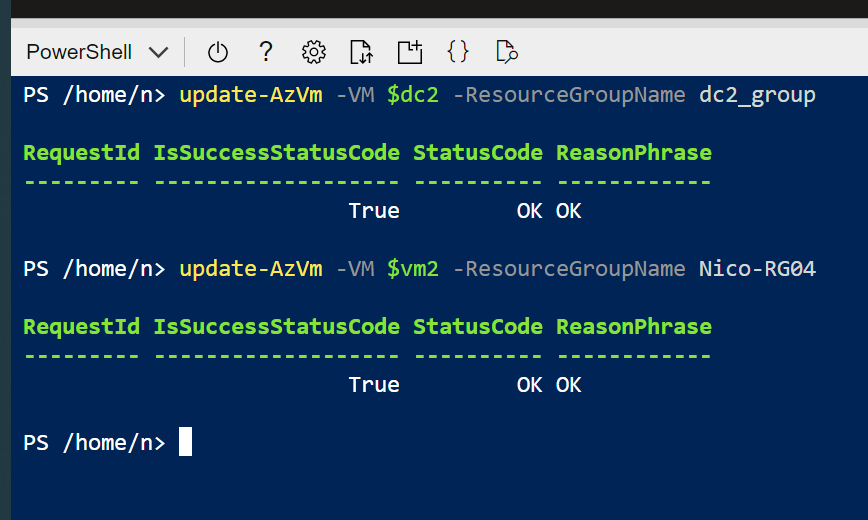
Before committing the changes to virtual machines, you must check if virtual machines are down, then update the virtual machines :
|
1 2 3 |
update-AzVm -VM $dc2 -ResourceGroupName <RG_Name> update-AzVm -VM $vm2 -ResourceGroupName <RG_Name> |

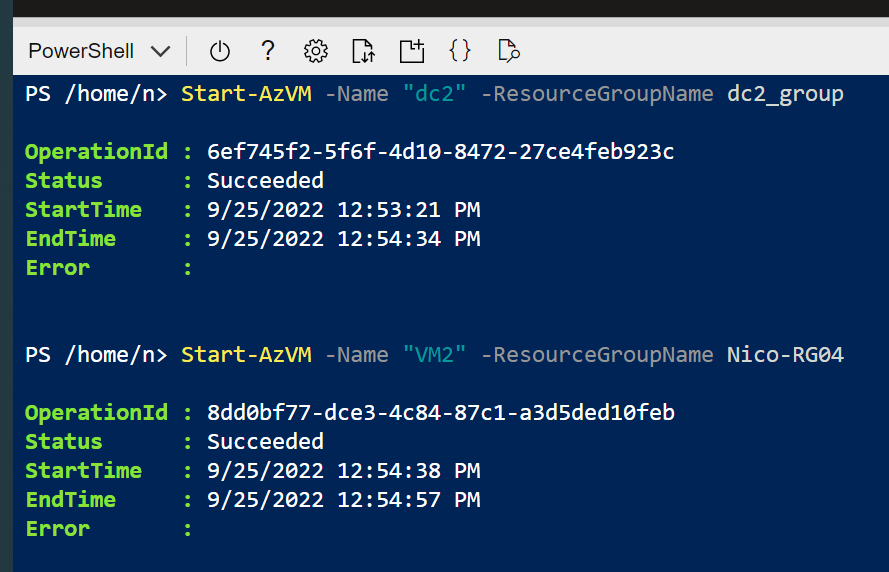
To finish, start the virtual machines :
|
1 2 3 |
Start-AzVM -Name “dc2” -ResourceGroupName <RG_Name> Start-AzVM -Name “VM2” -ResourceGroupName <RG_Name> |

You can confirm if the shared disk is attached to the virtual machines under “properties” tab

RDP in to the virtual machines, then open the “diskmgmt.msc” console to initialize and format the disk:

Once the shared disk is attached and formatted, you can use your shared disk depending on your needs :
- SQL Server Failover Cluster Instances
- Scale-out File Server
- emote Desktop Server User Profile Disk (UPD)
- etc.
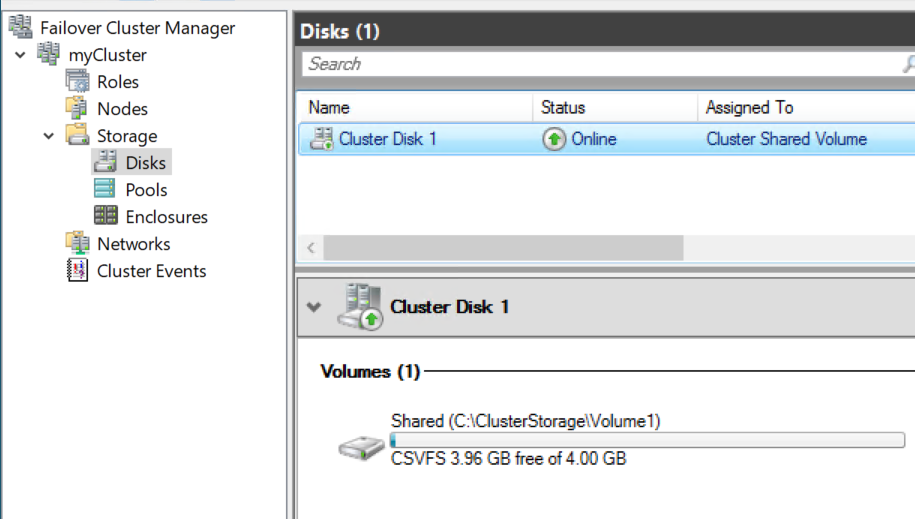
In my case, I can use the shared disk for my failover cluster:

Then add the disk to cluster shared volumes :


