Thanks to the previous part, we have SQL Server 2016 installed and configured. Before running the SCCM installation process, let’s remember the architecture we are implementing:
Prerequisites
Before installing SCCM, you’ll need to satisfy certain prerequisites. The first step, create the system management container. Configuration Manager does not automatically create the System Management container in Active Directory Domain Services when the schema is extended. If the computer account does not have access to the System Management container, then it will not be able to publish any data to Active Directory. So it is definitely a good idea to give your new ConfigMgr server full control to the system management container.
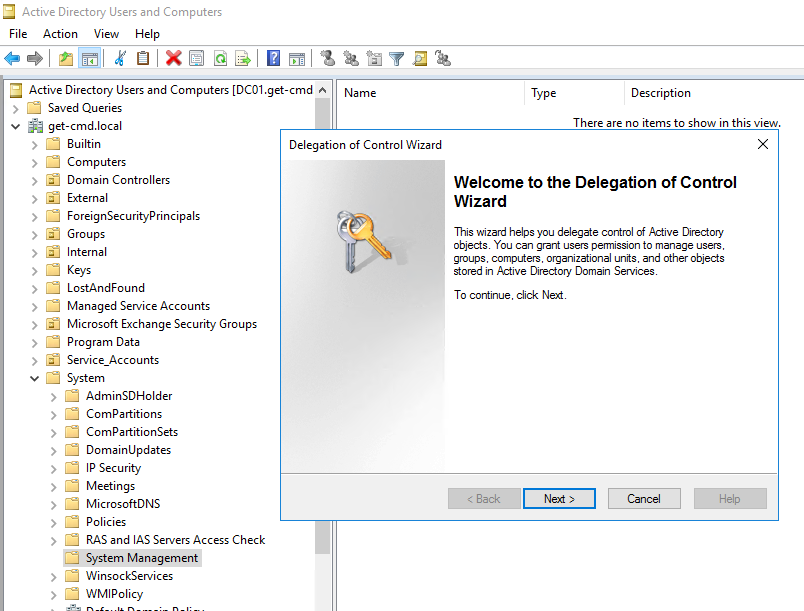
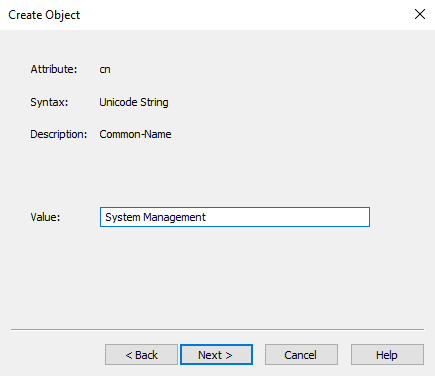
Open ADSI Edit (or AD Users and Computers) and right click on CN=System and choose New Object:
Enter the name System Management and click Next.
Add the SCCM computer object
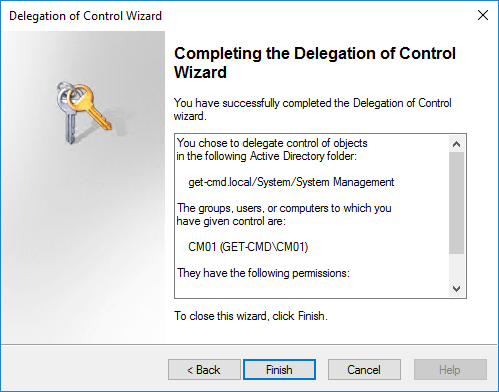
Delegate control to the SCCM site server to the newly created container
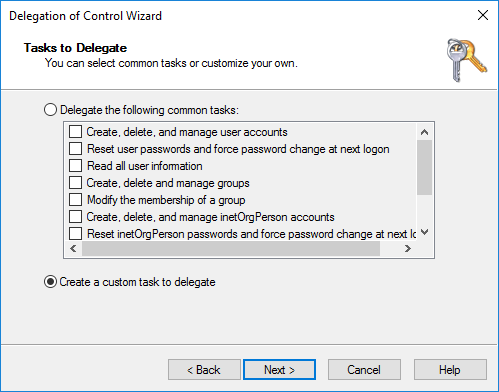
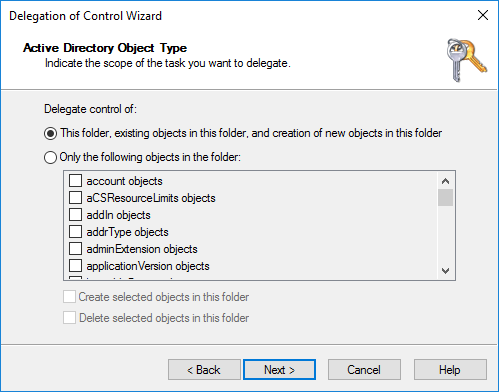
Create a custom task to delegate and choose “This folder, existing objects in this folder and creation of new objects in this folder”
Select all permissions and complete the wizard.
The second step, extend the Schema. From your domain controller, mount the SCCM ISO and navigate to \SMSSetup\Bin\x64\ folder. Ensure the account used is a member of the Schema Admins group. Right click the Extadsch.exe and select “Run as Administrator”.
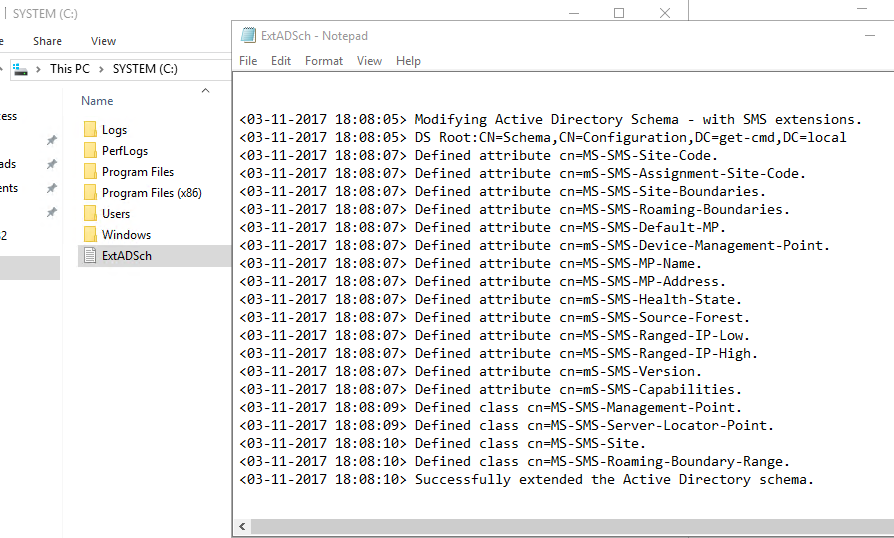
You can check if the AD schema is extended. Open the ExtADSch log file and check for the entry “Successfully extended the Active Directory schema”.
The third step, install site server prerequisites. On your SCCM server, select the following roles and features:
- BITS
- Remote Differential Compression
- .Net Framework 3.5
- .Net Framework 4.5
- IIS Components
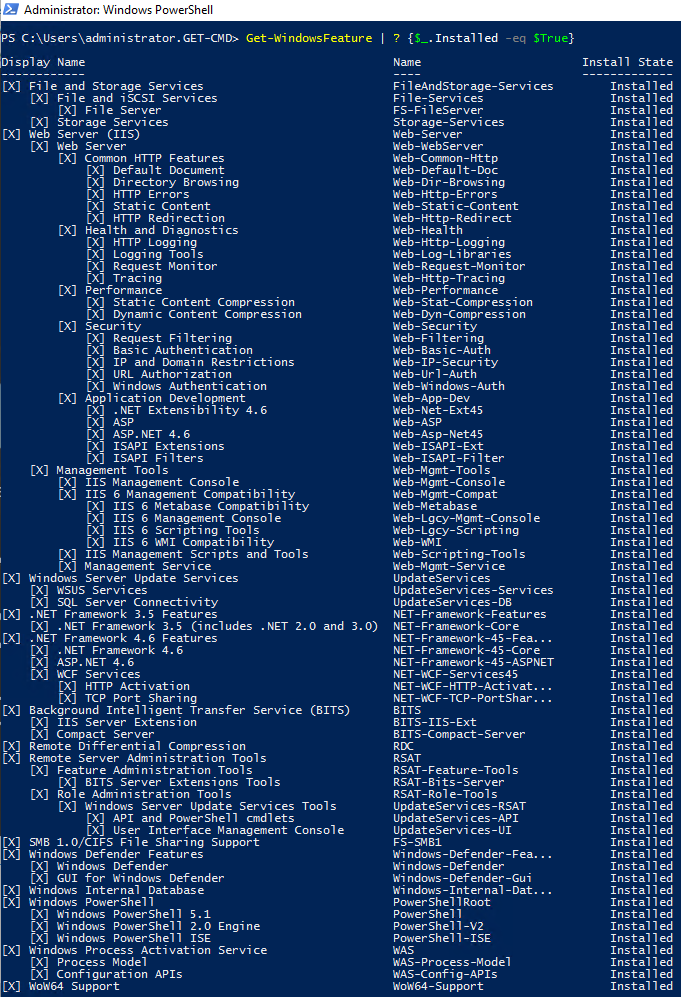
Verify the IIS components are installed:
Common HTTP Features
- Static Content
- Default Document
- Directory Browsing
- HTTP Errors
- HTTP Redirection
Application Development
- NET
- .NET Extensibility
- ASP
- ISAPI Extensions
- ISAPI Filters
Health and Diagnostics
- HTTP logging
- Logging tools
- Request Monitor
- Tracing
Security
- Basic Authentication
- Windows Authentication
- URL Authorization
- Request Filtering
- IP and Domain Restrictions
Performance
- Static Content Compression
Management Tools
- IIS Management Console
- IIS Management Scripts and Tools
- Management Service
- IIS 6 Management Compatibility
- IIS 6 Metabase Compatibility
- IIS 6 WMI Compatibility
- IIS 6 Scripting Tools
- IIS 6 Management Console
You can easily check Windows features with PowerShell:
|
1 |
PS > Get-WindowsFeature | ? {$_.Installed –eq $True} |
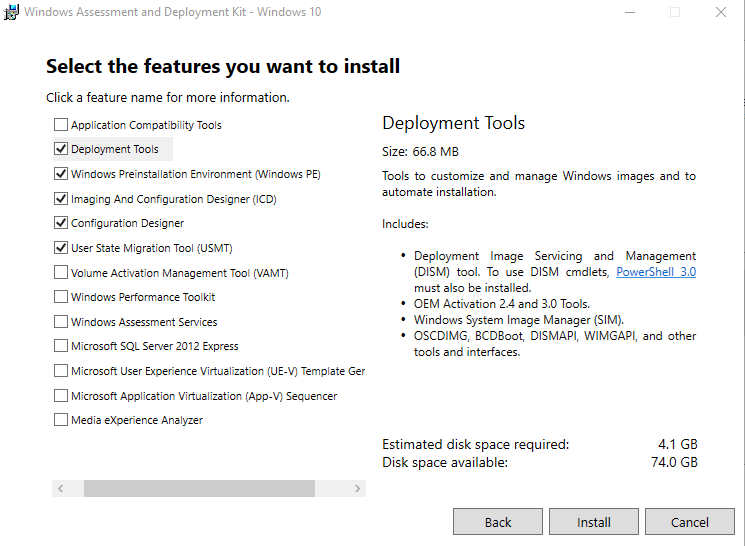
The fourth step, Download and install Windows ADK 10. SCCM will check if USMT, Windows PE, and Deployment tools are installed.
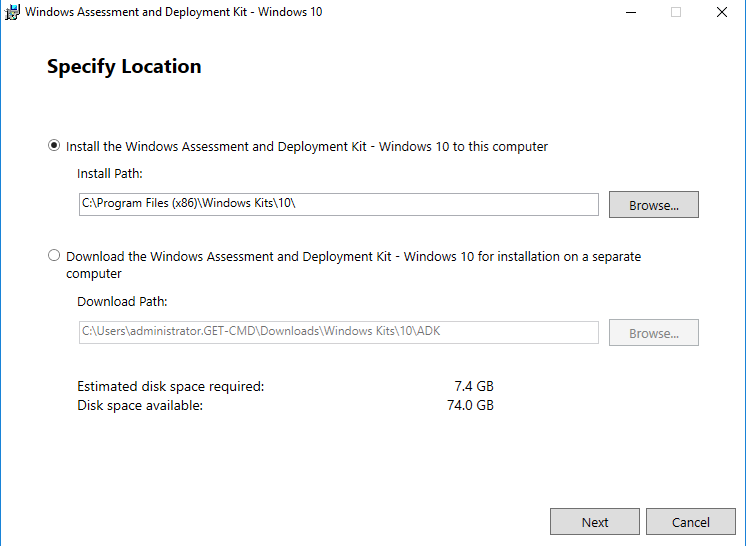
So download ADK here: http://go.microsoft.com/fwlink/p/?LinkId=526740 and install it.
Select the default path
The only required components are:
- Deployment Tools,
- Windows PE,
- and USMT.
But you can, of course, select other components to suit your needs. Here I also select ICD and Configuration Designer. Next, click Install.
Fifth step, installing WSUS. This step is only required if you want to install the Software Update Point (SUP) role on your primary site server. Add the WSUS role from the “Add roles and features” wizard.
Select “SQL Server Connectivity” instead of WID (Windows Internal Database) if you want to use your SQL Server database.
Next, you must enter a location to store the WSUS Updates and the NETBIOS name of your SQL Server. You are now ready to install SCCM.
Installing System Center Configuration Manager
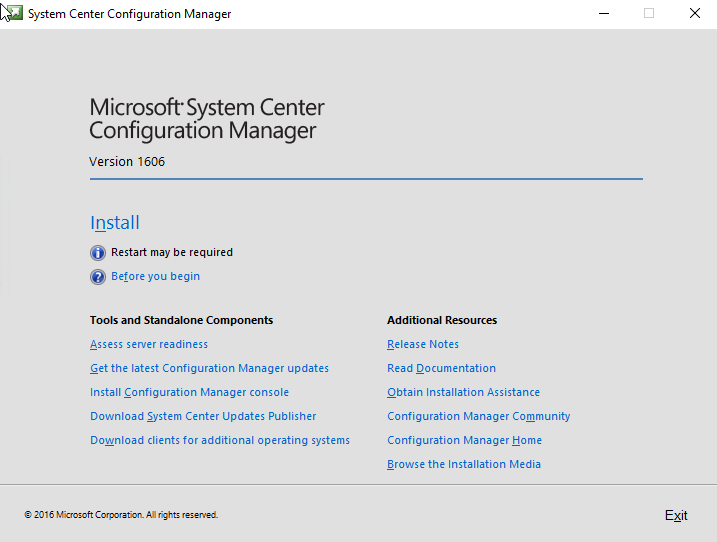
Download the SCCM ISO and run the splash.hta file. I don’t know why but the SCCM 1610 ISO is not available on Microsoft Volume License Service Center or MSDN, so I downloaded the 1606 version but if you have any idea why, please leave a comment at the end of the article.
Note: Don’t forget to run the setup with domain administrator account.
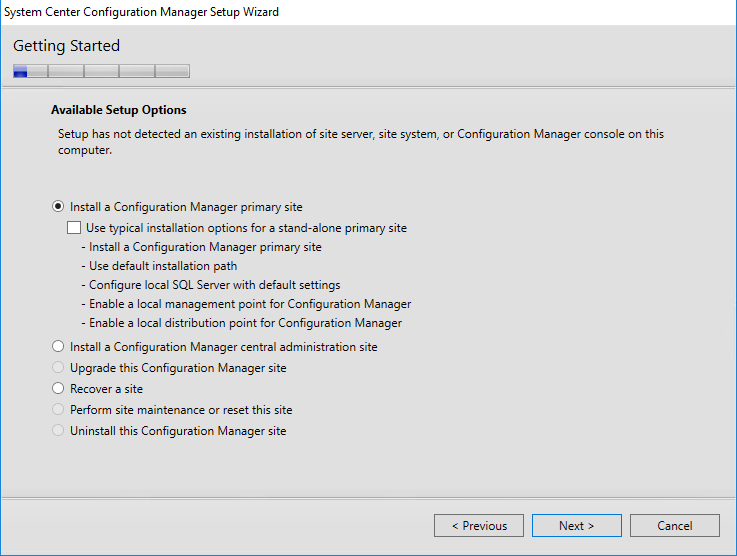
Depending on your needs, you will install a primary site or a central administration site. In this guide, I will install a configuration manager primary site.
Next screens will ask you to enter the license and to accept the license terms. Setup will automatically download the prerequisite files to the location you specify.
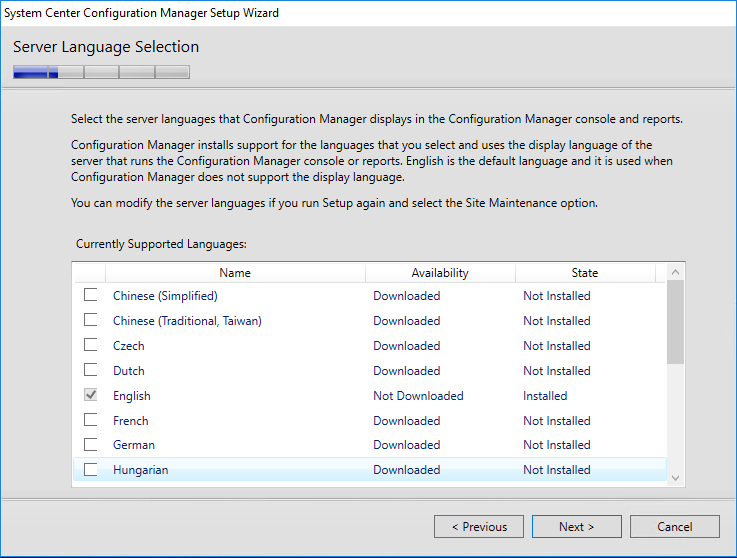
Now, you must select supported languages for server and client.
Be sure, you can modify server and client languages by running again the setup and select “Site Maintenance” option.
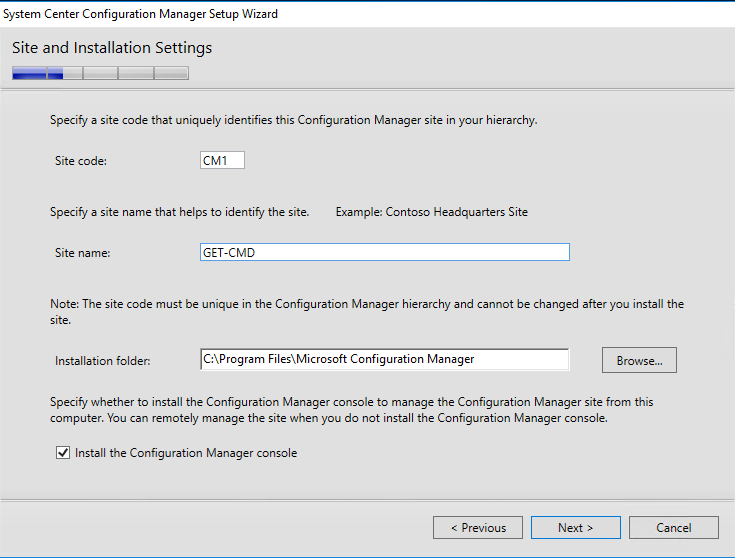
Next important step is to specify the Site Code that identifies your SCCM site in your hierarchy. Be careful, the Site Code cannot be changed!
Microsoft does not recommend that you use the following names as site codes:
- AUX
- CON
- NUL
- PRN
- SMS
Several Configuration Manager components use the site code as a folder name, and because these names are reserved names in Windows, folders cannot be created with these names. These names are reserved for all versions of Windows.
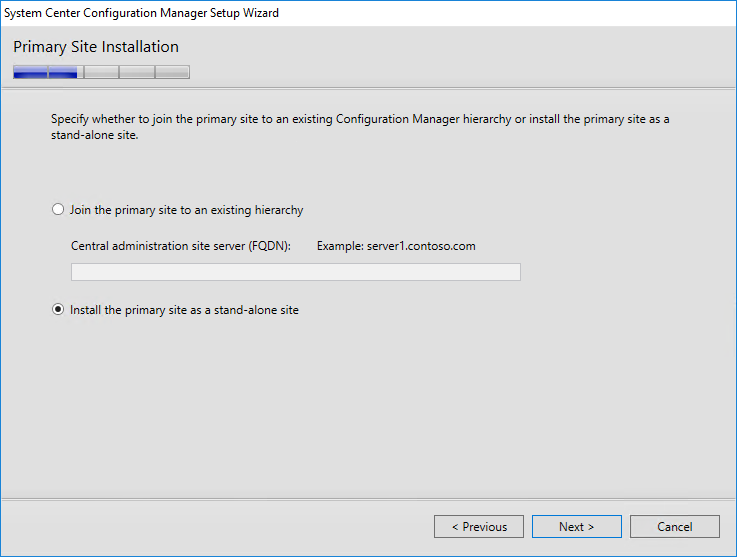
You can join the primary site to an existing hierarchy, but here I select the second option.
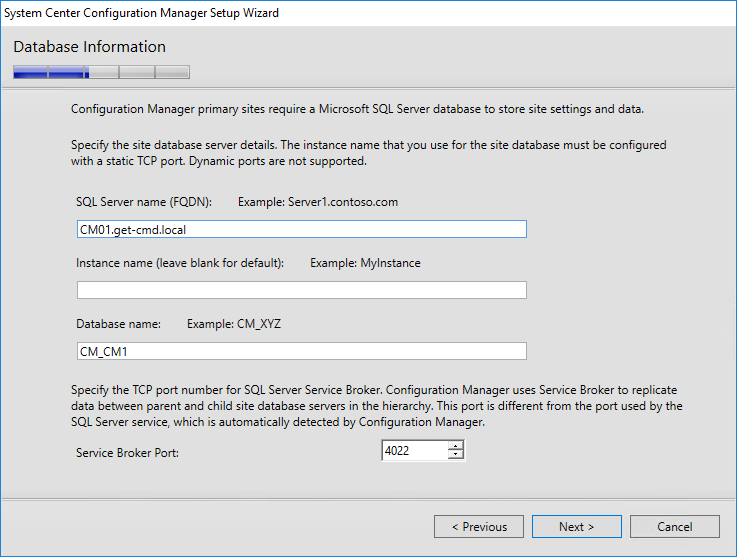
Enter the SQL Server name and the instance name. If you don’t change the instance name during SQL installation, then leave blank for default.
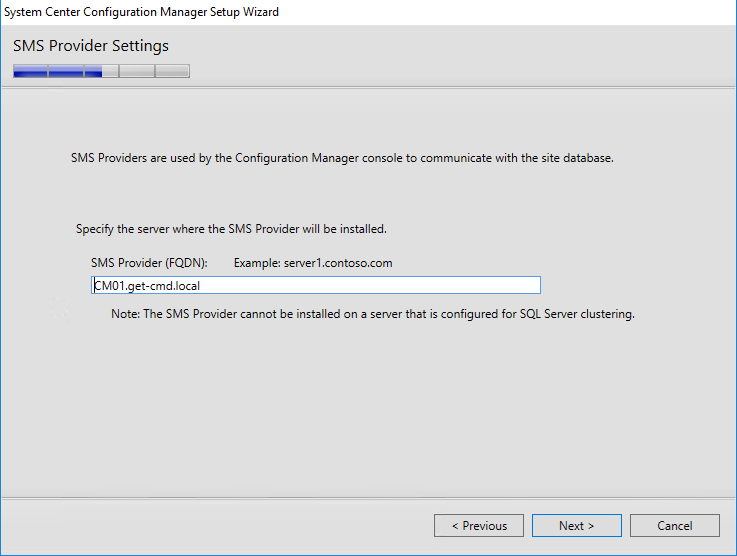
Next screen: specify the path to the SQL Server data and log files. Now you must specify the server where SMS provider will be installed:
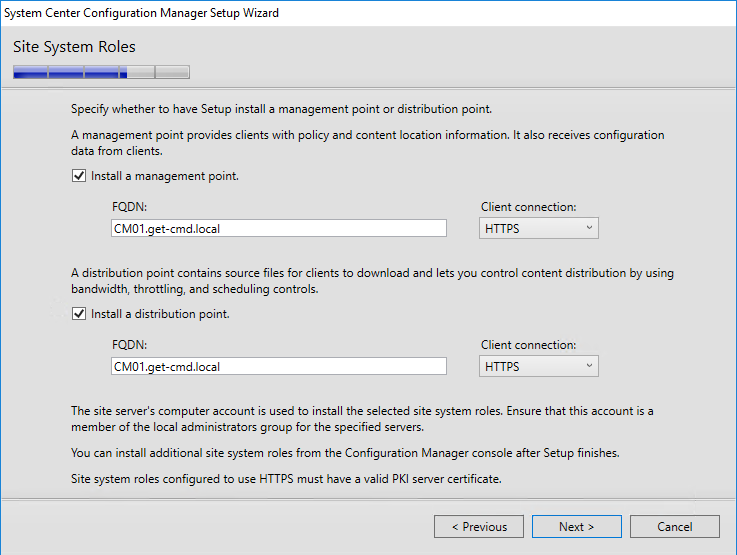
Here, I want to install MP and DP role on my primary site server.
The management point is the primary point of contact between Configuration Manager clients and the site server. Management points can provide clients with installation prerequisites, client installation files, configuration details, advertisements, and software distribution package source file locations. Additionally, management points receive inventory data, software metering information, and status and state messages from clients.
System Center Configuration Manager uses distribution points to store files needed for packages to run on client computers. These distribution points function as distribution centers for the files that a package uses, allowing users to download and run these files, programs, and scripts when a package is advertised.
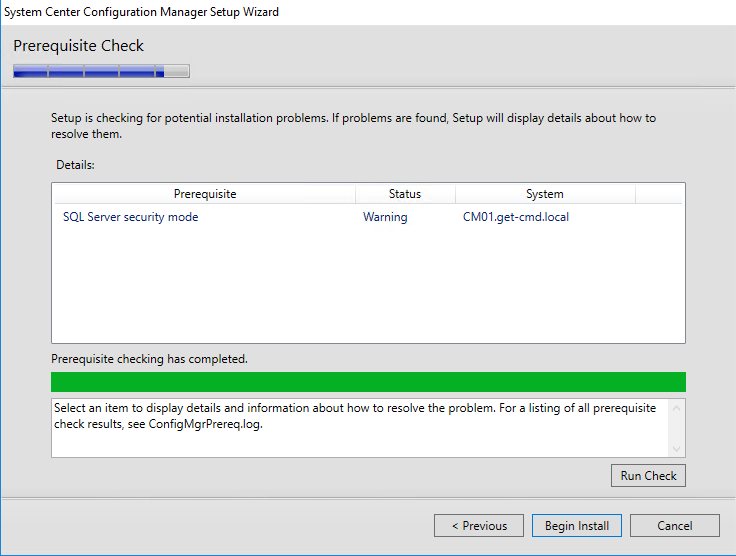
Because of SQL Mixed Mode, the prerequisite check shows me a warning message that you can safely ignore.
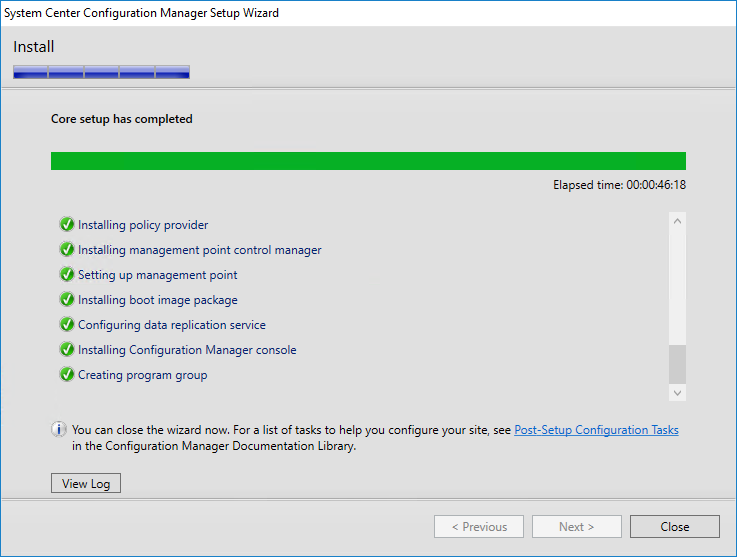
Click Close once the installation is complete.
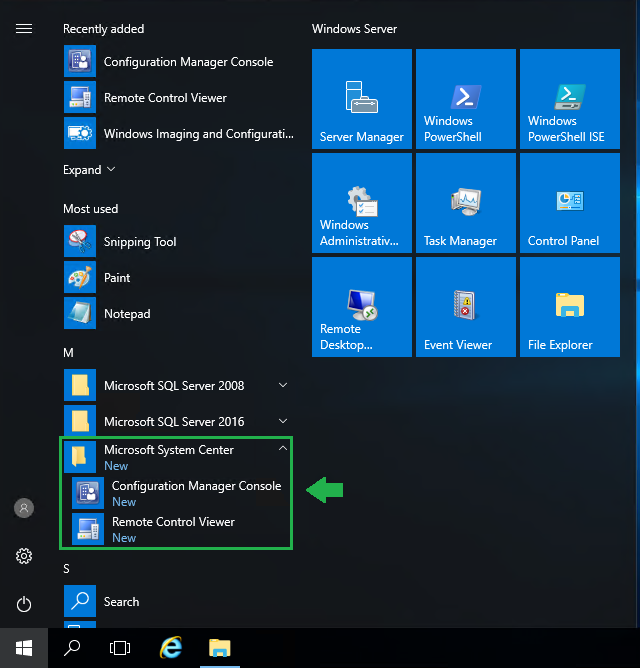
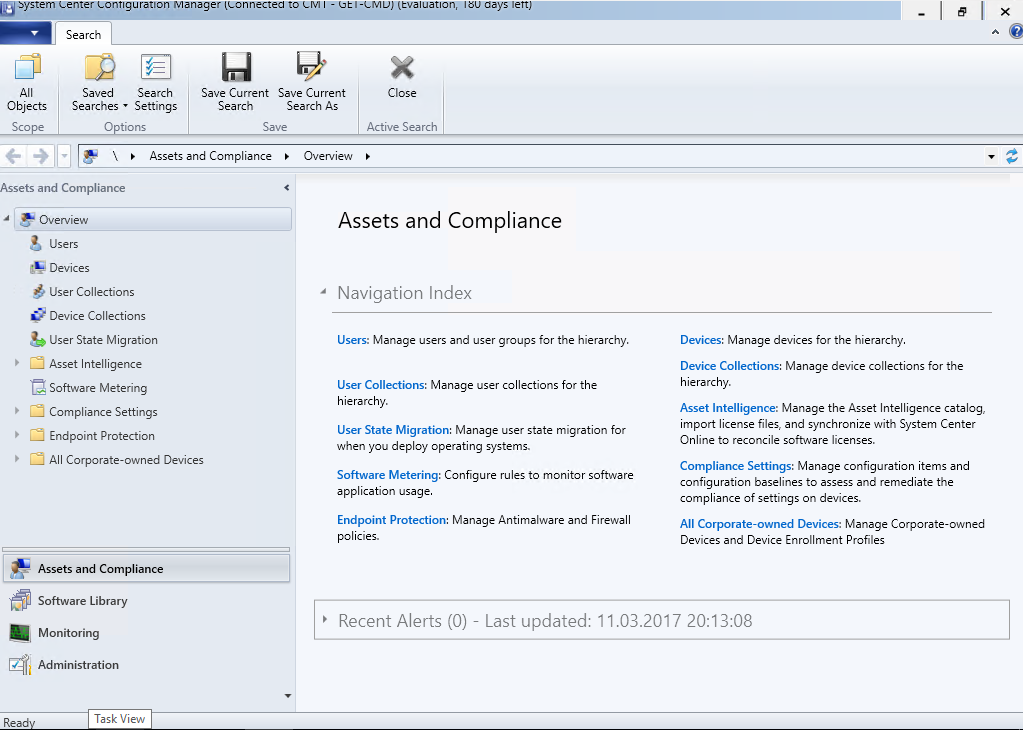
Launch the SCCM Console
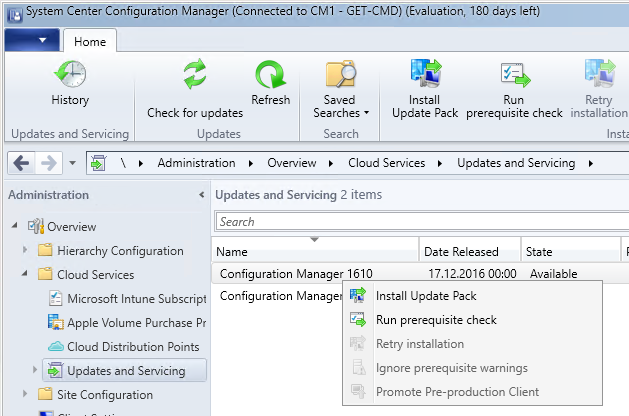
If you are not in the latest version, you can update SCCM to the latest version in “Updates and Servicing” section.
Conclusion
That’s all! Our SCCM environment is up and running. I will explain later how to use SCCM, and how it can save you a lot of time by helping you to manage your devices.
Thanks for reading!
- Installing System Center Configuration Manager 1610 (Current Branch) on Windows Server 2016 with SQL Server 2016. PART1
- Install SQL Server 2016 on Windows Server 2016 Server Core


