Microsoft releases a new version of Azure AD Connect (previous was called DirSync) that help you to synchronize your on-premises Active Directory to Azure AD. 2 new functionalities appear with this new version:
- Passthrough authentication => Give you the possibility to validate an account (password, etc.) without ADFS or agent in DMZ.
- Seamless SSO => Give you the possibility to connect to Microsoft Services (Office365, Azure, etc.) without an ADFS and with SSO.
These functionalities are in preview at this moment, so don’t use them in a production environment 
For more information, it’s here:
https://blogs.technet.microsoft.com/enterprisemobility/2016/12/07/introducing-azuread-pass-through-authentication-and-seamless-single-sign-on/
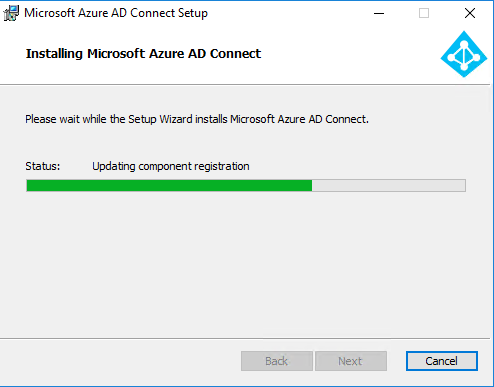
Start from the beginning, with the installation of Azure AD Connect. Download binary here and launch the installation:
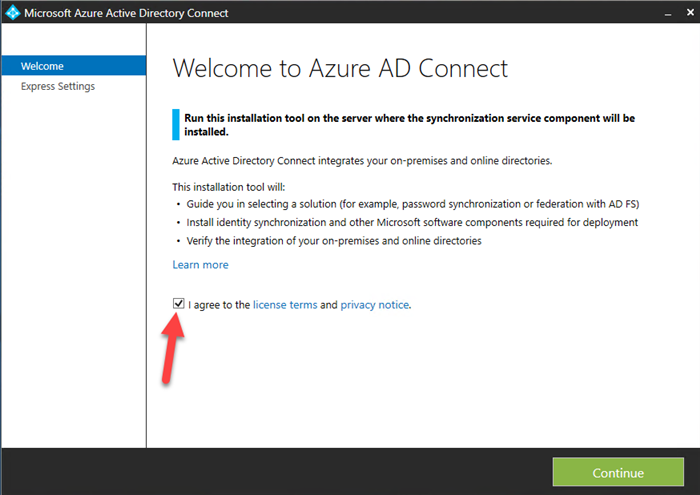
When the installation is done, we will start the configuration. Accept the license:
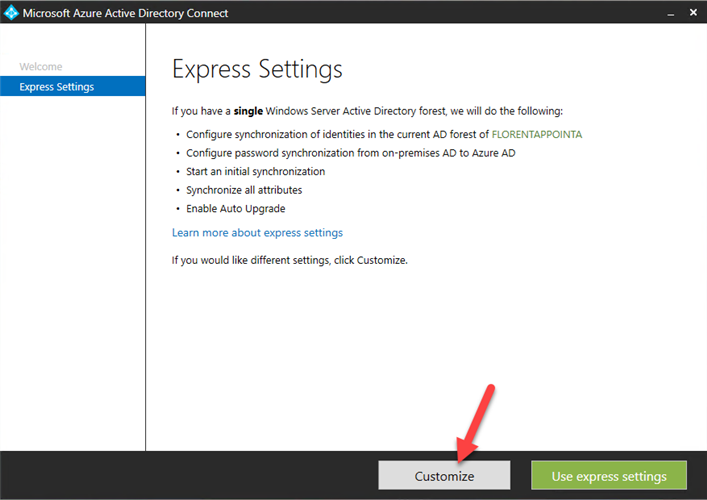
Choose to customize the installation:
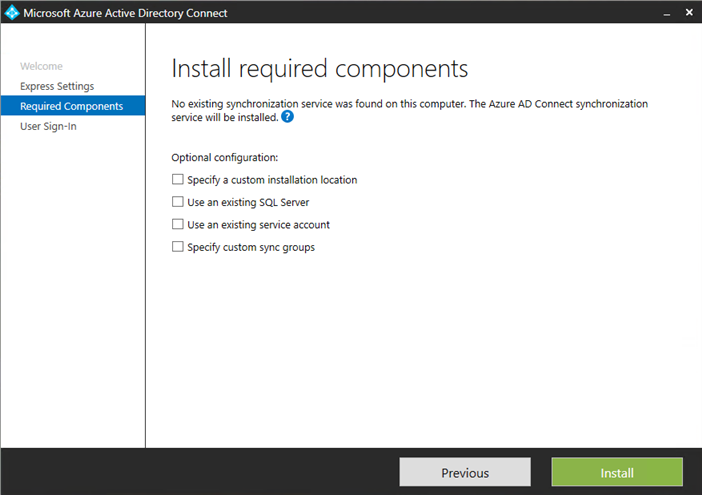
Choose if you want to specify a custom installation location, use an existing SQL Server, etc:
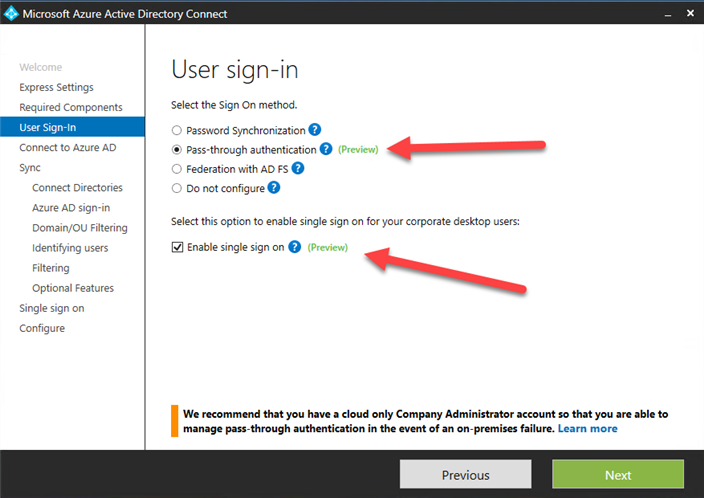
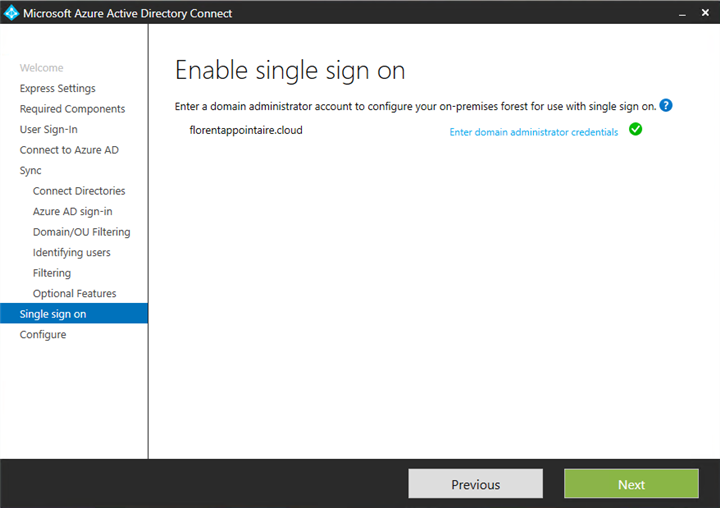
In the next page, we will choose our 2 new, PassThrough Authentication and Seamless SSO:
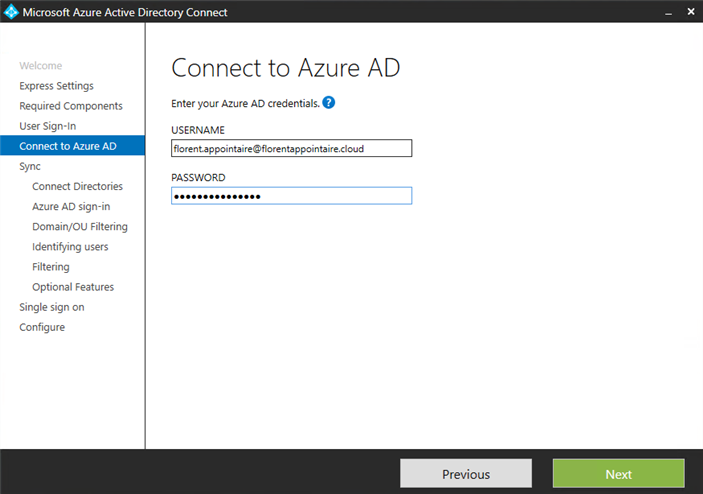
Connect to your Azure AD:
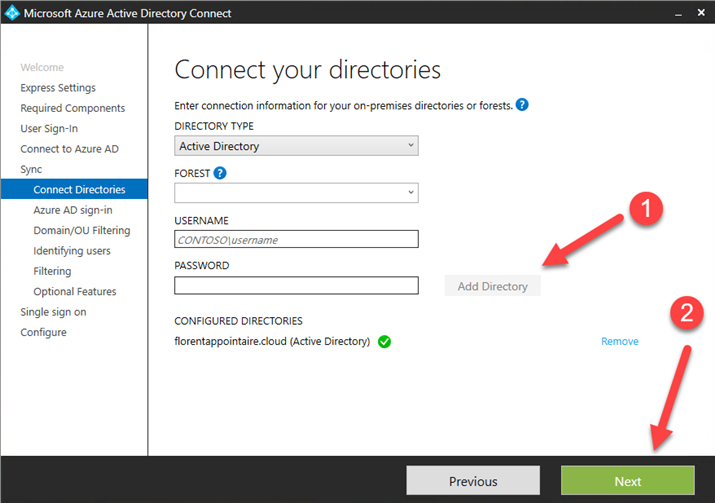
Now, add Active Directory forest that you want to synchronize to Azure AD:
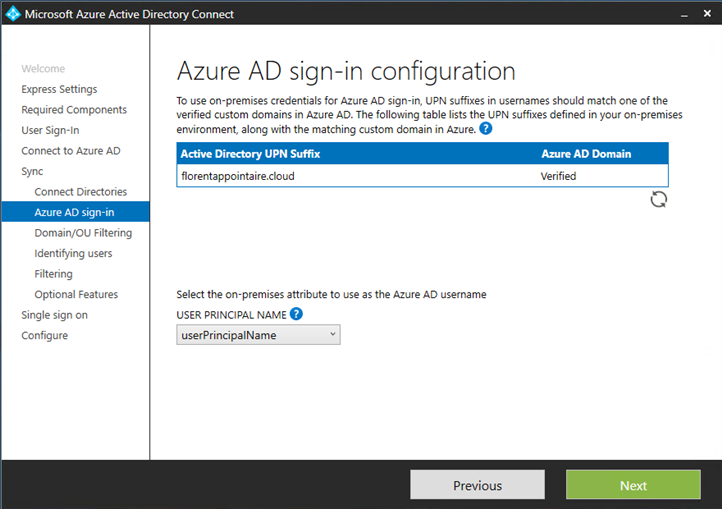
Your domain must be verified to continue:
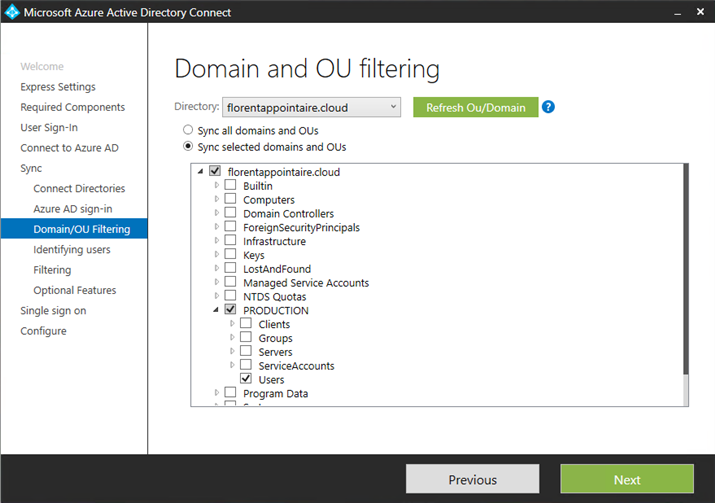
Choose which OU you want to synchronize with Azure AD:
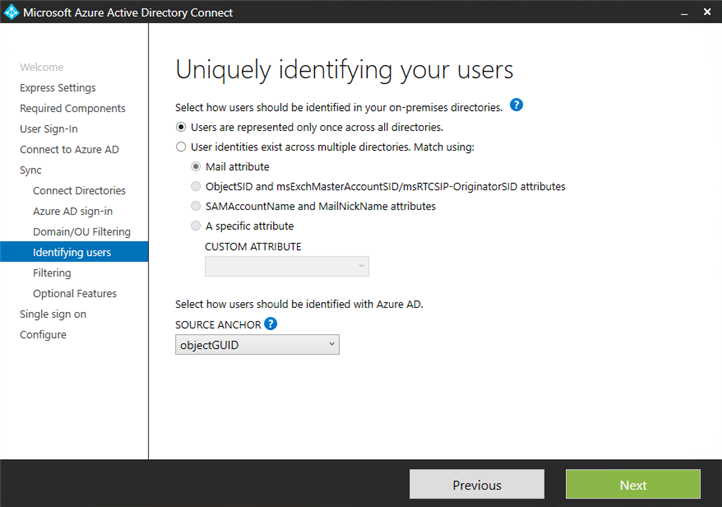
Choose how to identify uniquely your users:
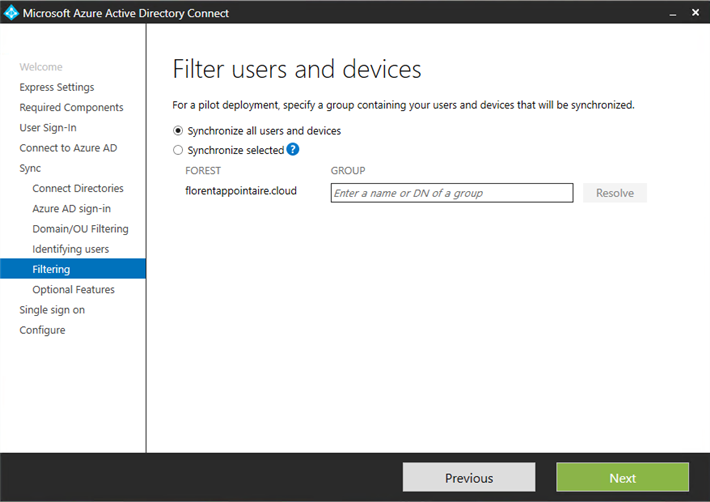
For a POC, you can select the first option. In production, select a group with user test to synchronize:
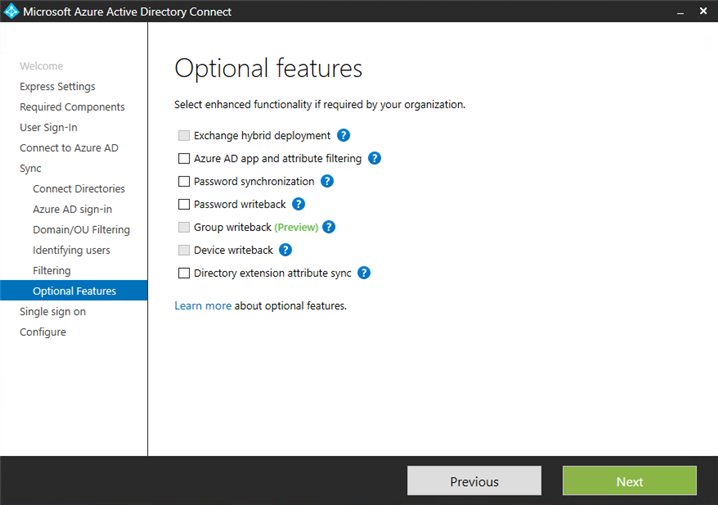
If you want to synchronize password, etc. select options associated:
Provide an account who has permission to create a computer object in your AD:
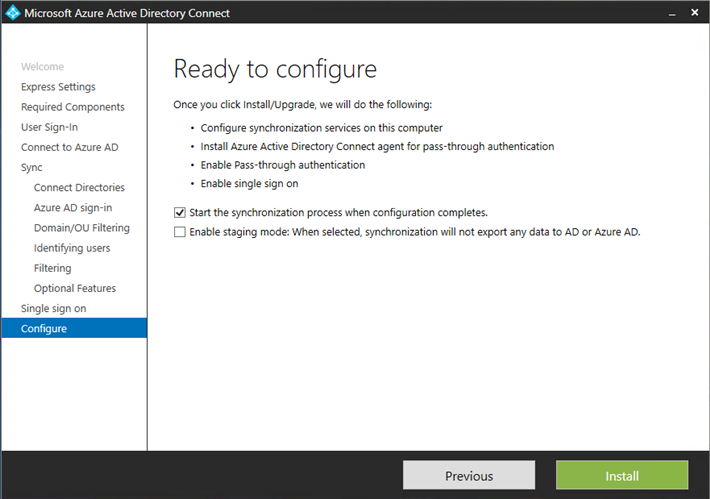
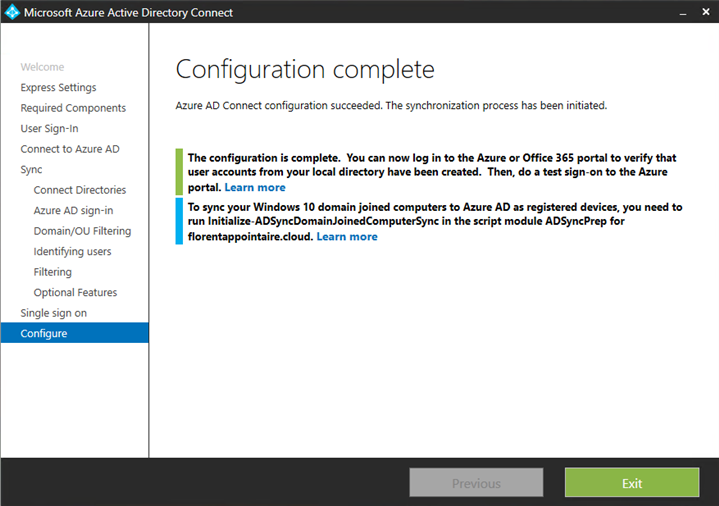
Launch the synchronization:
You can verify the users have been synchronized correctly:
In your Active Directory, a computer account has been created for the Seamless SSO:
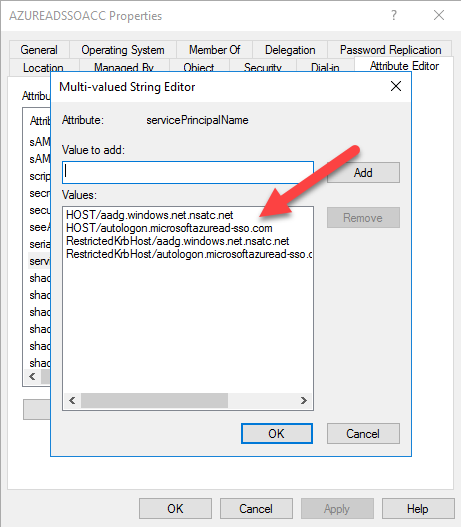
Now, you need to trust 2 URLs that are used for the SSO. You can find these 2 URLs in the attribute tab of the computer object, with attribute servicePrincipalName:
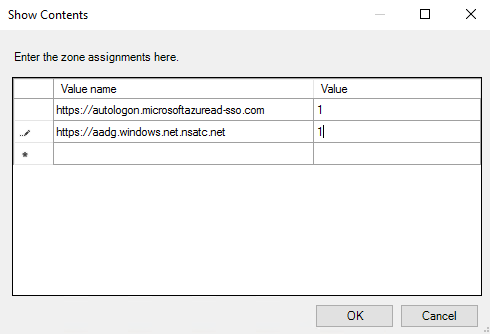
Before testing the connection, we will add by GPO these 2 URLs to Internet Explorer for the SSO connection. Open gpedit.msc and navigate to User Configuration > Policies > Administrative Templates > Windows Components > Internet Explorer > Internet Control Panel > Security Page and modify the parameter Site to Zone Assignment List. Add the following 2 URLs, with a value of 1:
- https://autologon.microsoftazuread-sso.com
- https://aadg.windows.net.nsatc.net
Do a gpupdate /force on the client/server where you want to try the SSO.
To finish, go to https://portal.office.com with Internet Explorer and provide your email address (must be the same that you use to connect to your client/server). You will not have the time to provide your password that the authentication will be done
This new functionality is very interesting because you don’t need ADFS infrastructure anymore, who can be expensive in terms of human, maintenance, and resources.


