After seeing how to create our first build with a terraform file in the part 1, we will see how to create a release to deploy our Terraform template.
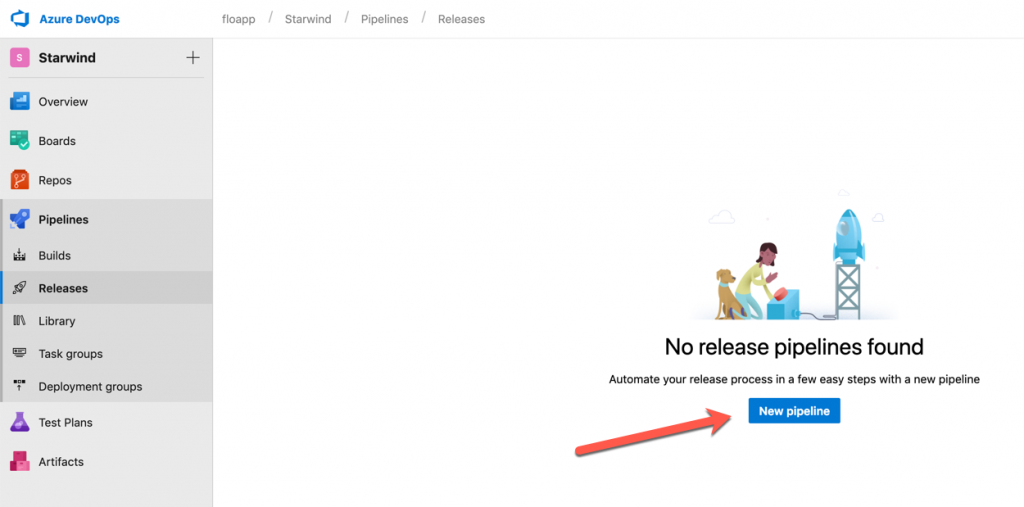
Now that we’ve our build, select Pipelines > Releases and click on New pipeline:
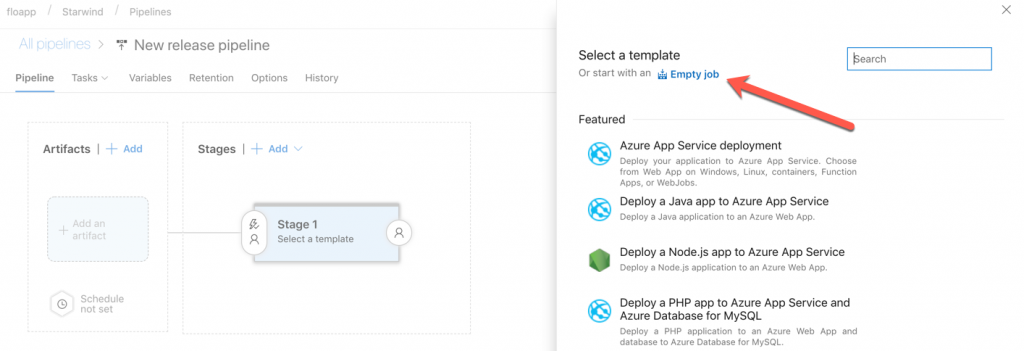
Select Empty job in next screen:
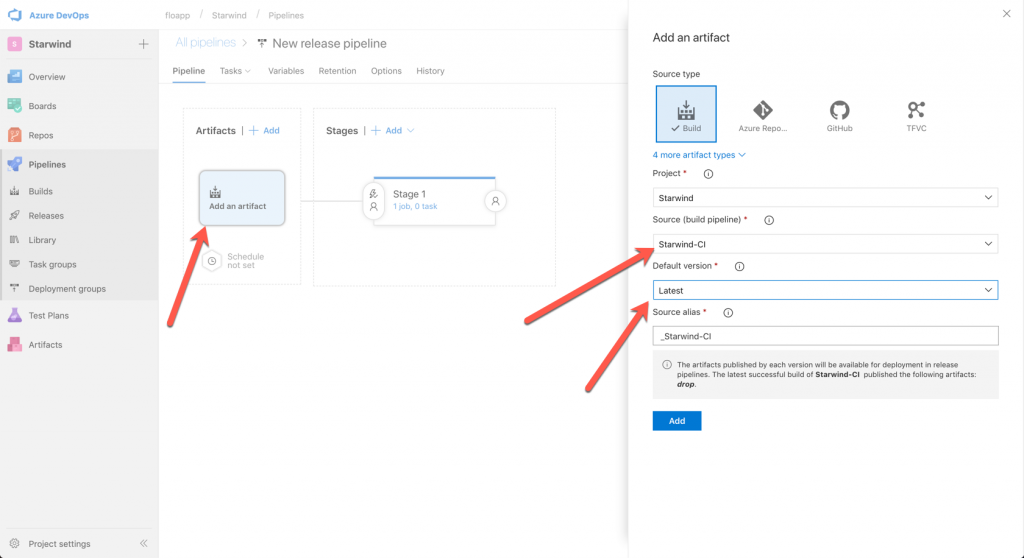
Rename your pipeline, choose the build source pipeline and as version, select the lastest build available, to integrate our CI/CD:
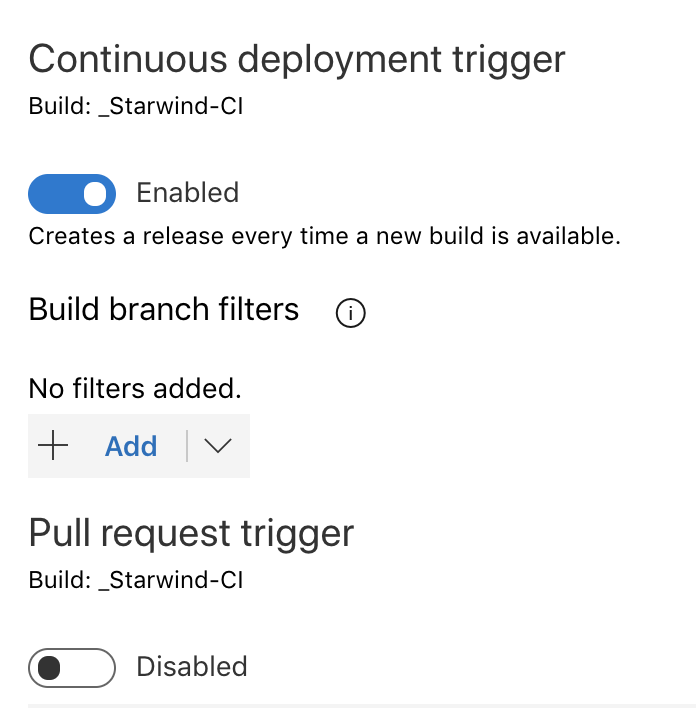
Click on the lightning and activate the CD (Continuous Deployment):
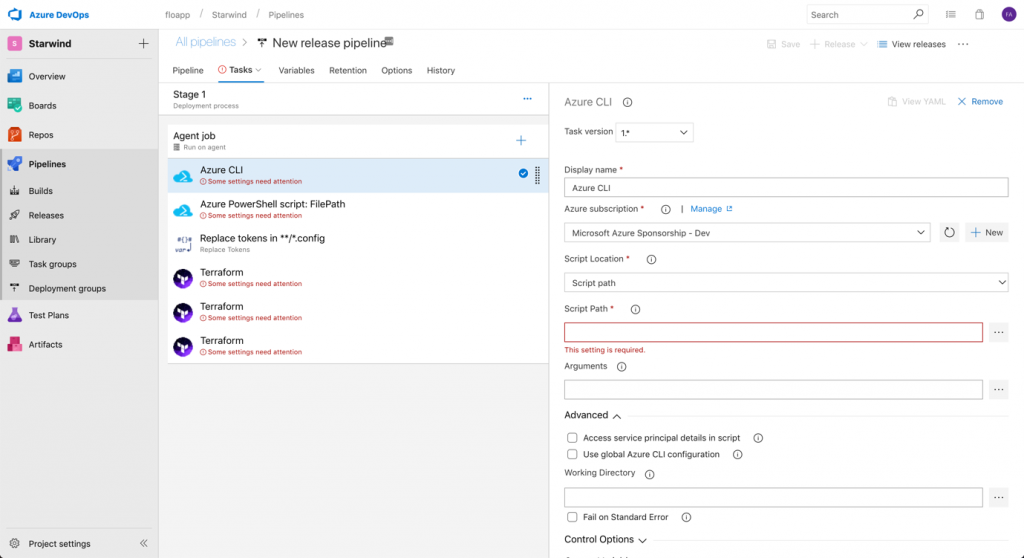
Don’t forget to save. Open now your Stage 1 and add the following tasks, by clicking on the + :
- Azure CLI
- Azure PowerShell
- Replace Tokens
- Run Terraform
- Run Terraform
- Run Terraform
Be careful, Replace tokens and Run Terraform must be installed from the store (free) before using them:
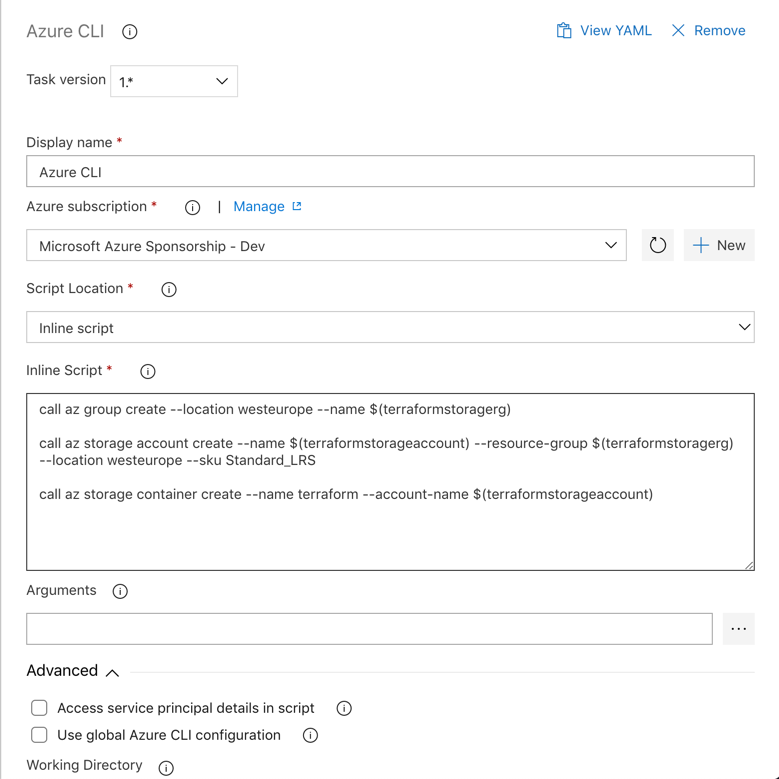
We’ll now configuring each step. For the first step, Azure CLI, you can rename it, and after, add a subscription, with a service principal account, that has rights to deploy resources in the subscription:
Choose Inline script and use the following script, to create the resource group and the storage account that we will use to store our tfstate file, that gives us an overview of the deployment and give the possibility to continue the deployment after each modification:
call az group create --location westeurope --name $(terraformstoragerg)

call az storage account create --name $(terraformstorageaccount) --resource-group
$(terraformstoragerg) --location westeurope --sku Standard_LRS

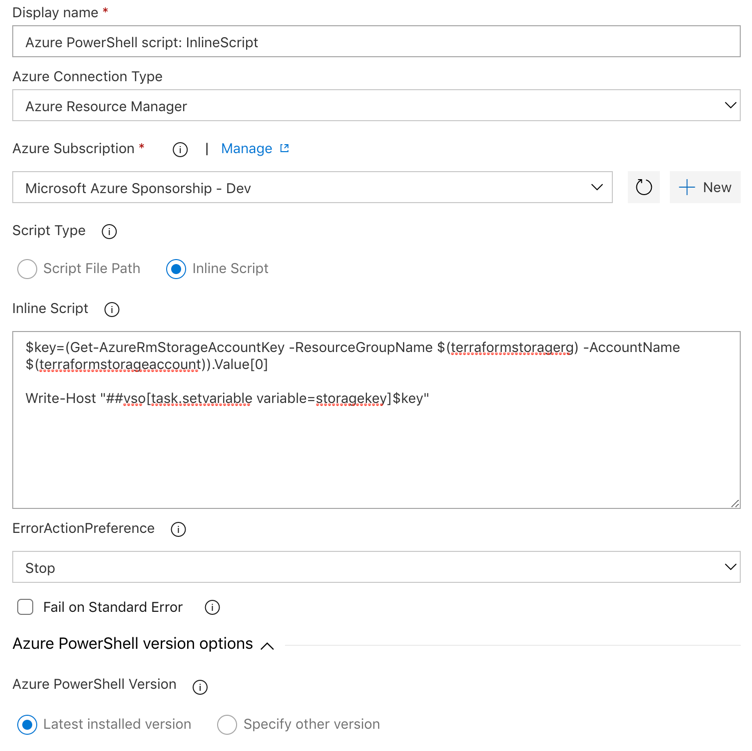
call az storage container create --name terraform --account-name $(terraformstorageaccount)Open the second step, Azure PowerShell, and give it a name. Choose the Azure Connection Type => Azure Resource Manager and the subscription that you created previously. Choose Inline Script and insert the following script, to get the access key of the storage account:
$key=(Get-AzureRmStorageAccountKey -ResourceGroupName $(terraformstoragerg) -
AccountName $(terraformstorageaccount)).Value[0]

Write-Host "##vso[task.setvariable variable=storagekey]$key"
Choose to use the last installed version of Powershell and Save. You should see this:
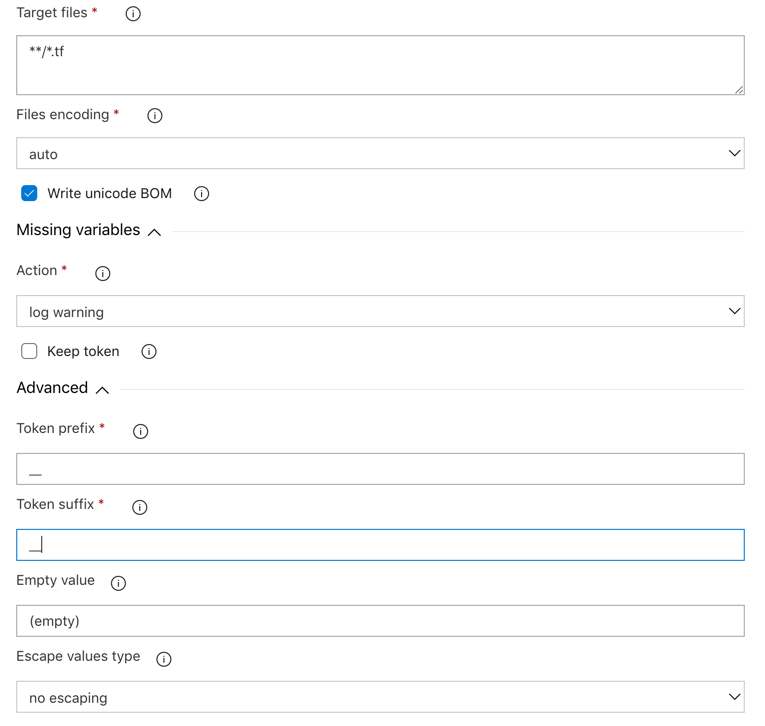
For the third step, Replace Tokens, modify Target files by including every .tf files and, in Advanced, modify Token prefix and Token suffix by __ that we included in main.tf file. With that, it will take variables of our release, directly in Azure DevOps and not in the variables.tf file. You should see this:
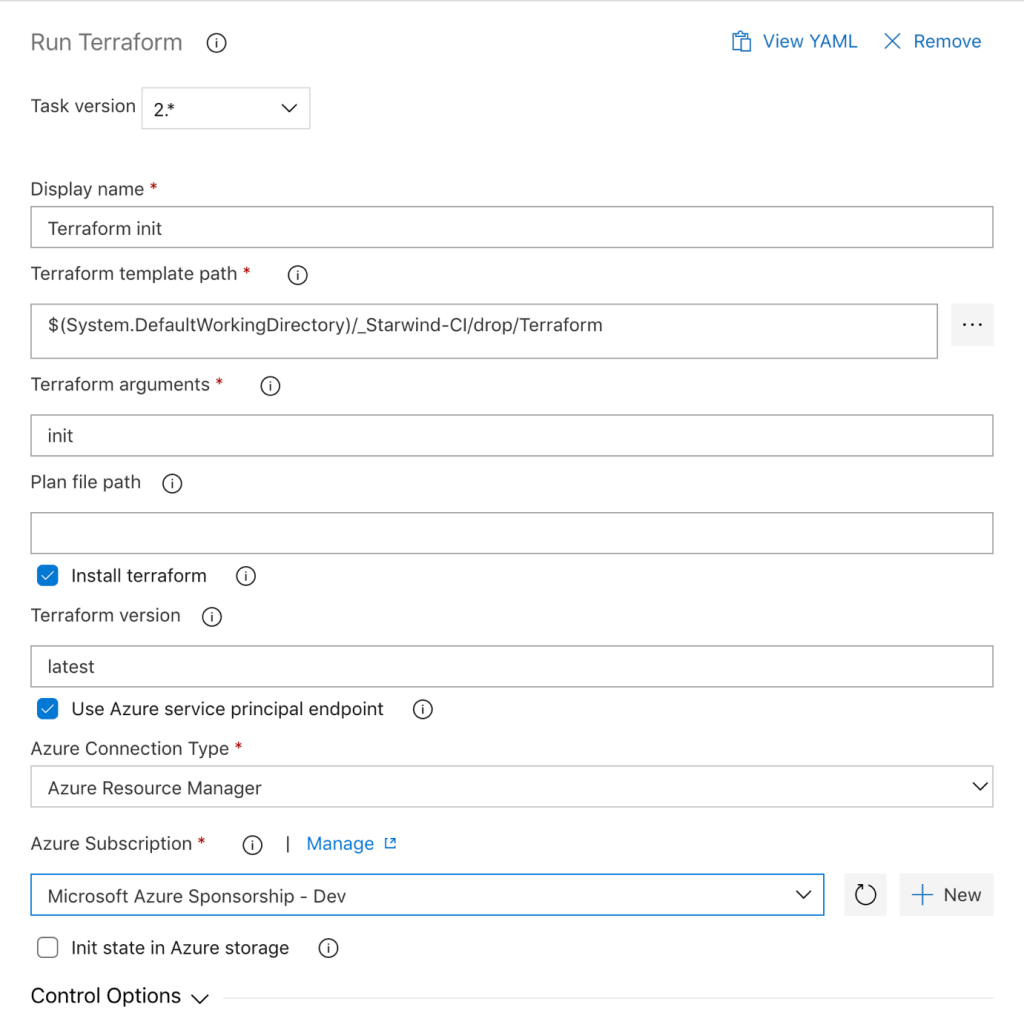
In the fourth step, Run Terraform, provide a name, choose the path to the template (the artifact, built in the build) by clicking on … and provide the argument init. Check the box to Install terraform, with the latest version, and check the box to use an Azure service principal, and choose your Azure subscription:
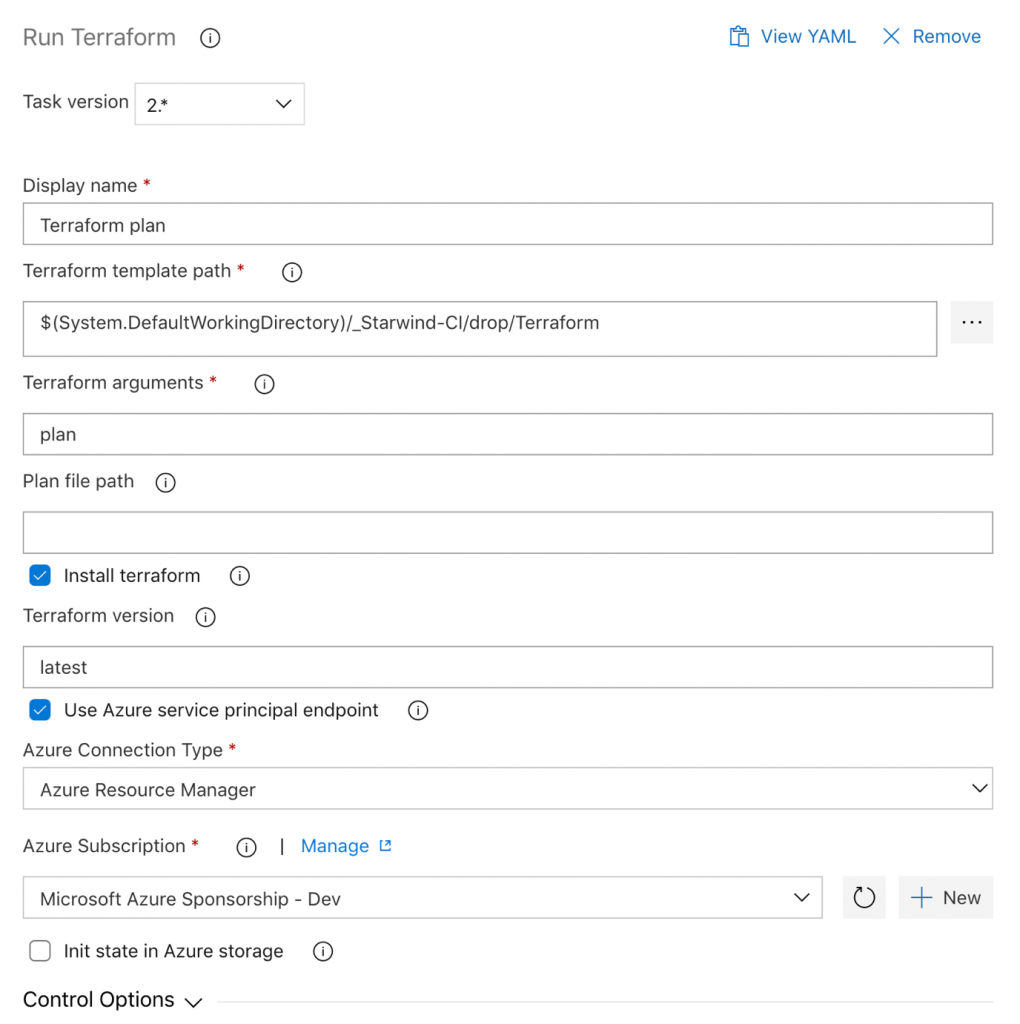
In the fifth step, it’s the same as the fourth step, except for the argument, it’s plan instead of init:
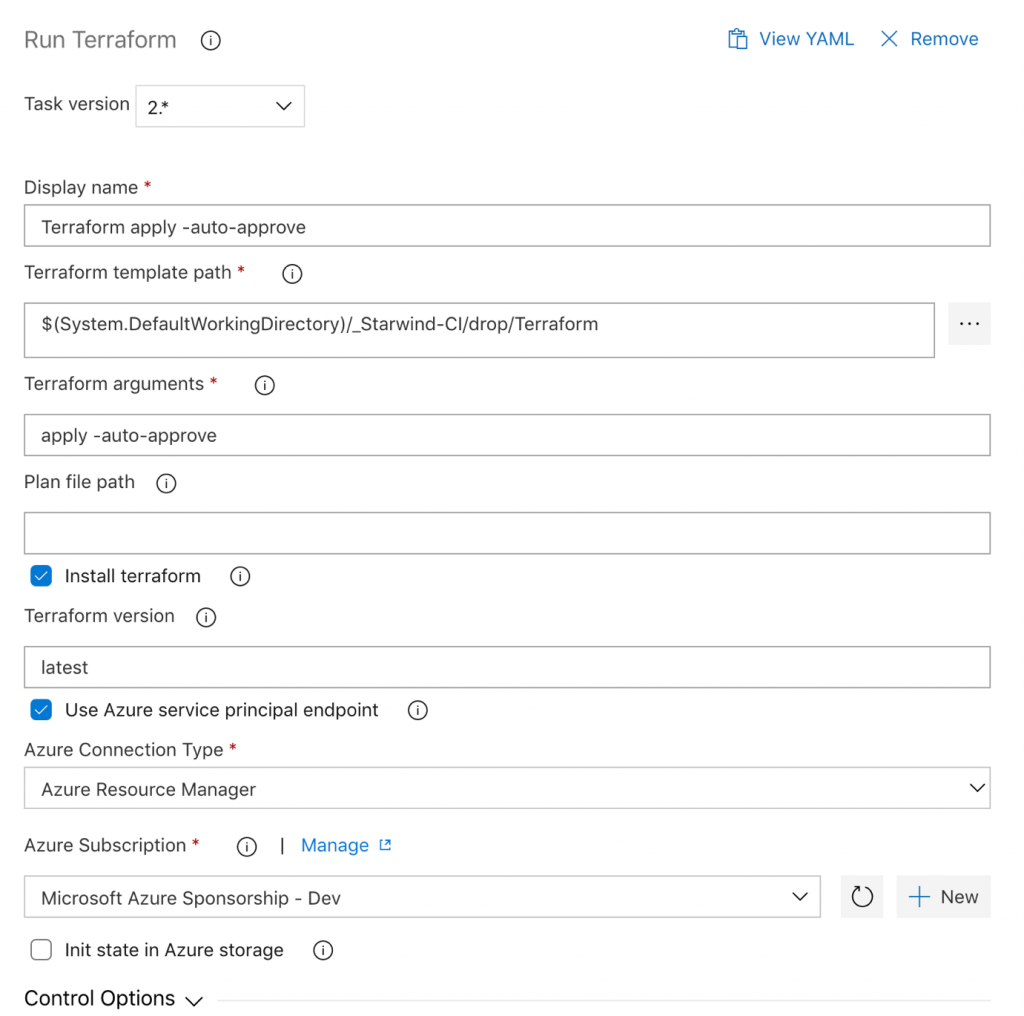
For the last step, it’s same as before, except for argument part. You must replace plan by apply -auto-approve:
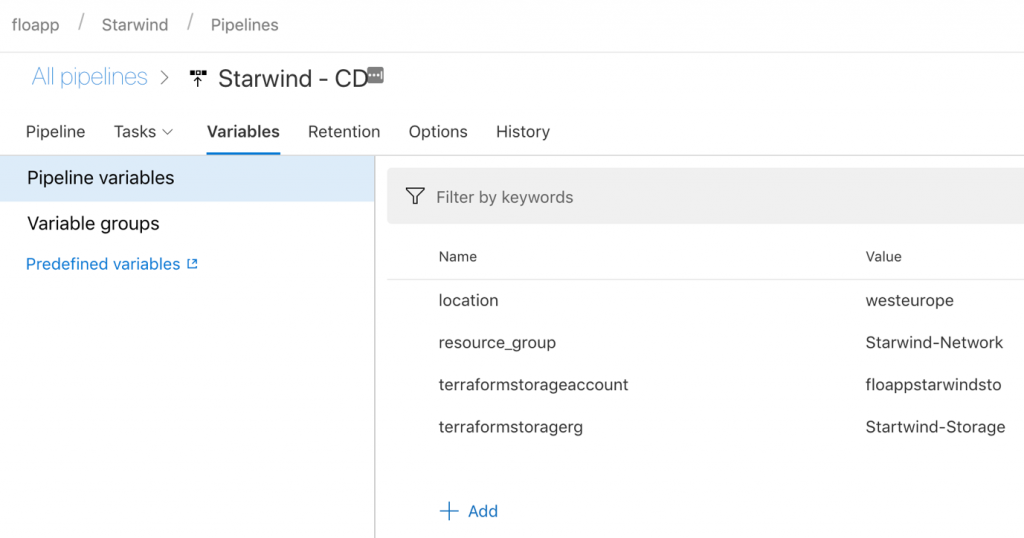
Save. Navigate to the Variables tab and click on Add:
Add the following values, with your own values:
- location
- resource_group
- terraformstorageaccount
- terraformstoragerg
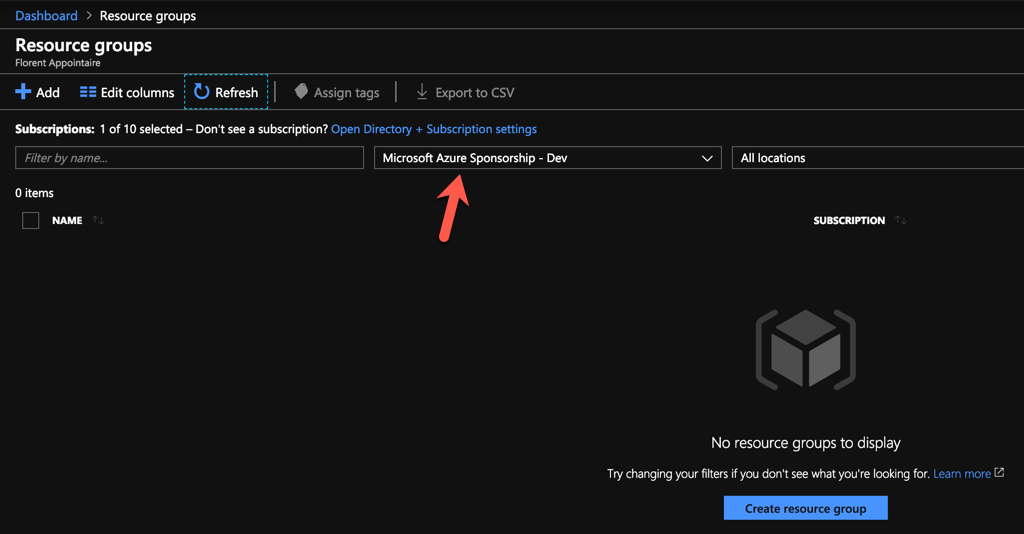
My subscription is empty as you can see below:
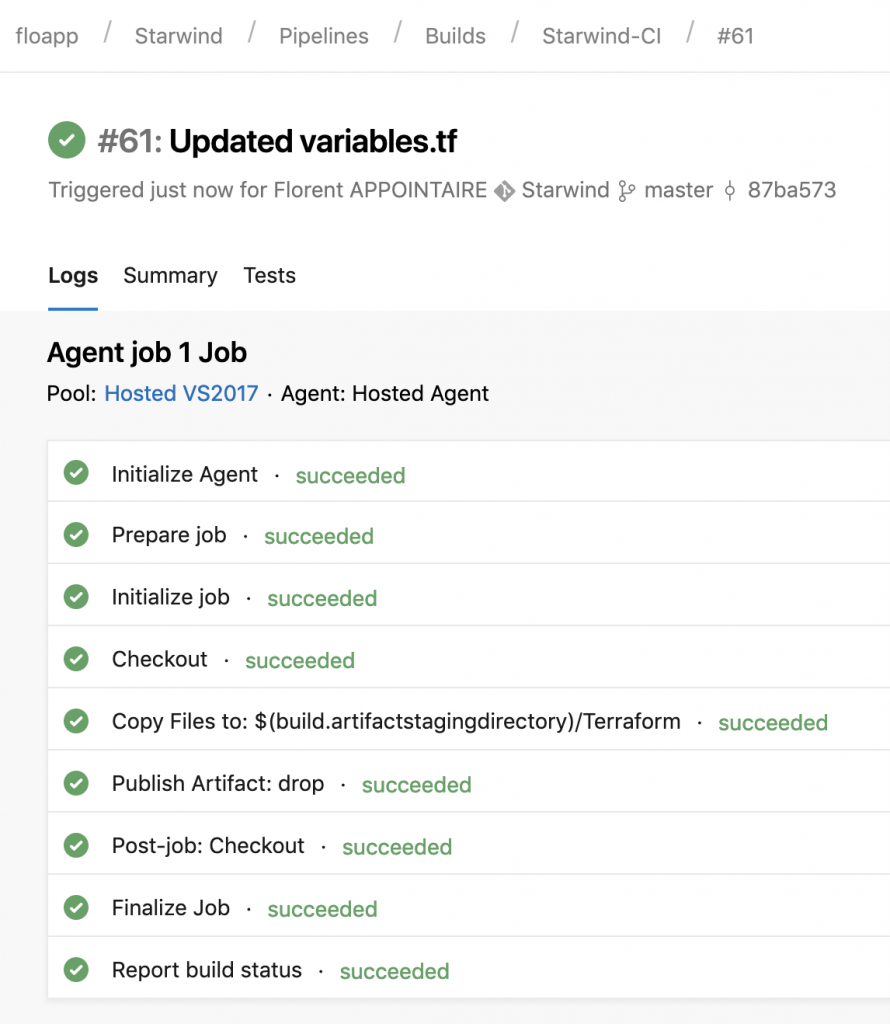
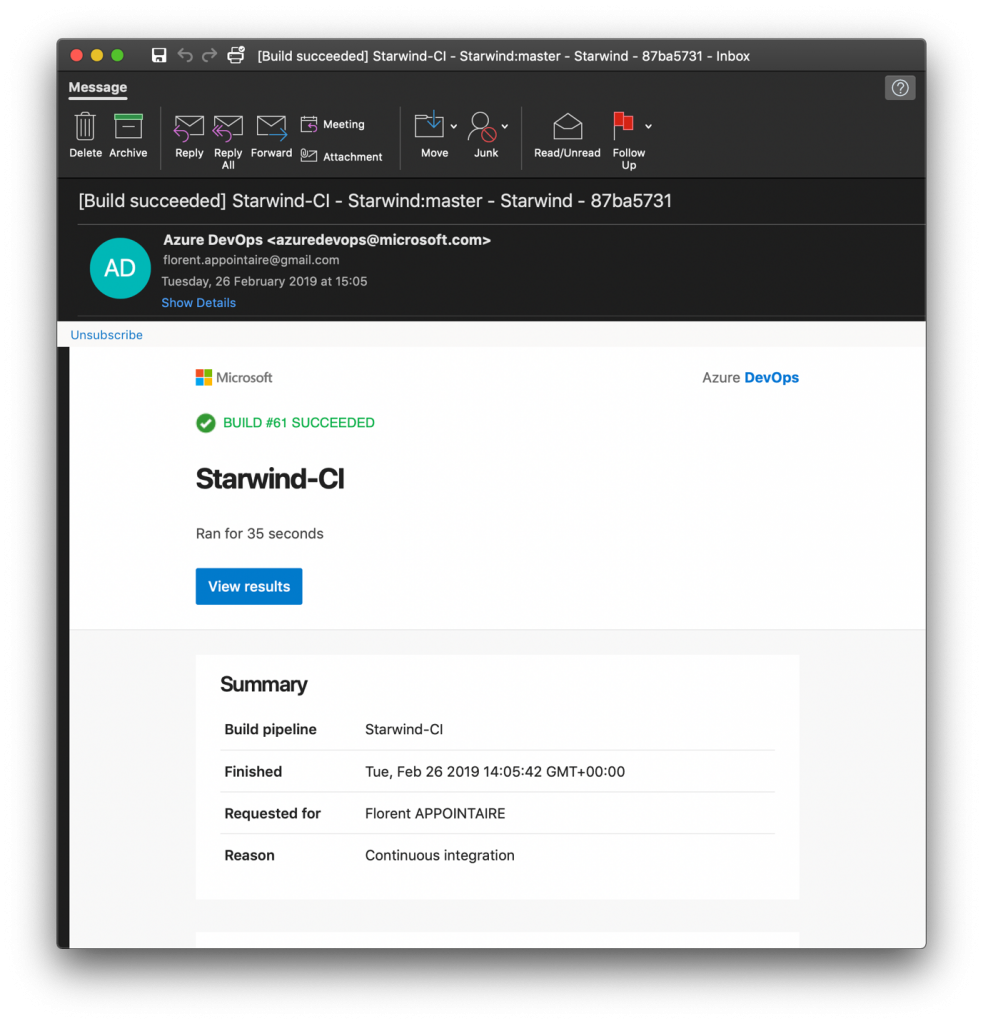
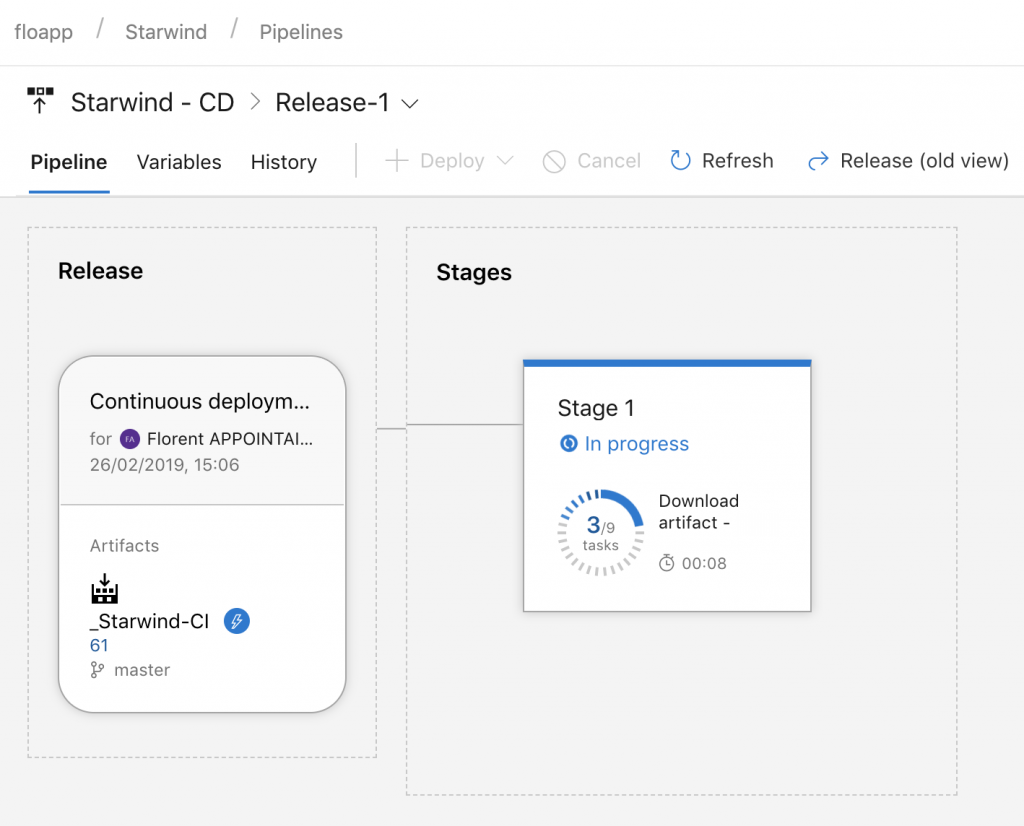
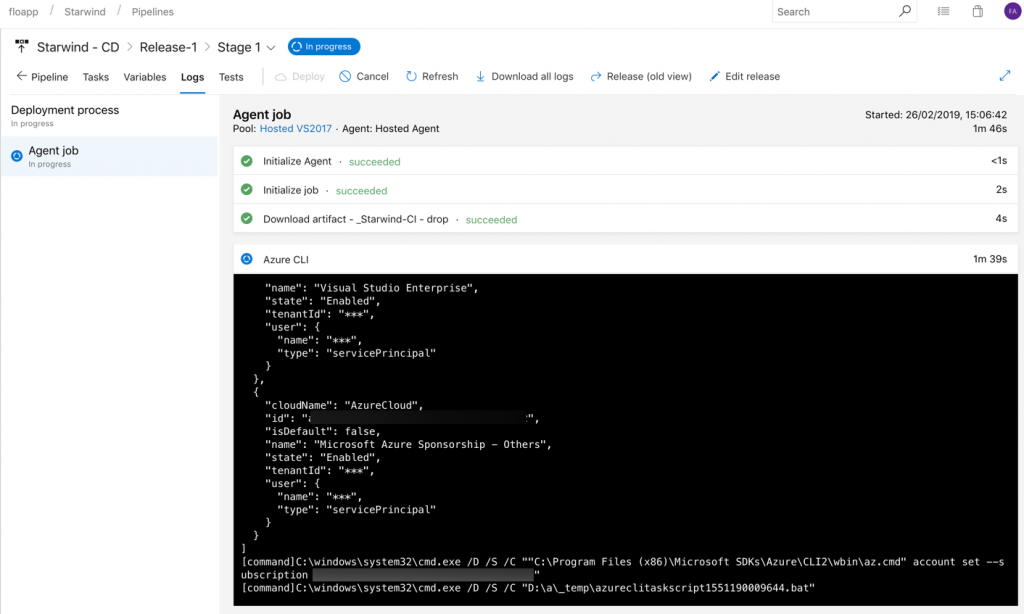
To start the deployment, just modify the variable file in the repo. When you’ll commit the file, the build will start (CI) and when the build is done, the release will be created (CD):
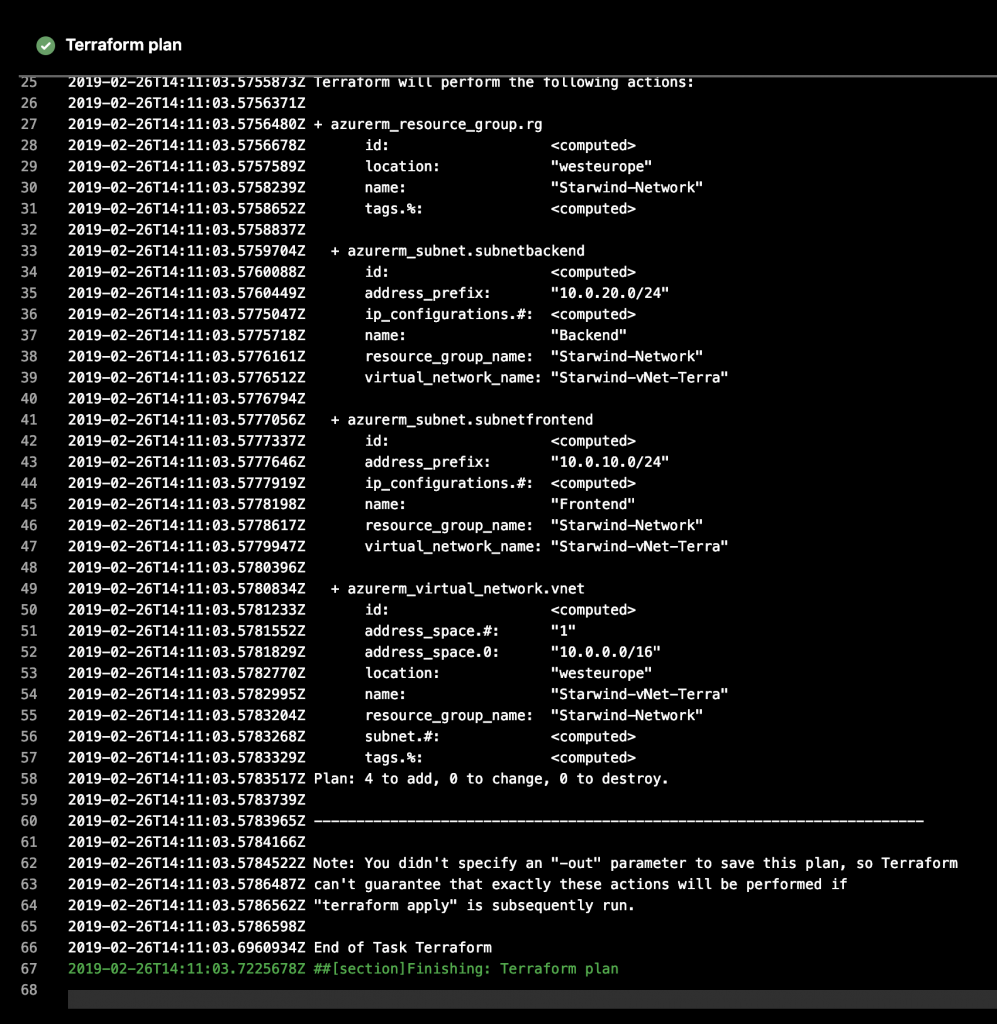
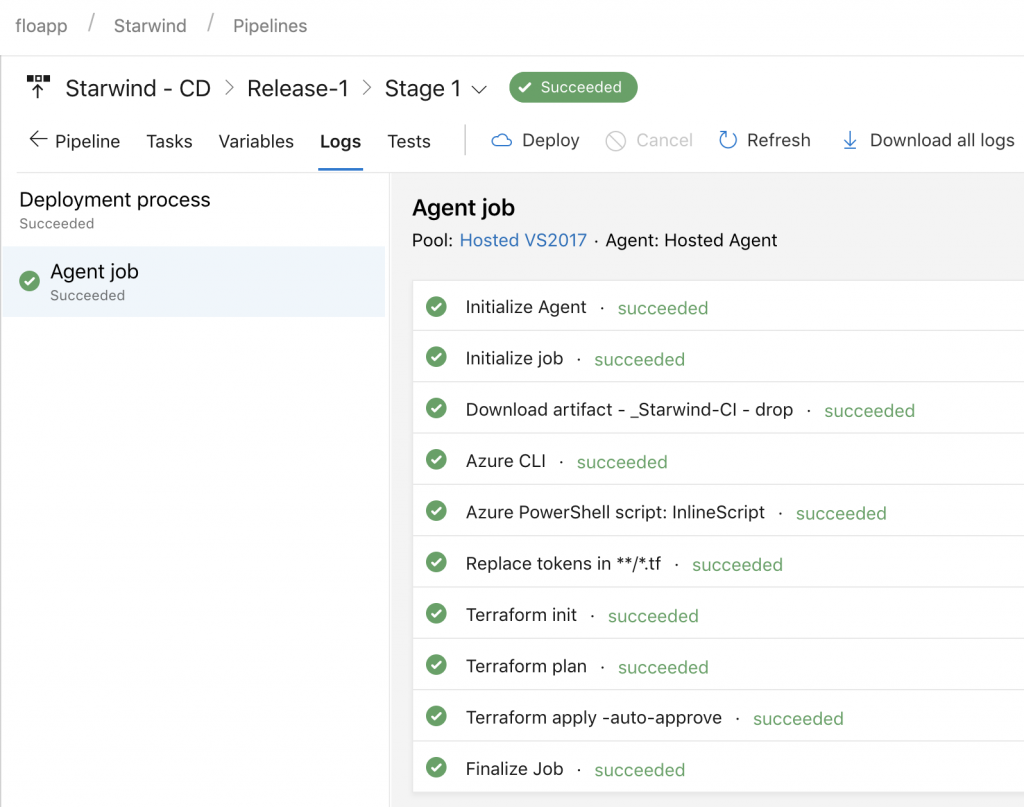
As you can see, everything worked fine. And on Azure, I’ve all of my resources deployed:
As you can see, it’s very easy now to deploy Terraform template with automation from beginning to end. It works with modifications and so on, so during the build/release of your change, you can do other work or drink a coffee


