Windows Server 2019 and Windows Admin Center are great products for hybrid scenario. These products together enable to configure Azure Site Recovery, Azure Virtual Network or, in our case Azure Backup. In this topic, we’ll see how to backup an on-prem machine (physical or virtual) to Azure Backup.
Register Windows Admin Center to Azure tenant
Navigate to Windows Admin Center settings and click on Azure. Make sure that Windows Admin Center in registered in Azure. If you don’t know how to register Windows Admin Center in Azure, follow this topic.
Configure Azure Backup
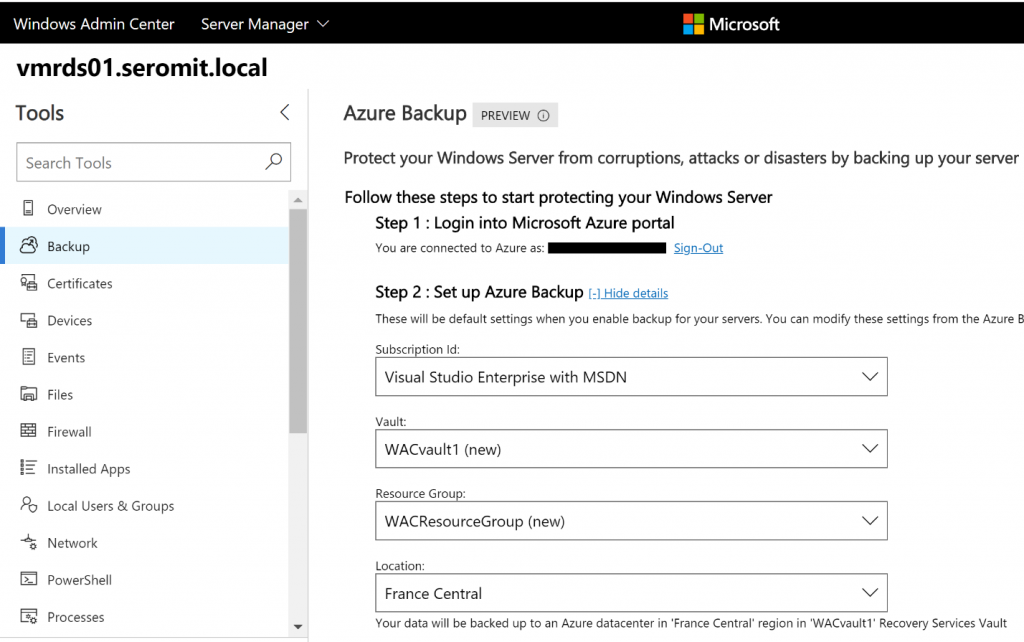
Open a computer configuration and navigate to Backup. Click on Set up Azure Backup.
Specify a subscription and a location. If you don’t have provisioned a Recovery Vault, the wizard will do it for you.
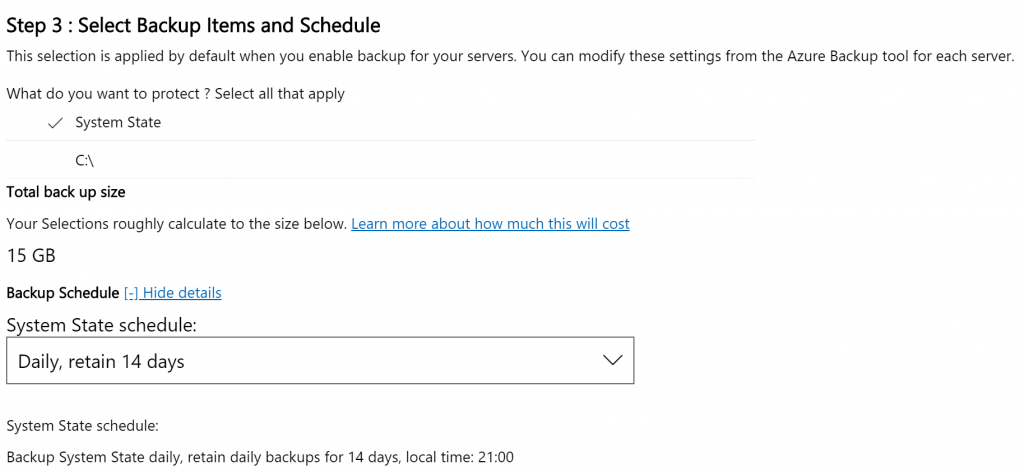
Choose what you want to backup and the scheduling.
Finally, provide an encryption passphrase.
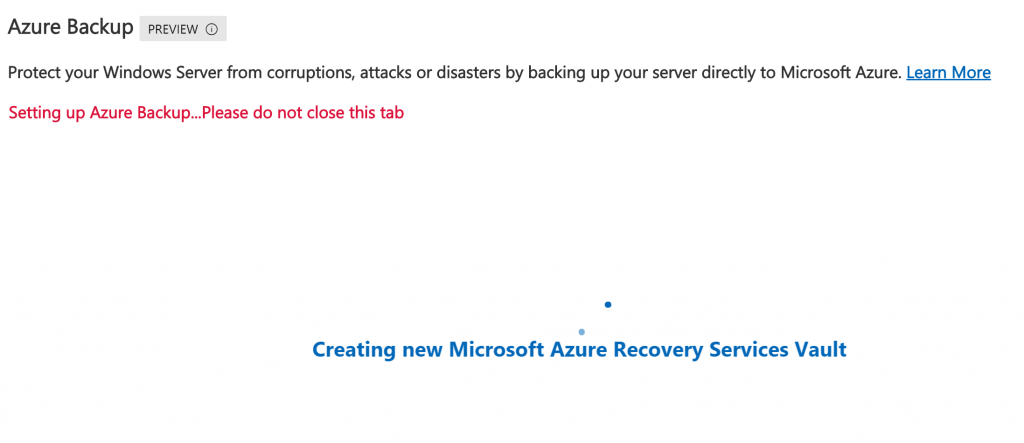
After that, the wizard will do the following for you:
- Create a resource group in Azure (if it doesn’t exist)
- Create a recovery vault in Azure (if it doesn’t exist)
- Install the Azure Backup Agent on the computer
- Start a backup job
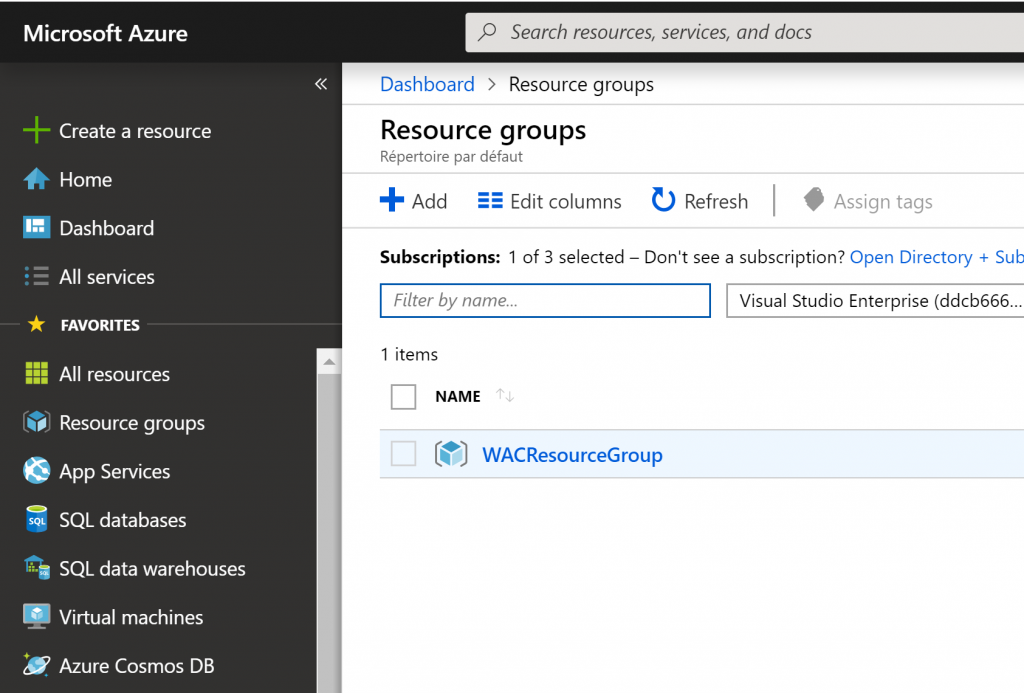
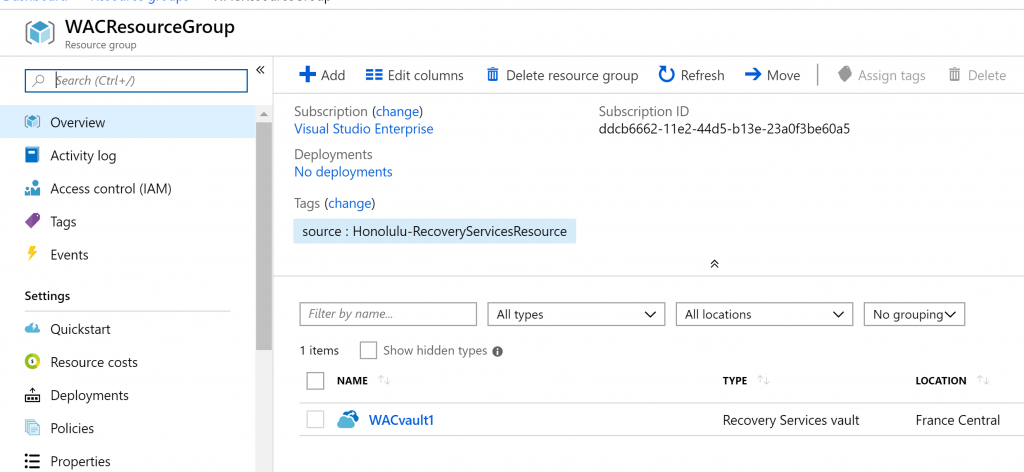
Once the wizard has finished, you can log on Azure portal and look for WACResourceGroup.
In the resource group, a recovery vault has been created. In my case, its name is WACVault1.
If you look for backup item, you should get an Azure Backup Agent. For this example, I’ve just set a backup for the system state on the computer VMRDS01.SeromIT.local.
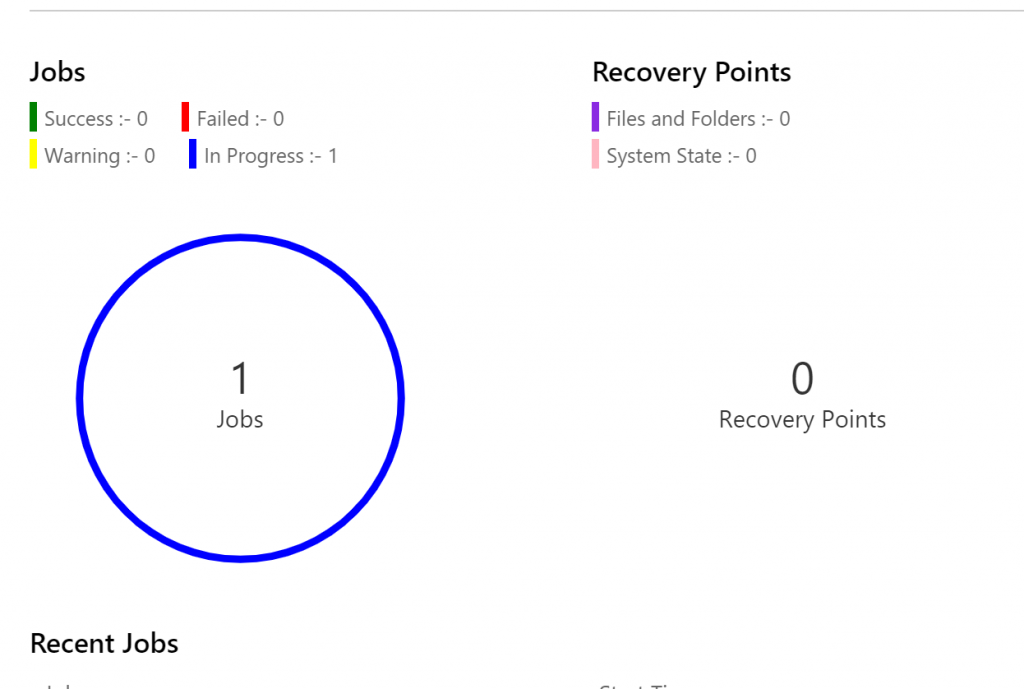
From Windows Admin Center, we can see that a job backup is in progress:
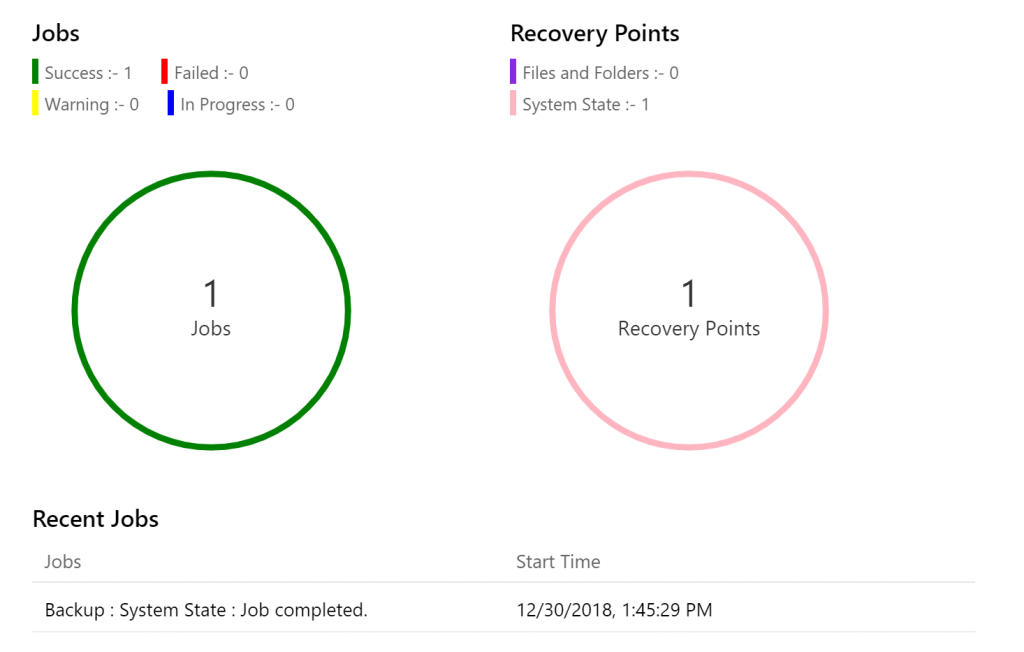
After the job is finished, you should get a Completed status in the Azure Portal.
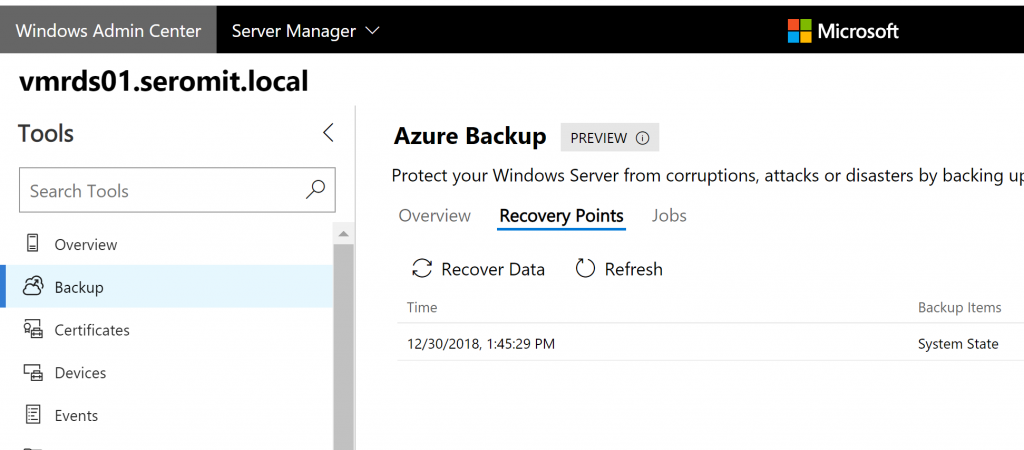
In Windows Admin Center, you should get something like the following screenshot. It indicates that a recovery point is available.
Recover Data
To recover data, you juste have to move to Recovery Points tab:
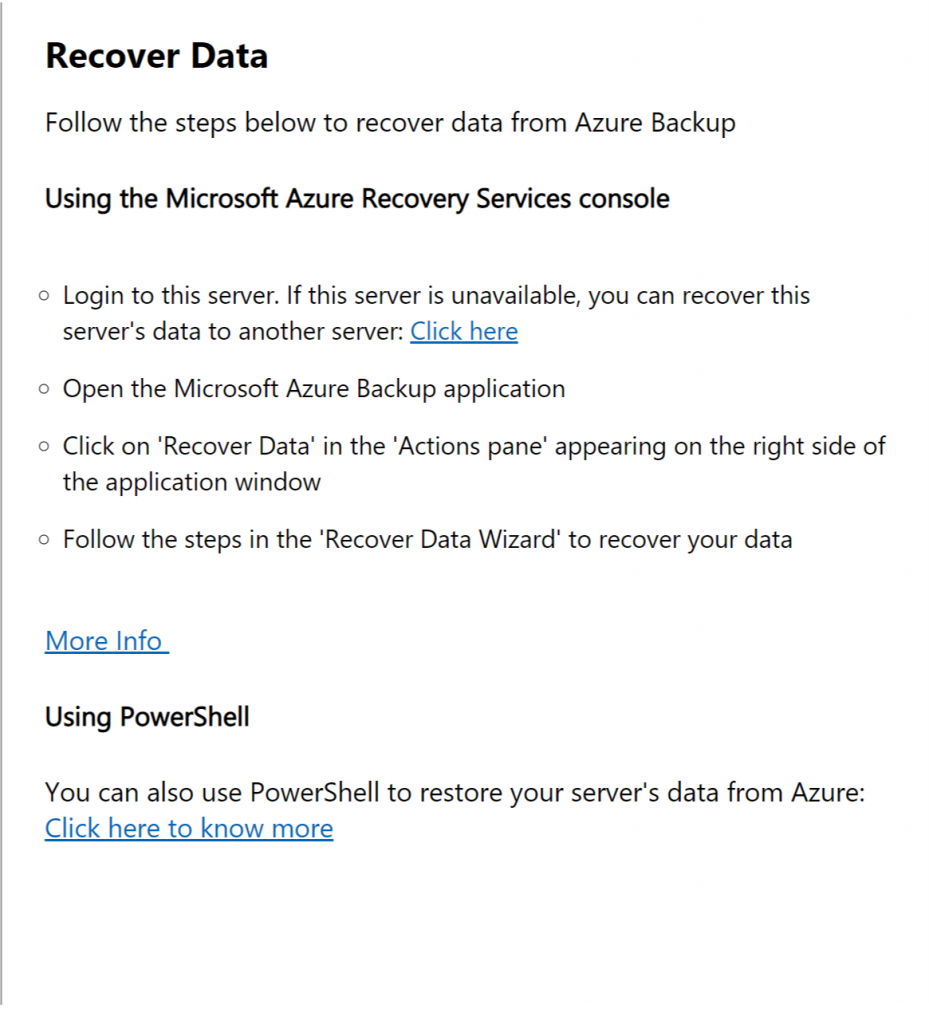
Select the recovery point you want and click on Recover Data. Currently, when you click on this button Windows Admin Center explains you how to run this process. I hope in the future that Windows Admin Center will be able to run recovery.
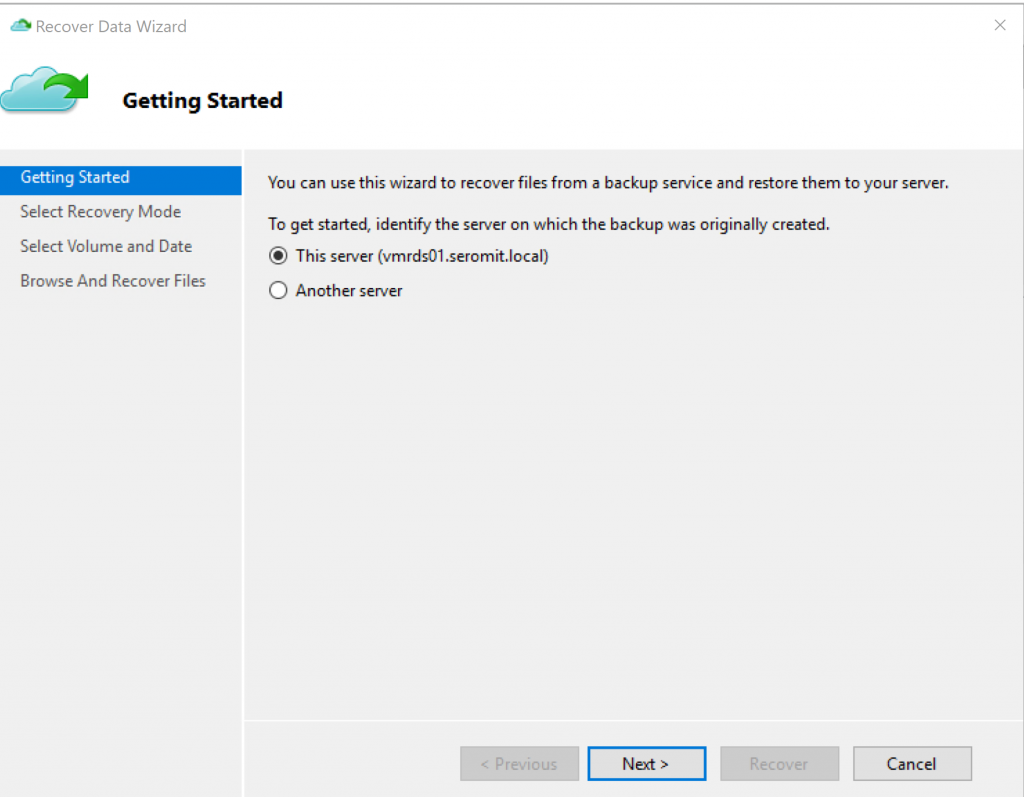
So, I followed the above instructions and I run recovery from Microsoft Azure Backup Application installed on the On-Prem server.
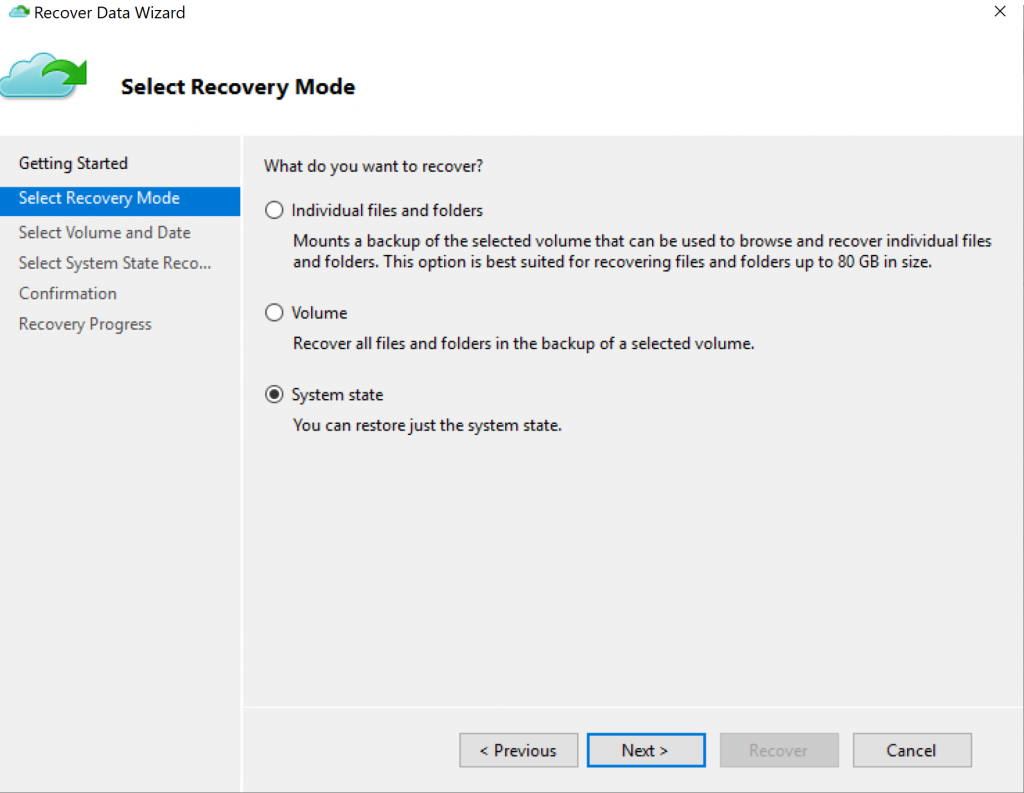
Then I choose to restore System State.
Next choose the recovery point and click on Next.
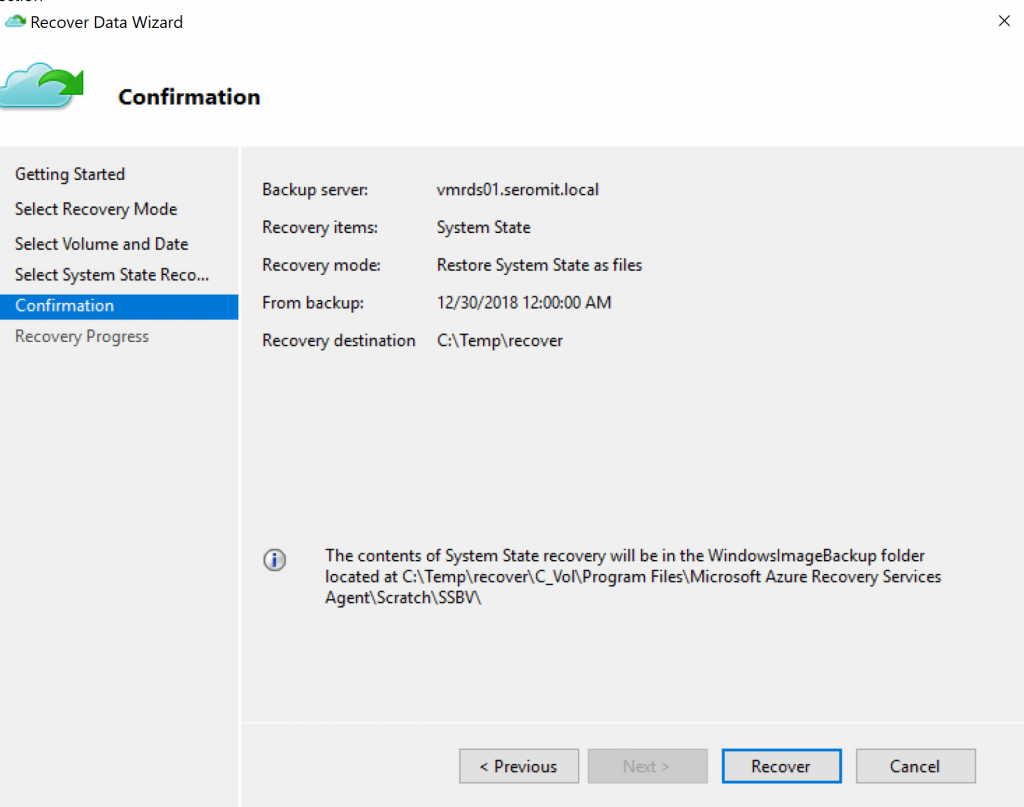
System State is restored as a file. So, you have to specify a folder for the System State files.
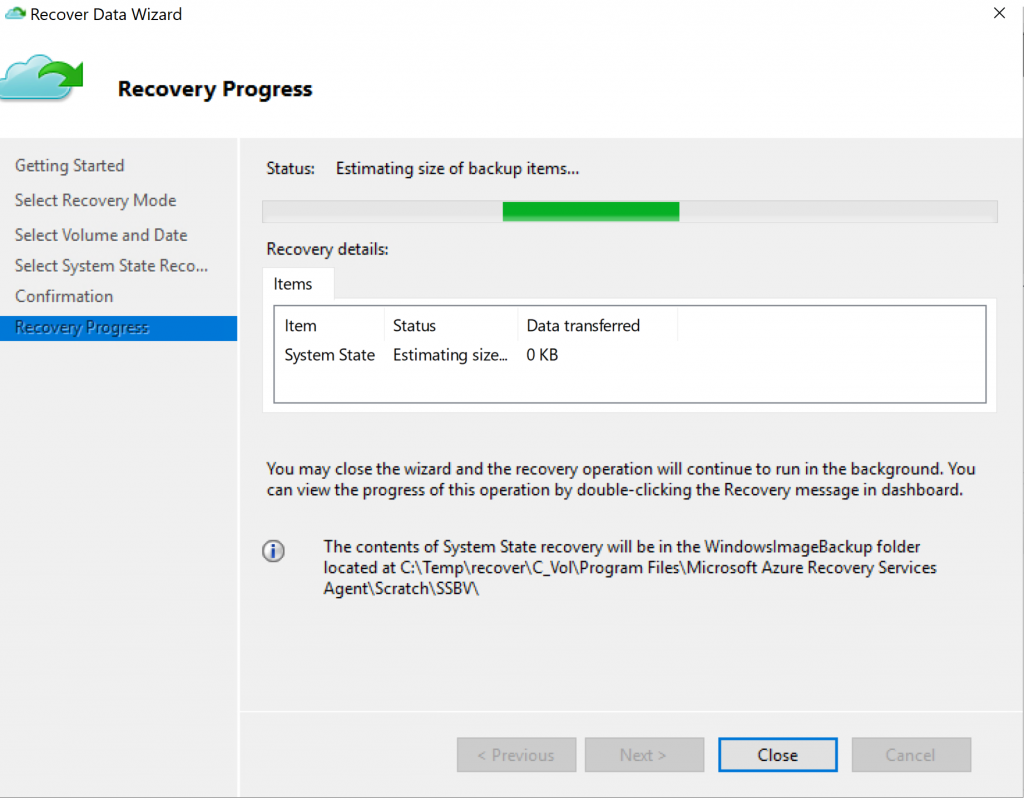
Click on recover to restore the System State.
Conclusion
Windows Admin Center and Azure Backup provides an easy way to protect your On-Prem workloads. However, currently Windows Admin Center is not able to recover data directly from its interface. You have to use the legacy console. But the Azure Backup extension is in preview, so I hope they will add this feature.


