Currently, to connect to Azure VM without a VPN you have two choice: RDP or SSH. A public IP address must be set to these VM. So, your critical workloads are facing Internet directly and it can lead to security issues. To avoid that, some customers uses VPN to connect to VMs without using a public IP address such as point-to-site or site-to-site.
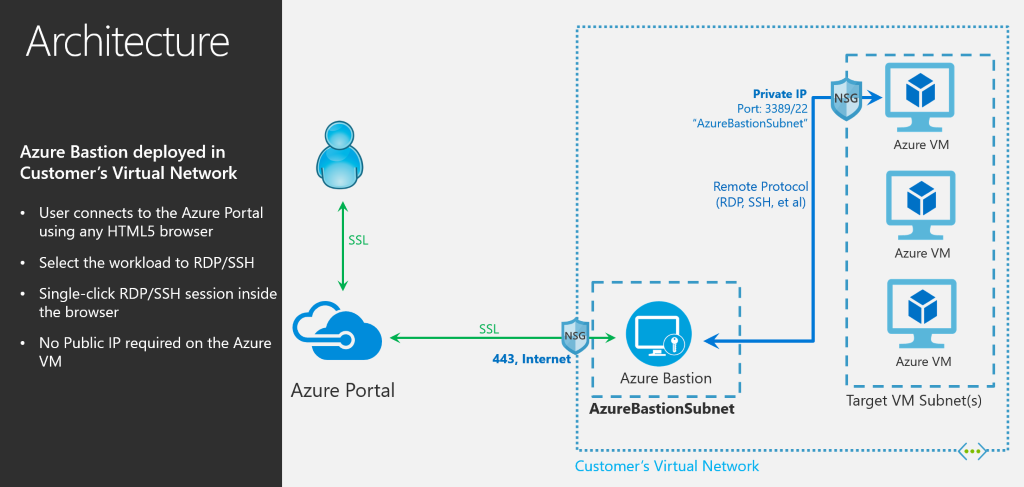
Soon we will have another way to connect to these VMs without IP address: Azure Bastion. Currently this feature is still in preview, but you can try it from the preview Azure Portal. This feature enables to connect to RDP or SSH endpoint over SSL. That means that you can open a RDP or SSH session from the Azure Portal. Thanks to Azure Bastion, the public IP address is not a required to connect to the Azure VMs.
Azure Bastion is deployed inside the virtual network. A specific subnet must be created, and the IP range must be /27 at least. Once the Azure Bastion is implemented, all Azure VMs connected to the virtual network will be reachable through the Azure Bastion.
Configure the virtual network
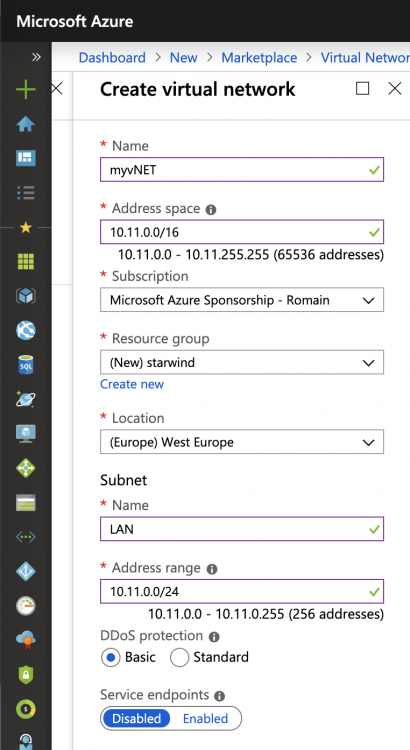
First of all, a virtual network must be created. Open the marketplace and look for Virtual Network. Then specify settings such as the name, the address space and so on.
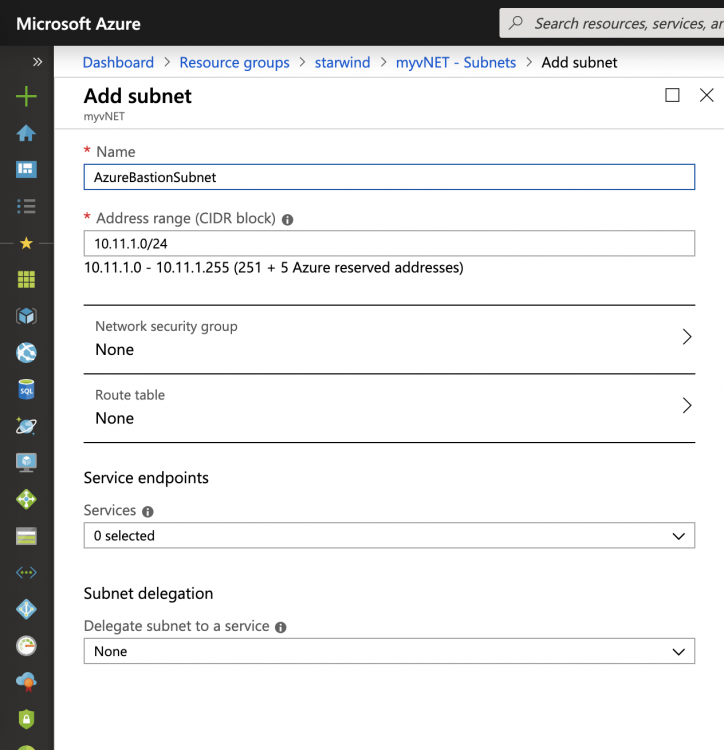
Once the virtual network is created, open its settings and add a new subnet called AzureBastionSubnet. The address range must be at least /27.
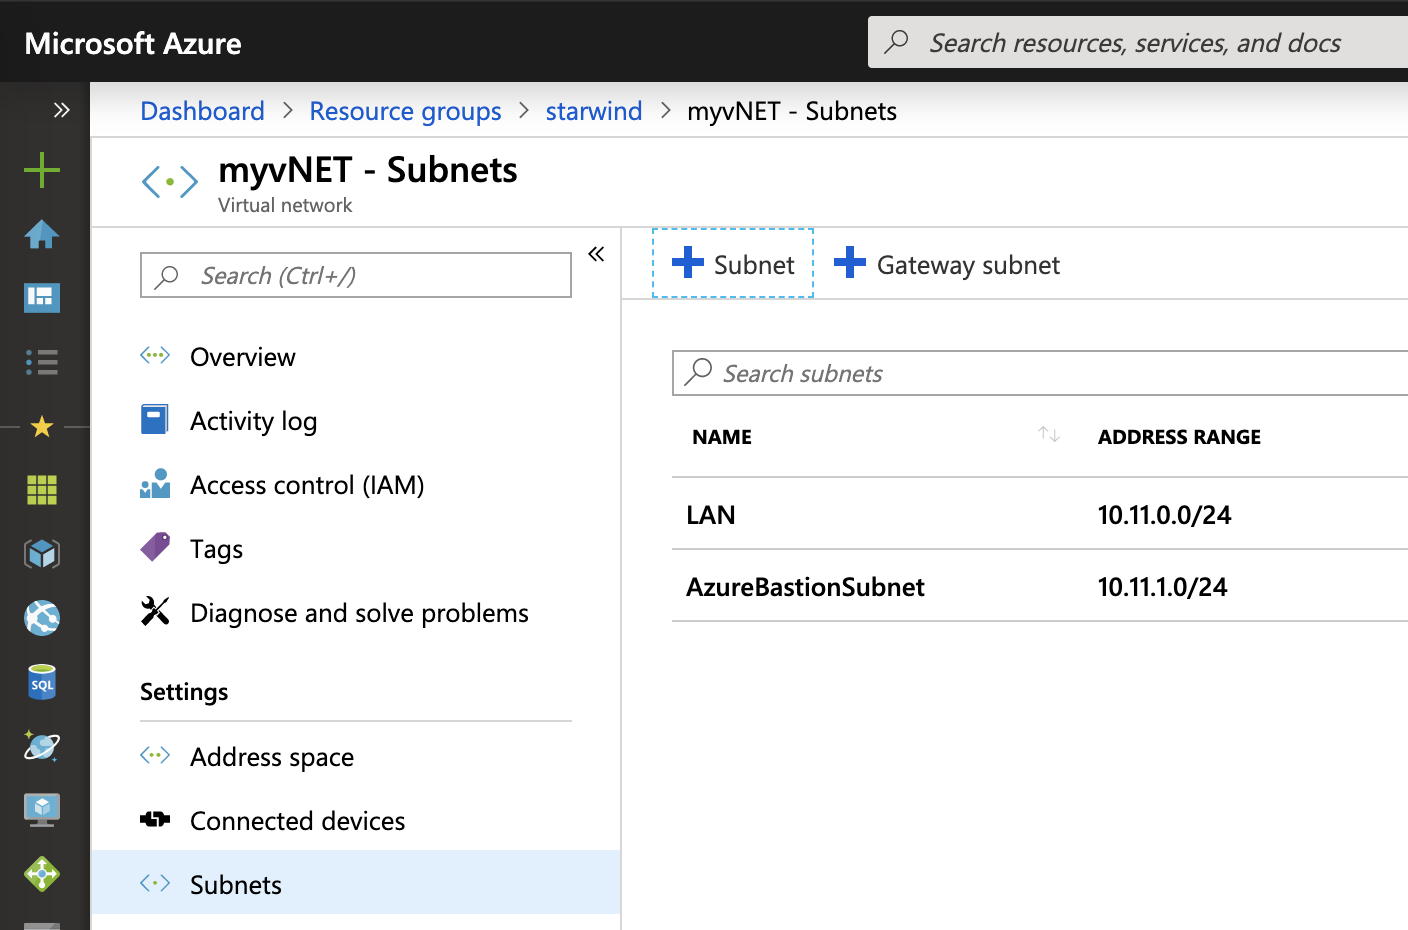
So the virtual network should have at least two subnets: one for the VM and the other for the Azure Bastion.
Deploy Azure Bastion
Because Azure Bastion is a preview, you have to enable some feature from PowerShell. The following cmdlets log you on Azure and enable Azure Bastion preview.
Login-AzAccount

Register-AzProviderFeature -FeatureName AllowBastionHost -ProviderNamespace Microsoft.Network

Register-AzResourceProvider -ProviderNamespace Microsoft.Network

Get-AzProviderFeature -ProviderNamespace Microsoft.Network
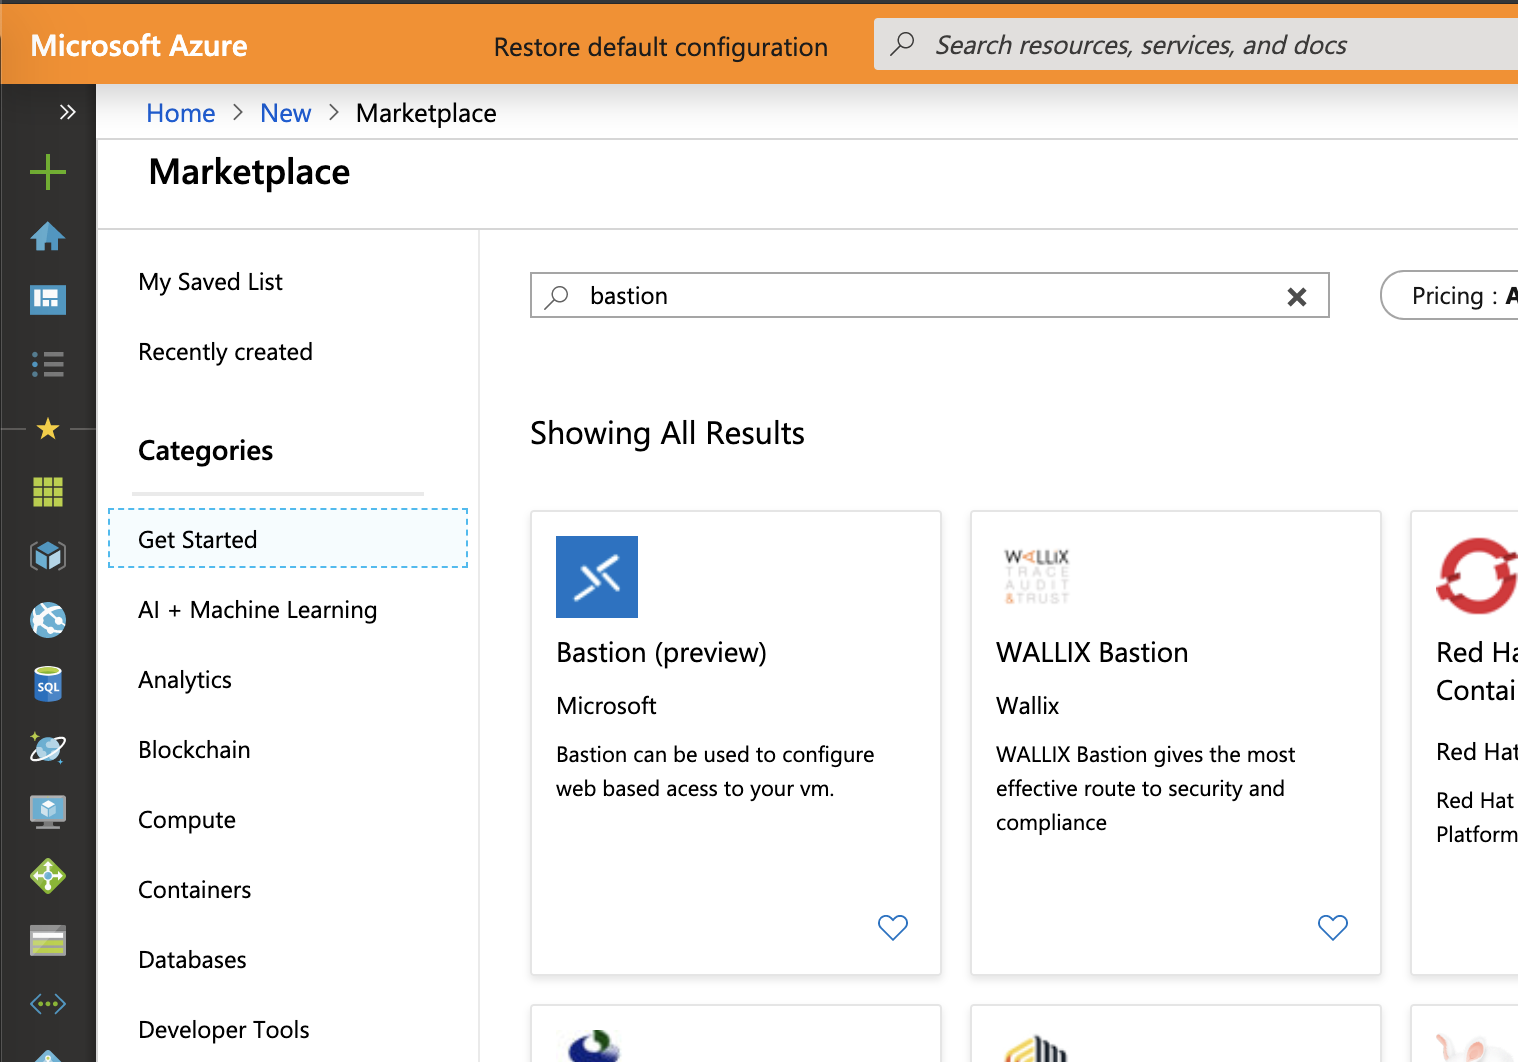
Next you have to connect to the preview Azure Portal. Open the market place and look for Bastion. Select Bastion (Preview).
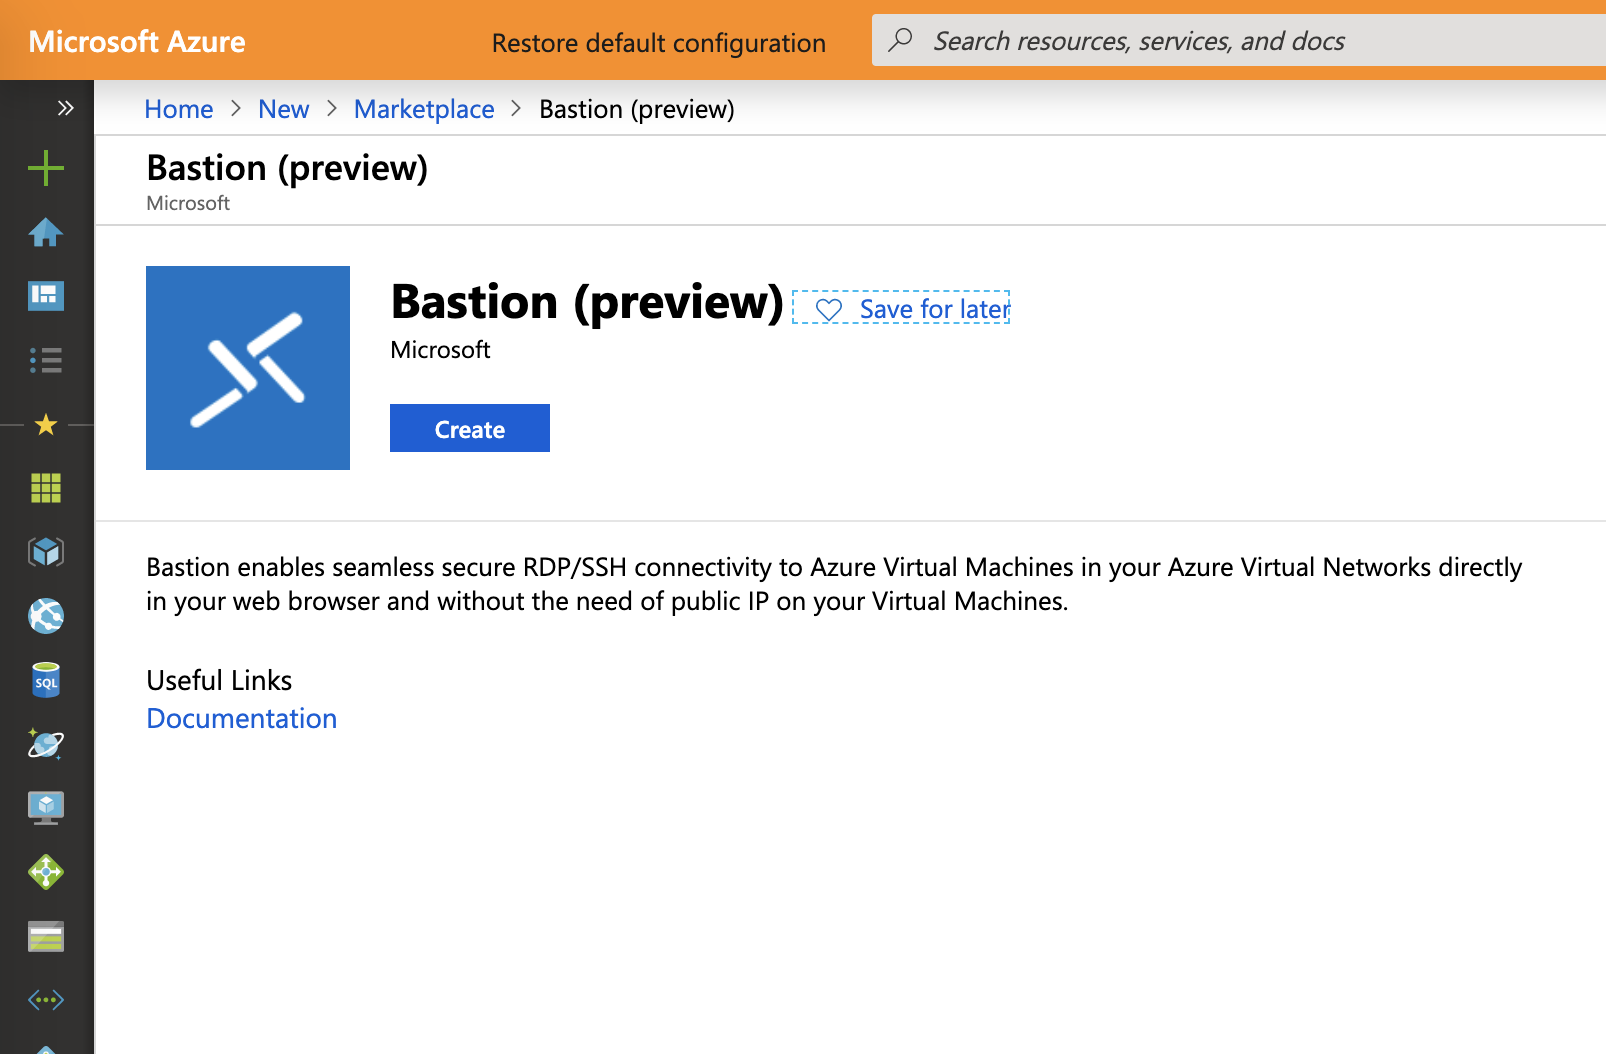
Then click on create.
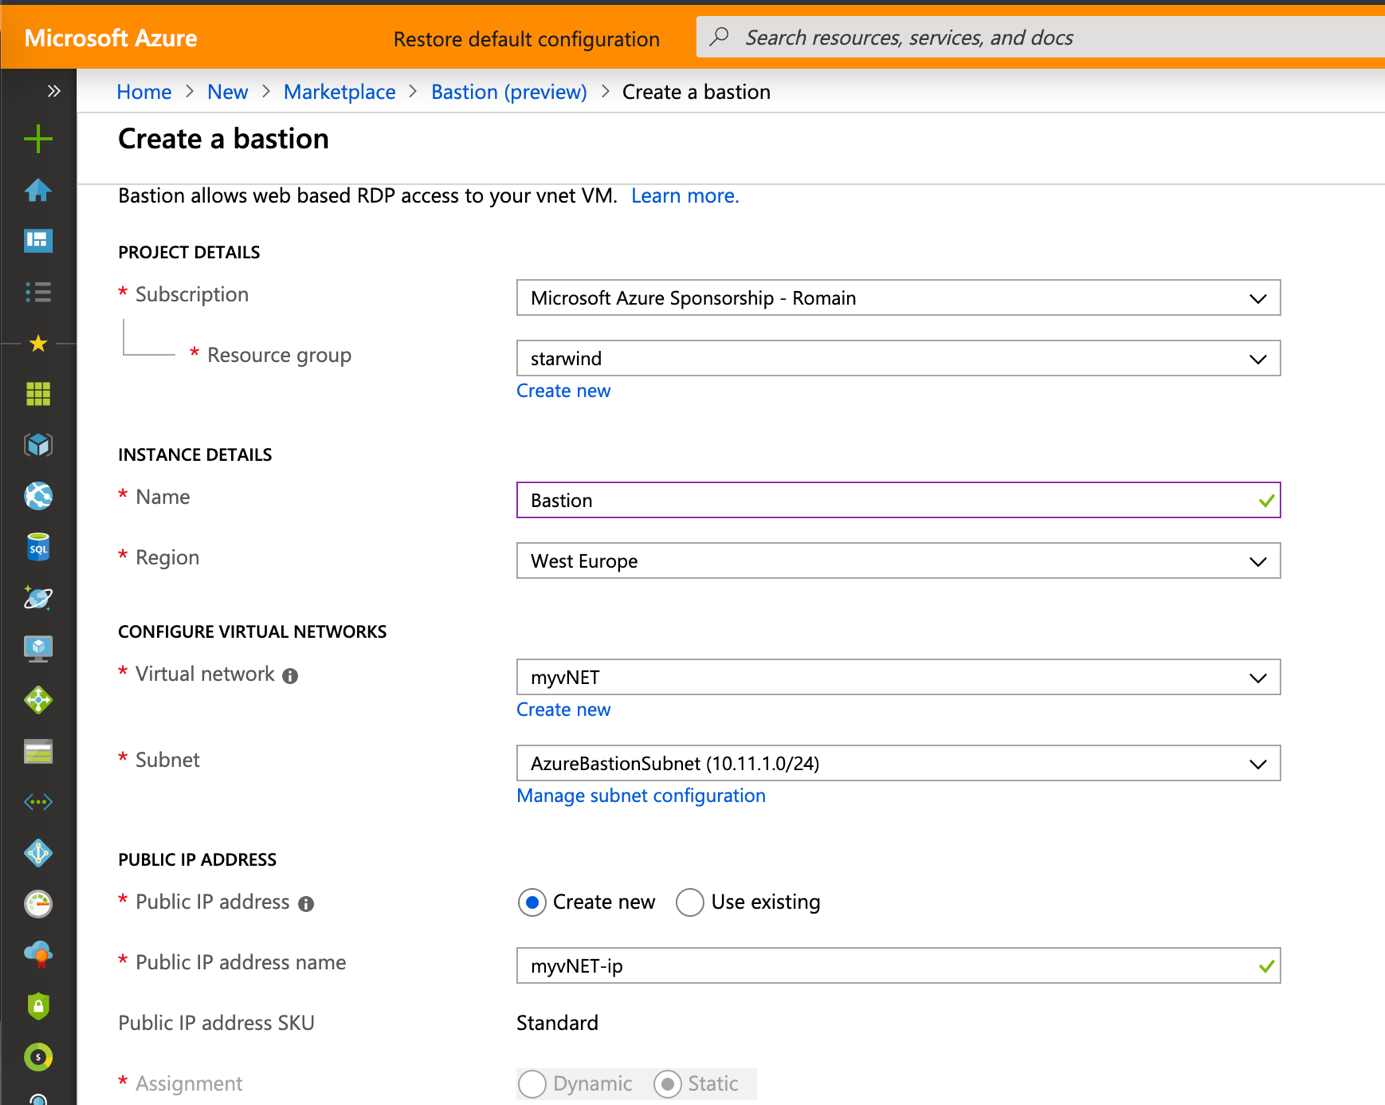
Provide a name to your bastion and select the virtual network you have previously created. The wizard should select automatically the AzureBastionSubnet.
A public IP is required. You can provision it manually or you can leave the wizard create one for you.
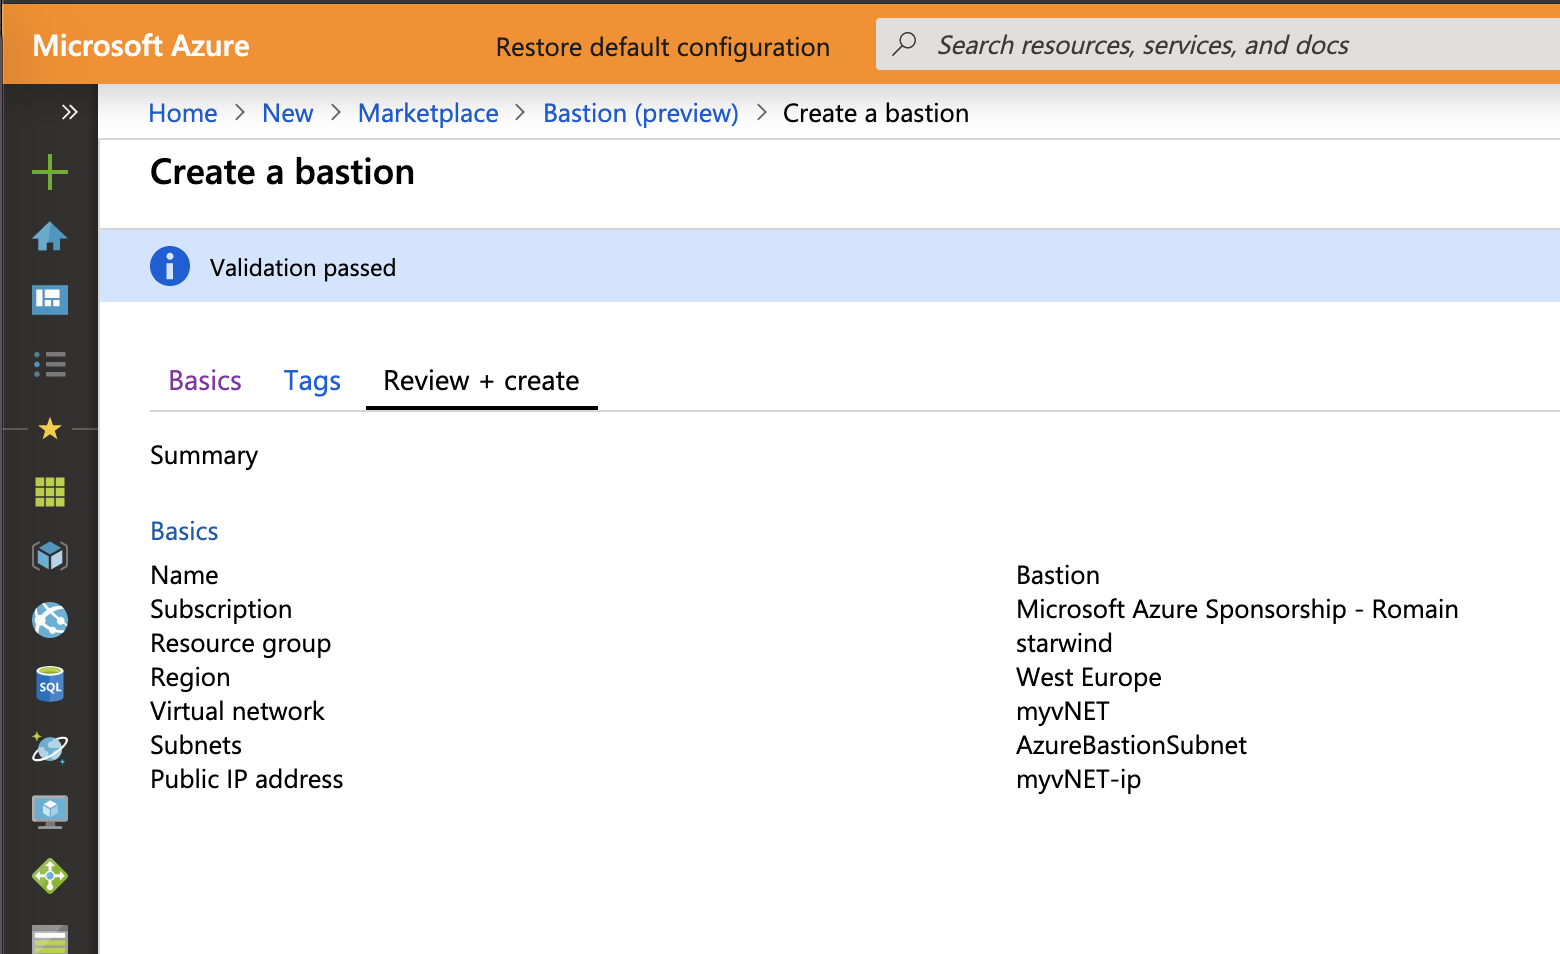
At the end of the wizard you can review your settings. Click on Create to start the Azure Bastion deployment.
Try the Azure Bastion
While the Azure Bastion is deploying, I create two virtual machines based on Ubuntu and Windows Server.
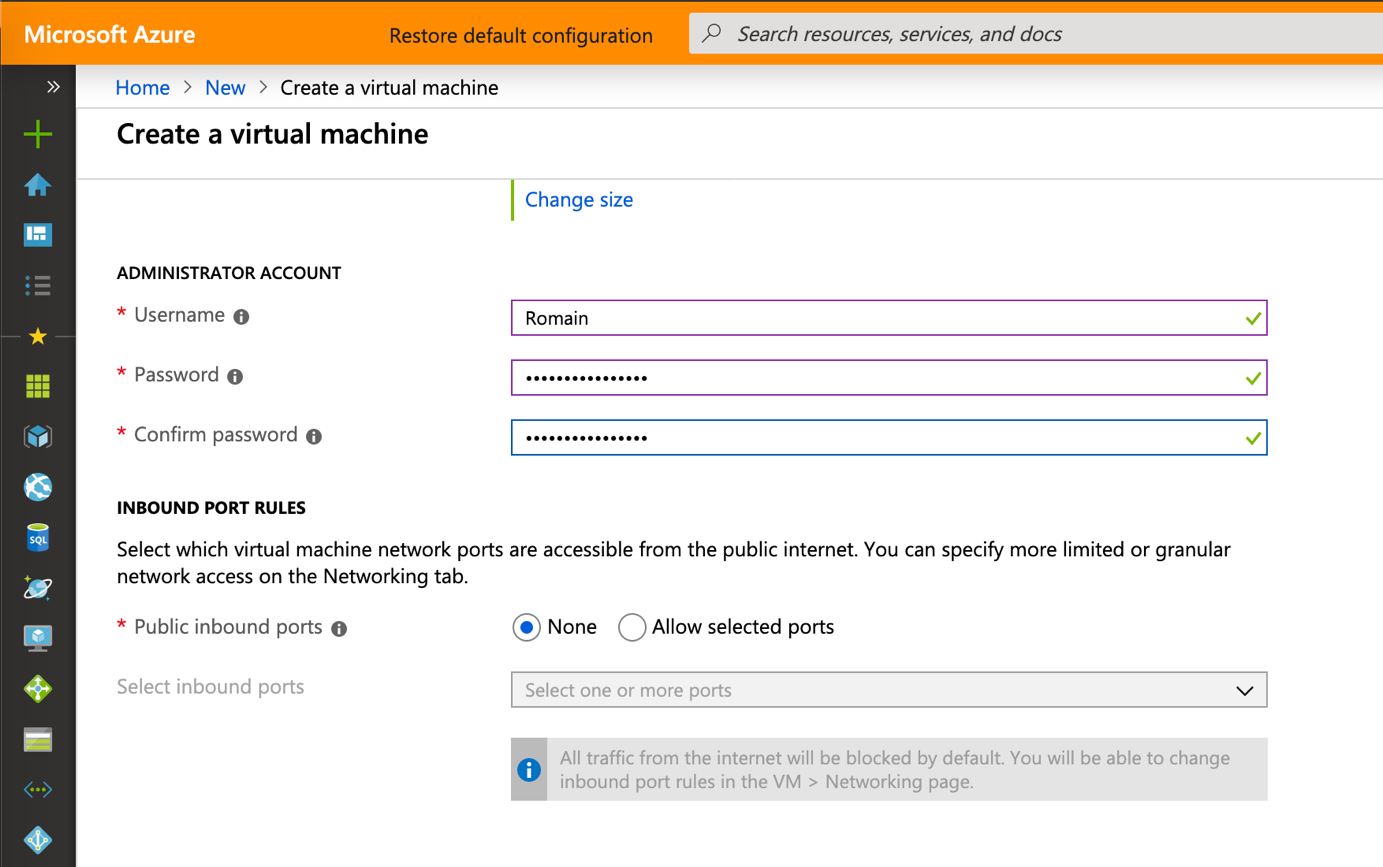
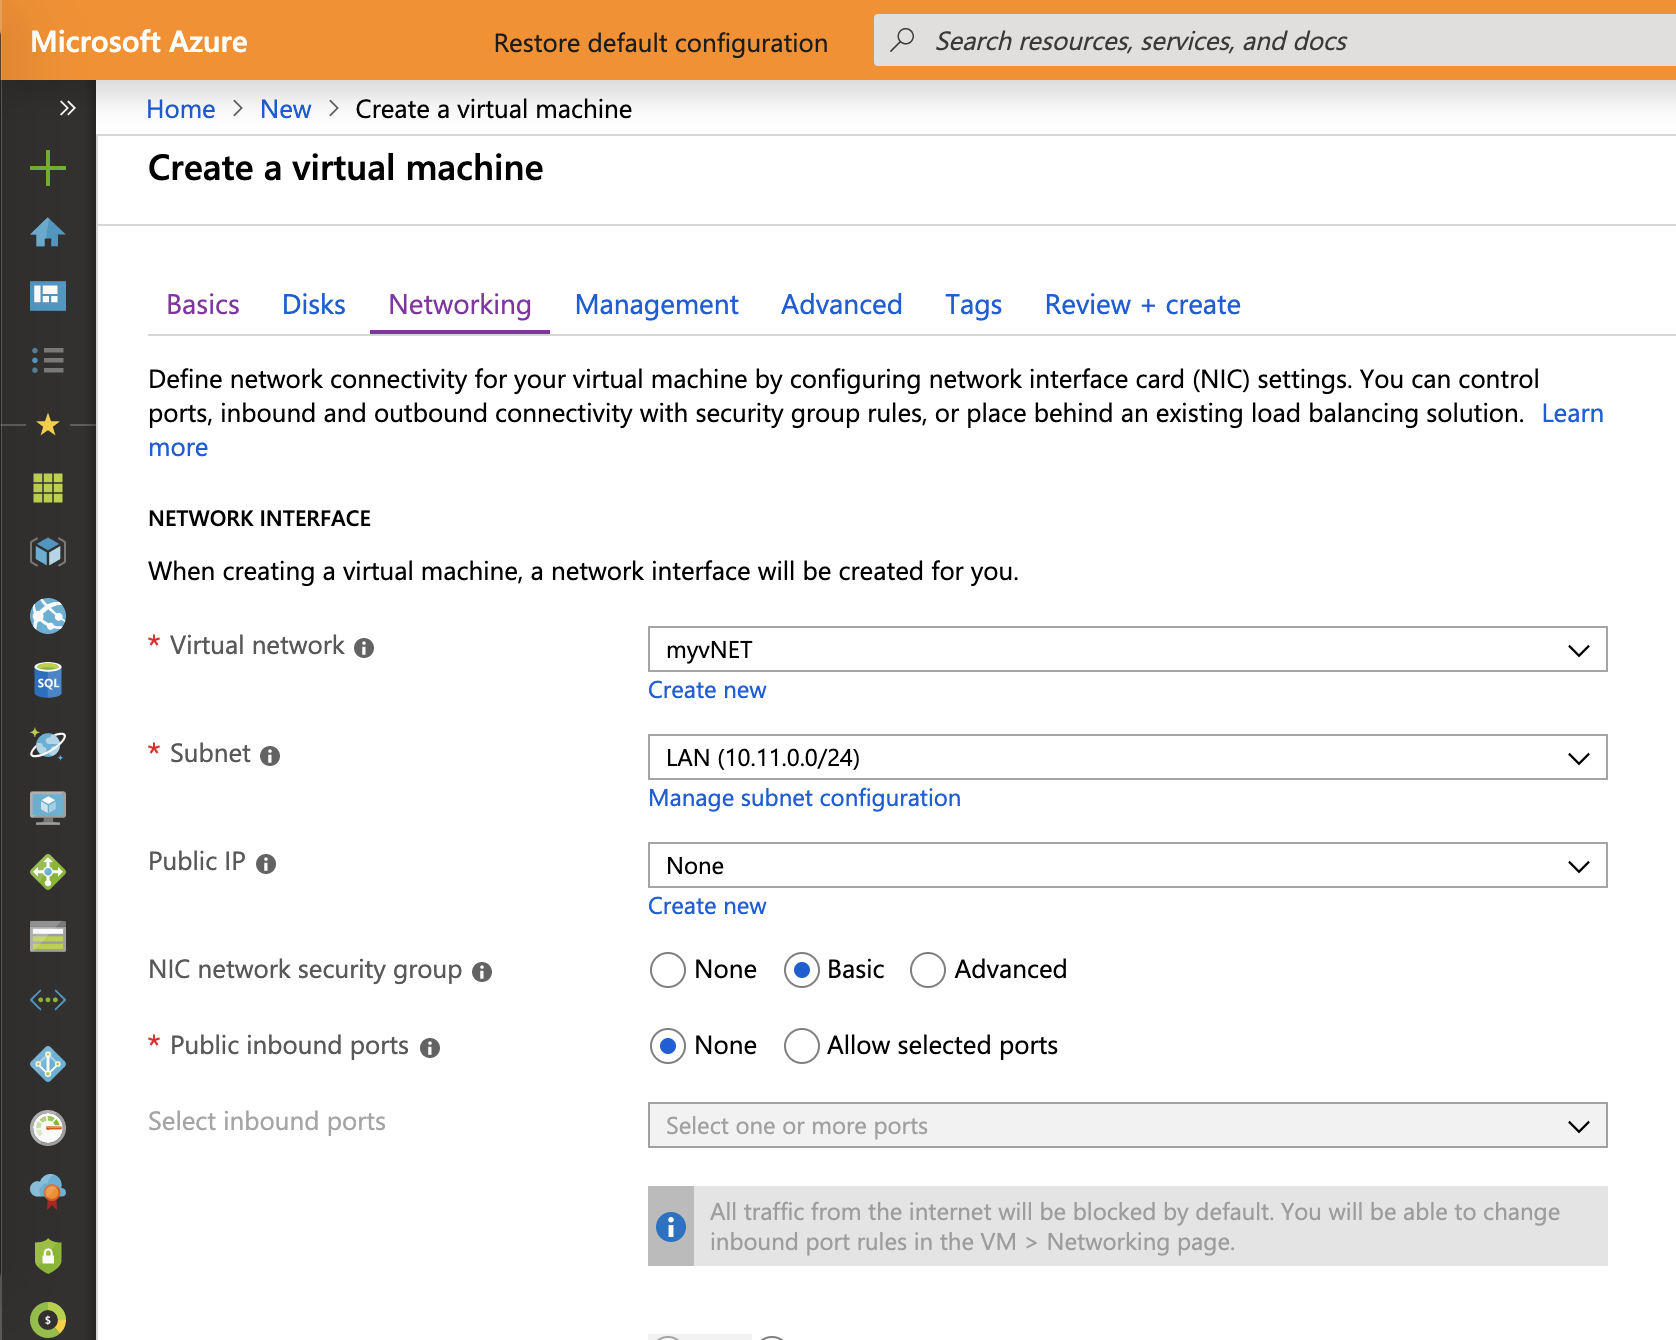
I connect these virtual machines to the virtual network where Bastion was implemented and I don’t configure public inbound ports.
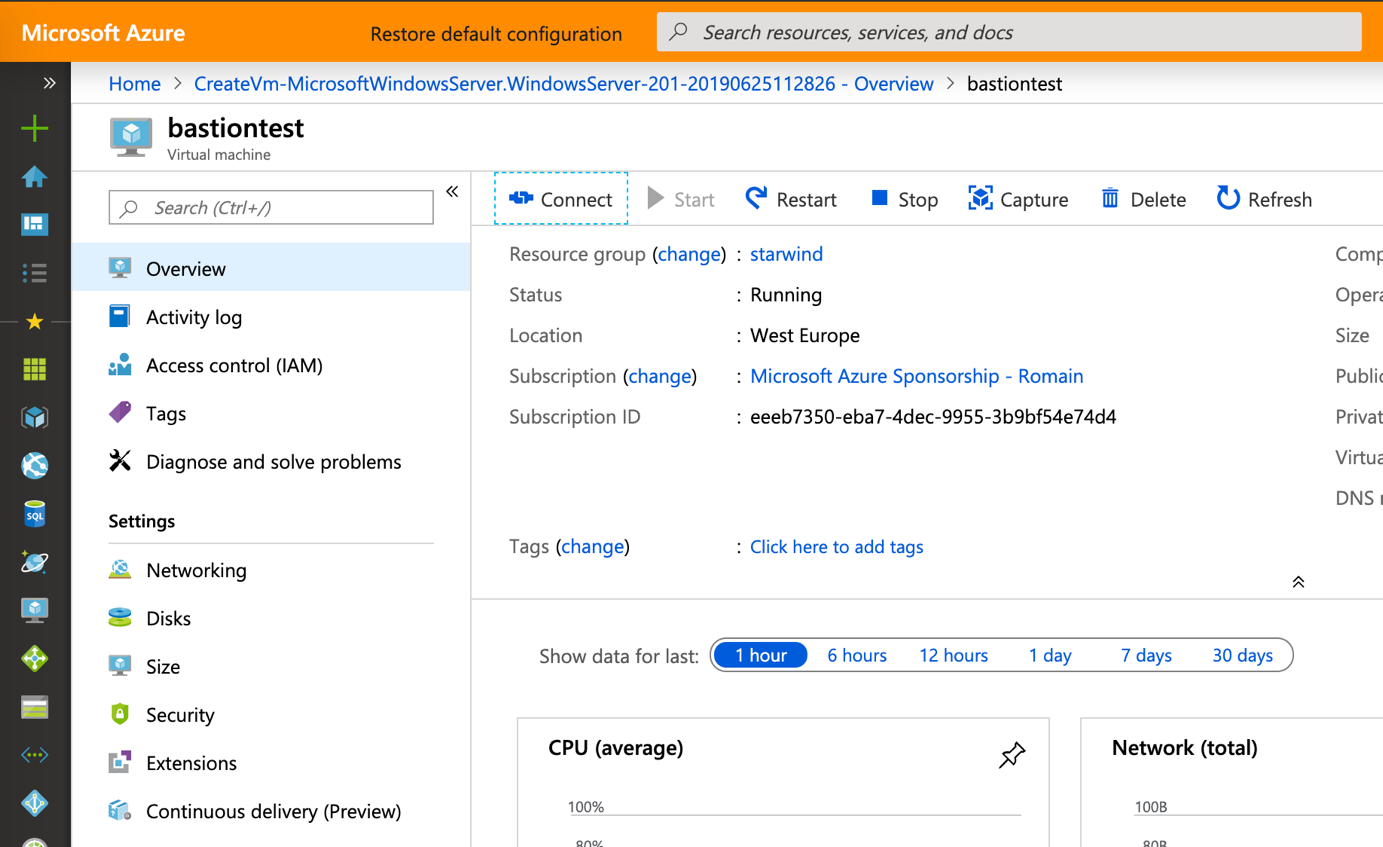
When the VM is deployed, you can click on Connect to open a session.
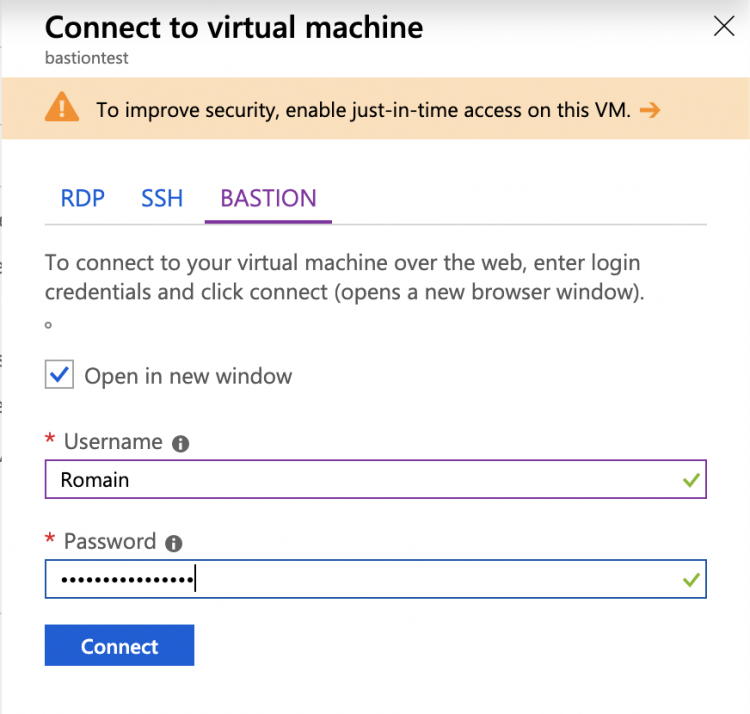
Now a right-side blade appears and you can choose Bastion. For a Windows VM, specify your credentials.
As you can see in the following screenshot, a RDP session is opened in the Azure Portal over SSL.
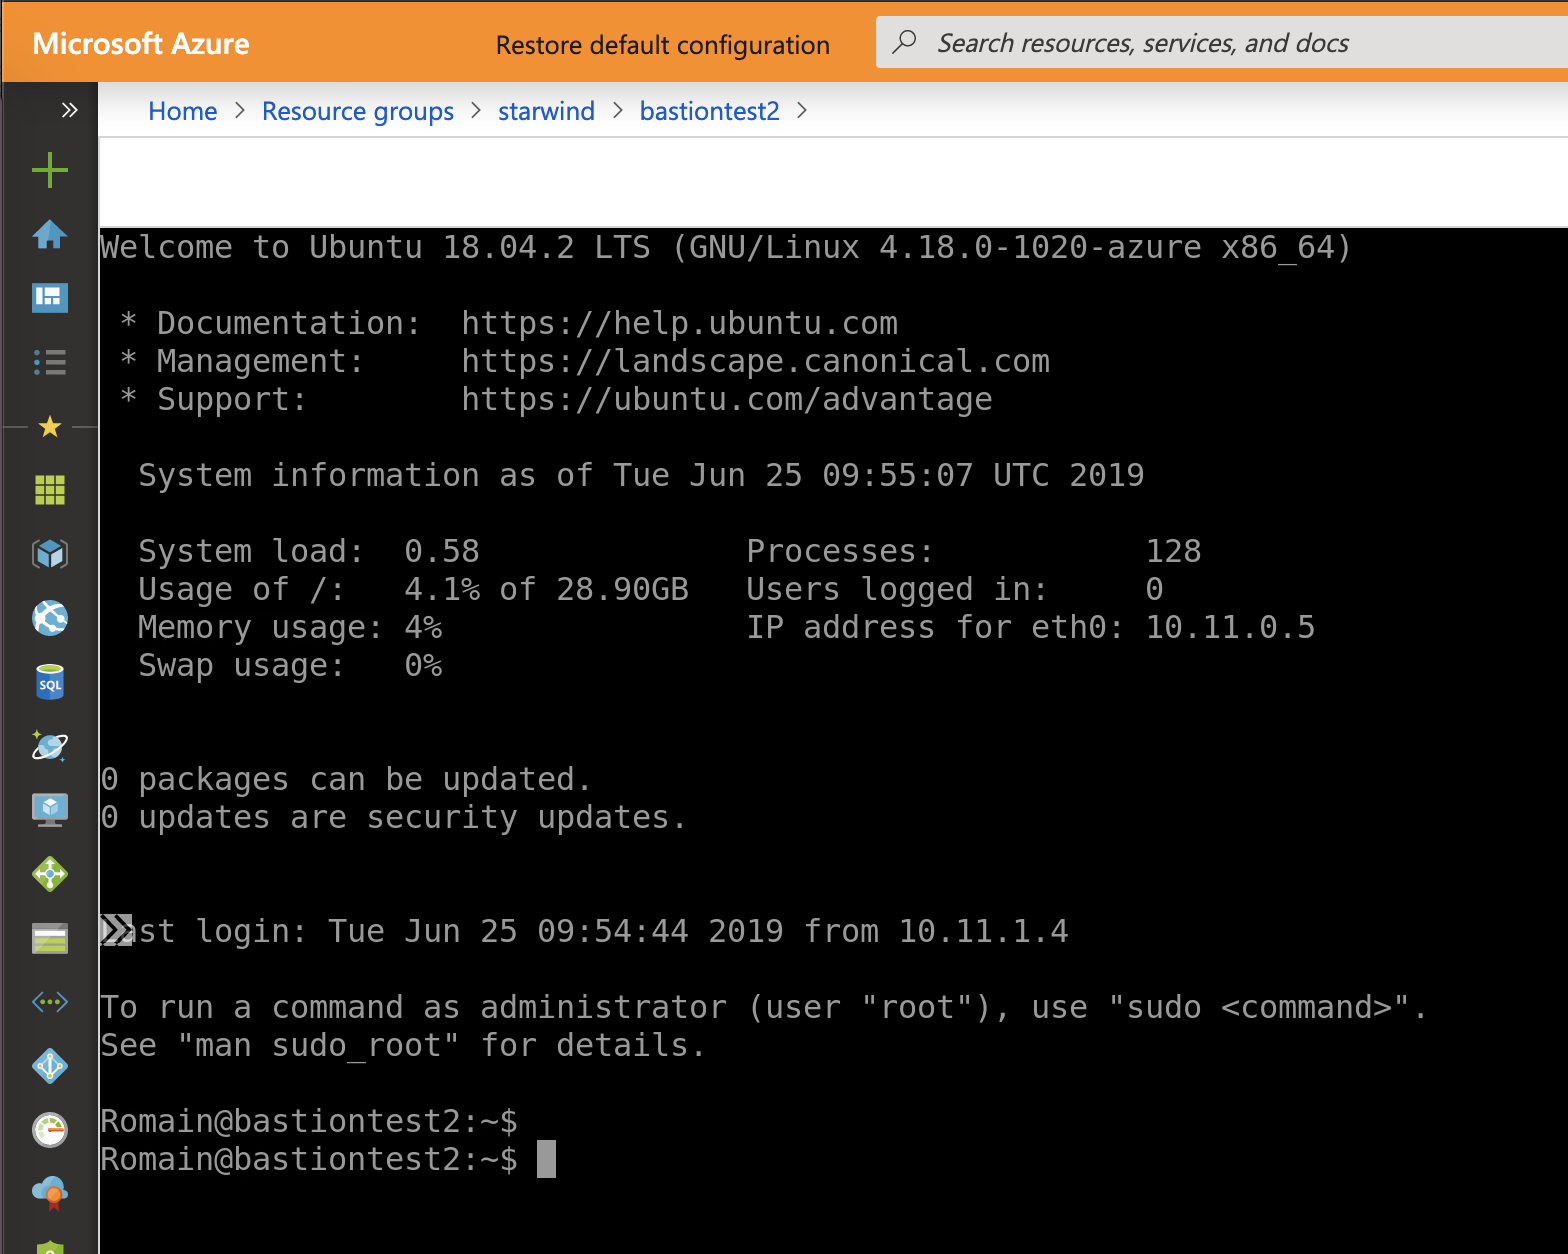
If you connect to a Linux VM, you can specify credentials but also a SSH private key.
Once connected, you have access to an SSH from the Azure Portal.
Conclusion
Azure Bastion is a good feature to increase the security level of your Azure infrastructure. Thanks to this feature, you don’t need a public IP on Azure VM to open an RDP/SSH session. When Azure Bastion will be GA, I think that will be a must have.


