Azure Arc allows you to build a true hybrid strategy by managing your resources hosted outside of your Azure environment and your Azure resources into a single console. For instance, you can manage the following on-prem resources:
- Servers: virtual machines and physical machines running Windows or Linux
- Kubernetes clusters: support for multiple Kubernetes distributions
- Azure Data Services: Azure SQL Database and PostgreSQL Hyperscale services
These on-prem resources can be managed from the Azure portal, which means that you can reboot a server, update a K8S cluster, and deploy a new database, … For sysadmins guys, if you also work with AWS or other cloud providers, then you can deploy the agent on your EC2 instances to manage them from the Azure portal.
By default, you can use Azure Arc for free, but if you want to use “paid” service, then you will have to pay for this service.
In this article, I will focus on how to integrate Azure Arc with VMware vSphere. This feature is very interesting to extend Azure management capabilities to your VMware vSphere infrastructure. You just need to deploy the Azure Arc resource bridge in your vSphere environment. Resource bridge is a Linux appliance (minimum versions: vCenter Server versions 6.7 and 7) that connects your vCenter to your Azure subscription.
At the time of writing this article, this feature is still in preview, so you should not use this one in production.
Getting started
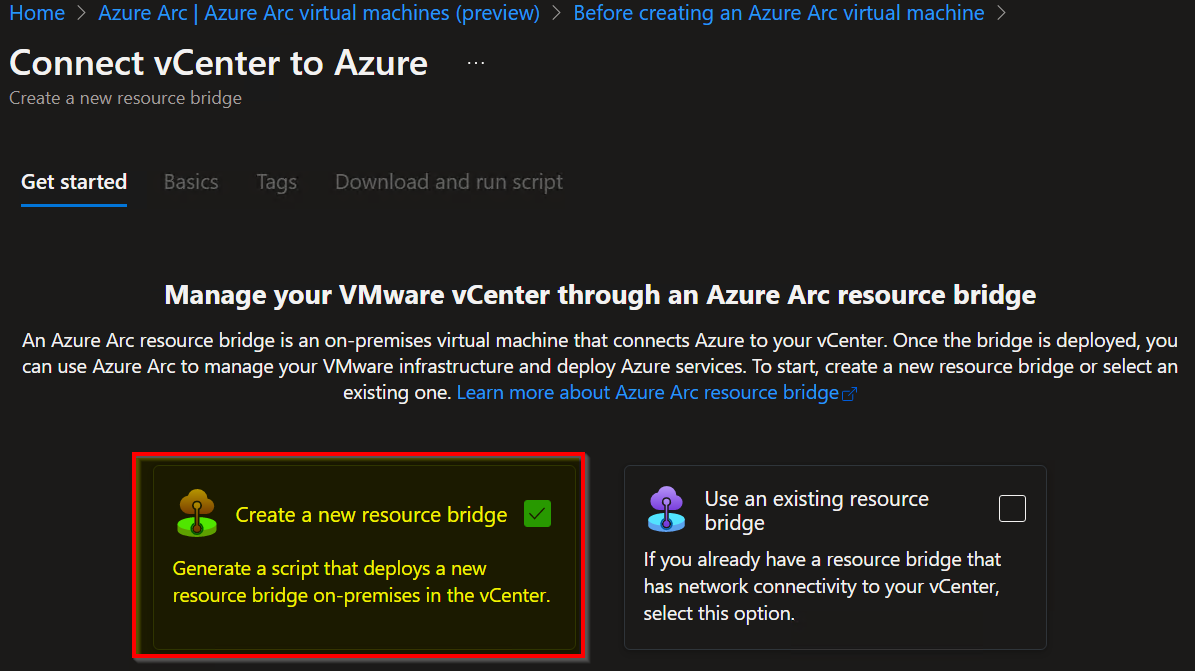
Go to the Azure portal and search for “Azure Arc”, then go to “VMware vCenters (Preview)” tab and click “Add”. You just follow the wizard, first select “Create a new resource bridge”:
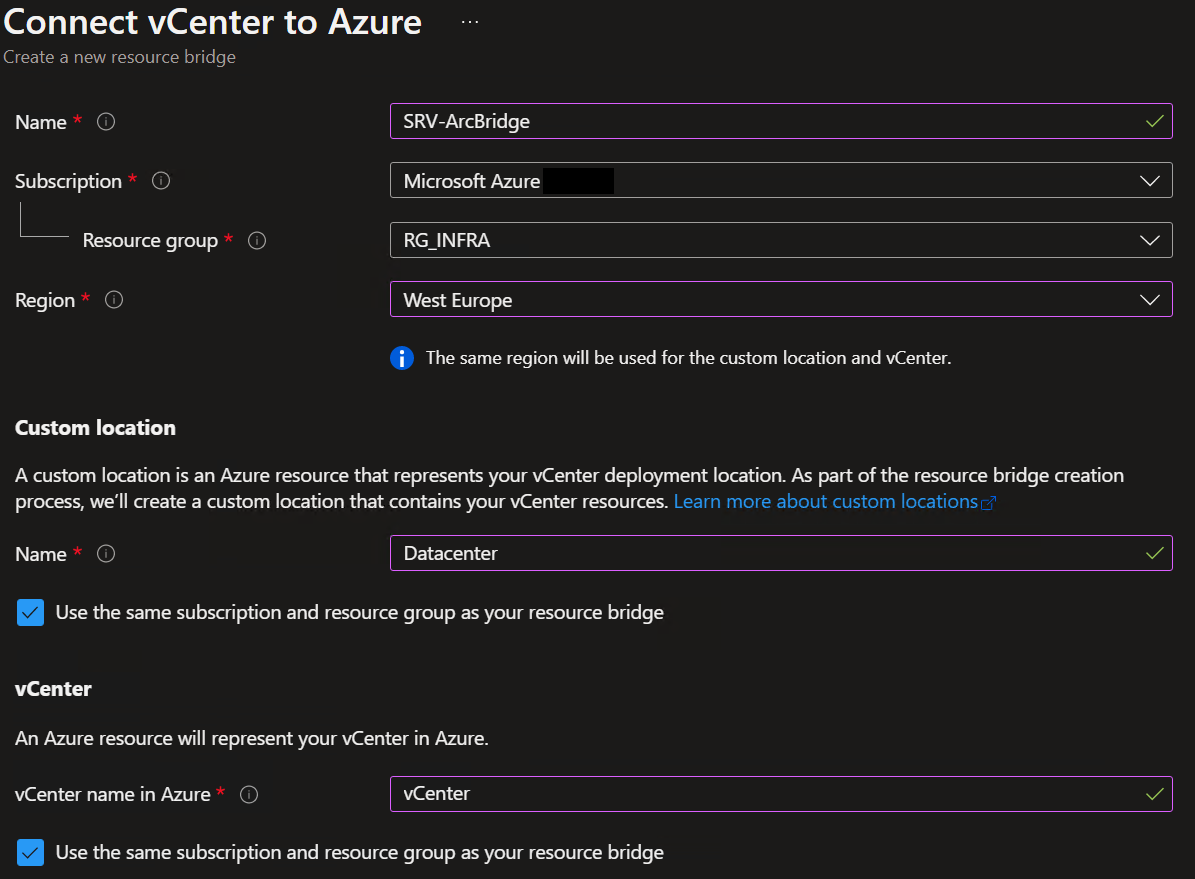
You must enter information about your vCenter:
- Name of the Resource Bridge
- Azure Subscription
- Resource Group
- Region
- Name of the custom location (your vCenter deployment location)
- VCenter name (an Azure resource that will represent your vCenter in your subscription)
Validate the wizard, if your subscription is not registered with all the required resource providers, the “Register” button will appear
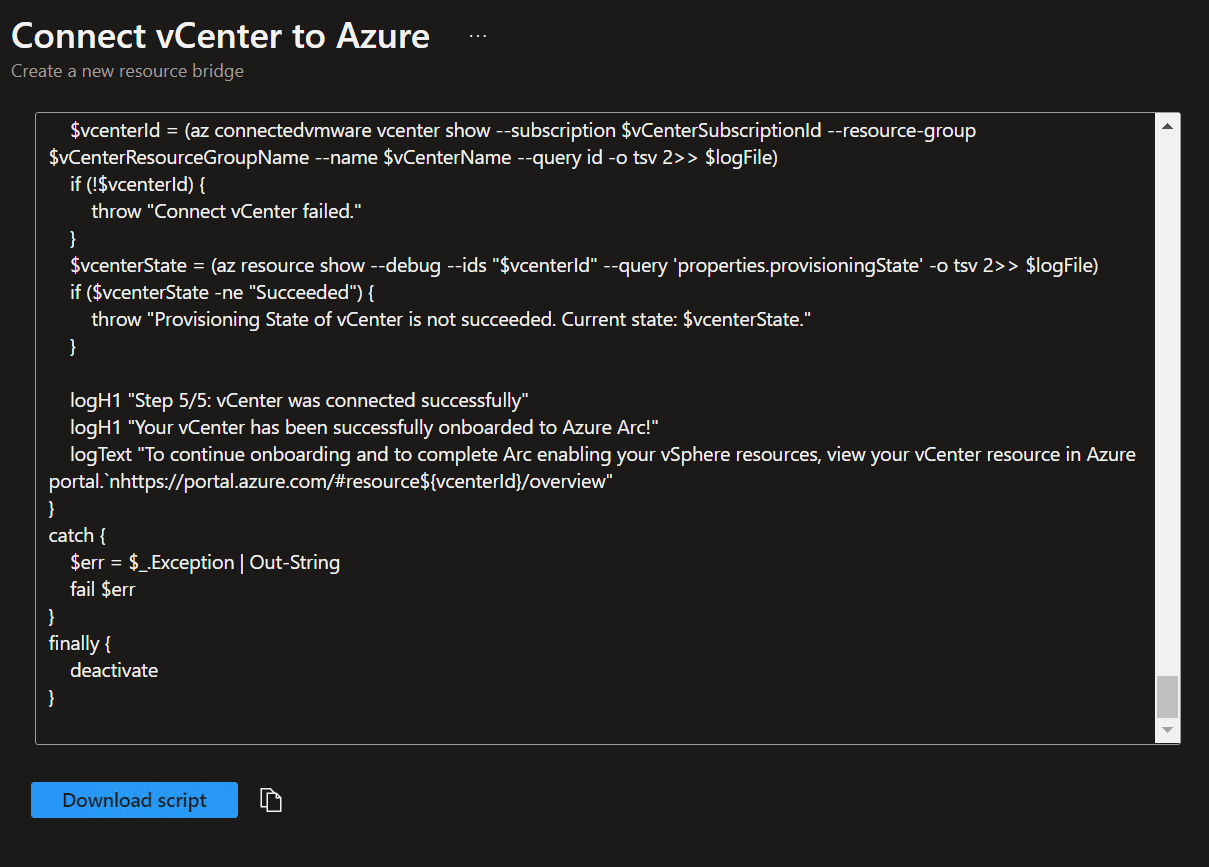
Once the registration is done, you can download the PowerShell script to deploy the appliance in order to connect your vCenter to your Azure subscription.
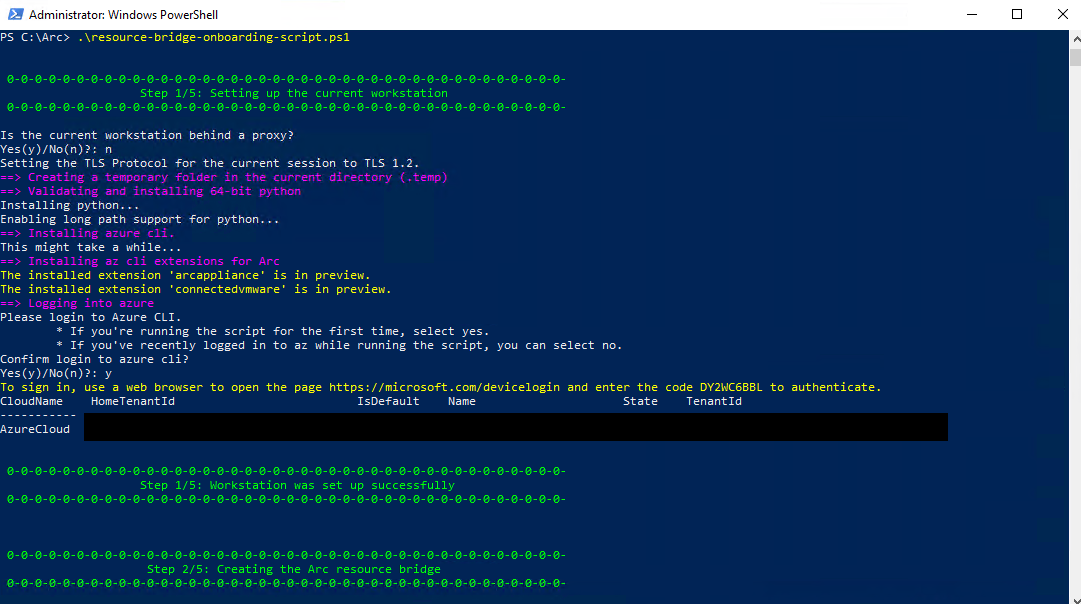
Connect to a machine with PowerShell installed and run the PowerShell script. Then, you will be prompted many times to enter vSphere information
Appliance (Linux K8S) will be deployed and connected
The script can take some time (30 minutes)
Go back to the Azure Portal, and you should see your vCenter appearing
Now you can manage your on-prem environment via the portal. Click on the vCenter resource to display all your virtual machines.
Then, you can click on a VM to interact with.
You can manage the virtual machine by restarting, stopping etc.
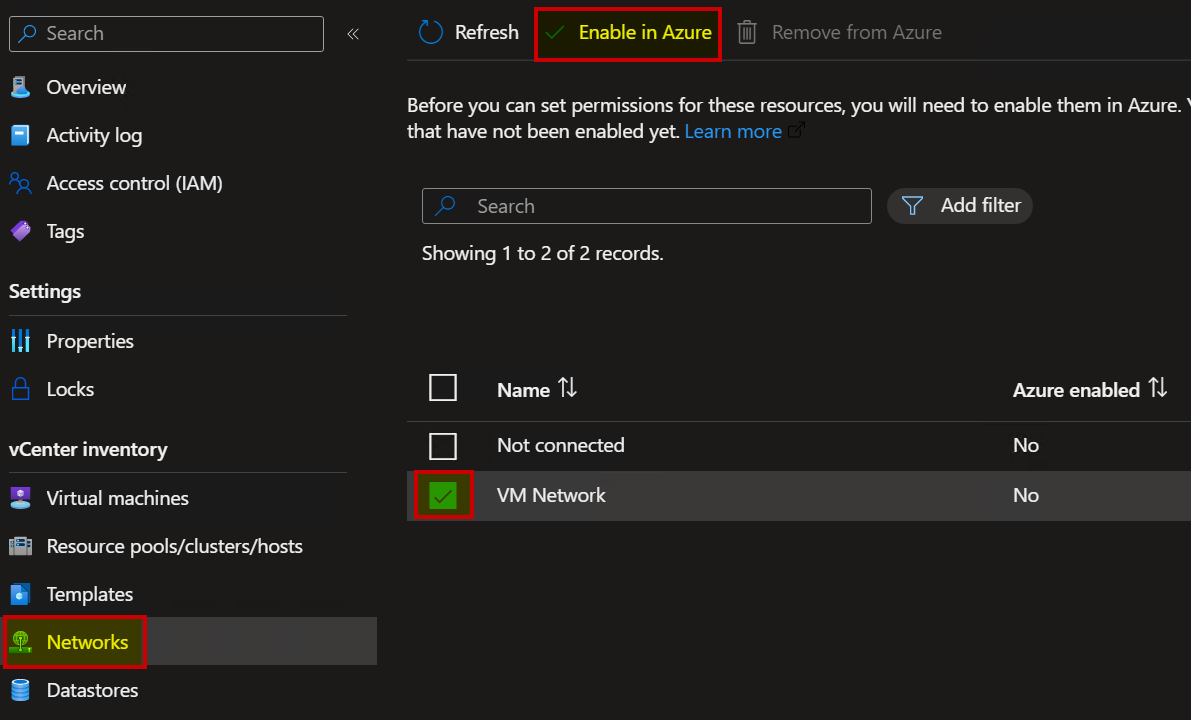
More interesting you can create Azure resource for VMware networks for example, which means that you can add a network card on a virtual machine, or you can also do the same thing with a disk.
Select your network and click “Enable in Azure”, Azure will convert this network to an Azure resource.
Select a virtual machine, go to “networking” and click “add network interface” to add a new network card
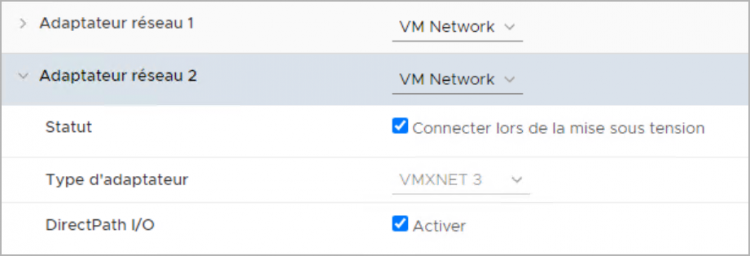
Once you validate the wizard, you can confirm in your vCenter a new task that will create a new network card
Edit the virtual machine and confirm the network card.


