In my last topic, I did a Windows 365 deployment from a gallery image. In this topic, I’ll want to show you how to create a custom image for your Windows 365 deployment.
At the time of writing this topic, only images from Azure VM gen 1 are supported. But that will change soon and on October 5th, only gen 2 image will be supported. But the steps to create the image are the same, either gen1 or gen 2 image.
Create the Azure VM
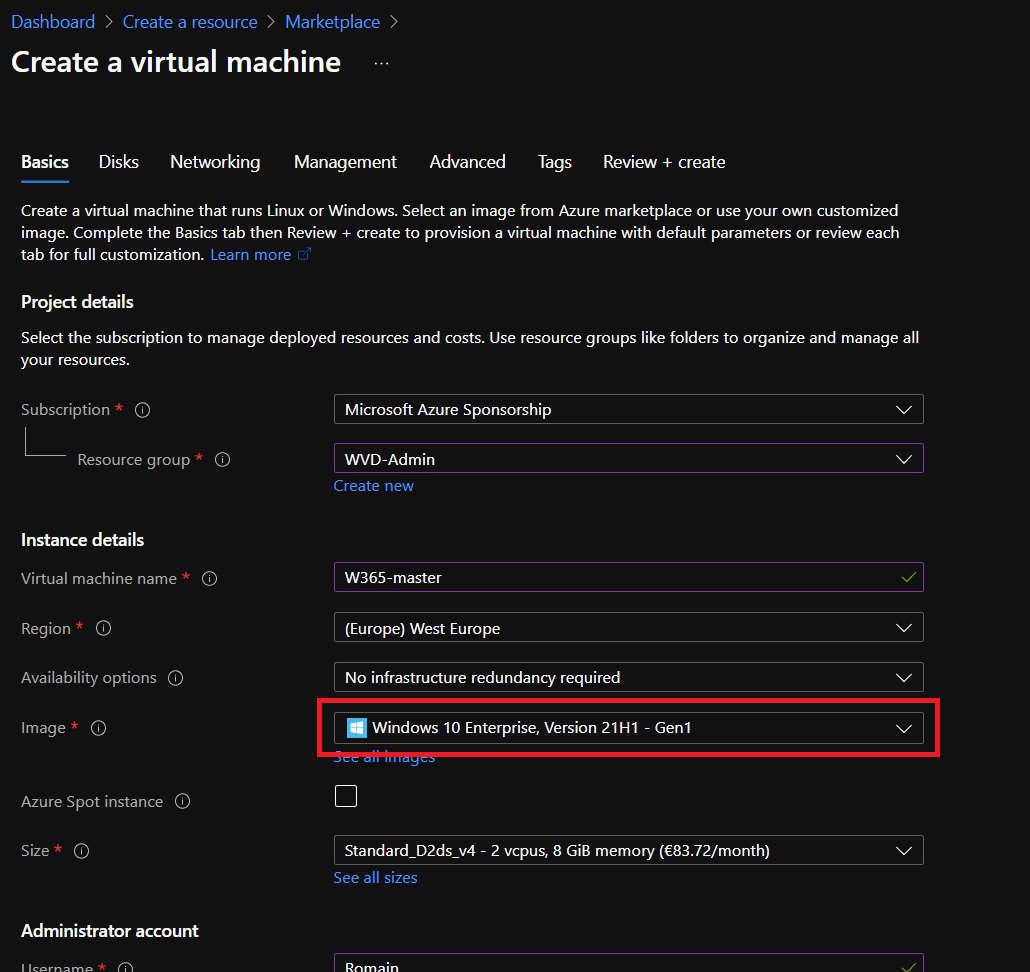
For the purpose of this topic, I created a VM from a Windows 10 Enterprise Gen 1 image. If you want to get a gen2 image, just deploy the Azure VM from a gen 2 image. After that, deploy the VM as you usually deploy other Azure VM (virtual network, password, vm size and so on).
Once the VM is created you can connect through RDP or through Azure Bastion to the VM.
Customize your image
Now you are connected to the VM, you can customize it. You can deploy applications, apply some change on the system (time, language and so on). If you forget something, you will be able to redeploy a VM from the image later to bring some modifications.
Once you have finished your customization, we can start a sysprep to generalize the operating system. For that, open a cmd (in administrator context) and navigate to c:\windows\system32\sysprep and run sysprep.exe.
In sysprep, select Enter System Out-of-Box Experience (OOBE), generalize and shutdown.
Once the Azure VM is shutdown, you can create the image.
Create the image
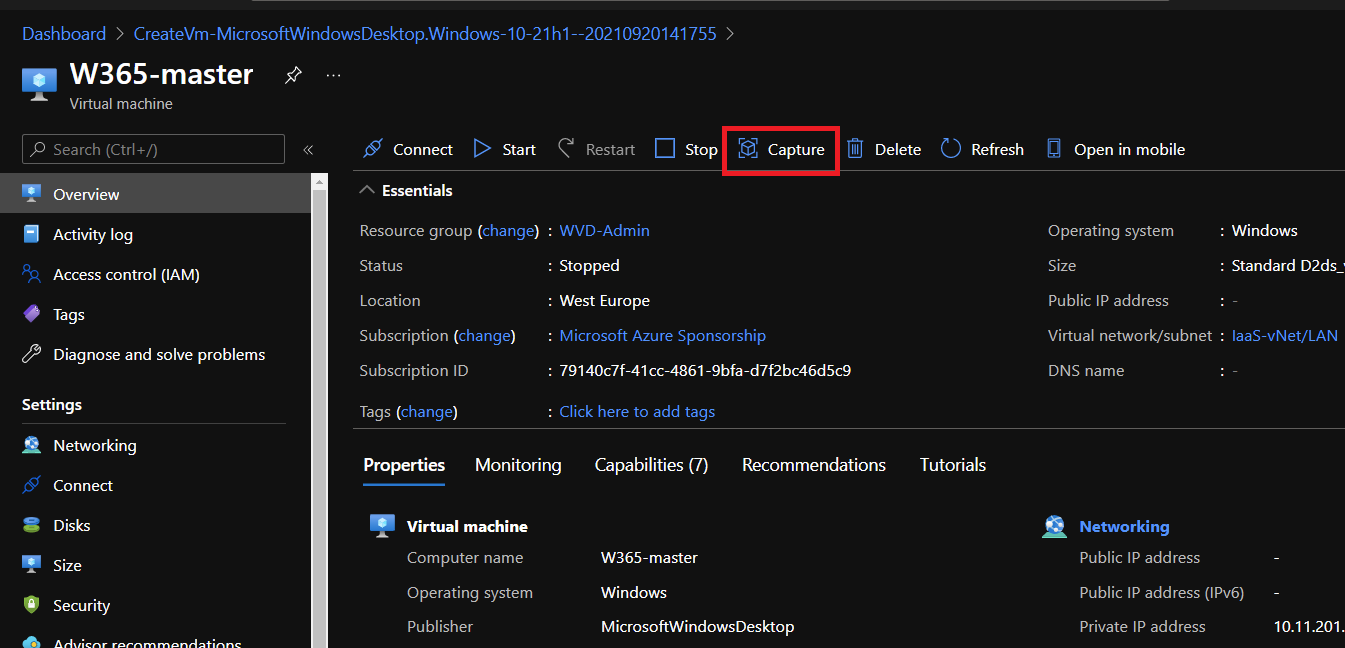
Now that the system is syspreped, we can create an image from the Azure VM you have just configured. In the Azure Portal, navigate to the Azure VM and select Capture.
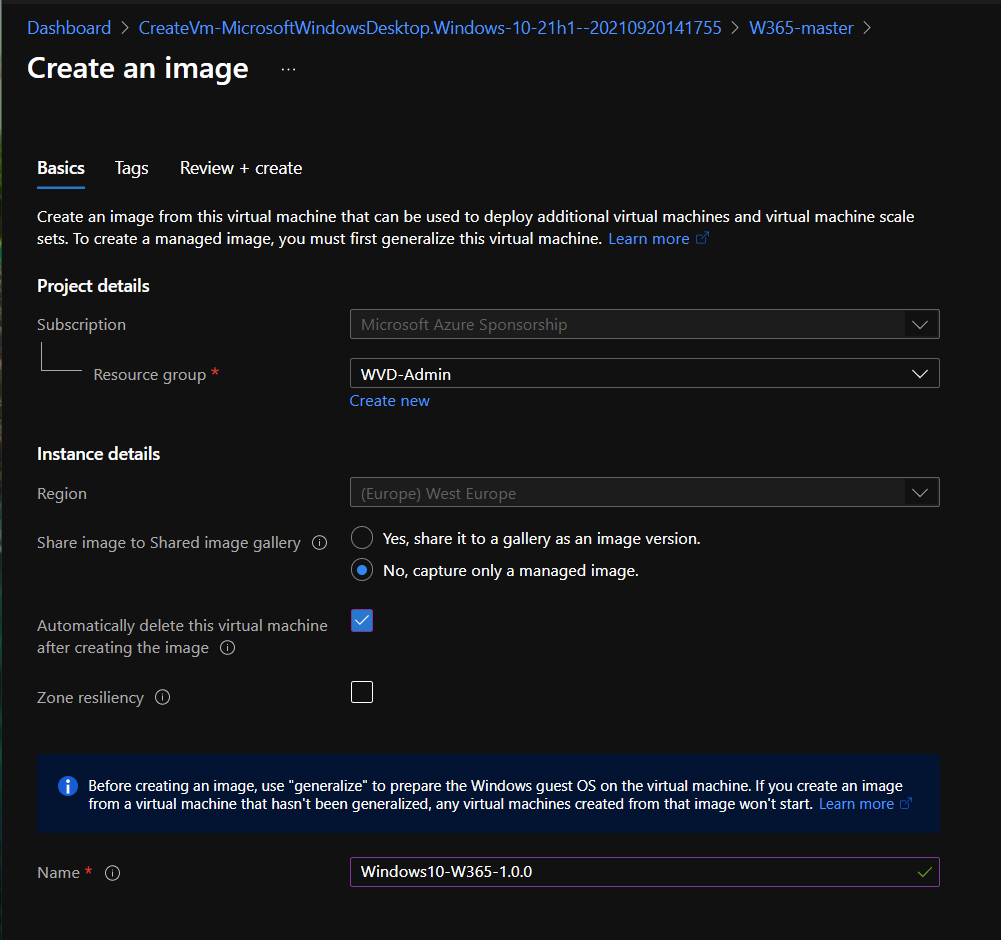
Now, select the resource group where the image will be, the location of the image (in Azure Gallery or not) and choose if you want to delete the Azure VM. Next specify the image name. I called mine Windows10-W365-1.0.0.
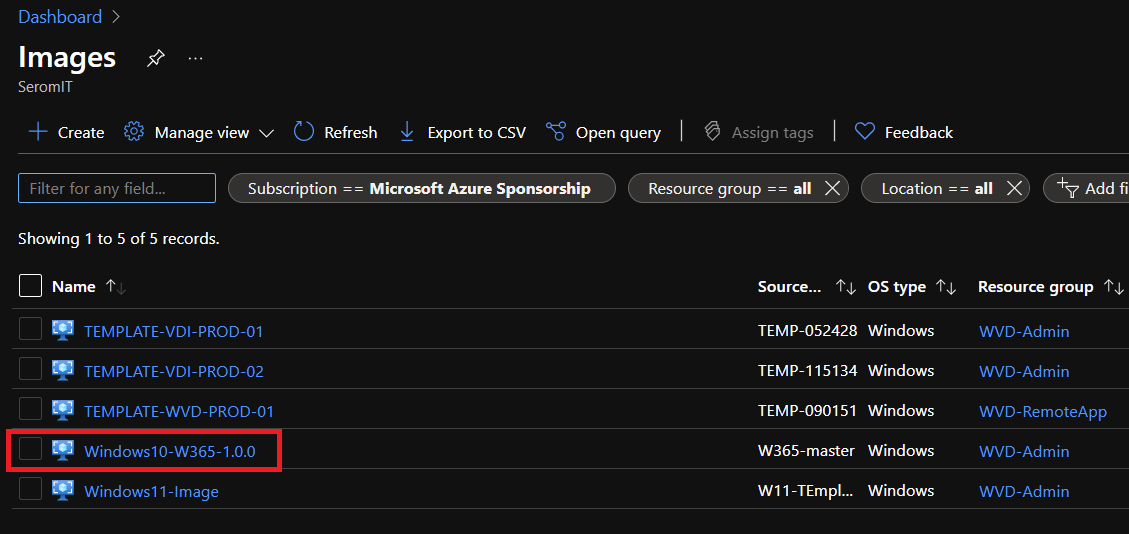
Once the image is created, you should retrieve it in Images pane.
Add the image to Windows 365
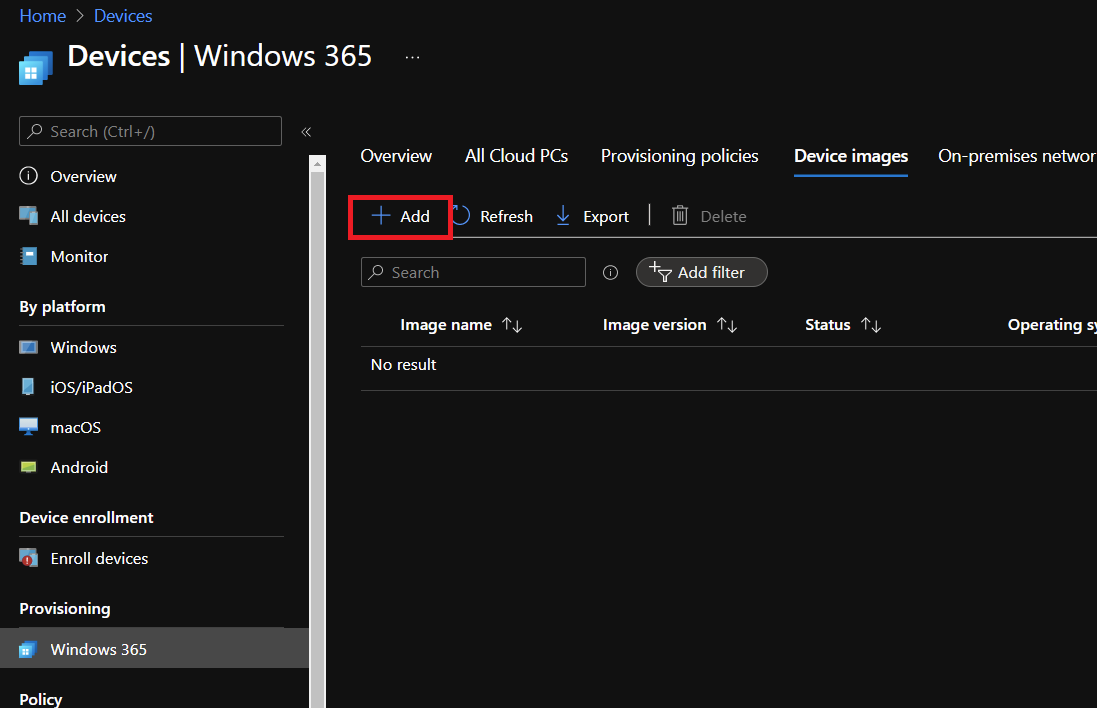
Now that the image is created, you can open Microsoft Endpoint Manager and navigate to Windows 365. From there, select device images. Click on Add.
Specify an image name, a version and select your image.
N.B: Microsoft Endpoint Manager and your Azure Subscription must be in the same tenant.
After that the image is uploaded; it can take a while.
Now that the image is ready, you can configure a provisioning policy that uses this image to deploy Windows 365 Cloud PC.


