More and more companies deploy multicloud architectures to address their business needs which means that data are distributed across multiple cloud providers. The use of multiple clouds for businesses is growing in popularity but as a sysadmin you must be able to manage the whole perimeter. One of the first thing you should be able to do is to link cloud environments to allow resources to communicate all together.
There are many cloud providers, but Azure, AWS and GCP are the most popular. In this article, I will explain how to link Azure and AWS using a Virtual Private Network (VPN) which will create a single cloud environment. In a concern of high availability, I will create two VPN tunnels (master/backup).
Getting Started
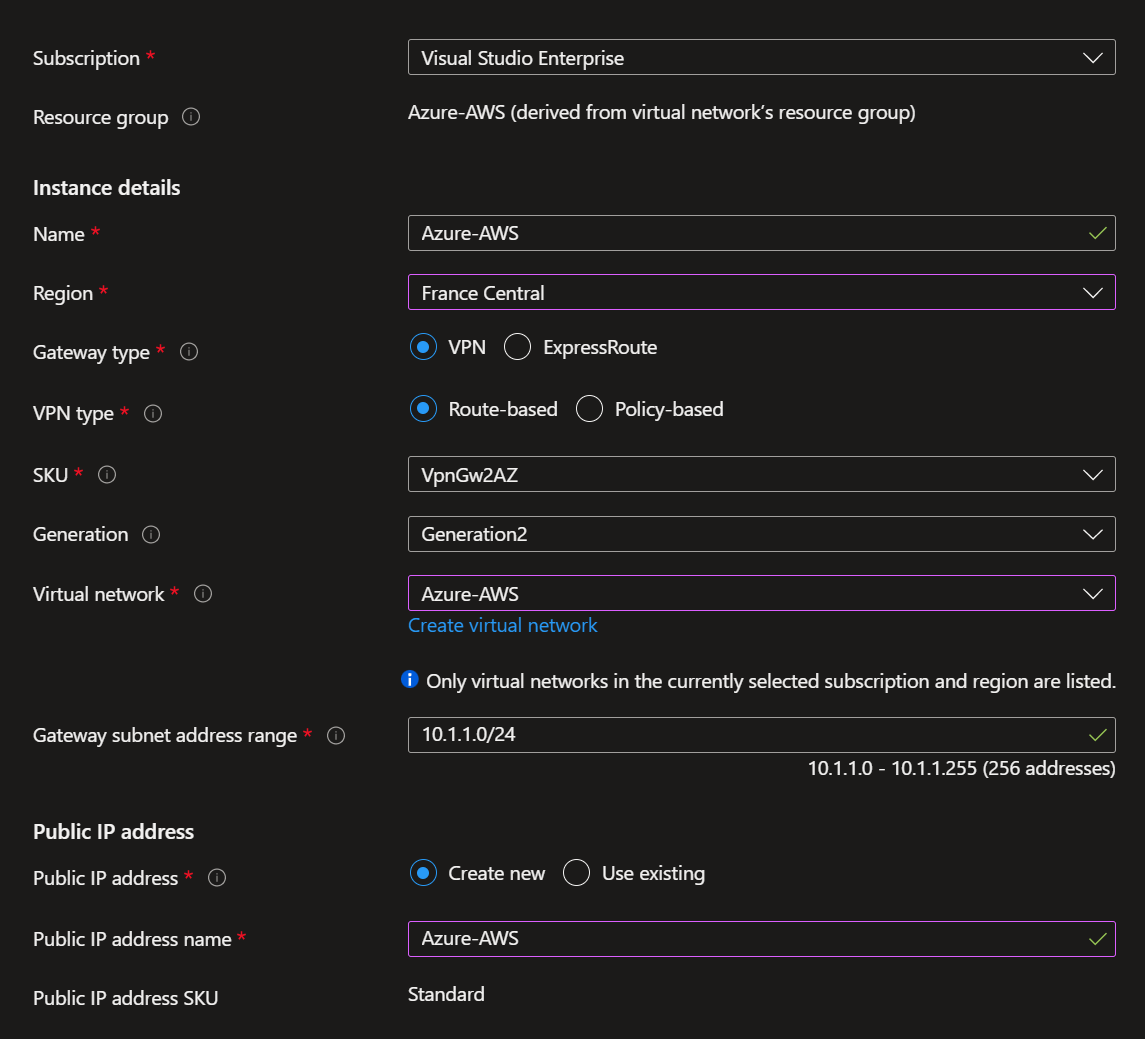
Fist, go to the Azure Portal. Assuming I already created a resources group named “Azure-AWS” + a Virtual Network named “Azure-AWS” in the search bar, enter Virtual Network Gateway to create your VNG named “Azure-AWS” with a subnet 10.1.1.0/24.
In this wizard, I also create a public IP address, this IP address will be set in the AWS VPN configuration later.
Wait a few seconds until the VNG is created. In the mean time, I switch to the AWS portal, enter VPC in the search bar to create the Amazon Virtual Private Cloud (VPC)
Select VPC only, enter the VPC name and the IPv4 CIDR you prefer.
Wait few seconds and the VPC is created. Click Subnets and Create subnet
You should see your VPC in the drop down list, then enter a subnet name with the IPv4 CIDR
Click create and then provision the Customer Gateway which corresponds to the Azure Gateway.
Enter the Customer Gateway name and the public IP address of your Azure VNG
Validate the wizard, then go to Virtual Private Gateways
Enter the name of your AWS Virtual Private Gateway
Once the VPG is created, click Attach to VPC to attach the VPG to your VPC
You should see your VPC in the drop down list, click Attach to VPC
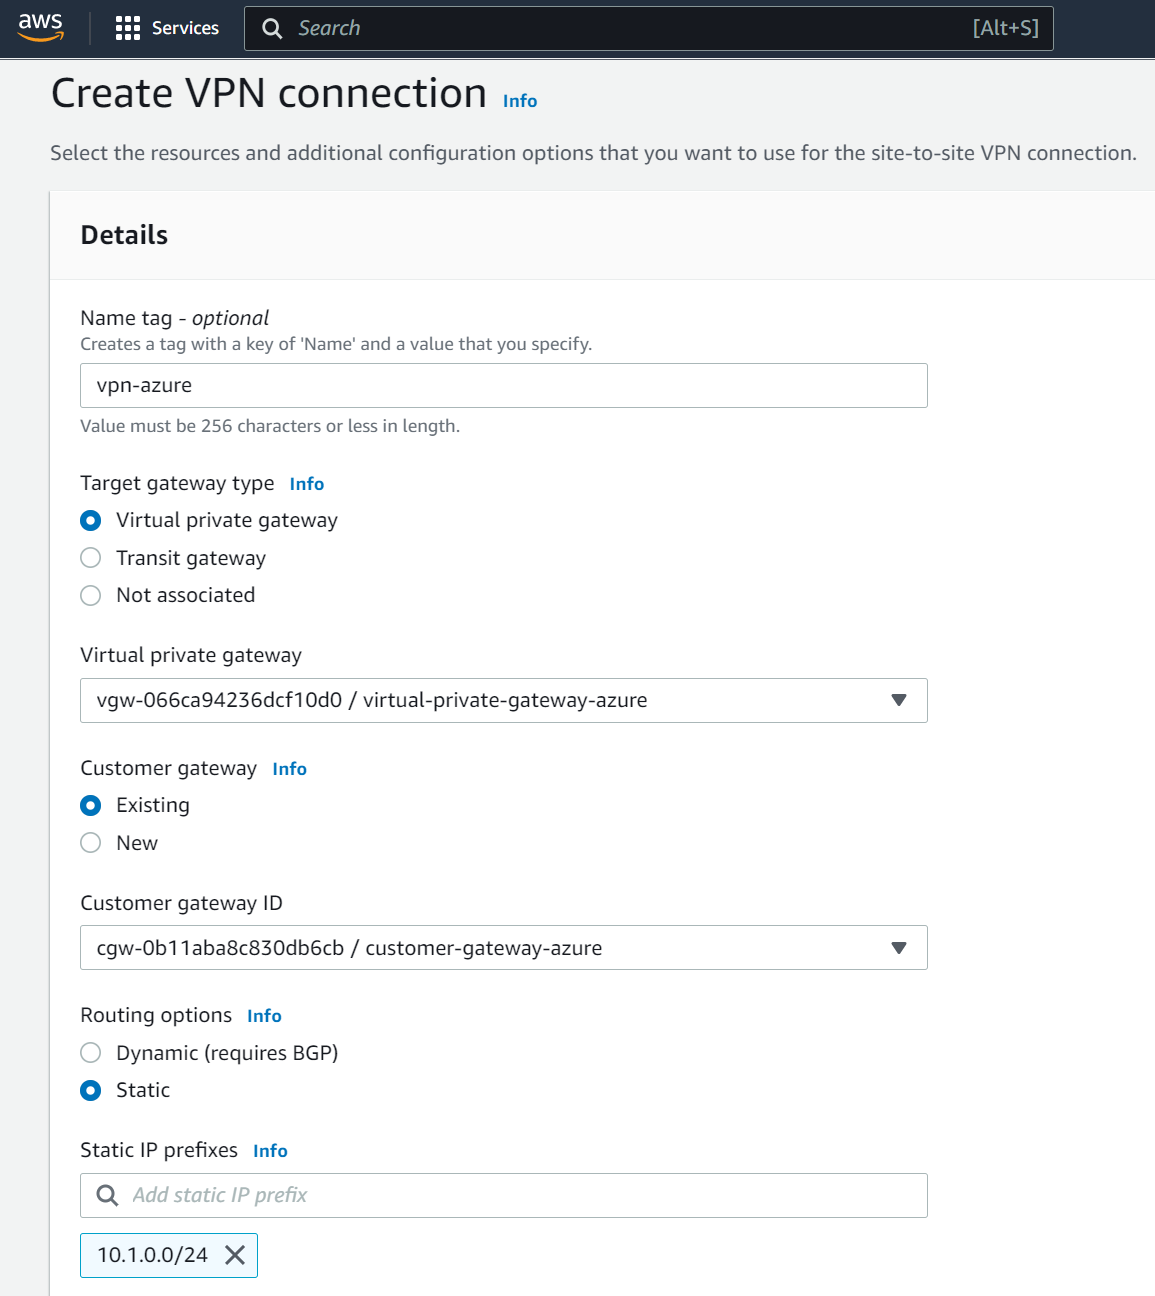
Now, go to Site-to-Site VPN Connections and click Create VPN connection
Enter a friendly name for this VPN Connection, select the VPG and the Customer Gateway. Don’t forget to add the IP prefix of your Azure network
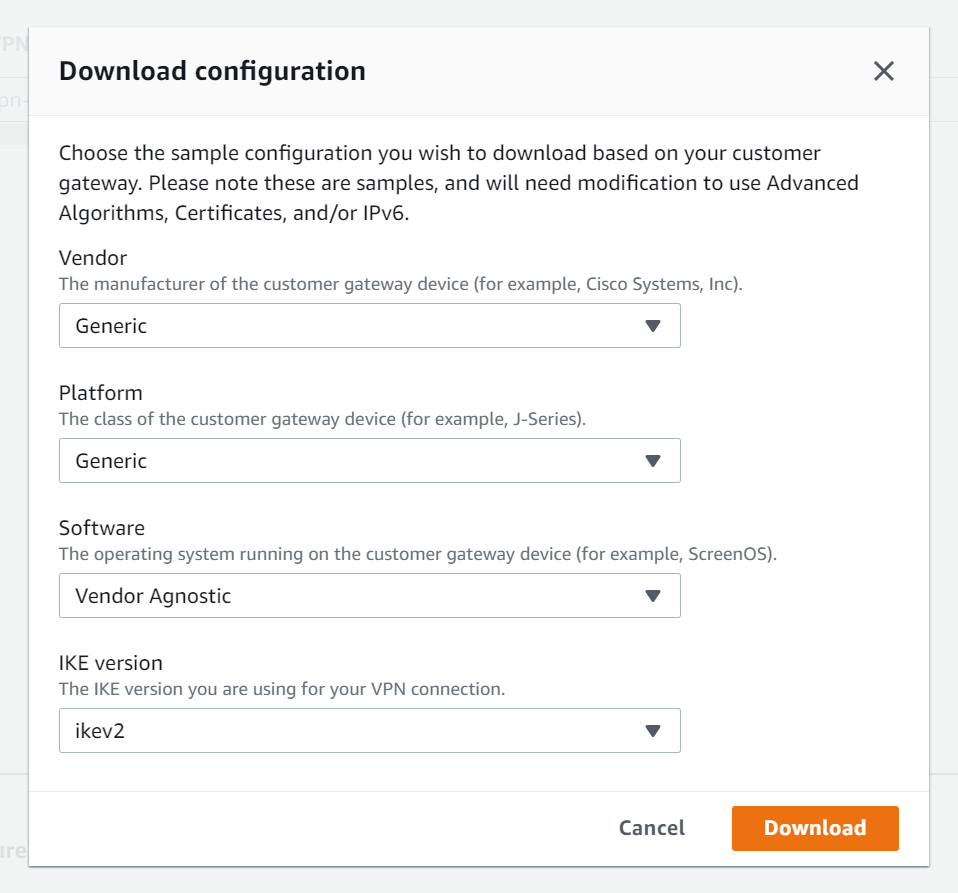
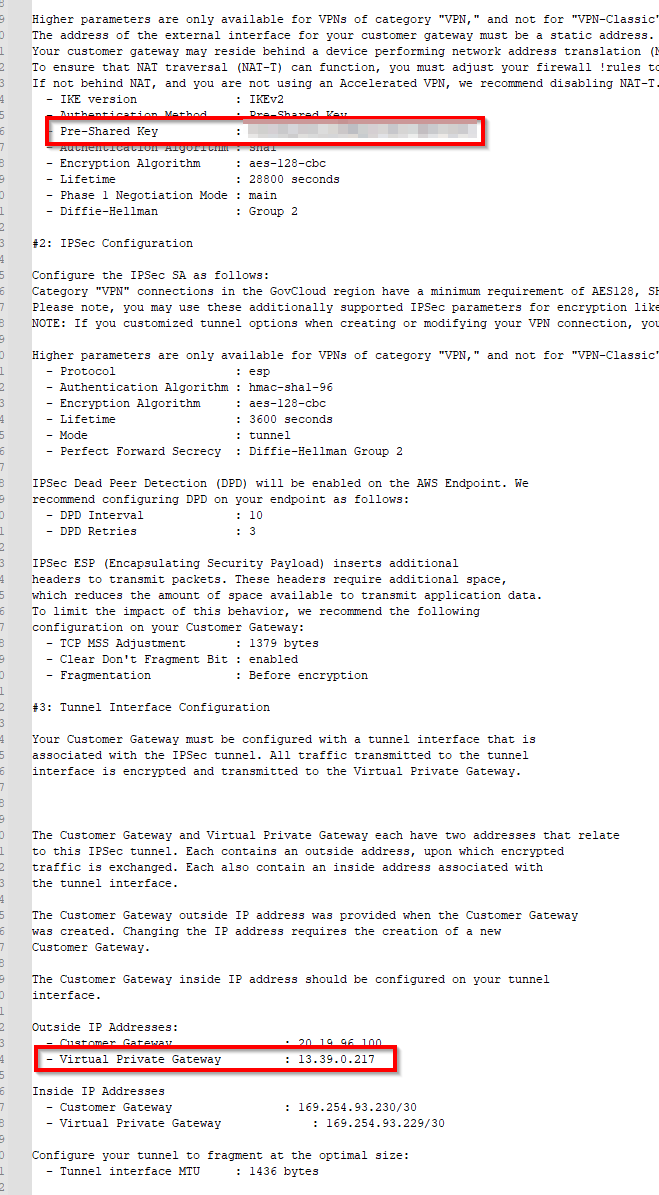
Everything is OK from AWS side. You must retrieve the VPN S2S configuration, click Download configuration to download the TXT file.
Azure is not listed in the vendor list, so select Generic
At this step, you must check the connection status, it must be Available
Switch back to Azure portal and create a Local Network Gateway (LNG). Enter the name of the LNG and the AWS public IP Address that you get in the TXT file
Add the AWS network address space and confirm the wizard to create the LNG
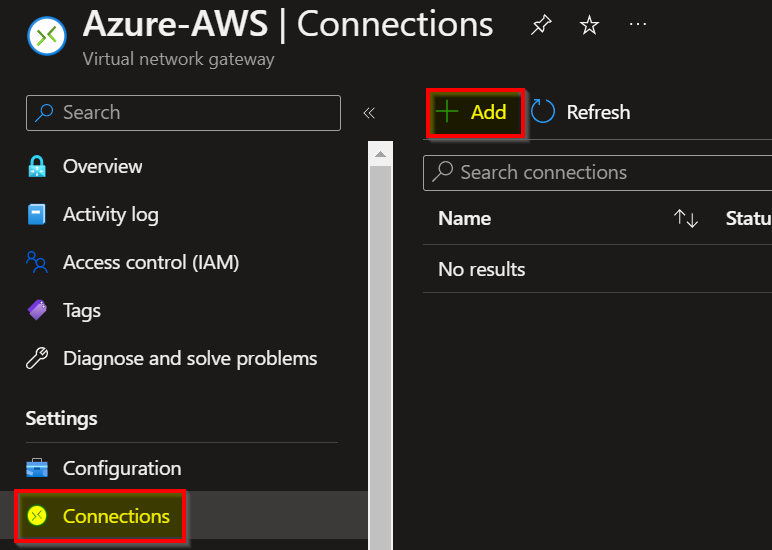
We must connect the LNG with the VNG, go to the Virtual Network Gateway section, click Connections tab and click Add
Enter a connection name, the connection type and the VNG+LNG. Select the IKE protocol you select in the AWS configuration.
Validate the wizard and wait a few seconds. You should see the connection status switching to Connected.
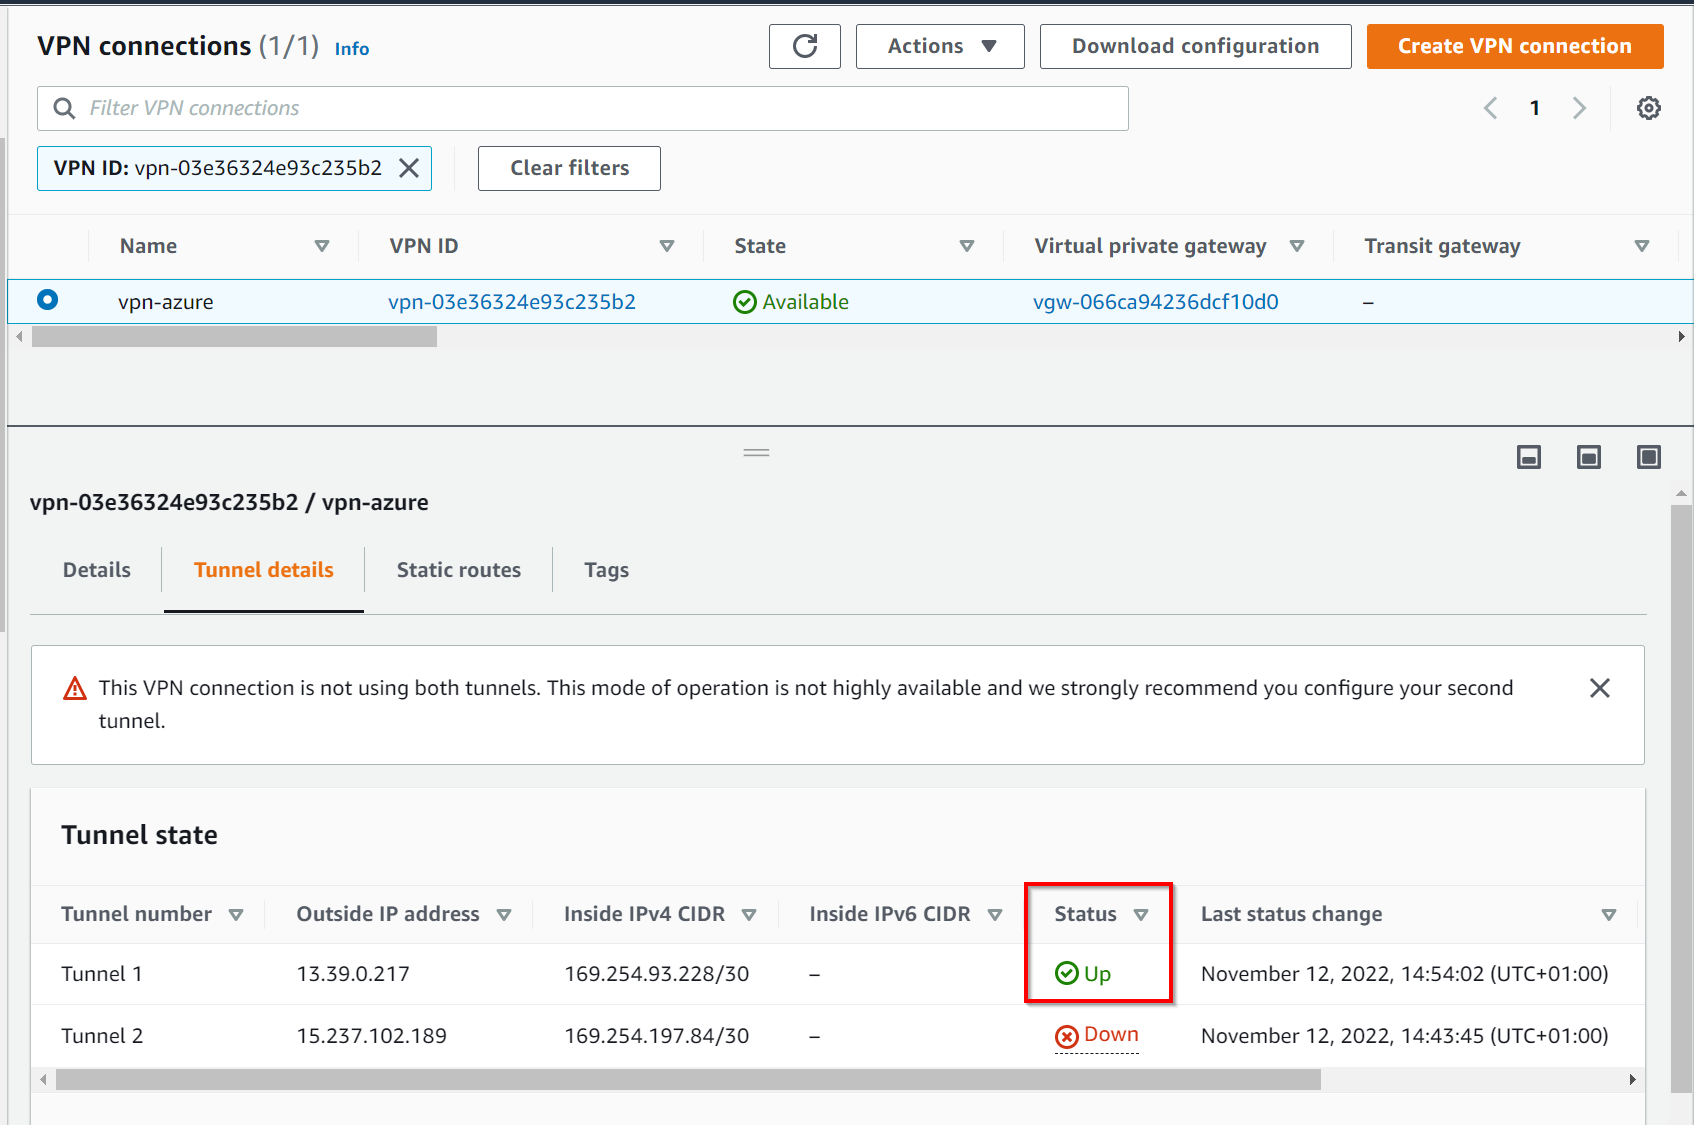
Switch back to AWS portal in the VPN section, few seconds later you should see the status switching to Up as well.
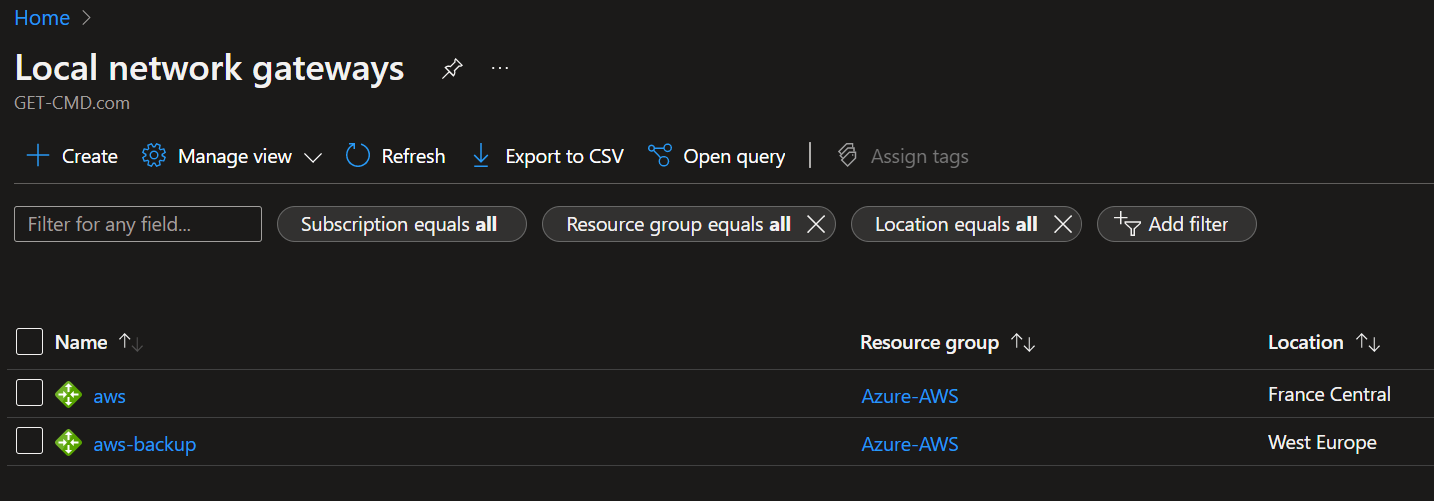
You can see two tunnels are created by default, we will configure the second one now. Create a new Local Network Gateway dedicated to the second tunnel. I called it AWS-Backup
You now have two Azure LNG and 2 AWS tunnels
Edit the AWS route table to add the Azure network
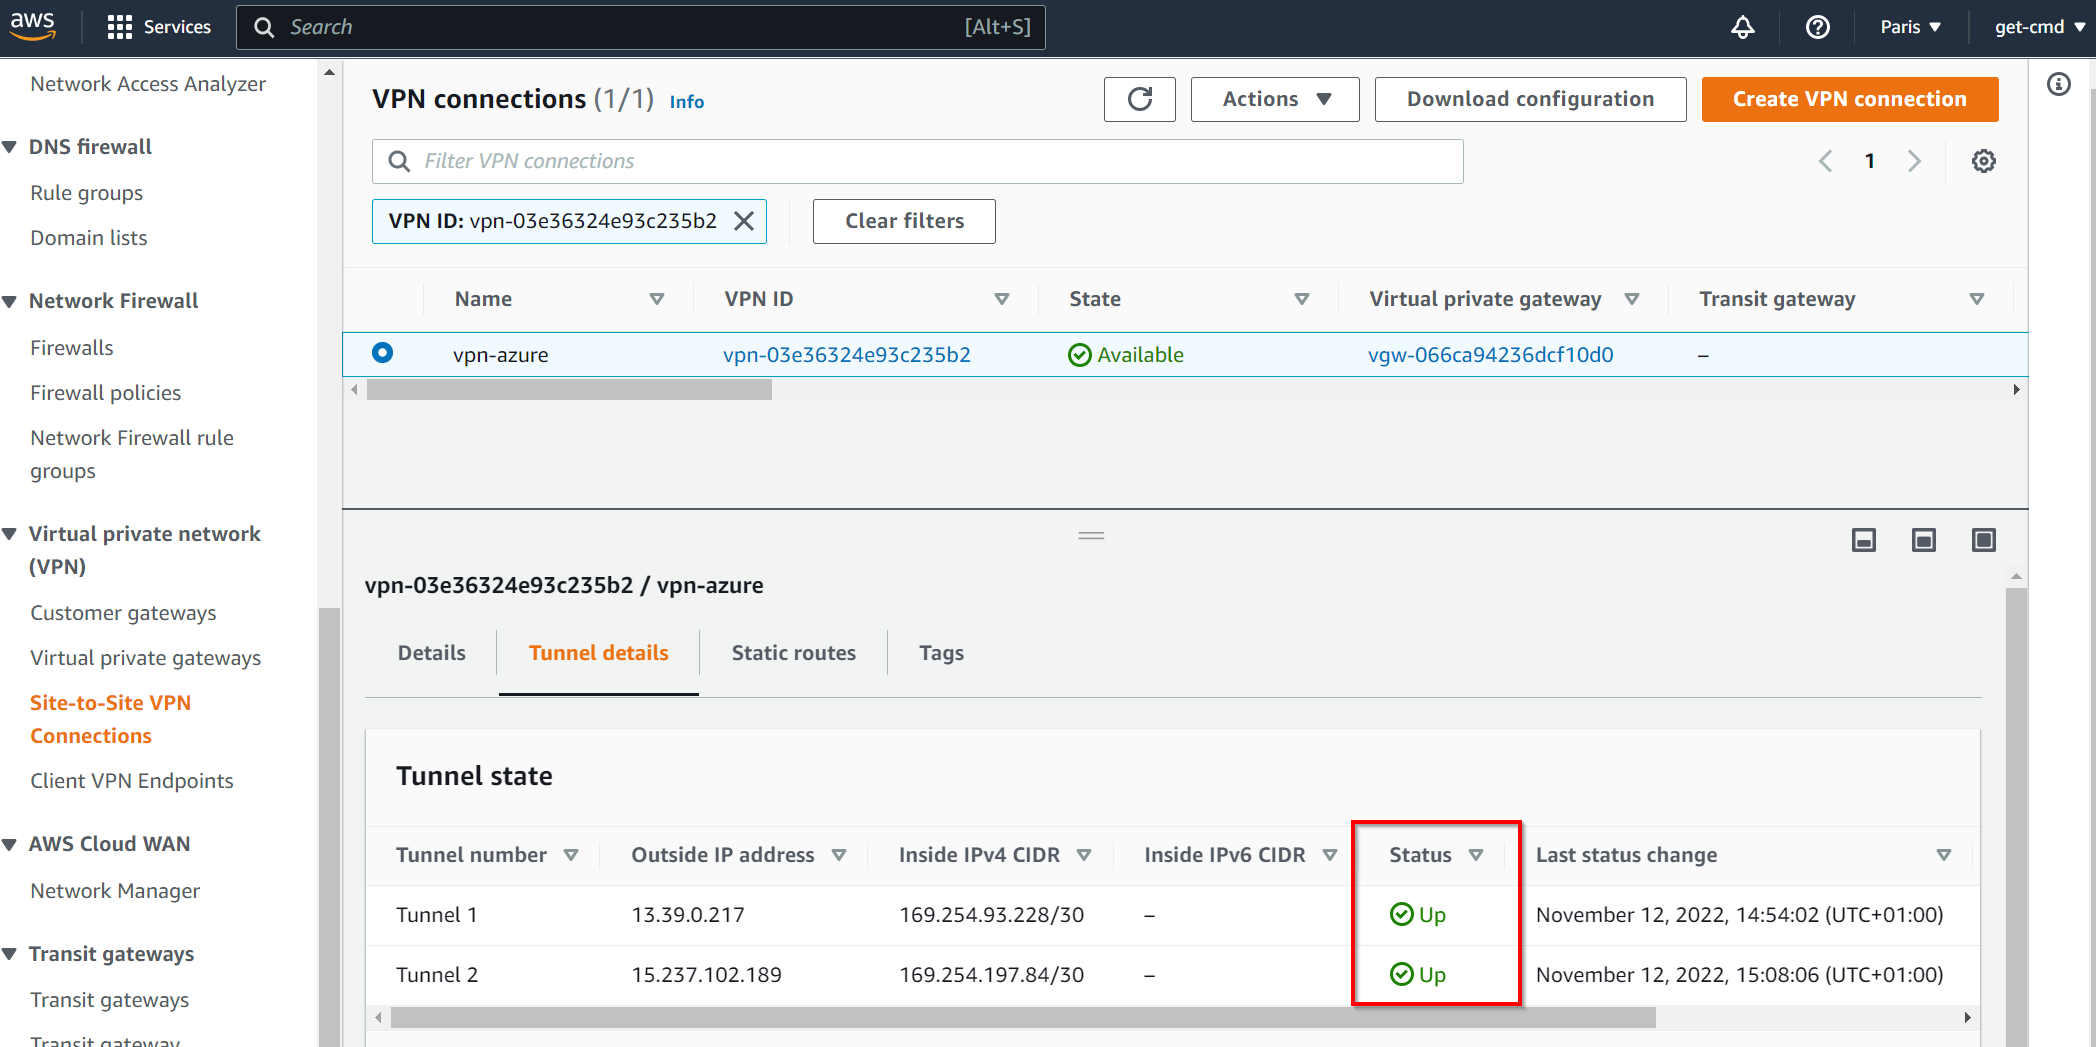
At the end, you should see both tunnels UP & Running. You can now create EC2 / Virtual Machines to test the communication using the VPN S2S.


