If the Azure-based AD authentication is fully working after migrating from ADFS, you need to decommission ADFS since it is no longer required in your network.
Before proceeding with the decommission procedure, you need to make sure that no services are still using ADFS.
Check the ADFS usage
Before proceeding with ADFS decommission, make sure the procedure to migrate ADFS to Azure AD has been completed and tested.
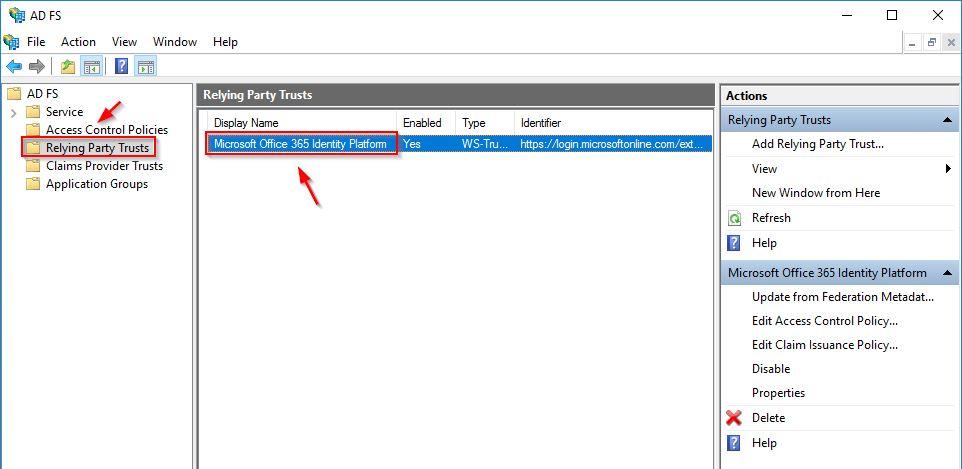
From the ADFS Server, open the ADFS Console and go to Service > Relying Party Trusts. Make sure the only Microsoft Office 365 identity Platform is listed. If other services are present, you need to dismiss them before proceeding with ADFS decommission. Microsoft Office 365 identity Platform is no longer used if you migrated to Azure AD authentication.
Run the following command to check if the domain is no longer Federated but Managed instead. If you migrated to Azure AD authentication, the domain should be indicated as Managed.
Decommission ADFS
To decommission the ADFS infrastructure you need to perform two main tasks:
- uninstall the WAP Server
- uninstall the ADFS Server
Uninstall the WAP Server
Access the Remote Access Management Console and locate published applications. Delete any ADFS related items no longer used. Right-click the application to remove then select Remove.
The application has been removed.
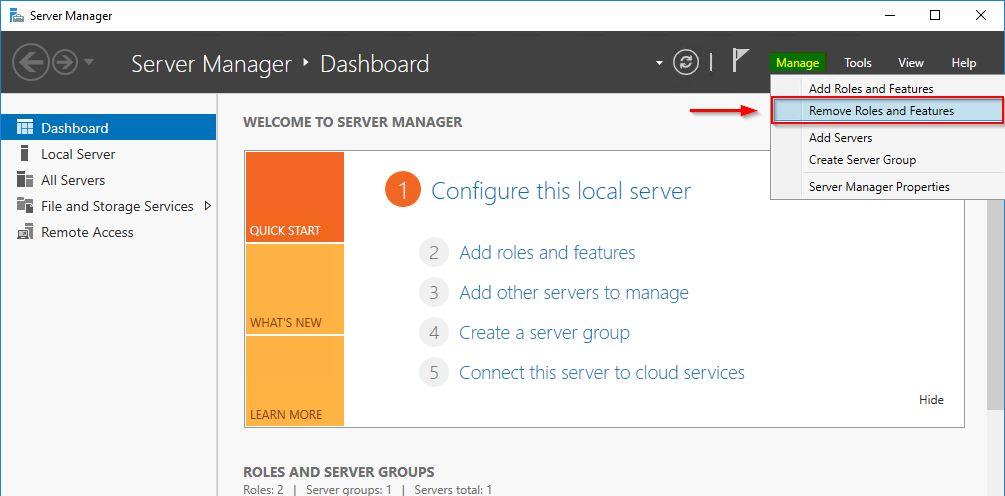
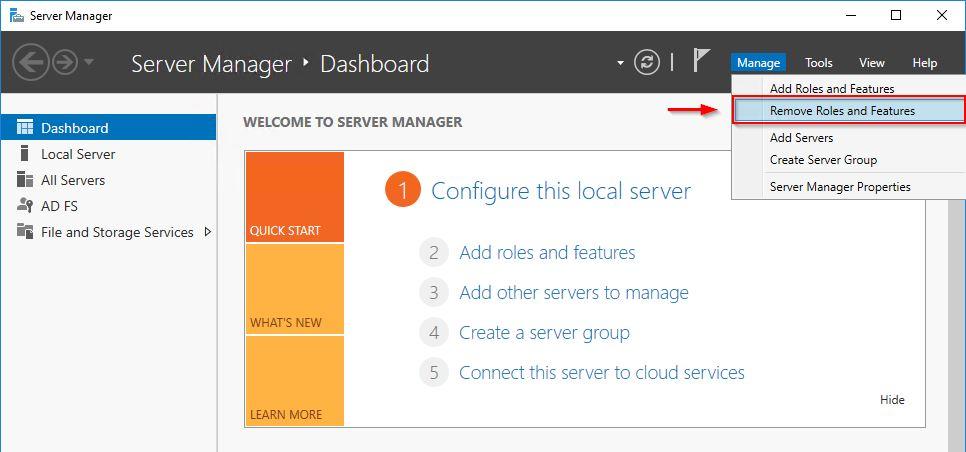
The Web Application Proxy can be now removed from the server. Open the Server Manager and select Managed > Remove Roles and Features.
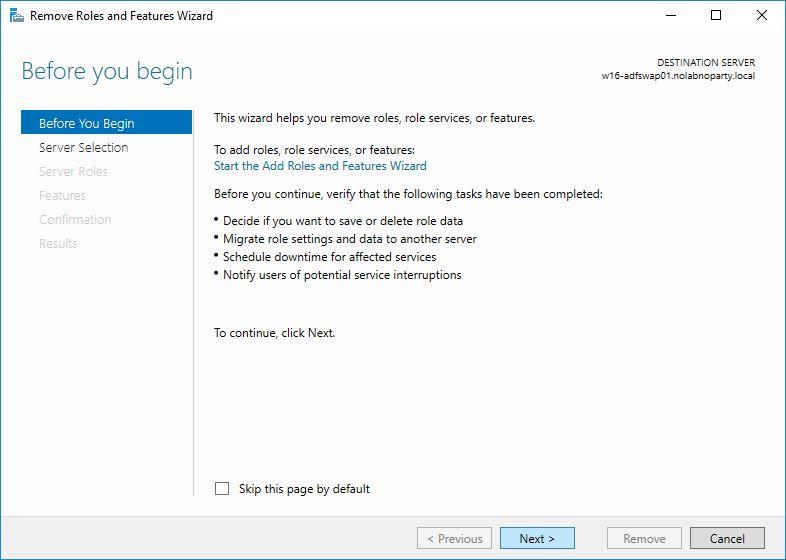
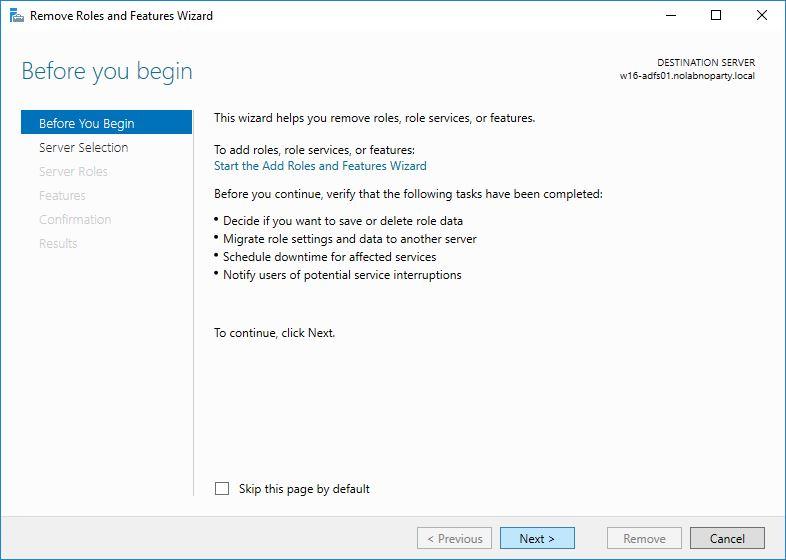
Click Next.
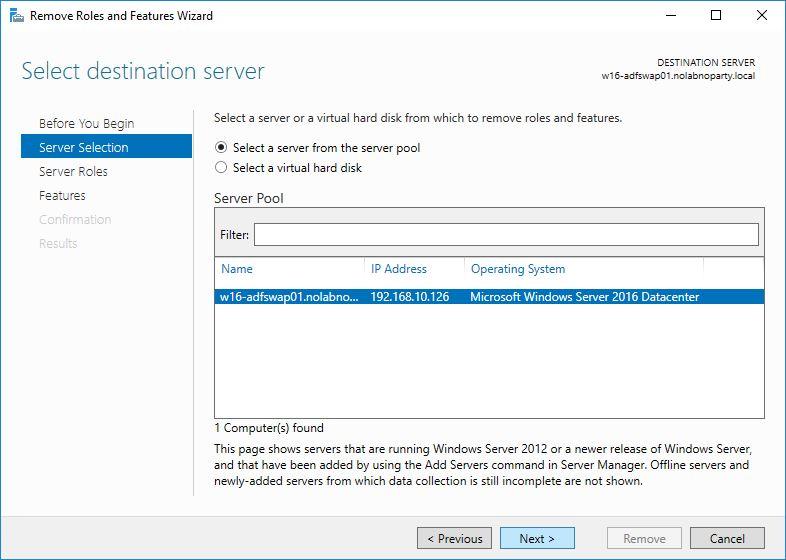
Make sure Select a server from the server pool option is enabled then click Next.
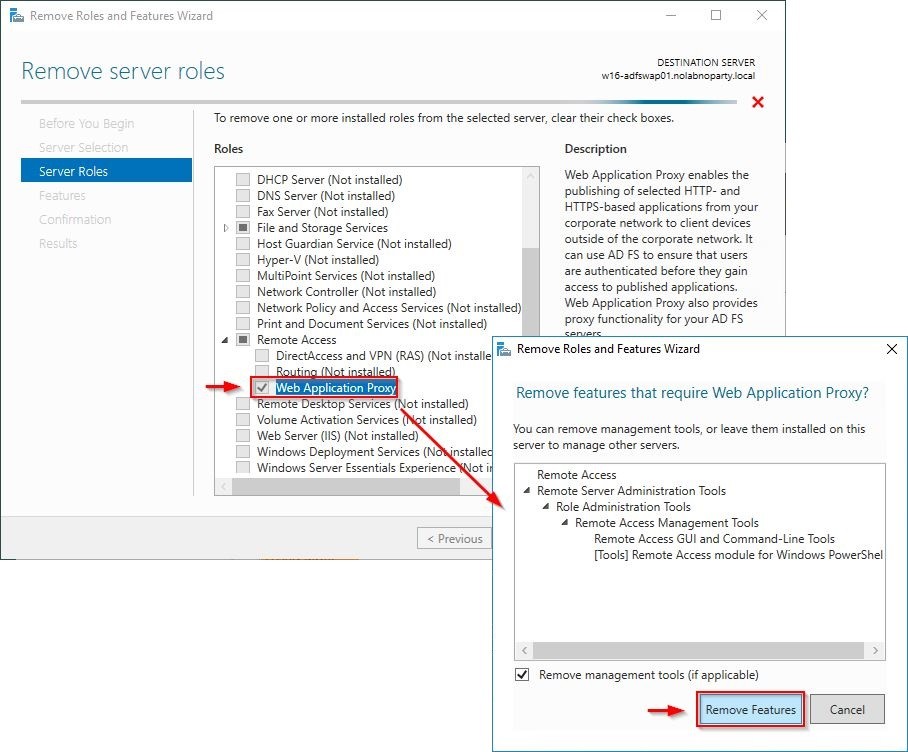
Select Web Application Proxy and click Remove Features from the wizard.
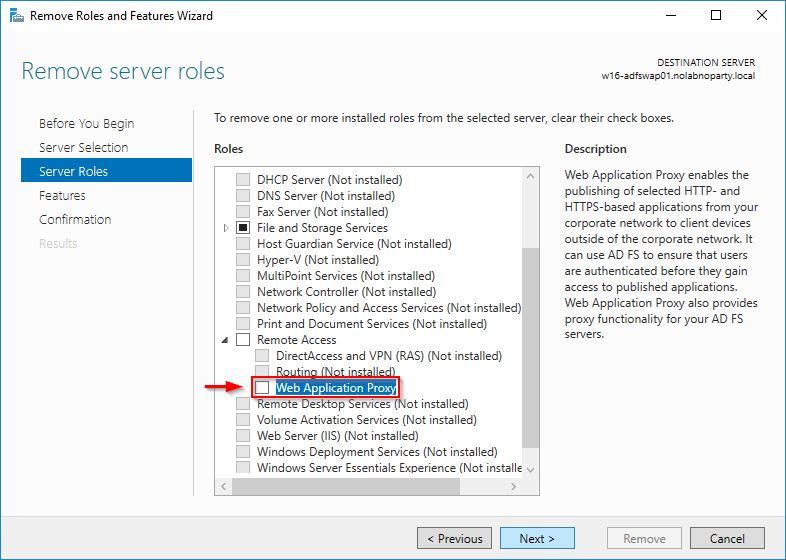
Ensure Web Application Proxy is unchecked then click Next.
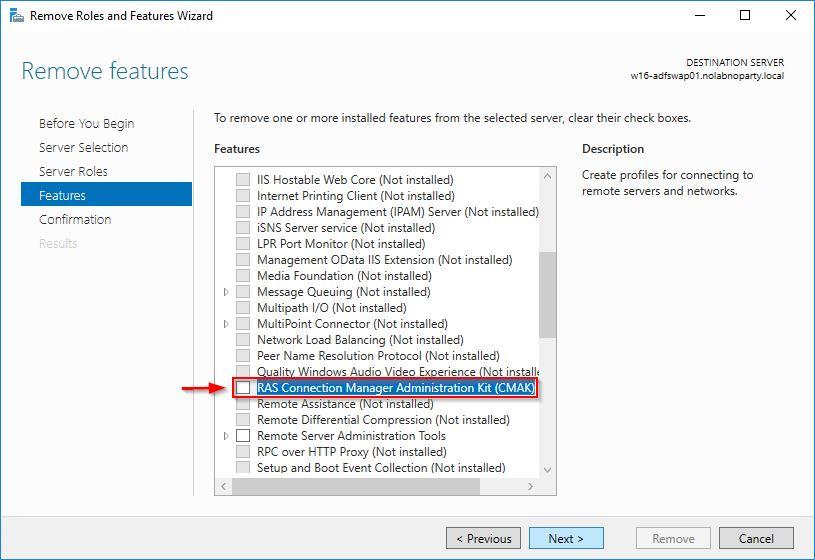
Uncheck RAS Connection Manager Administration Kit (CMAK) and click Next.
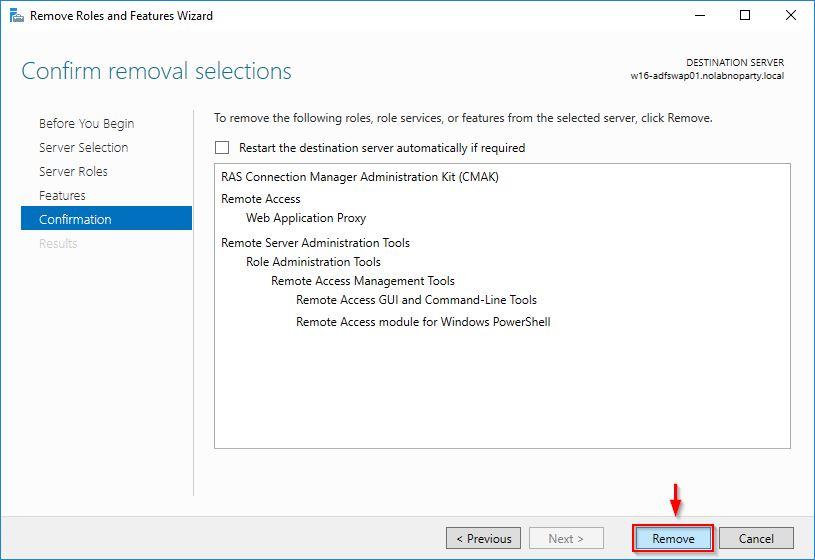
Click Remove.
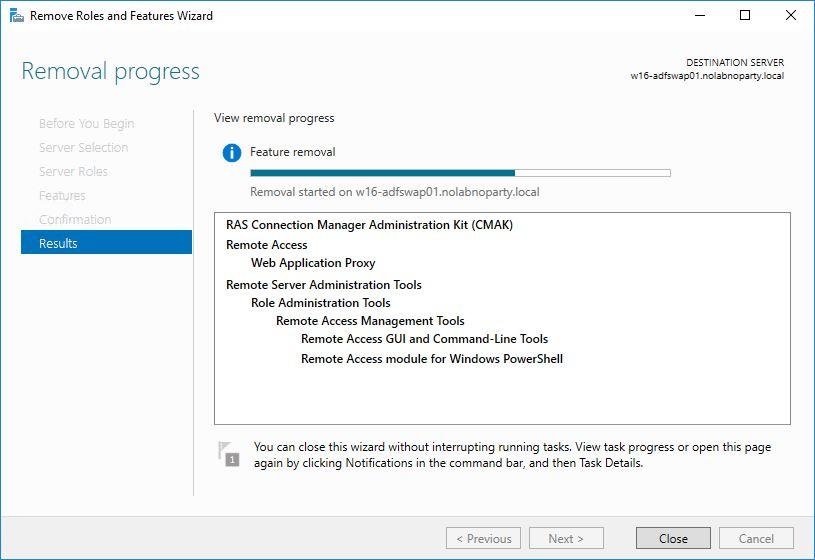
The feature is being removed from the server.
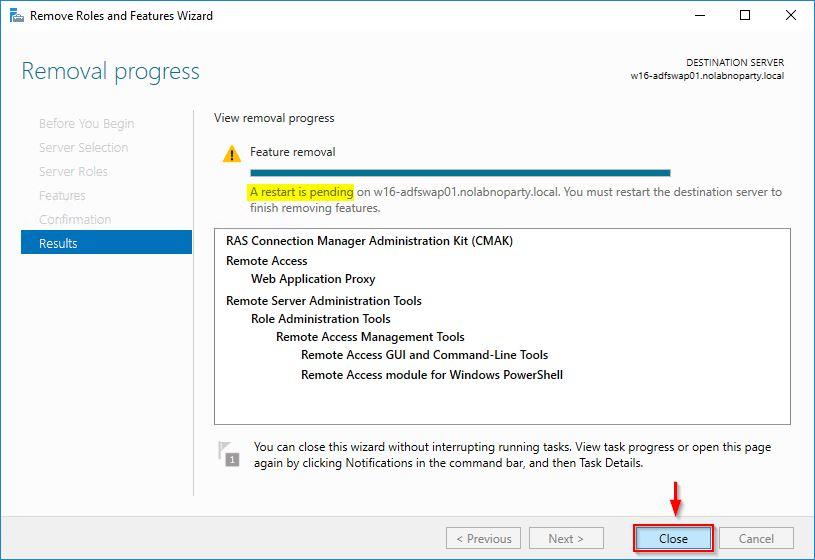
Click Close and restart the server to complete the removal.
Since the WAP Server is no longer necessary it can be decommissioned.
Uninstall the ADFS Server
If you have multiple ADFS Servers, start to process the secondary nodes first. From the Server Manager, select Manage > Remove Roles and Features.
Click Next.
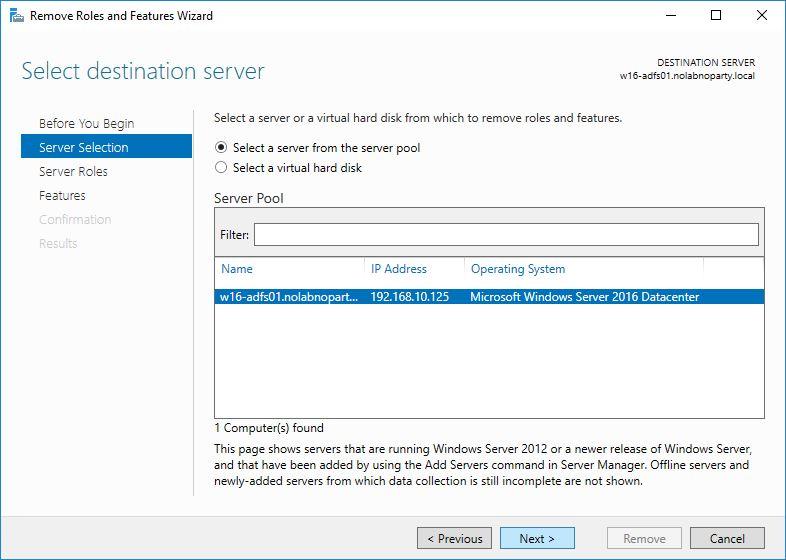
Make sure Select a server from the server pool option is selected then click Next.
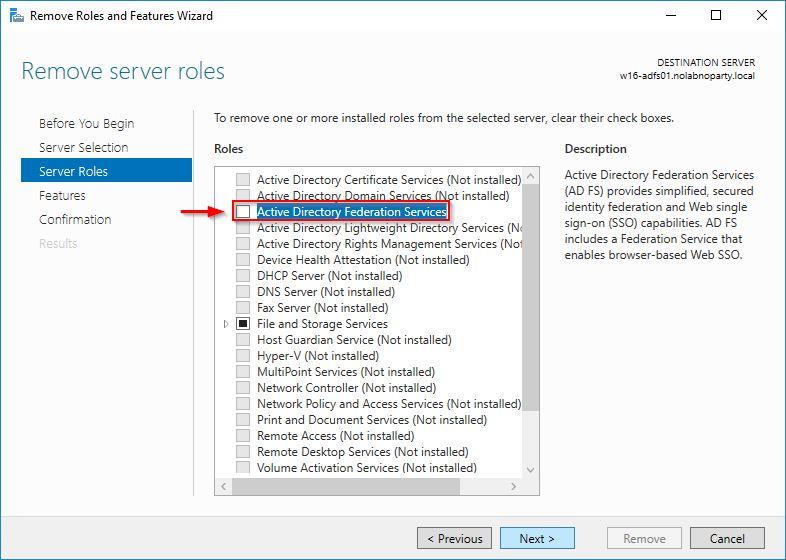
Uncheck Active Directory Federation Services role and click Next.
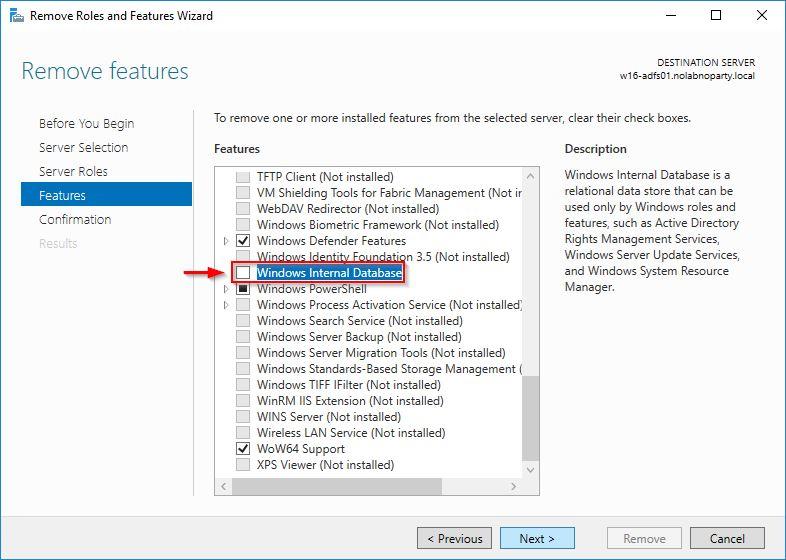
Uncheck Windows Internal Database feature and click Next.
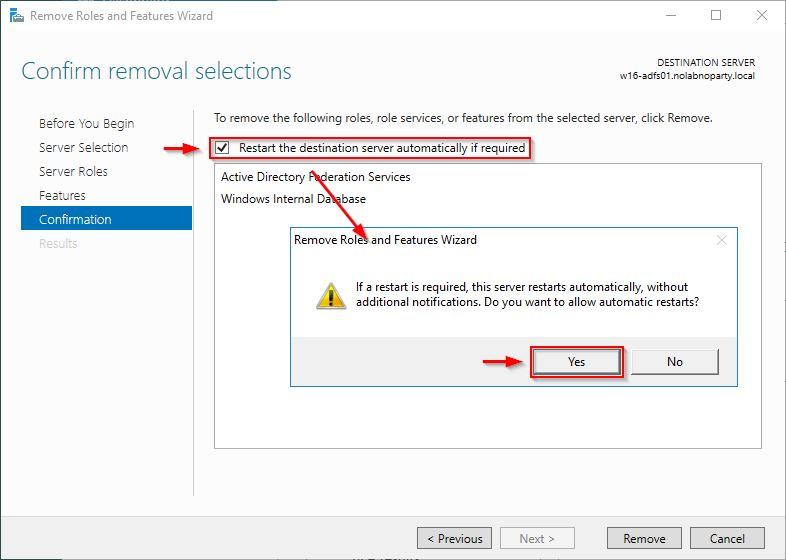
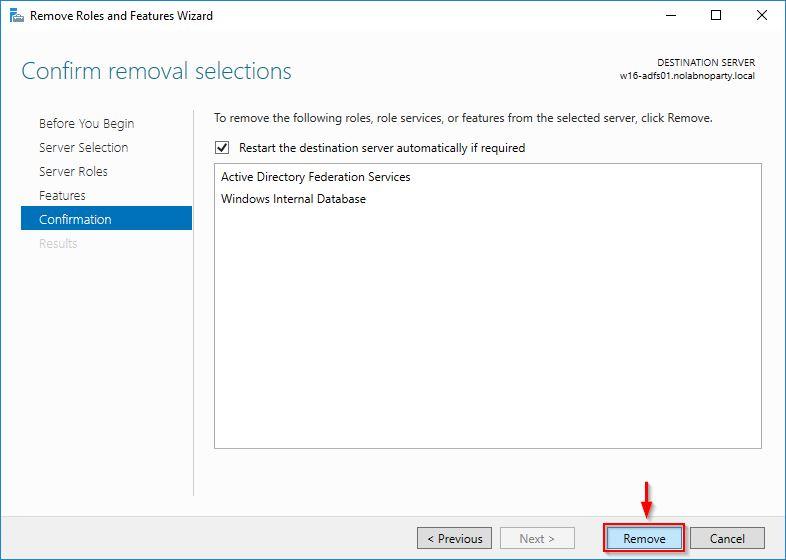
Enable Restart the destination server automatically if required and click Yes to confirm.
Click Remove to uninstall selected items.
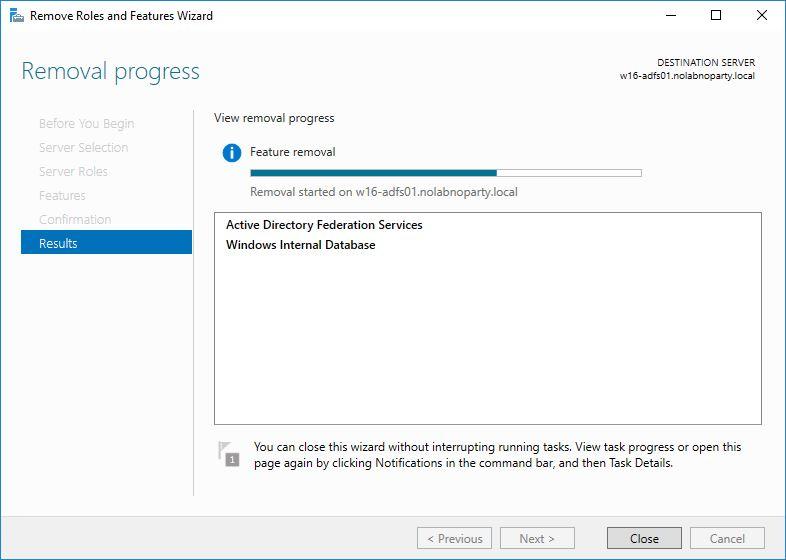
Features are removed from the server.
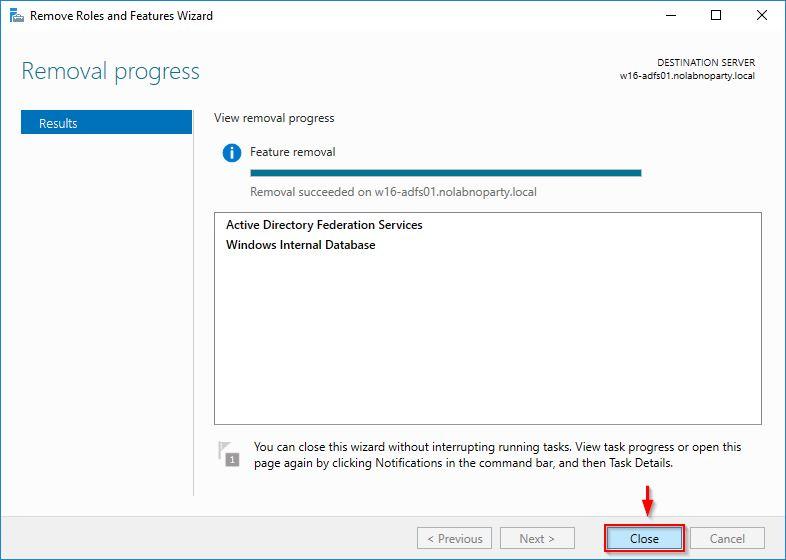
The server reboots automatically. Login again and click Close to exit the wizard.
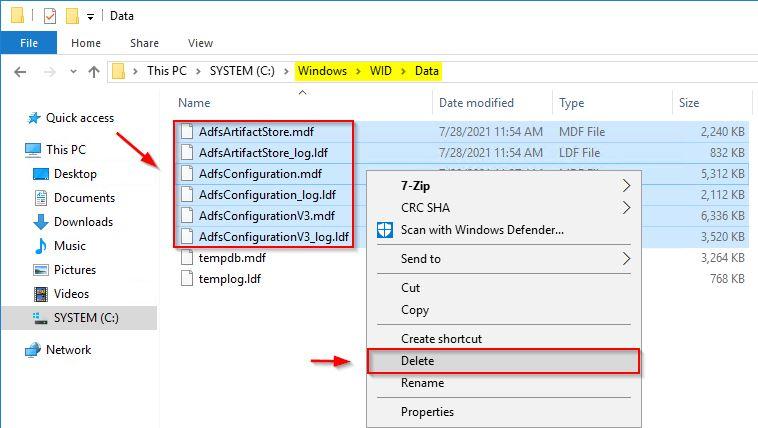
To clean up the system, go to C:\Windows\WID\Data folder and delete all Adfs* files. Select the files to remove, right-click the selection then click Delete.
Again, if the ADFS Server is no longer required you can safely decommission it.
Clean up the environment
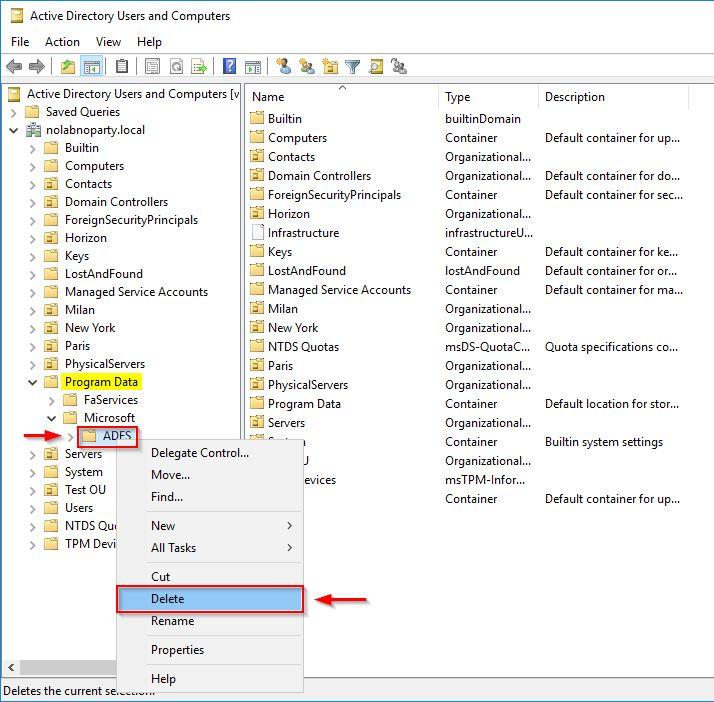
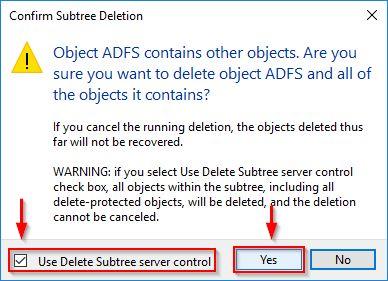
Open Active Directory Users and Computers and expand Domain > Program Data > Microsoft item. You may need to enable Advanced from Action menu to display Program Data. Right-click ADFS and select Delete.
Click Yes to confirm.
To finalize the cleanup process, make sure to remove the following:
- Remove all the related ADFS entries from public and private DNS.
- Remove the ADFS service account from Active Directory.
- Remove Internet to WAP and WAP to ADFS firewall rules (TCP 443) and NAT settings.
The ADFS infrastructure has been decommissioned and all the authentication processes are managed directly in Azure AD.


