Windows Admin Center provides an easy way to enable Azure Monitor for On-Prem servers (physical or virtual). However, the alerts are configurable only from the Microsoft Azure Portal. Currently, the Azure Monitor in Windows Admin Center is still in preview. This topic, I’ll introduce how to enable Azure Monitor from Windows Admin Center and how to create your first alert.
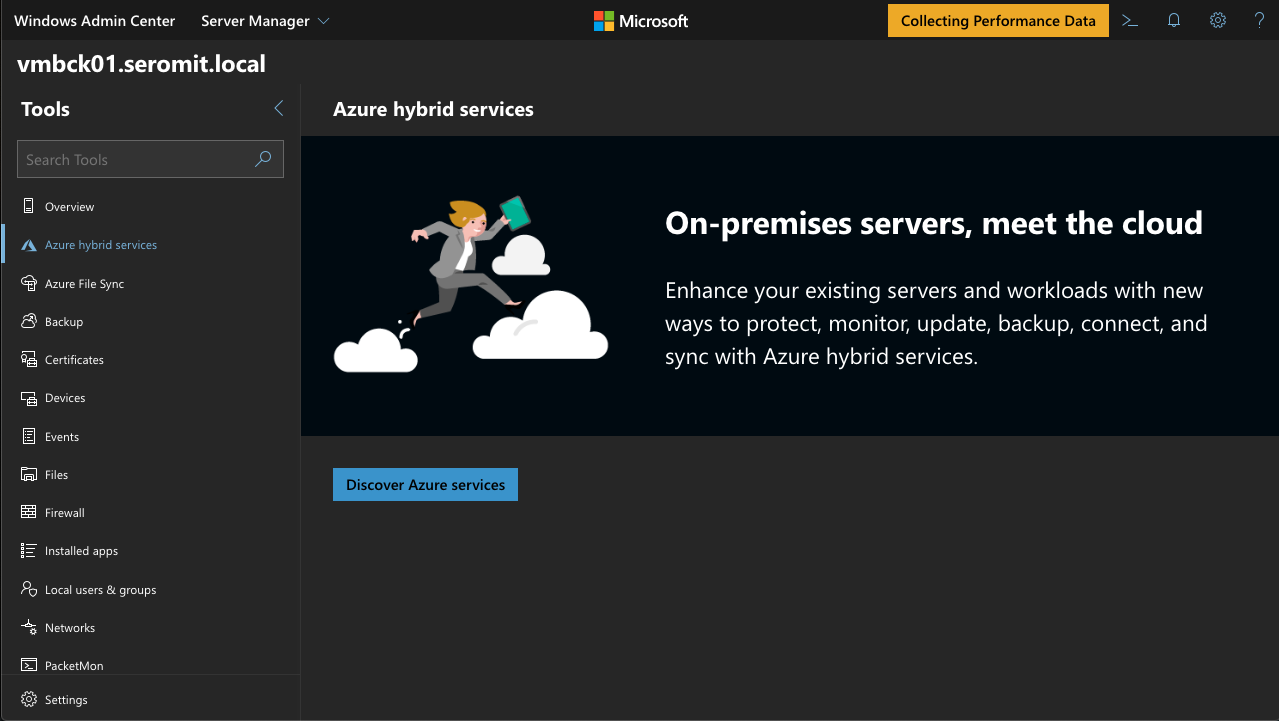
Open Windows Admin Center with the latest preview and select a server. Then click on Azure hybrid services. Click on Discover Azure services.
In the right menu that just appeared, click on Set up in the Azure Monitor section.
Next, click on Sign in to Azure and set up.
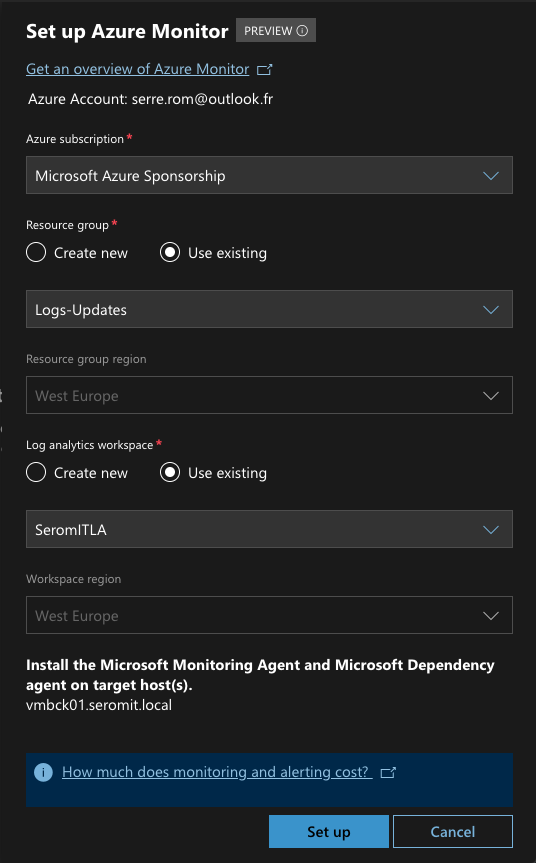
In the right pane that just raised, you can select your Azure Subscription, an existing resource group and log analytics workspace. If you don’t have a resource group and a log analytics workspace, you can select Create new and Windows Admin Center will take care of the creation of these resources in Azure.
Once you click on Set up, two new notifications should raise. From now, it can take a few minutes before everything is ready.
Create your first alert
Once Azure Monitor is configured, you should get the following information in Windows Admin Center (connect to a server | General | Monitoring alerts). From this view, you can’t create an alert. For that, you need to click on Create and view alerts in Azure. When you click on this link, you are redirected to the Azure portal.
The Azure portal is automatically opened in your Log Analytics resource (Monitoring | Alerts section). To create your first rule, click on the New Alert Rule.
An Azure Monitor alert has a condition to trigger an action (a notification for example). First, we need to define a condition. For this example, I’ll check if at least 30% of memory is available. If not, an E-mail will be sent. First, click on Add in the condition section.
Then we need to find a source for the condition (a signal). So, I look for a Metrics signal type. Then I select % Available Memory.
Then I choose the operator Less than or equal to and I choose a threshold value of 30.
Next click on Create action group. This action will be triggered when less the memory available is less than or equal to 30%. Give a name to your action group and a short name. You have a different kind of action such as a notification or a script run in an Automation Account. For this example, I choose Notification and I set an E-mail address. You can also configure an SMS.
Then specify a name for this rule and click on OK.
At this point, your rule is created and you should receive an alert when your server has a few amounts of available memory.


