Azure AD is an identity provider (IDP) for a large number of applications that working with authentication token such as SAML2, OpenID or oAuth. Because Azure AD could be used to manage the authentication to many applications and data, it is important to secure user’s identities. Only the password is not enough today to secure the identity. Now we recommend the using of Multi-Factor Authentication (MFA) that means mainly that users have to specify a password and approve the authentication through one time password (OTP) or through Microsoft Authenticator (smartphone apps).
The other way can be the using of passwordless method. For Azure AD we have two solutions to make a passwordless authentication:
- Microsoft Authenticator: after the user specify his E-mail Address, a number is displayed, and the user has to specify this information in Microsoft Authenticator
- FIDO2 key: the user has to just plug the key and then select this authentication method. Then the prompt asks for the password to unlock the FIDO2 key
In this topic, I’d like to focus on passwordless with FIDO2 key. To write this topic, I used a FIDO2 key from Yubikey.
Enable Passwordless in Azure AD
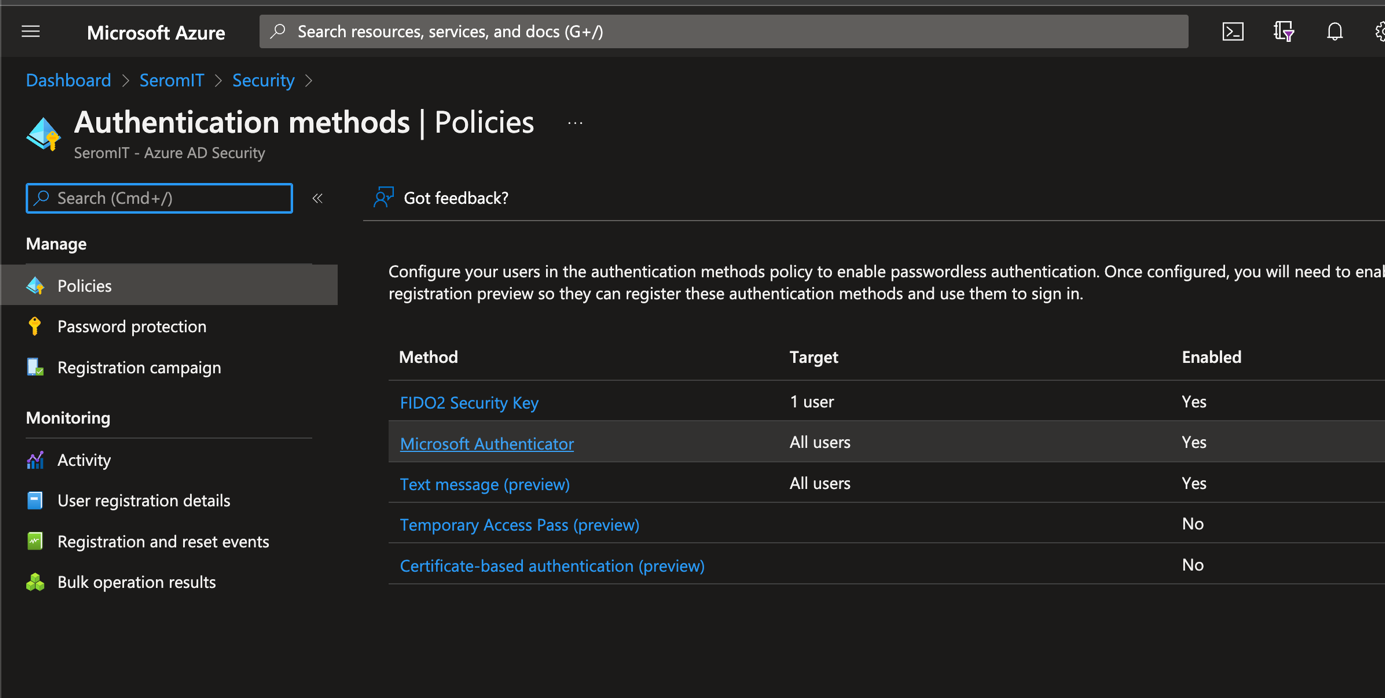
To enable Passwordless with FIDO2 Security Key, navigate to your Azure AD > Security > Policies. Then select FIDO2 Security Key.
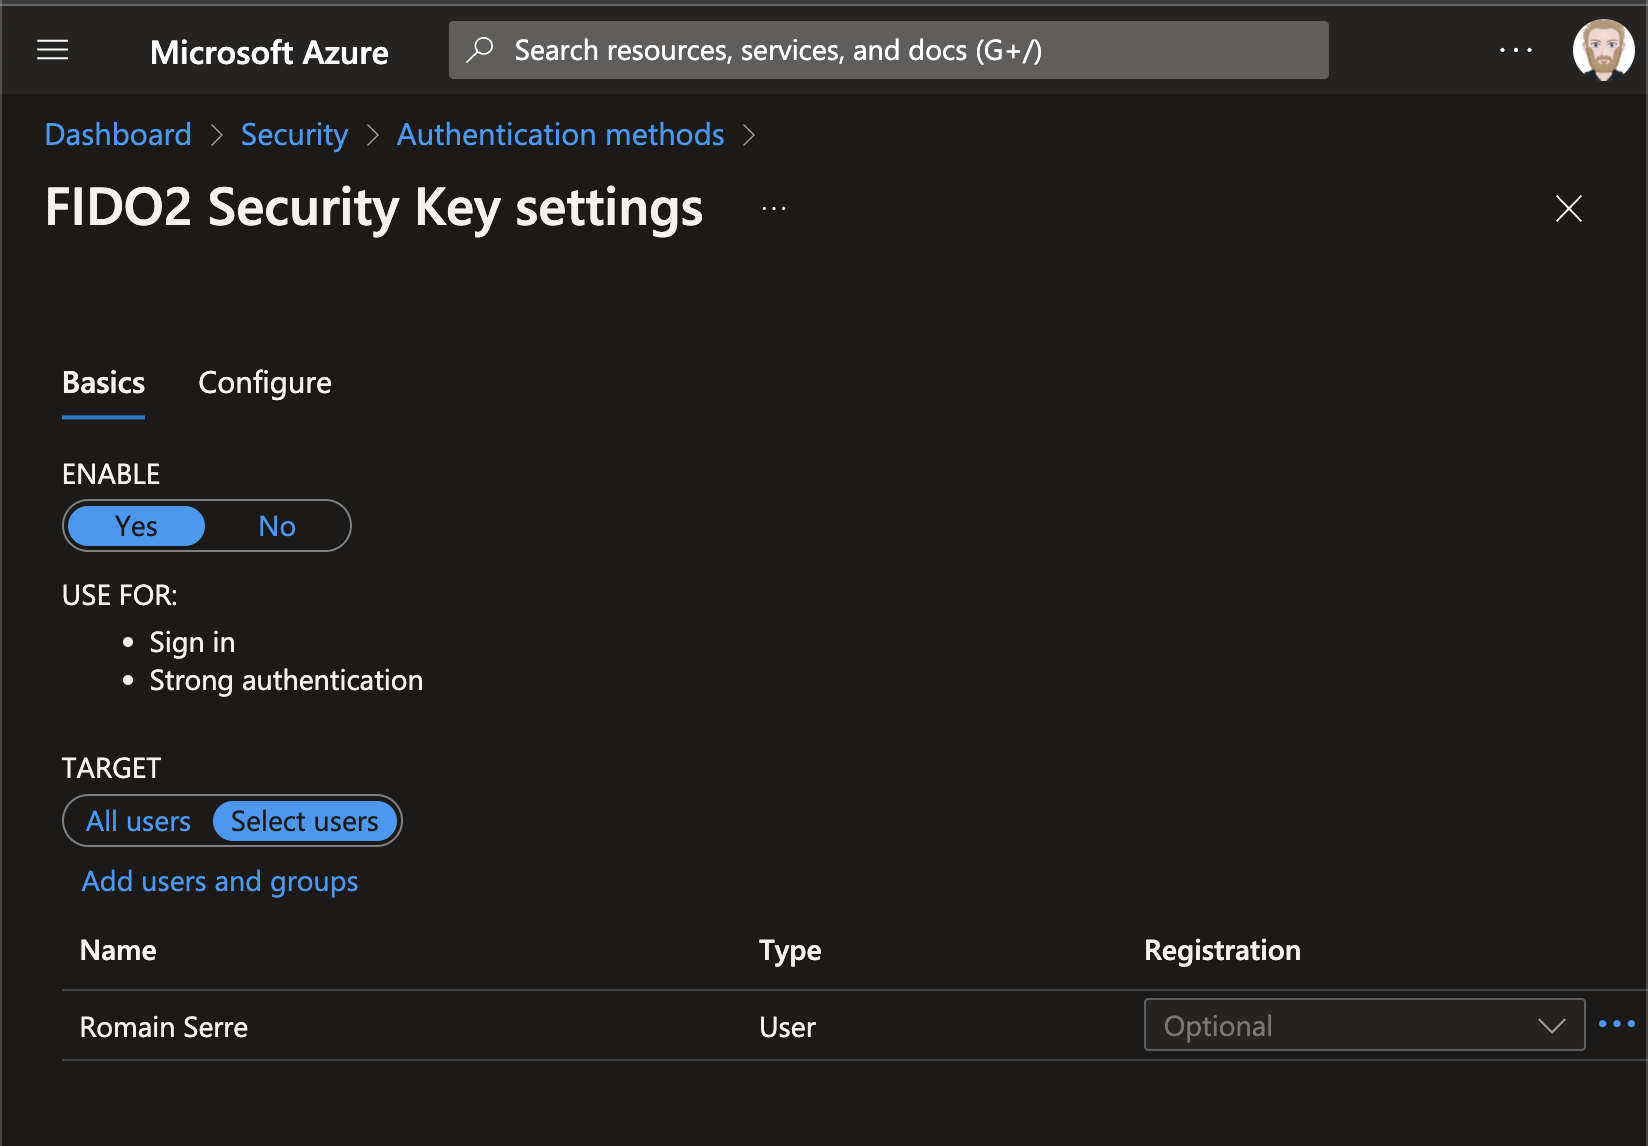
In Basics settings, set Enable to yes. Then you can target all users or a specifics bunch of users or groups.
In Configure, you have some advanced settings:
Allow self-service set up should remain set to Yes. If set to no, your users will not be able to register a FIDO key through the MySecurityInfo portal, even if enabled by Authentication Methods policy.
Enforce attestation setting to Yes requires the FIDO security key metadata to be published and verified with the FIDO Alliance Metadata Service, and also pass Microsoft’s additional set of validation testing. For more information, see What is a Microsoft-compatible security key?
Enforce key restrictions should be set to Yes only if your organization wants to only allow or disallow certain FIDO security keys, which are identified by their AAGuids. You can work with your security key provider to determine the AAGuids of their devices. If the key is already registered, AAGUID can also be found by viewing the authentication method details of the key per user.
Configure a FIDO2 security key with your account
Open your account settings from https://myaccount.microsoft.com/. Then navigate to your Security info.
Then click on Add method.
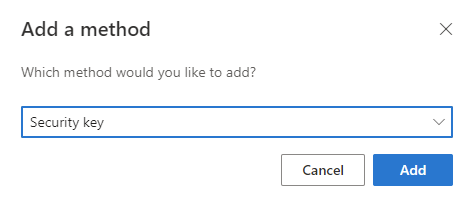
Select Security key as method to add.
Choose USB Device or NFC device regarding your security key type.
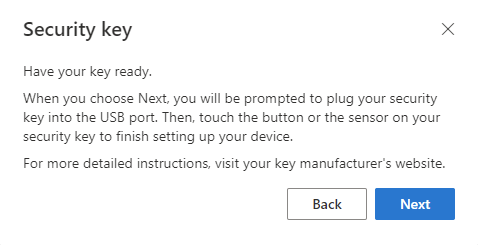
Now you should have the following window. When you click on Next, a new wizard will be opened to ask you to plug your security key and specify a password to unlock it.
At the end of the wizard, specify a name for your security key.
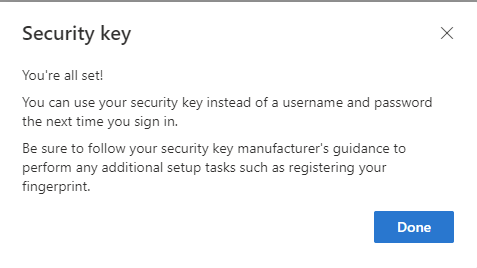
Now you key should be configured and it should be available as authentication method.
Authenticate with the FIDO2 security key
N.B: I’m sorry for French screenshot
Open an application that use Azure AD as identity provider. Then click on Sign in options
Next choose Connect with security key.
Now specify the password to unlock the security key you set during the security key configuration.
Now you should be authenticated against your application without specifying any E-mail address and the related password.


