Hotpatching in Azure is a preview feature that enables to apply updates without restarting Windows Server Azure VM. This new feature relies on Windows Server Azure Edition VM which is a new Windows Server image. This feature is available in preview for all Azure regions. Some providers need to be registered but we will talk about that later.
The Microsoft Docs presents how work this feature:
Hotpatch works by first establishing a baseline with a Windows Update Latest Cumulative Update. Hotpatches are periodically released (for example, on the second Tuesday of the month) that build on that baseline. Hotpatches will contain updates that don’t require a reboot. Periodically (starting at every three months), the baseline is refreshed with a new Latest Cumulative Update.
There are two types of baselines: Planned baselines and unplanned baselines.
- Planned baselines are released on a regular cadence, with hotpatch releases in between. Planned baselines include all the updates in a comparable Latest Cumulative Update for that month and require a reboot.
○ The sample schedule above illustrates four planned baseline releases in a calendar year (five total in the diagram), and eight hotpatch releases. - Unplanned baselines are released when an important update (such as a zero-day fix) is released, and that particular update can’t be released as a Hotpatch. When unplanned baselines are released, a hotpatch release will be replaced with an unplanned baseline in that month. Unplanned baselines also include all the updates in a comparable Latest Cumulative Update for that month, and also require a reboot.
○ The sample schedule above illustrates two unplanned baselines that would replace the hotpatch releases for those months (the actual number of unplanned baselines in a year isn’t known in advance).
In this topic, I’ll show you how to try hotpatching for Windows Server Azure Edition VM.
Register Hotpatch Provider
Before using this feature, you need to register some providers. There are several ways to accomplish that (REST API, Powershell and so on). I prefer using PowerShell, so I ran the following cmdlets:
Connect-AzAccountRegister-AzProviderFeature -FeatureName InGuestHotPatchVMPreview -ProviderNamespace Microsoft.ComputeRegister-AzProviderFeature -FeatureName InGuestAutoPatchVMPreview -ProviderNamespace Microsoft.ComputeRegister-AzProviderFeature -FeatureName InGuestPatchVMPreview -ProviderNamespace Microsoft.ComputeIt can take up to 20-25mn to register these providers. So be patient
After a while run these cmdlets to check if providers are registered:
Get-AzProviderFeature -FeatureName InGuestHotPatchVMPreview -ProviderNamespace Microsoft.ComputeGet-AzProviderFeature -FeatureName InGuestAutoPatchVMPreview -ProviderNamespace Microsoft.ComputeGet-AzProviderFeature -FeatureName InGuestPatchVMPreview -ProviderNamespace Microsoft.ComputeIf providers are registered, run the following cmdlet to propagate change into the compute resource provider.
Register-AzResourceProvider -ProviderNamespace Microsoft.ComputeCreate a Windows Server Azure Edition VM
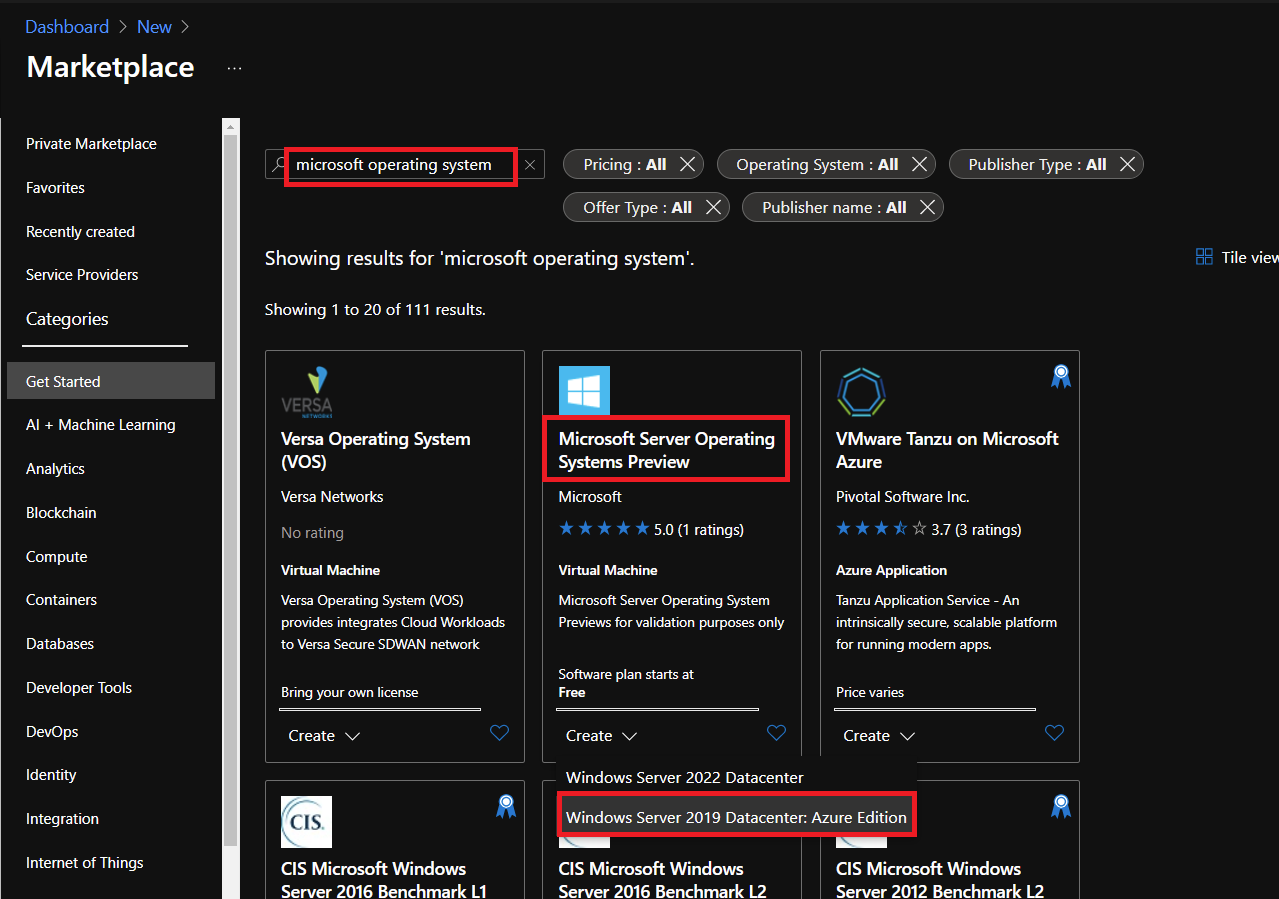
Open the Azure Portal and navigate into the Marketplace. Then in search field, type Microsoft Operating System. Then in Microsoft Server Operating System Preview, click on Create and select Windows Server 2019 Datacenter: Azure Edition.
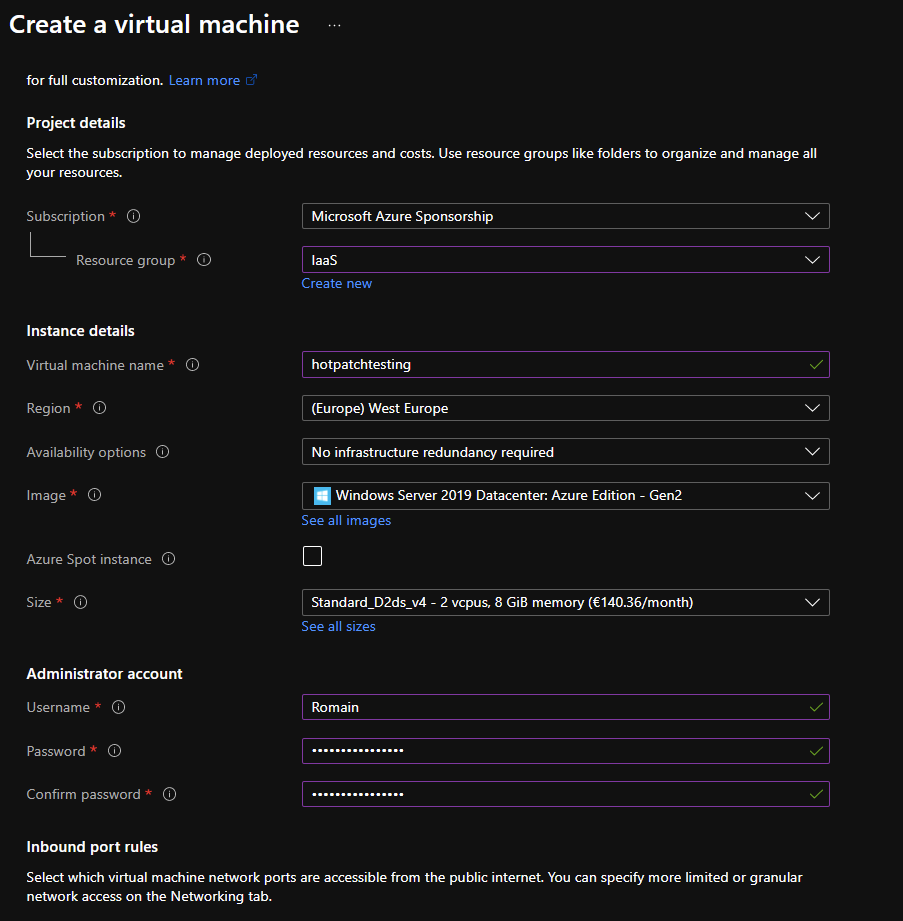
Then specify as usual resource group, VM name, region and so on. Be sure the VM image is Windows Server 2019 Datacenter: Azure Edition – Gen2.
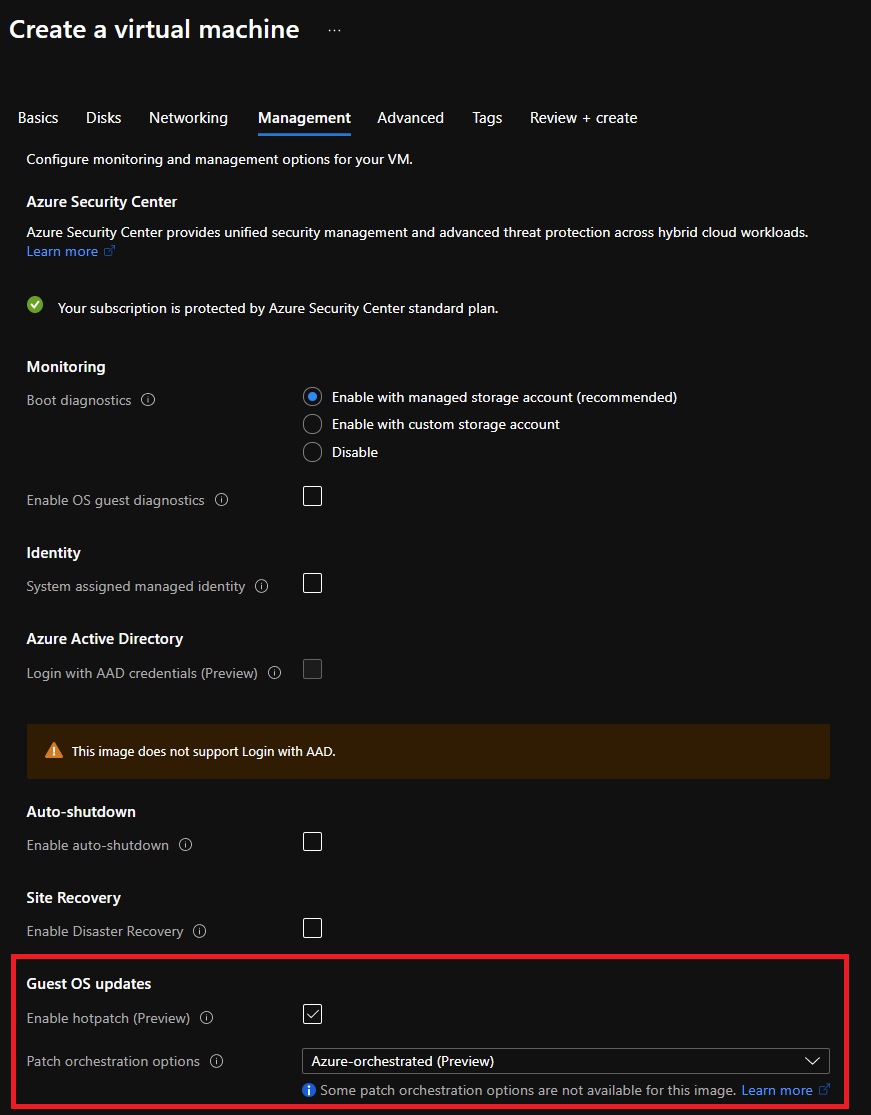
In Management view, check if Enable hotpatch (Preview) is enabled.
Try Hotpatch
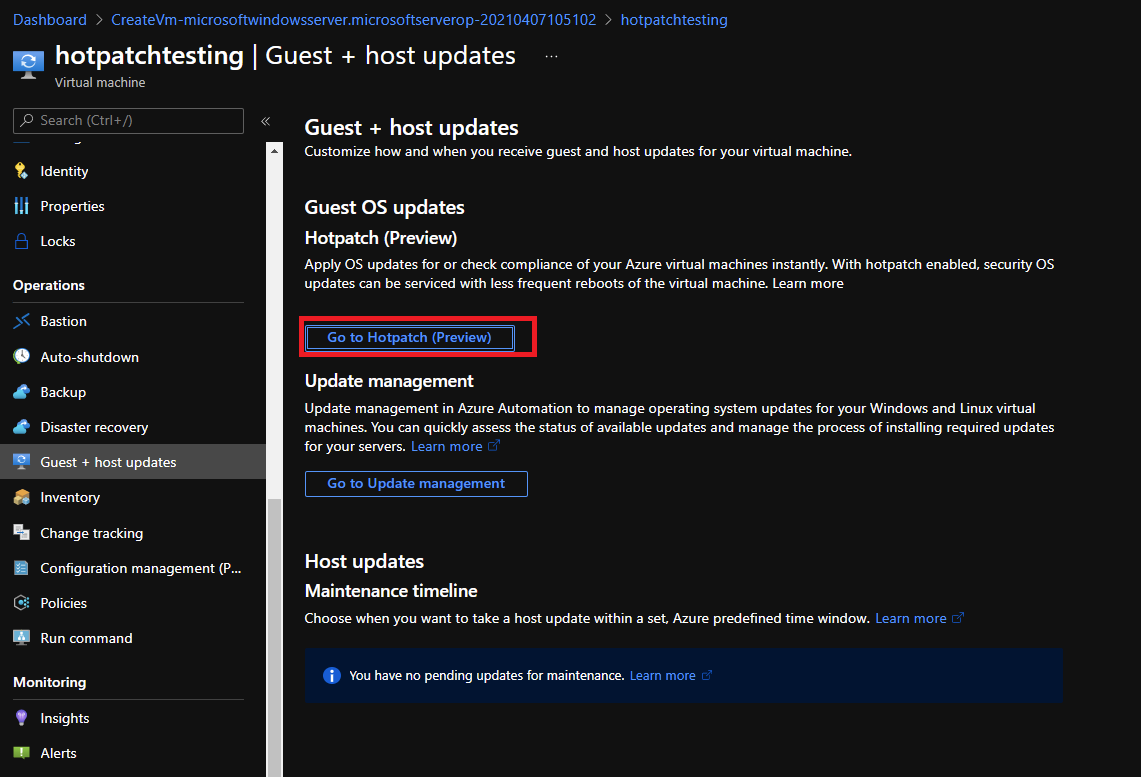
Once the VM is created, open the Azure VM and navigate in Guest + host updates | Go to Hotpatch.
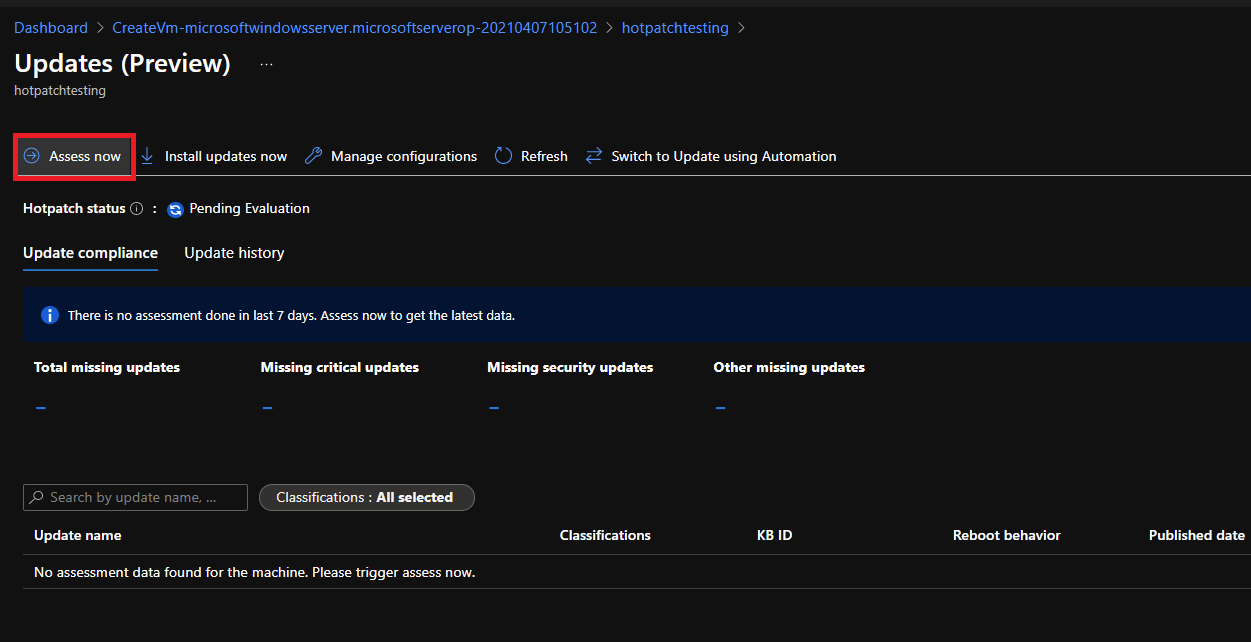
Next click on Assess now to check if the VM requires update.
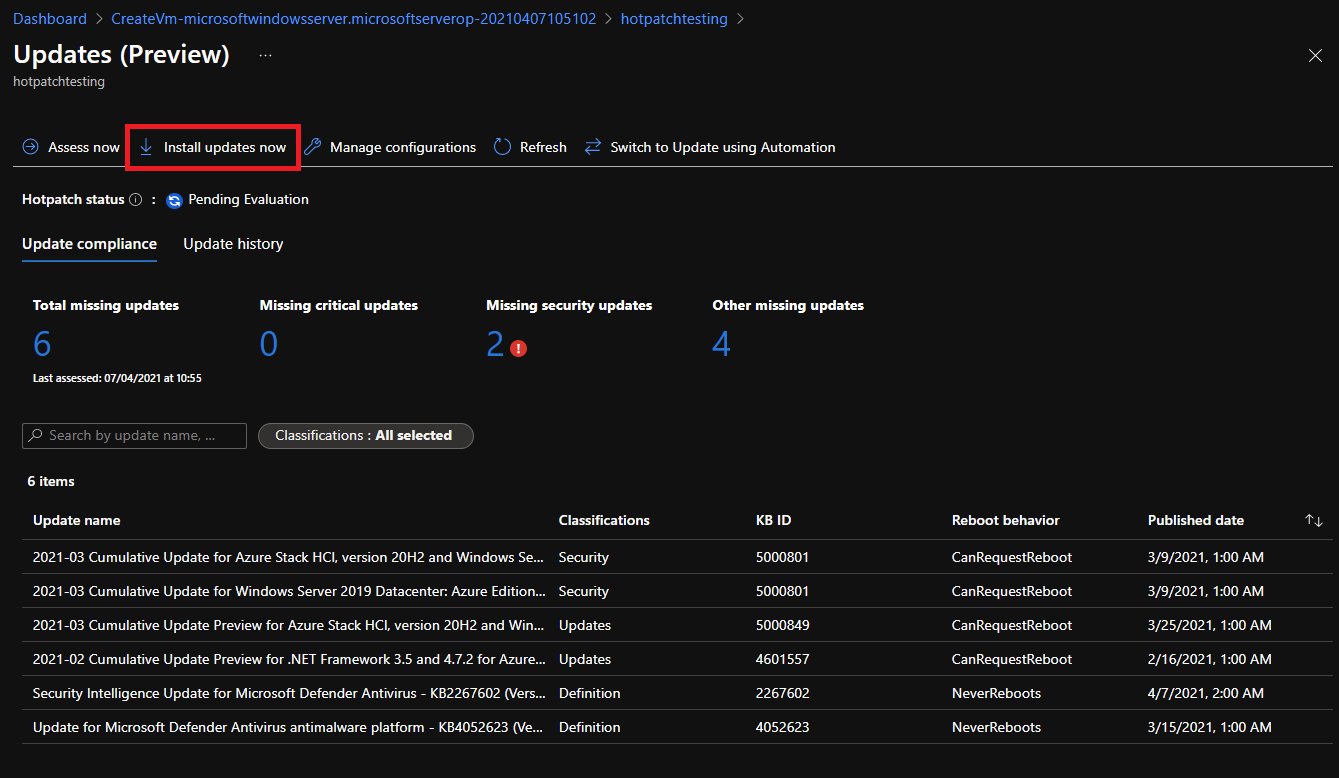
Once the assessment is finished, click on install updates now.
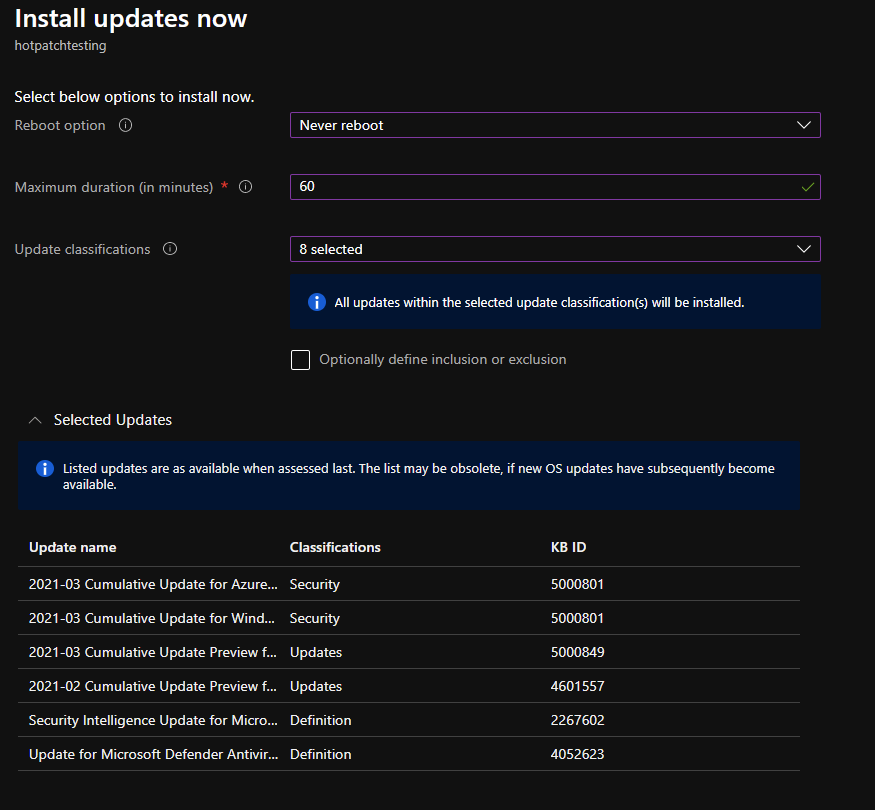
Now you can specify the behavior of the update process such as the reboot option or the maximum duration.
N.B: If you wish, you can switch to updating using automation to use Azure Update Management for patching.


