In this article, I will explain to you how to change the subnet of a Virtual Machine in Azure. Following is the official documentation on the Microsoft Website this documentation.
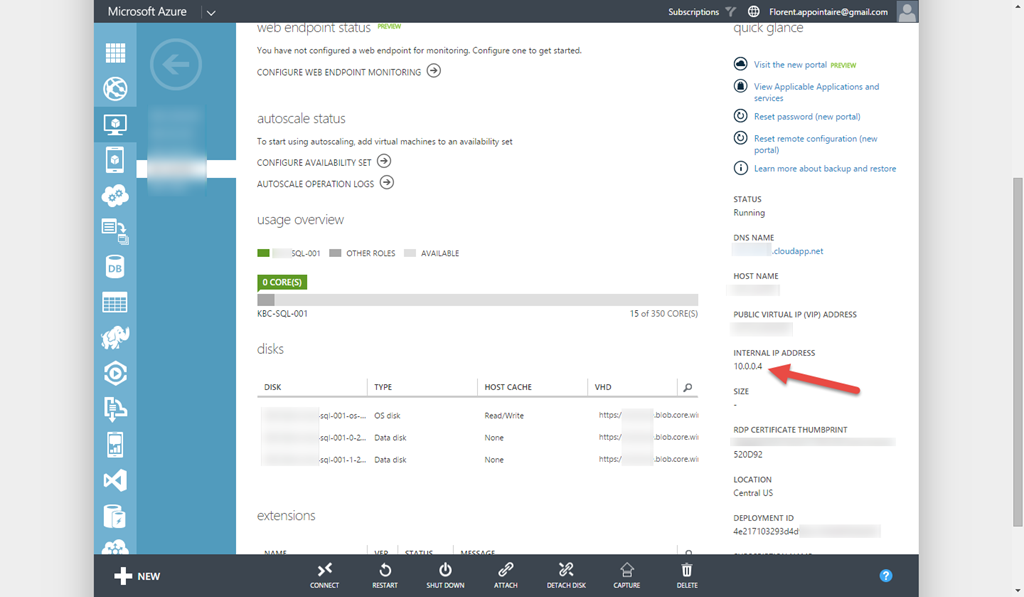
To do this, you must use PowerShell (this is the only possibility to do this, maybe in next versions, it will be possible to do this with the GUI). As you can see, my VM has the IP address 10.0.0.4:
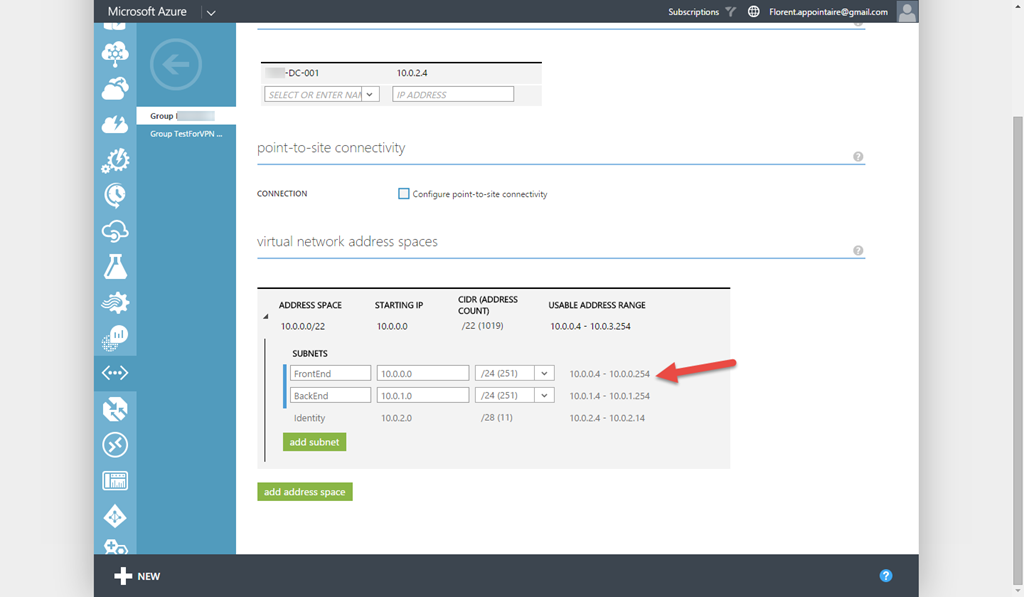
My two subnets in my network are the following:
The VM is actually on the FrontEnd subnet and I would like to move it to the BackEnd subnet. To do this, execute the following PowerShell command:
Get-AzureVM -Name sql-001 -ServiceName Demo | Set-AzureSubnet -SubnetNames BackEnd | Update-AzureVM
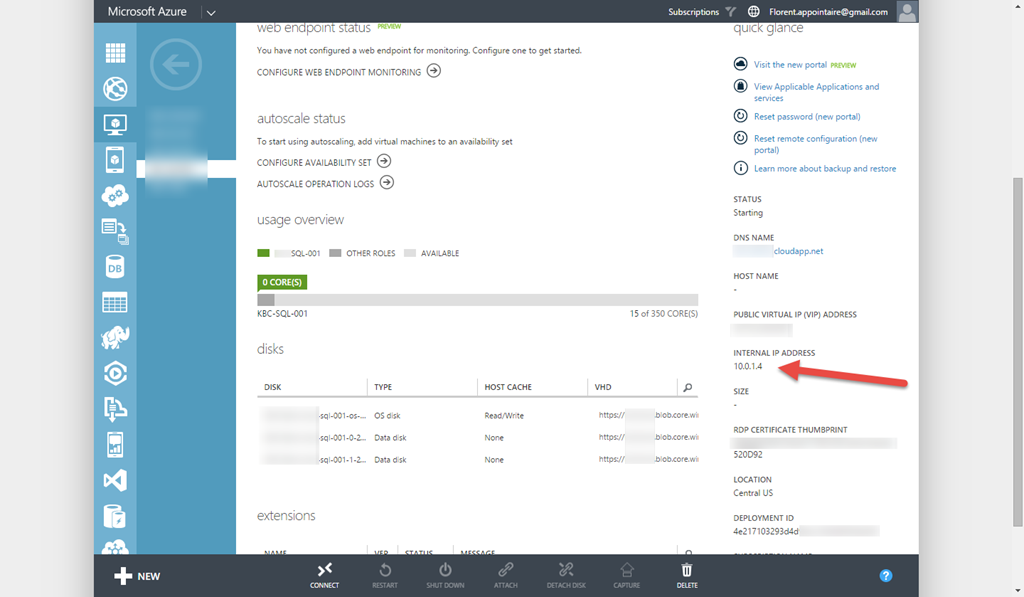
 The VM will restart after the execution of the Update-AzureVM cmdlet. When it’s done, go back to your Azure VM interface. You can see that the new IP is in my BackEnd range:
Don’t forget to change the IP in your DNS too if you don’t allow DNS Dynamic Updates. In my VM, I have now the same IP as in Azure Portal:


