Azure Virtual Desktop is a service in Azure, that can help you to provide virtual desktops to your employees or external people of the organization, by using the Bring Your Own Device model (BYOD).
It is based on Azure Virtual Machine, with a client OS, like Windows 10 or 11.
You can find the full documentation here: What is Azure Virtual Desktop? – Azure | Microsoft Docs
To start, you need to have a virtual network with an Active Directory that can be accessed from this VNet, or, use Azure ADDS.
Search for Azure Virtual Desktop in the list of services.
Host pool
In the host pool tab, click on Create host pool. It is a session host, so, in other terms, it is a collection of one or more identical virtual machines:
Choose a resource group to create the host pool, the name, and the region. After you can choose between Personal (dedicated) or pooled. For personal, you can choose an automatic assignment, or a direct assignment, depending on what you want. For pooled, you need to provide the maximum number of users in a host and the load balancing algorithm:
We will not add virtual machines to this pool yet:
The workspace will be created later:
Click on Next:
We can now create the host pool:
The host pool has been created:
Application groups
During the host pool creation, an application group has been created. This application group contains only the SessionDesktop application, to allow the user to connect to the desktop:
We will assign this application to a user:
Workspace
We will now create the workspace. A workspace is a suite of one or more applications groups:
We add our application group that already exists in this workspace:
We can start the creation:
Virtual Machines in a host pool
Let’s start the creation of virtual machines, for our users. Give a name that will be used for the VM, the image, the size, the number of VM to deploy, and the disk type:
Now, you need to select your VNet that has access to an Active Directory and choose a subnet.
Provide information of a user that has rights to do a domain join, and specify or not the OU to store the computer object. Create a local account in the VM:
After a few minutes, VMs have been created:
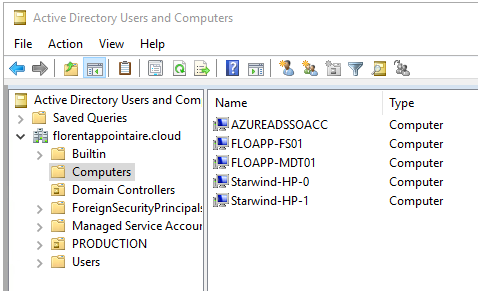
And joined my AD:
And hosts are now present:
Scaling Plans
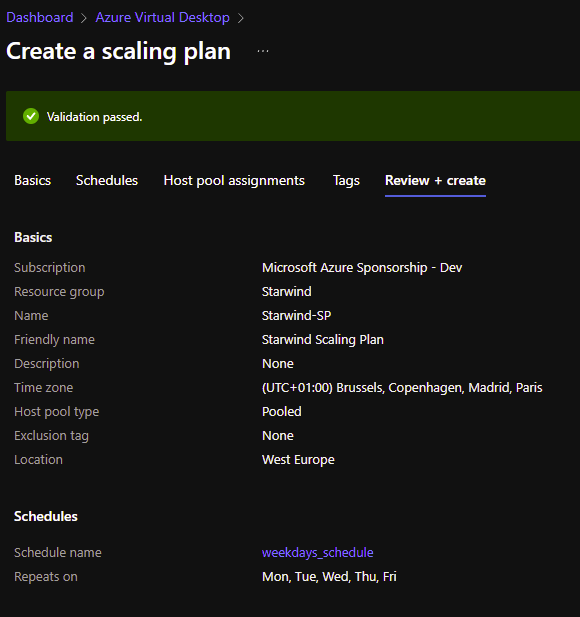
The scaling plan section is a very interesting feature for companies. Be careful, this feature is, at this time, only working with Pooled host pool assignment. Start by creating a scaling plan. The time zone is very important here. So if you want to have multiple time zone, for each of your host pools, you need to have multiple host pools, one per time zone for example:
Choose days when you want to apply this plan:
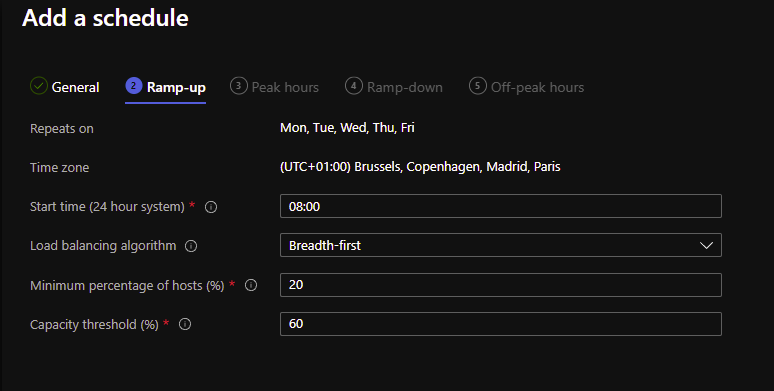
Choose the start hour of your employees, here it’s 8 AM. So, from this time, we can start the ramp-up:
Select at which time is the peak hour, 9 AM here:
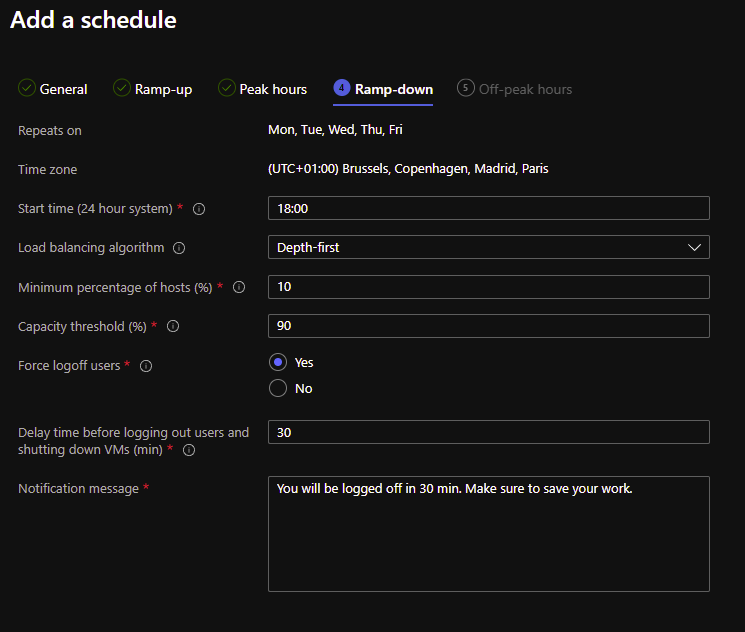
Do the same for the ramp down. Basically, people that start earlier will leave earlier, so we can decrease the number of nodes:
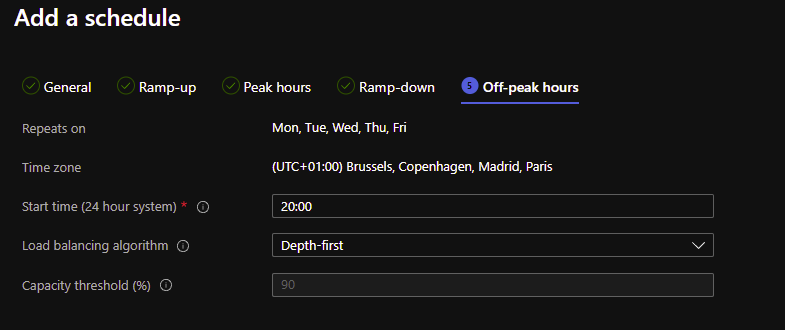
Select at which time you want to put your peak-off hour:
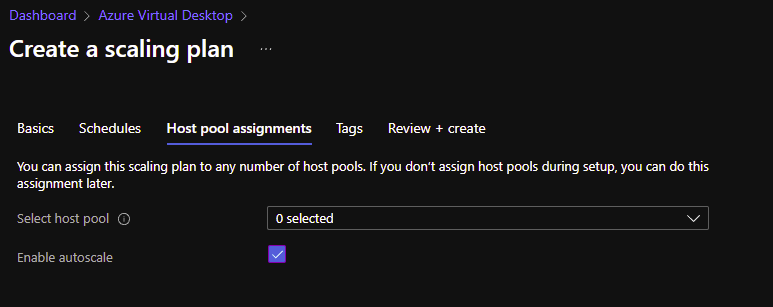
Select a host pool (Pooled) where you want to apply the plan, and, enable auto-scaling to save money between 8PM and 8AM:
You can create the plan:
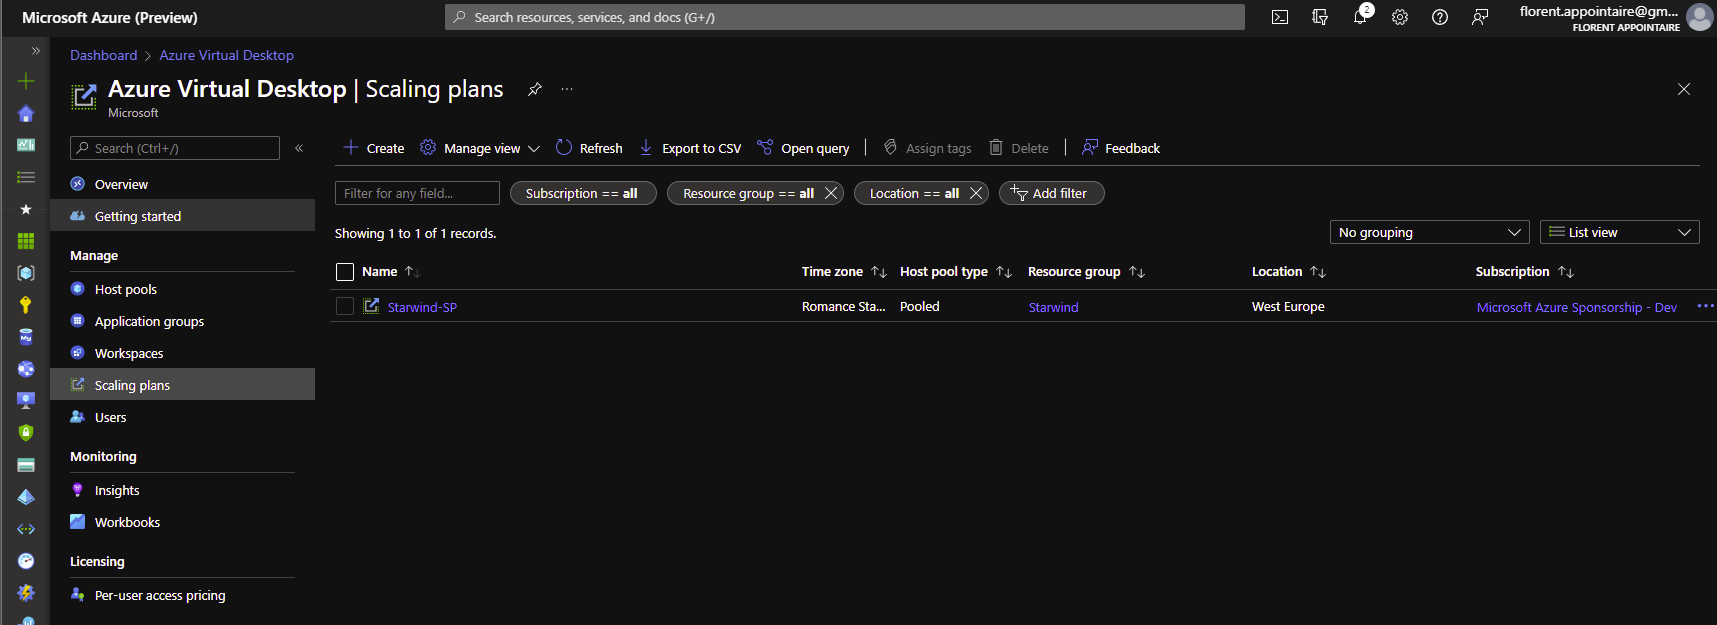
The plan is created and directly applied:
Connect to your Azure Virtual Desktop
The application can be used on Windows, Mac, iOS, and Android: Remote Desktop clients | Microsoft Docs
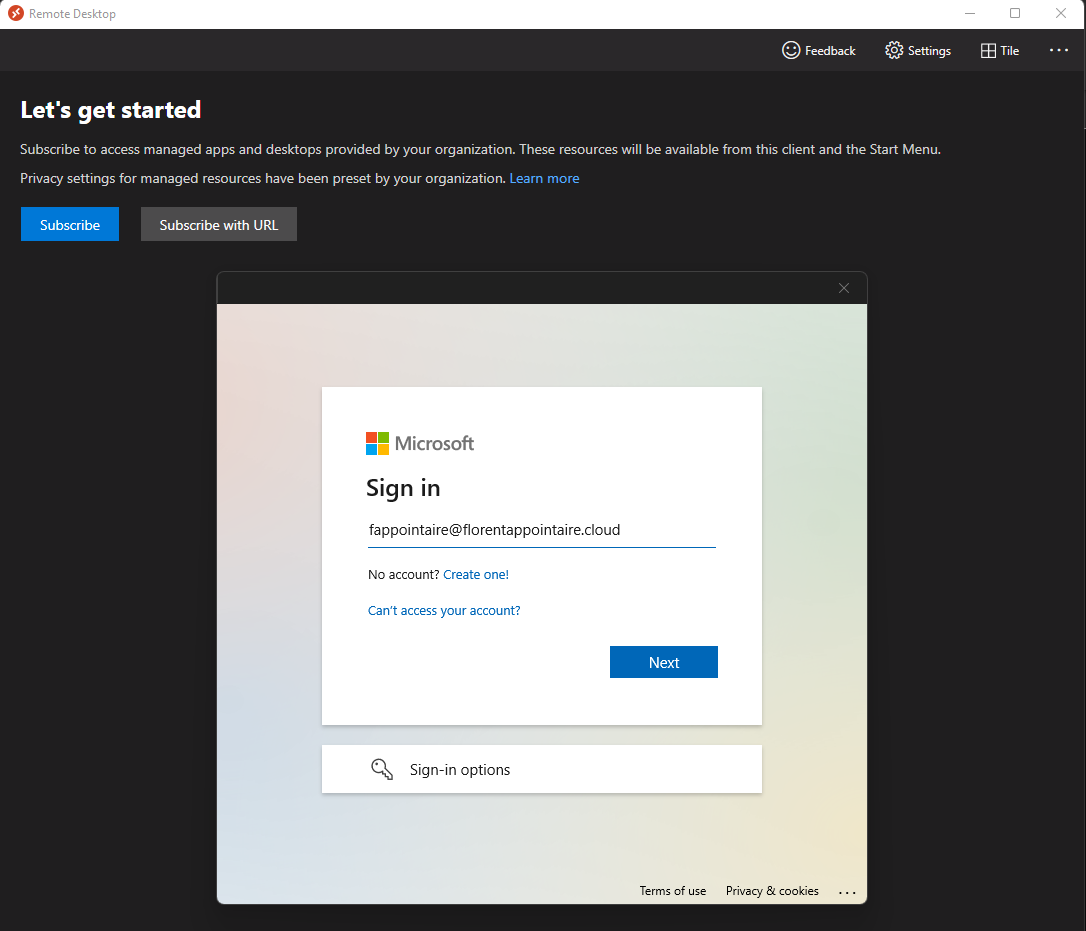
Log in with the user that has the access to the Application Group:
The sec
User information
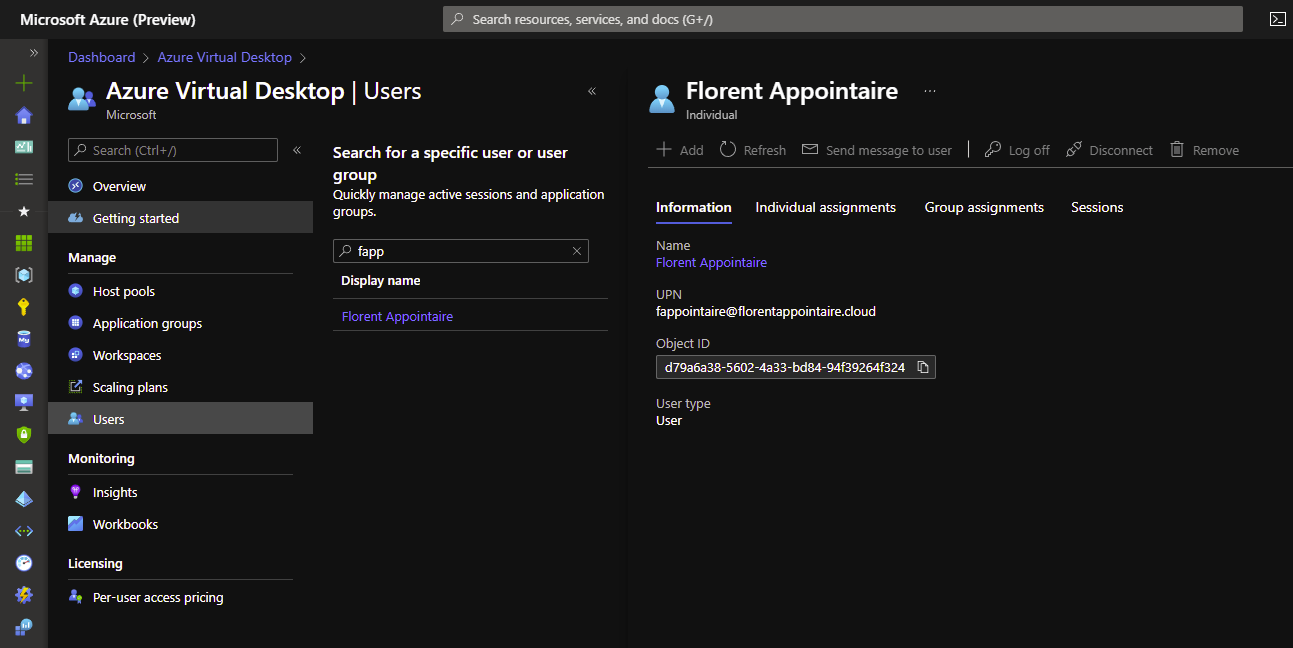
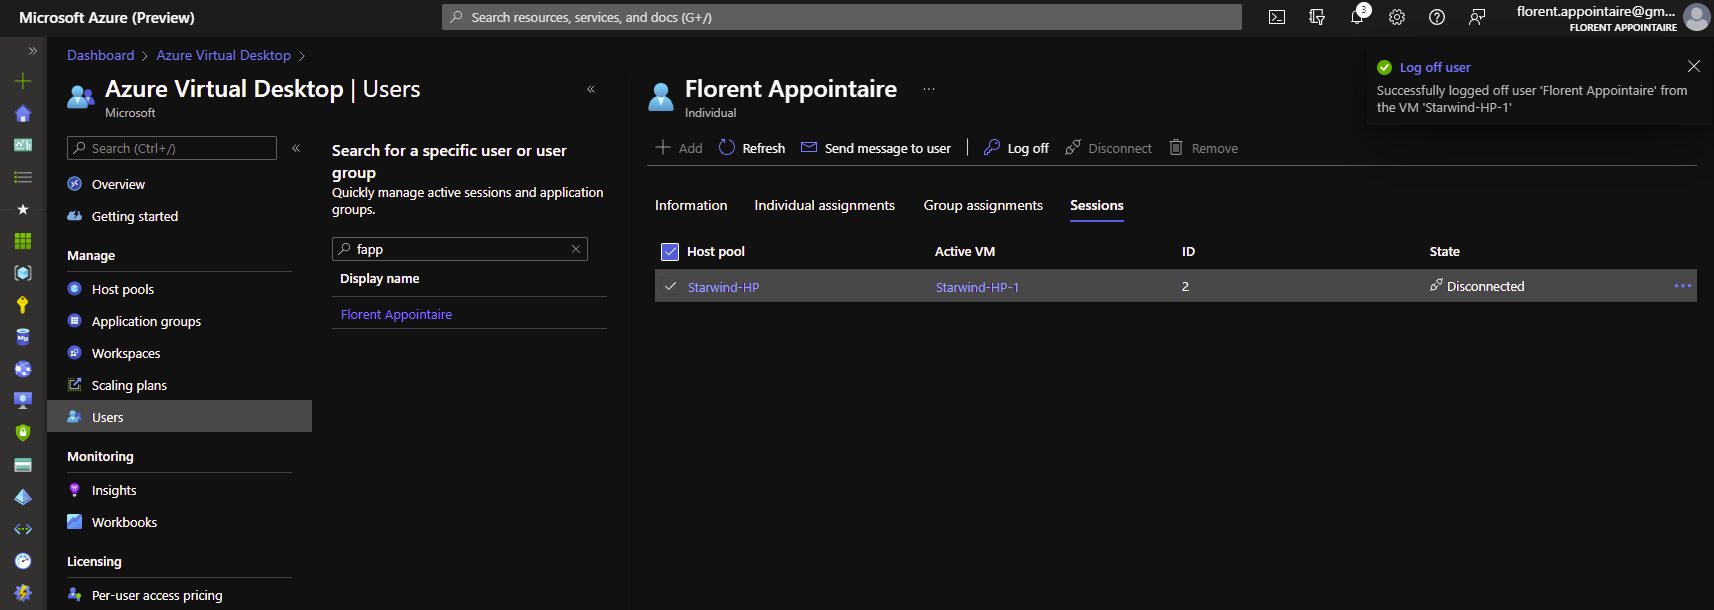
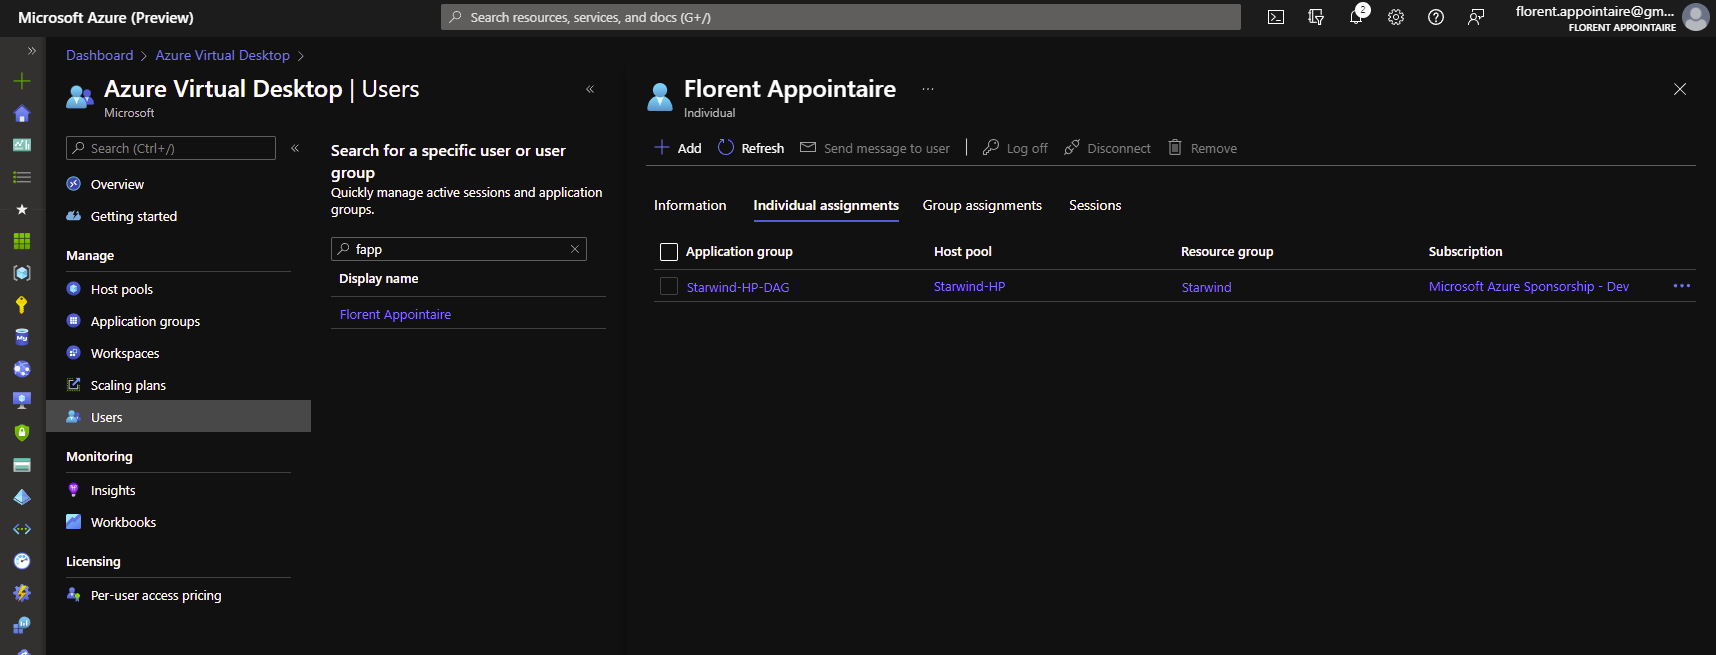
You can check information for a specific user. For example, a user is stuck in his session, you can log him off, without connecting to the VM:
Go to sessions, and select the session where you want to log off the user, by clicking on Log off button:
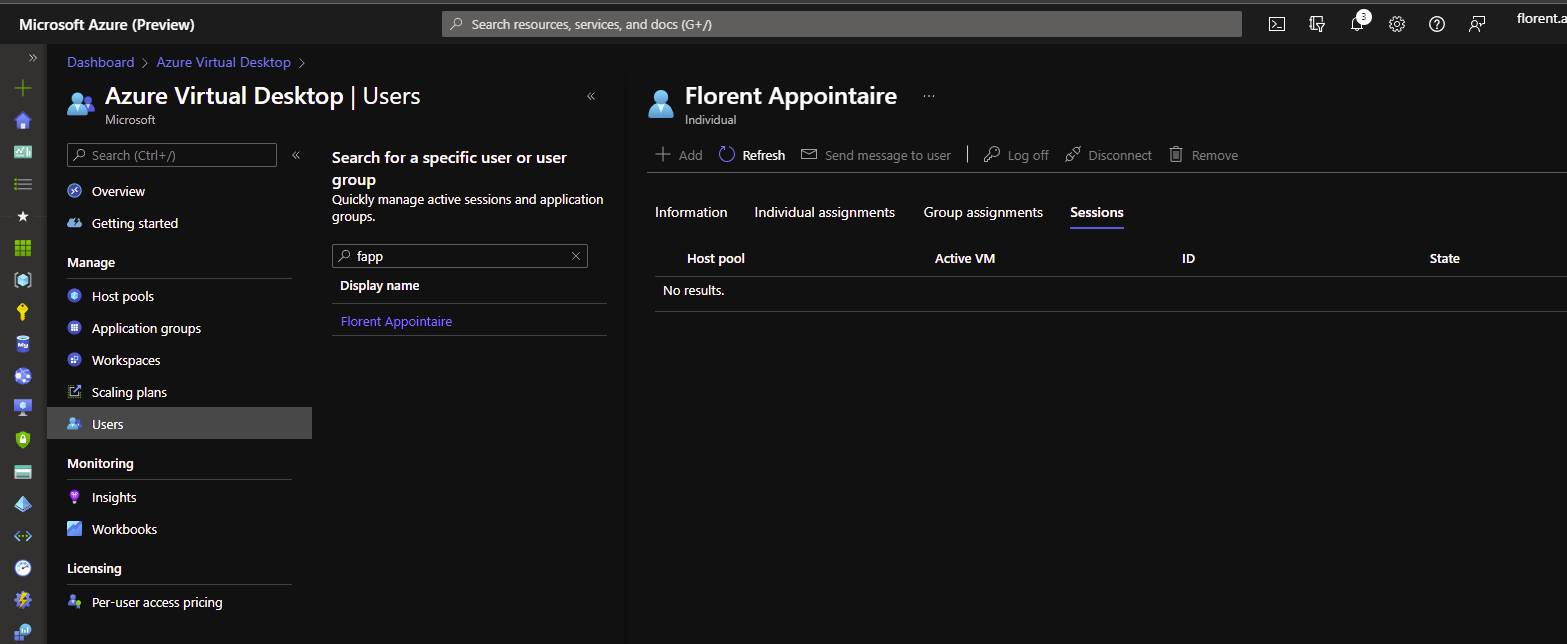
The user can now connect from scratch, with the login loading page:
You have individual permission for this user too, to which application group the user is assigned, with information:
In the next part of this article, we will see how to publish a default application and a custom one.


