The management of file servers in VMs has always been a pain. Whether migration between file servers or implementation of replication with DFS-R, all these tasks are complex. Today thanks to Azure, you can implement a file server without using a single VM. So you don’t need anymore to handle the migration between file servers (for example operating system upgrade) or to implement HA and replication mechanism.
To implement a file server in Azure in PaaS mode you need the following:
- An Azure Active Directory (synchronized with AAD Connect or not)
- An Azure Active Directory Domain Services (AADDS)
- Storage accounts
As a classic file server, you have two kinds of permissions: the share and NTFS. The share permissions are manageable from the Azure Portal with identity in AAD. However, for NTFS permissions you need a Kerberos ticket. AAD is not able to handle Kerberos or NTLM. This is why we need AADDS.
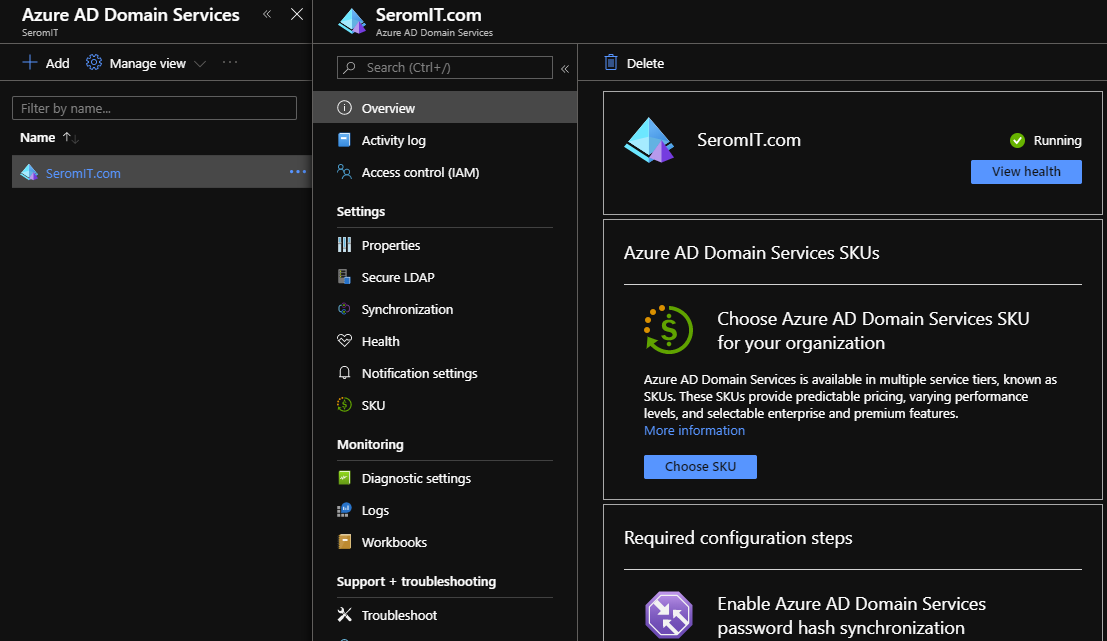
AADDS is easy to deploy: you just have to open the marketplace and look for Azure Active Directory Domain Service. When the service is deployed, it looks like this:
Now you have your Azure Active Directory and AADDS, you just need to configure a Storage Account.
Deploy the Storage Account
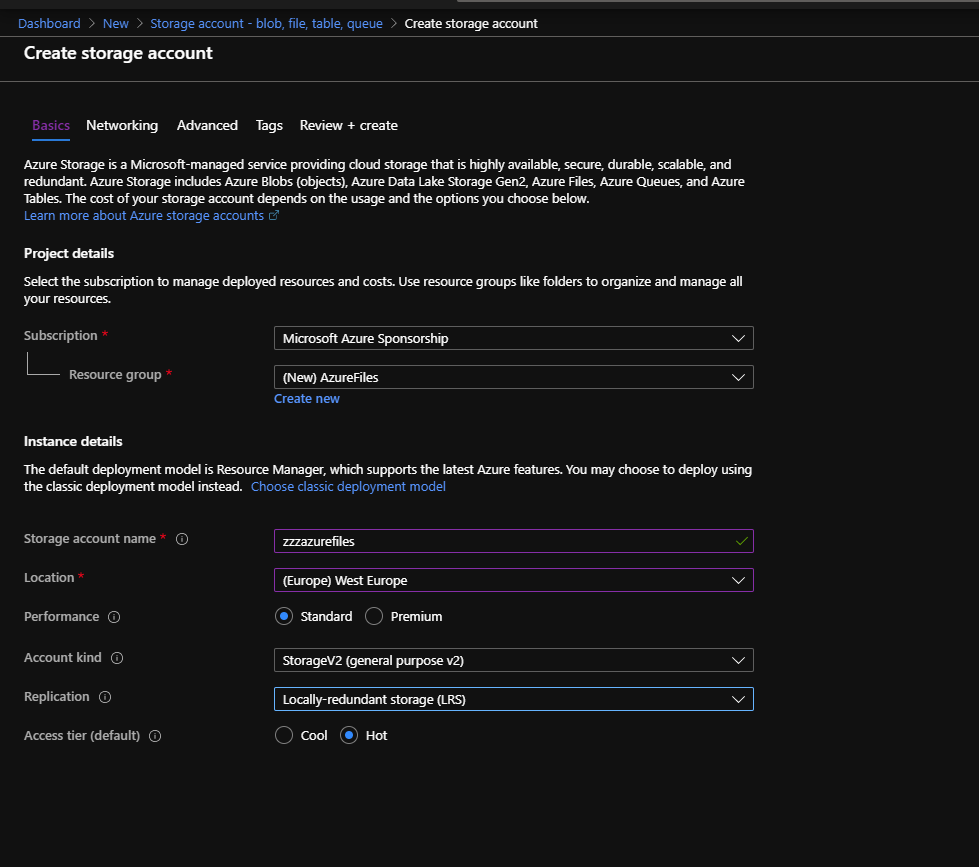
To create a storage account, navigate to the marketplace and look for Storage Account. Specify a name for the storage account, specify a location and a replication. Then choose a Storage v2 account kind.
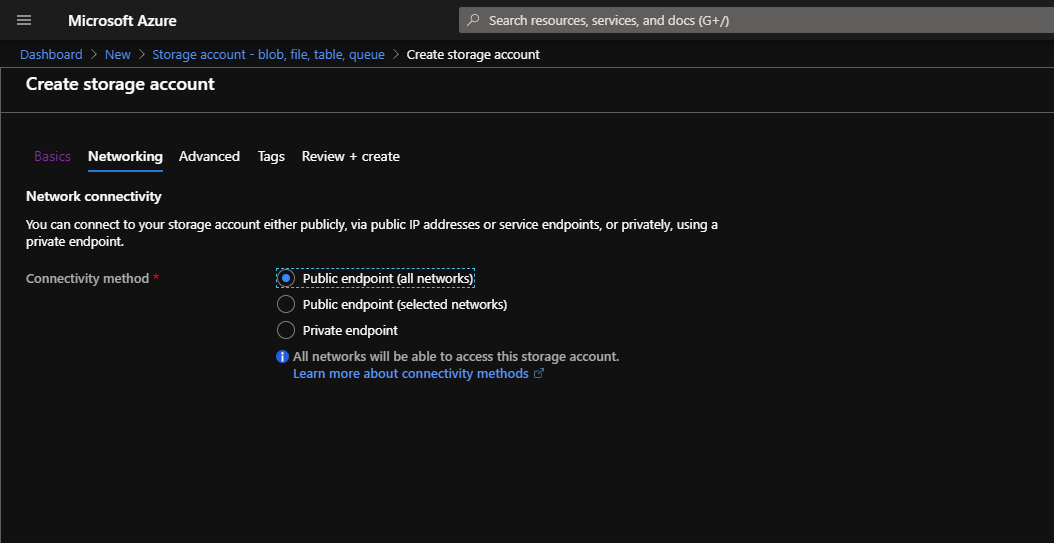
Then choose your connectivity method. You can connect to your storage account from anywhere or configure a private endpoint to limit the connections from a specific virtual network.
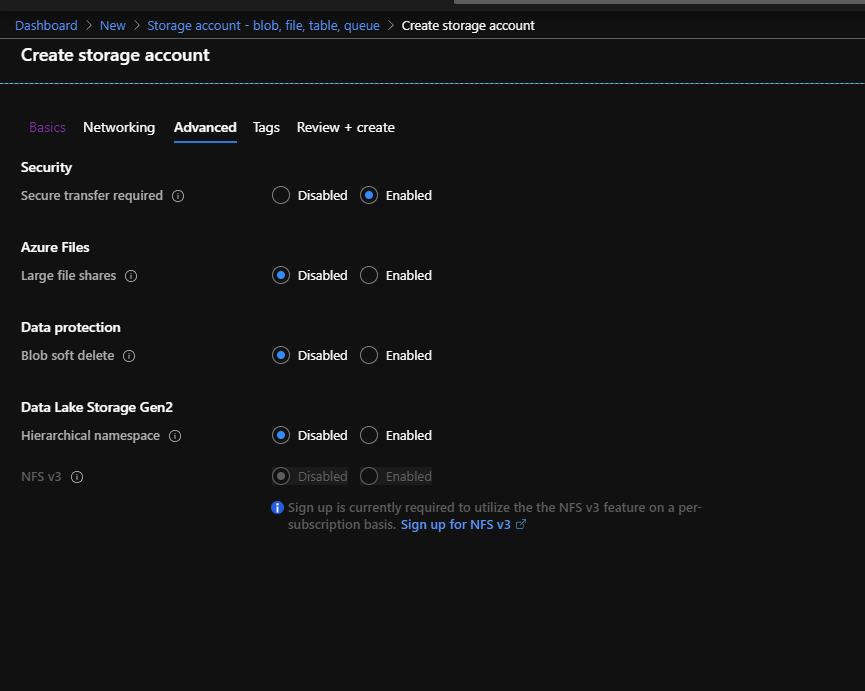
Be sure the Security option is enabled to encrypt SMB3 traffic.
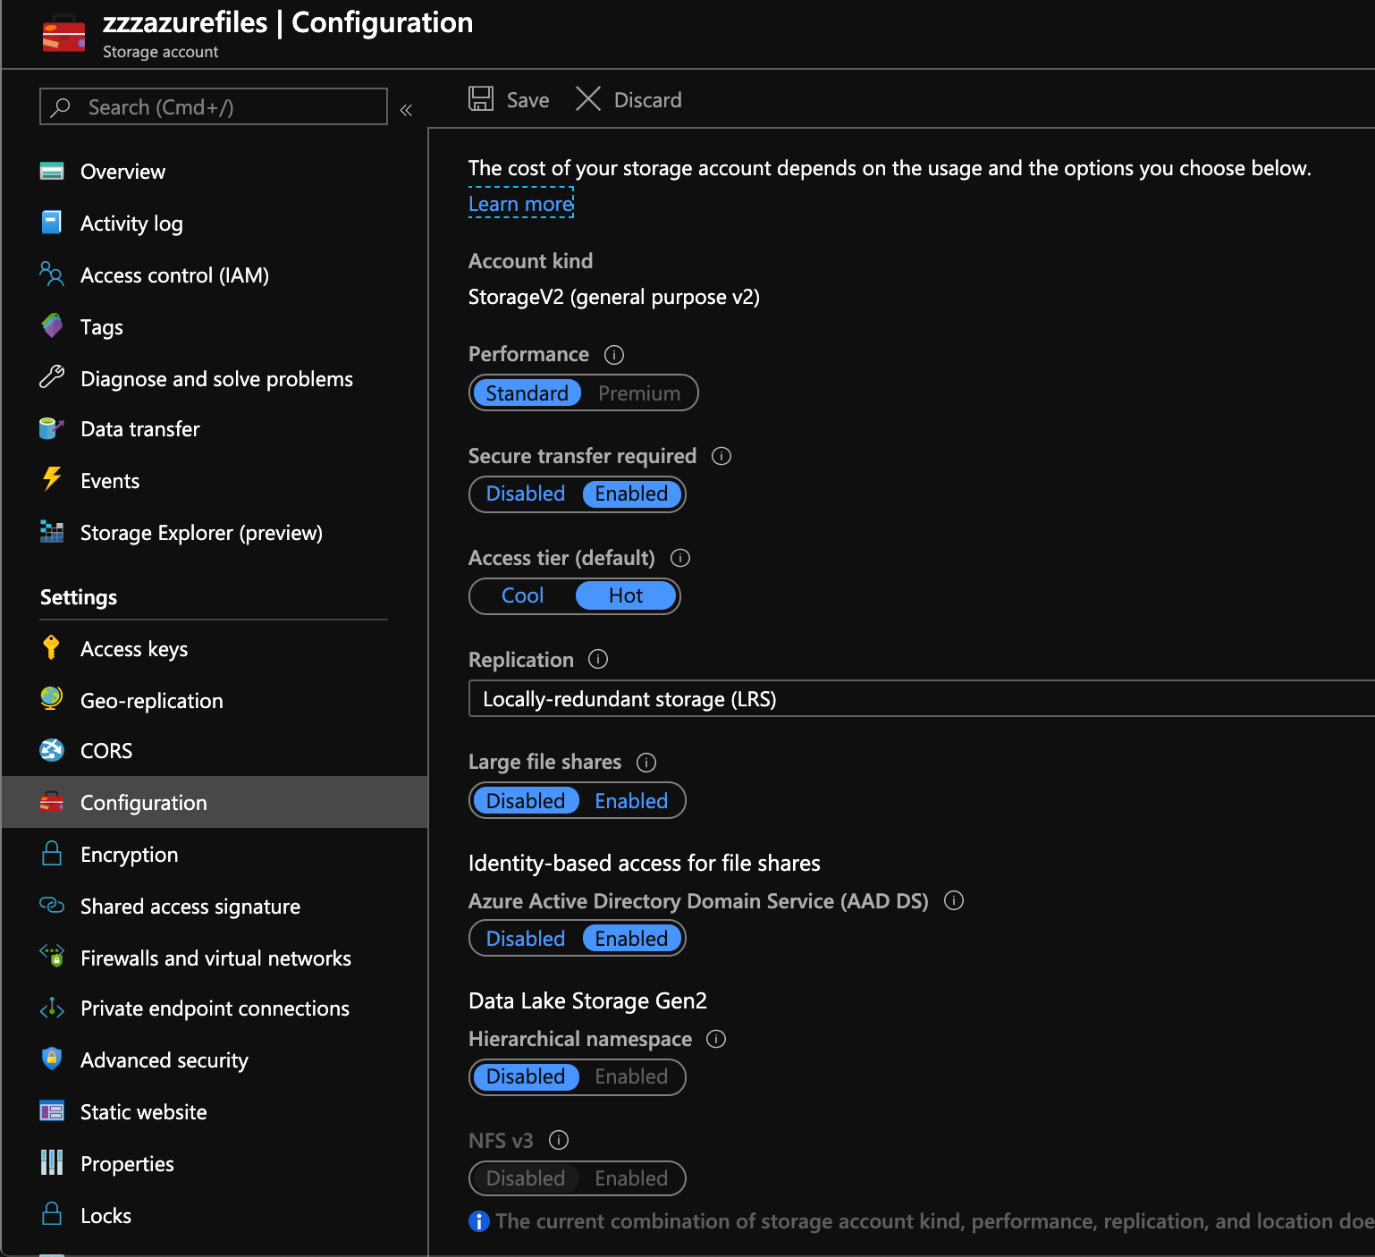
Once the storage account is created, be sure in the configuration that Identity-Based access for file servers is enabled.
Create the file share and set permissions
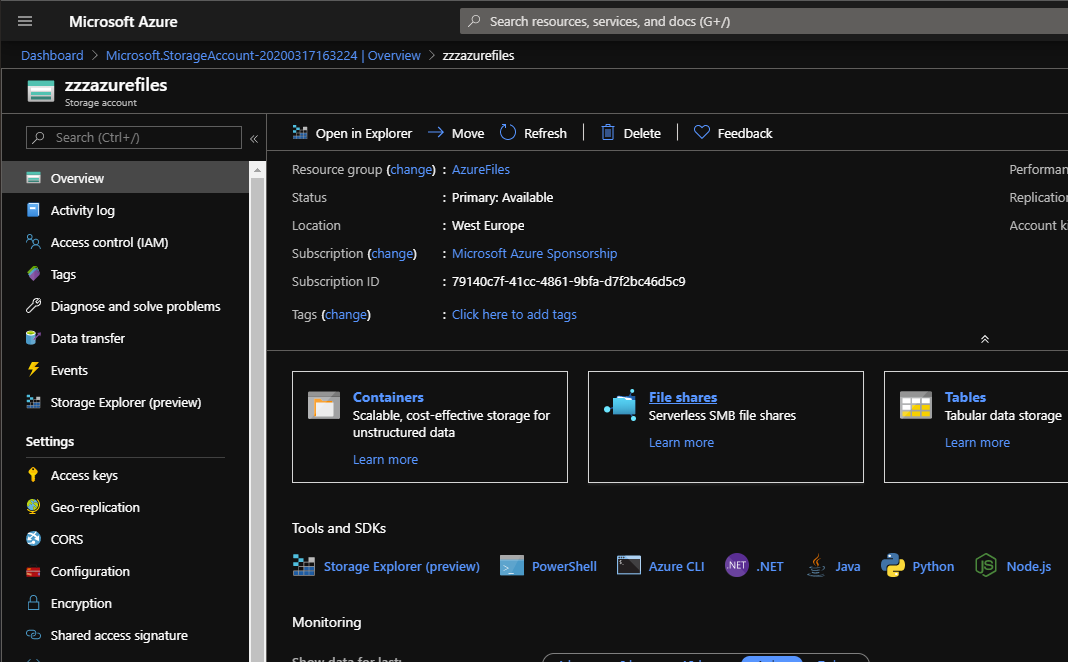
To create the file share, click on File Shares in the overview tab of the storage account.
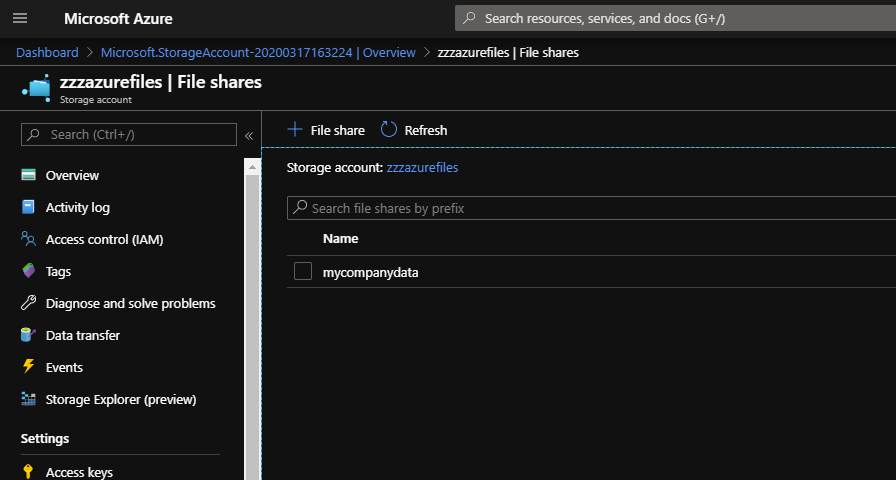
Then click on Add File share and create your file share.
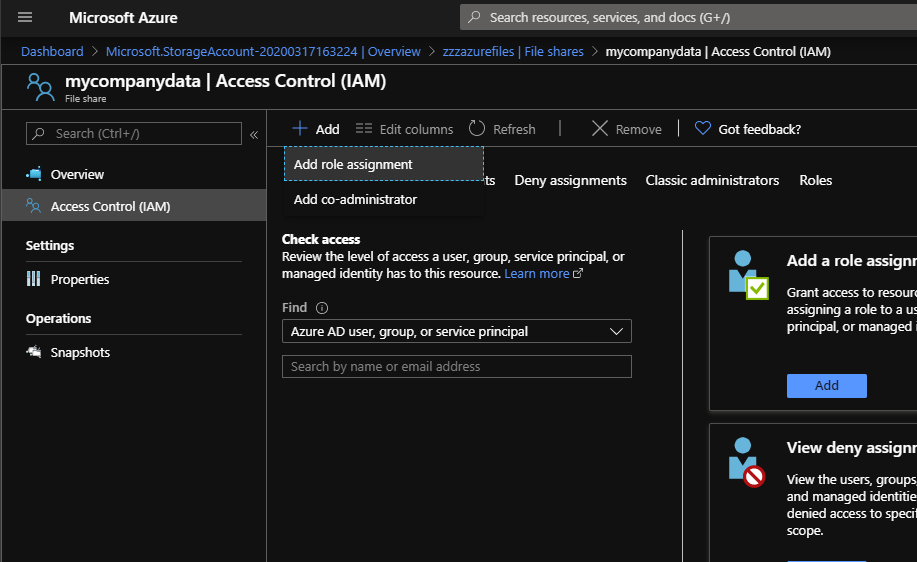
To assign file share permissions, click on your file share and select Access control (IAM). Then click on Add role assignment.
Three kind of SMB permissions exist in Azure:
- Storage File Data SMB Share Elevated Contributor
Permissions to read, write, modify and change NTFS permissions - Storage File Data SMB Share Contributor
Permissions to read, write and modify - Storage File Data SMB Share Reader
Permission to read
The following screenshots present who I set permissions on two different users. Obviously, in real world I recommend you to use the group to apply permissions.
Configure NTFS permissions
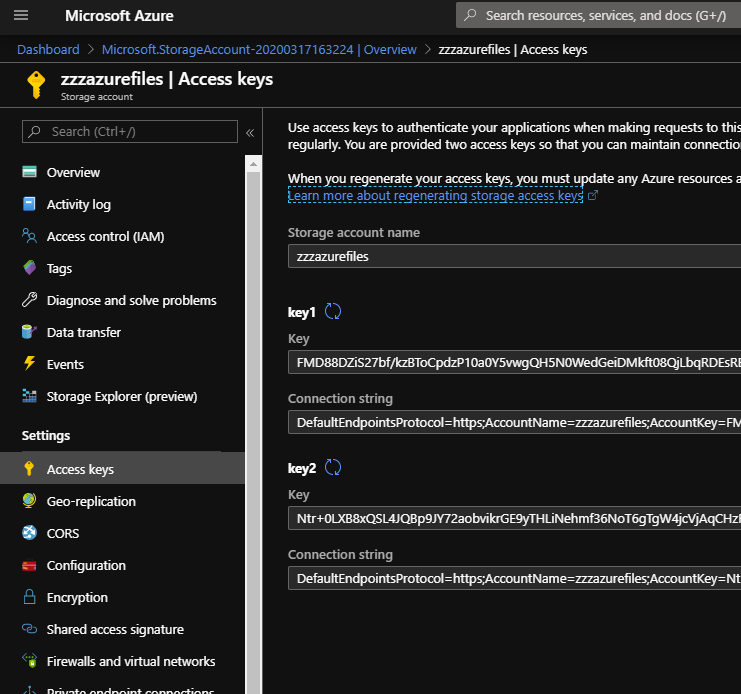
To apply the first permissions, we need to mount the share is access key. So grab the access key from Access Keys tab in storage account settings.
Now connect to a computer that have access to the storage account and run the following command:
net use <desired-drive-letter>: \\<storage-account-name>.file.core.windows.net\<share-name> <storage-account-key> /user:Azure\<storage-account-name>

icacls <mounted-drive-letter>: /grant <user-email>:(f)
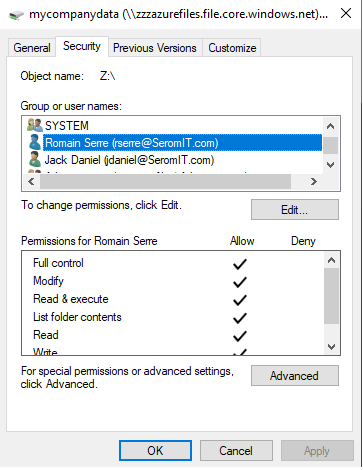
Now you can edit permissions from Windows Explorer if you wish. The following screenshot shows you the permissions from the Windows Explorer. Now you can dismount the share.
Final result
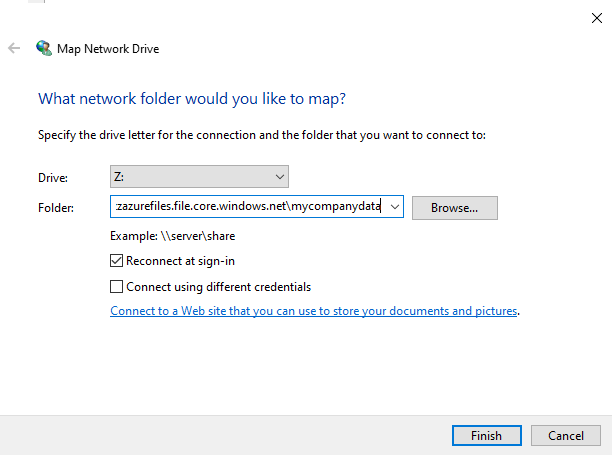
Now you can mount the network drive from windows explorer without specifying your credentials if you are authenticated with a user that has right on the Azure File share.
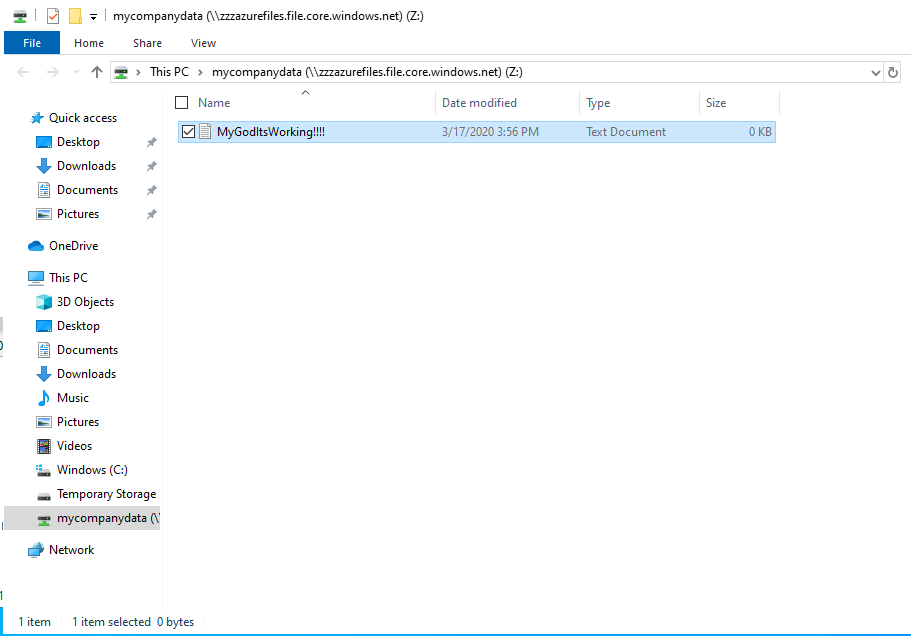
I try to create a file in the share and … my god it’s working !!!!
If you open the Azure File share from Azure Portal, you should see your files. 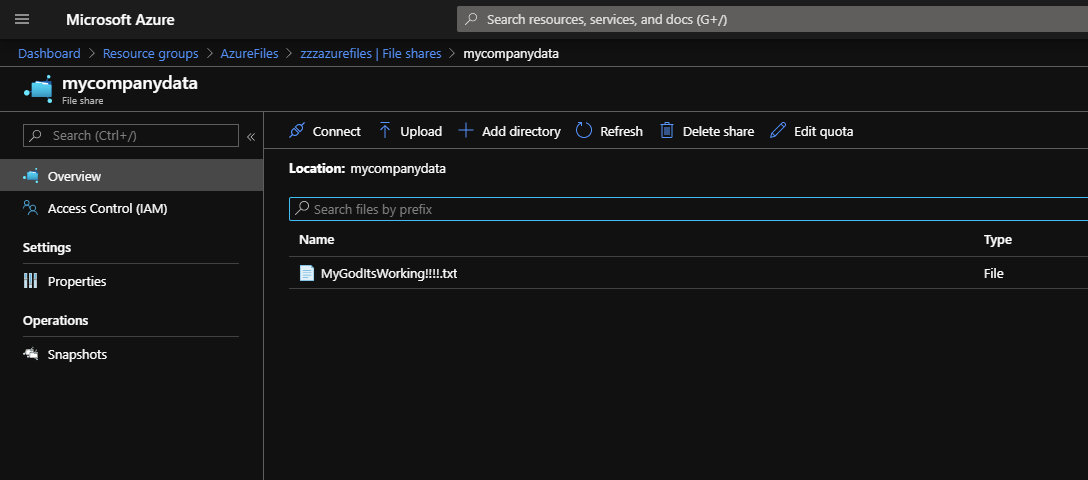
Conclusion
Thanks to Azure, you are now able to create a file server without using a single VM and fully in PaaS mode. It’s an excellent use case for Hybrid Cloud scenario. If you need some cache servers, you can next leverage Azure File Sync.


