Changes and new capabilities introduced in version 1610 of the Configuration Manager current branch are:
- In-console monitoring of update installation status
- Exclude clients from automatic upgrade
- Improvements for boundary groups
- Peer Cache for content distribution to clients
- Migrate multiple shared distribution points at the same time
- Cloud management gateway for managing Internet-based clients
- Improvements to the Windows 10 Edition Upgrade Policy
- Manage hardware identifiers
- Enhancements to Windows Store for Business integration with Configuration Manager
- Policy sync for Intune-enrolled devices
- Use compliance settings to configure Windows Defender settings
- General improvements to Software Center
- New columns in device collection views
- Customizable Branding for Software Center Dialogs
- Enforcement grace period for required application and software update deployments
- Improved functionality in dialog boxes about required software
- Software updates dashboard
- Improvements to the application request process
- Filter by content size in automatic deployment rules
- Office 365 Client Management dashboard
- Task sequence steps to manage BIOS to UEFI conversion
- Improvements to the task sequence step: Prepare ConfigMgr Client for Capture
- New compliance settings for configuration items
- Intune compliance policy charts
- Lookout integration for hybrid implementations to protect iOS and Android devices
For details, please read this page: https://docs.microsoft.com/en-us/sccm/core/plan-design/changes/whats-new-in-version-1610
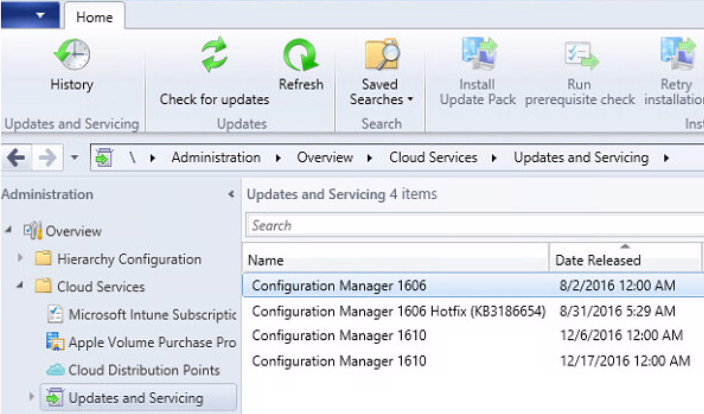
In this article, I will describe how to install SC Configuration Manager 1610 from scratch on the latest version of Windows Server 2016 with SQL 2016. Actually, SCCM 1610 is the latest release available for the production environment. If you are running SCCM 1511 and higher version, you can easily upgrade to 1610 version from “Updates and Servicing” as shown below:
Architecture
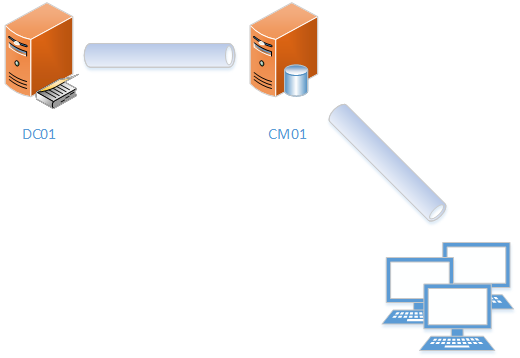
Installing SCCM is not a big deal but you will need to run through some prep work to get your environment ready. This post will guide you through the installation of a standalone primary site server with MP and DP roles installed as part of the install wizard and SQL installed locally. Let’s take a look at the architecture:
- DC01 is my Domain Controller running inside a Hyper-V VM.
- CM01 is my Configuration Manager Server with SQL installed locally running inside a Hyper-V
- Active Directory Domain: “get-cmd.local”
- Hyper-V host (Windows Server 2016) is running on DELL R720 PowerEdge
SQL Server 2016
In this guide, we will install SQL Server and SCCM on the same server but in a production environment, I advise you to install SQL on a remote server. So don’t forget to configure Windows Firewall by GPO, read this page: https://technet.microsoft.com/en-us/library/ms175043.aspx. If you don’t want to install one more full version of Windows Server 2016, note that Windows Server Core supports SQL Server installation as explained by Florent Appointaire here: https://www.starwindsoftware.com/blog/install-sql-server-2016-on-windows-server-2016-server-core.
Before starting, note the following information:
- During the SQL installation, the collation should be SQL_Latin1_General_CP1_CI_AS
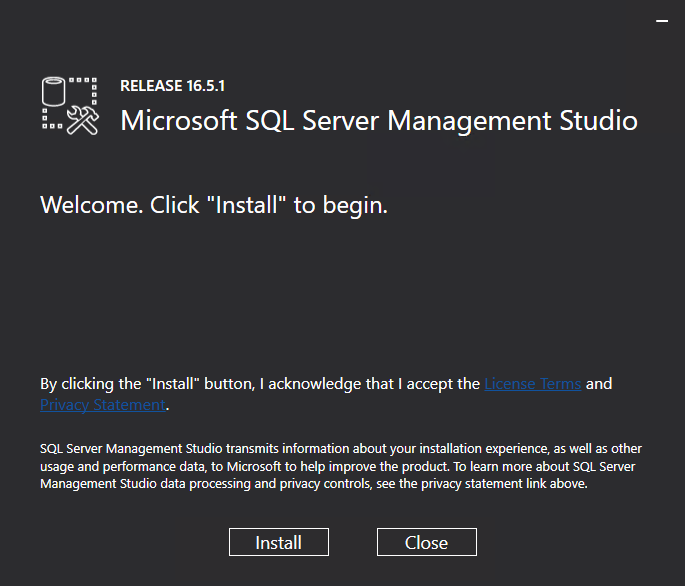
- SQL Server no longer comes with the Management Studio and it’s offered as a separate download: https://download.microsoft.com/download/3/1/D/31D734E0-BFE8-4C33-A9DE-2392808ADEE6/SSMS-Setup-ENU.exe
- For SQL Service Accounts, Microsoft recommends that you use domain service accounts and not the local system accounts. So we need to create separate users accounts for each of the SQL services.
So, connect to a domain controller and open the “Active Directory Users and Computers” MMC. Create the following service accounts:
Next, you will need to be certain .NET 3.5 is installed on your server. Run the following PowerShell command to confirm:
PS > Get-WindowsFeature *NET-Framework-Core*All is done!
Installation
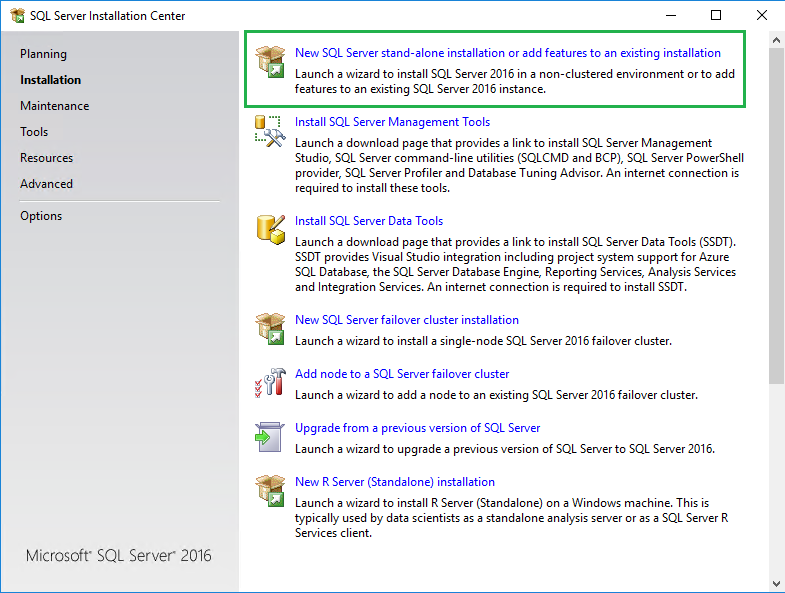
I will not explain each step because it’s not very interesting and it depends on your organization requirements, but below are the important steps for your SCCM installation. Select “New SQL Server stand-alone installation”
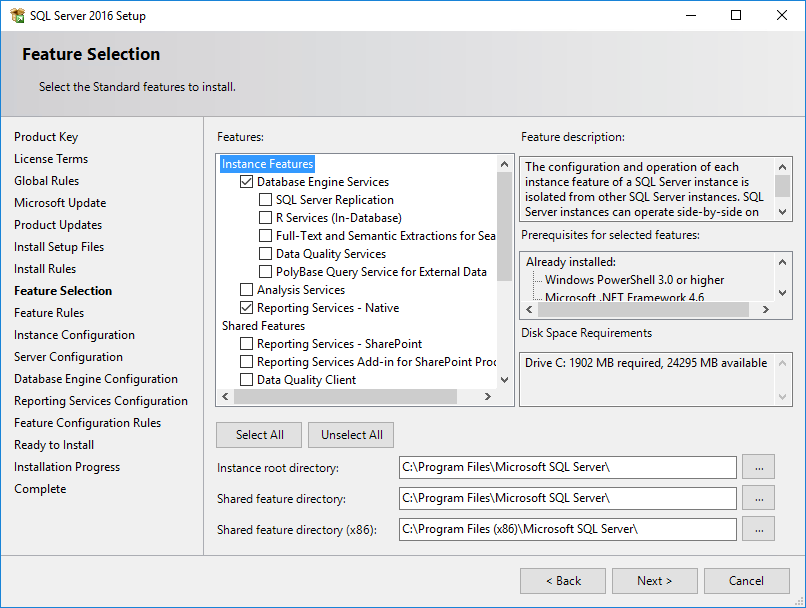
Next, select the following required features:
- Database Engine Services
- Reporting Services
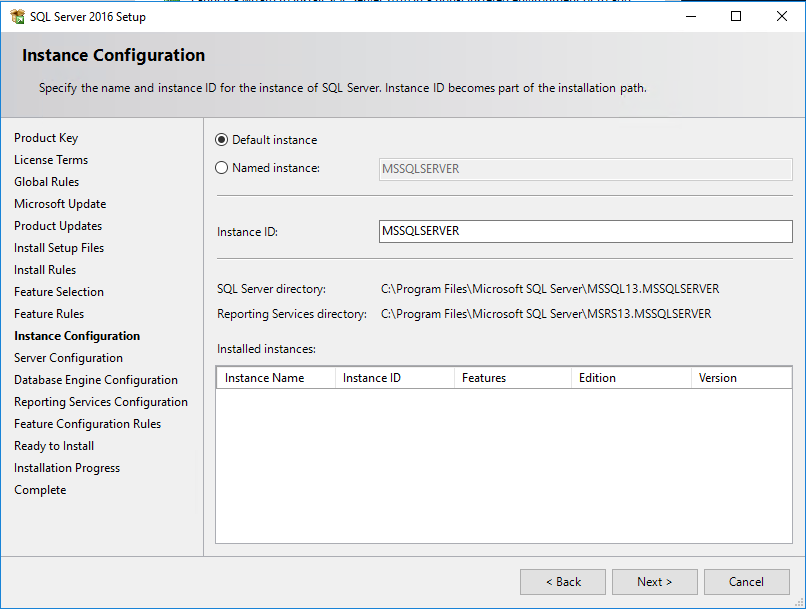
Of course, you can select other features in the list to suit your needs. Next, select the default instance:
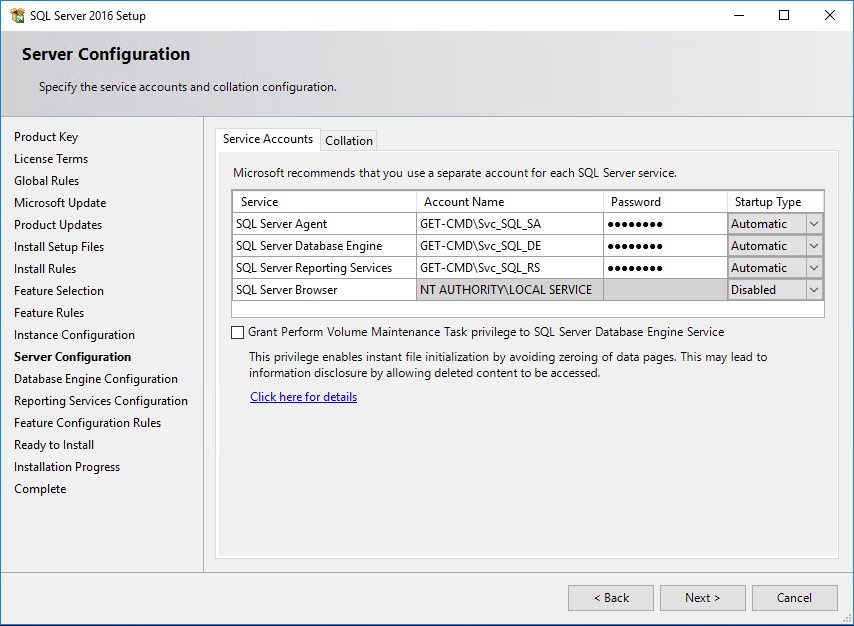
On the following screen, you need to provide the service accounts that SQL Server services will use. Replace default service accounts on the Server Configuration page with the domain service accounts.
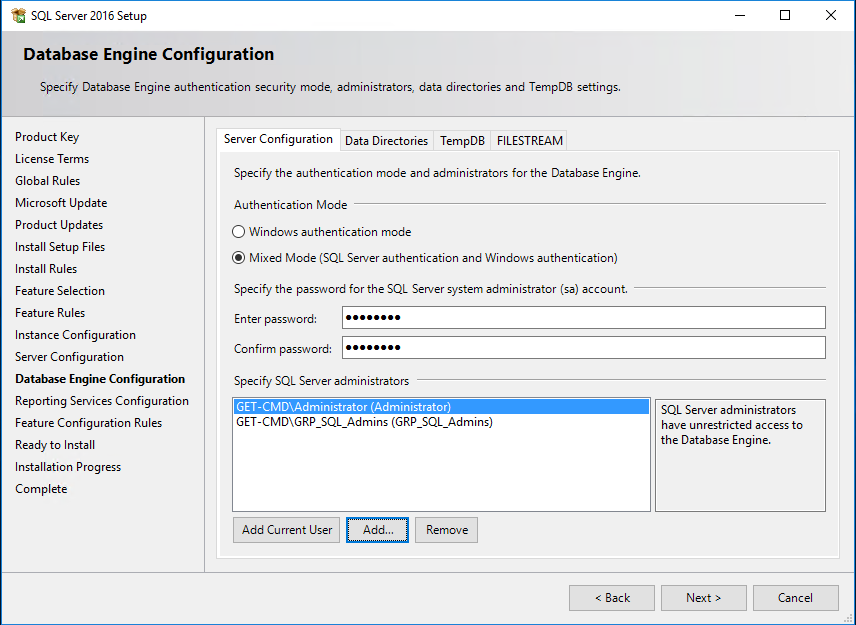
On the next screen, the Database Engine Configuration page (see below image), choose the authentication mode to use for your SQL Server installation. If you select Mixed Mode, Setup creates an “sa” account. Enter and confirm the password for the “sa” login when you choose Mixed Mode.
I always prefer the Mixed Mode but remember that you will get a warning message during SCCM prerequisites check process.
Click the buttons “Add Current User” or “Add” to provide at least one account that will have unrestricted access to the SQL Server instance. As a best practice, I prefer to use AD groups.
Don’t forget to check the collation. It should be SQL_Latin1_General_CP1_CI_AS.
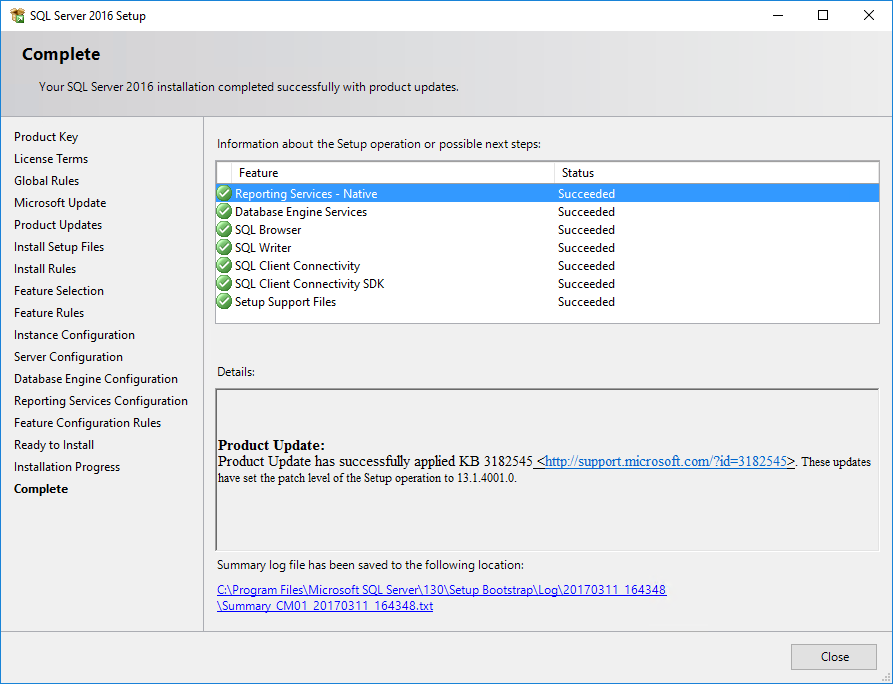
All the status must be “Succeeded”.
Cool! SQL Server 2016 is installed on your server called CM01.get-cmd.local
SQL Server Management Studio
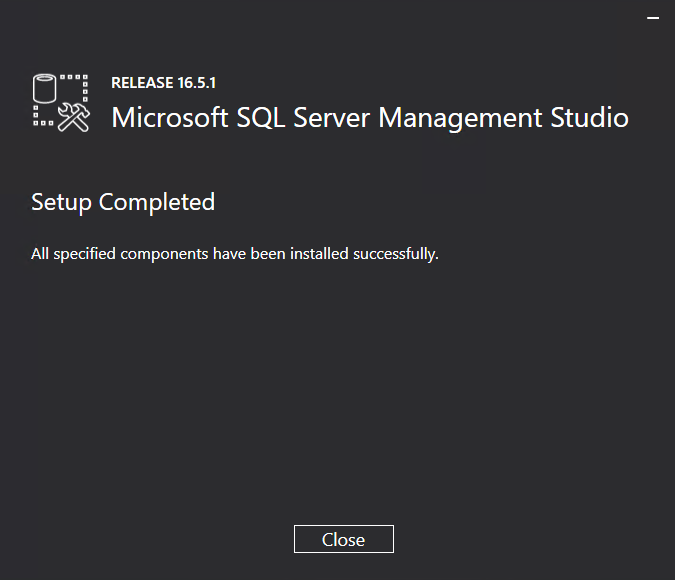
As I said at the beginning of the article, SQL Server no longer comes with SSMS. So you need to download and run SSMS.exe:
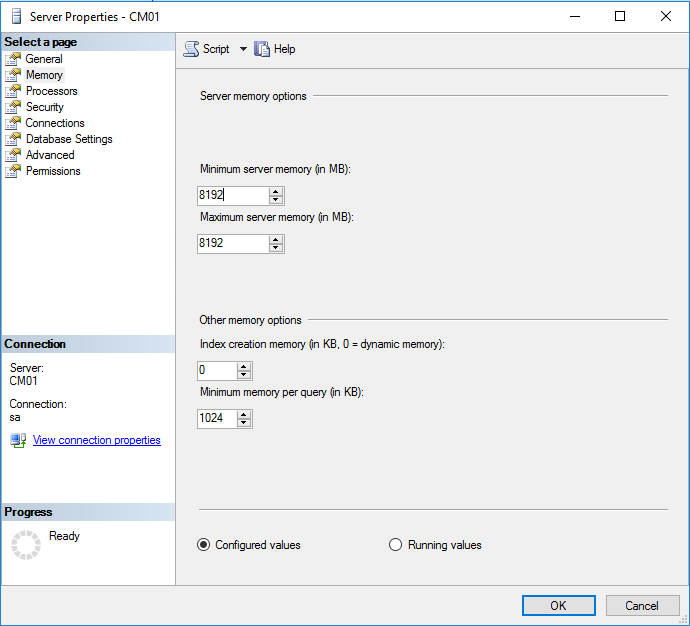
Open SSMS and connect to the SQL Database (CM01.get-cmd.local) because you must limit the SQL server memory. SCCM will check during installation if SQL Server is limited or not. If not, then you will get a warning message.
Click OK to finish.
Conclusion
The first part of this series is done! We have seen how to:
- Prepare our environment
- Install SQL Server 2016
- Configure SQL Server 2016
In the next part, we will prepare our Active Directory domain and install System Center Configuration Manager Current Branch.
Thanks for reading!


