Almost all my customers ask me to deny connection from some foreign countries for users. But most of the time they also have VIPs that are allowed to travel across the world. These people must keep access to IT even if they are traveling. In this topic we’ll see:
- How to deny connection from foreign countries for all users
- How to allow connection from foreign countries for a specific group of people
- How to make an approval workflow to be allowed to travel with Access Package
Step 1: Deny connection from foreign countries for everyone
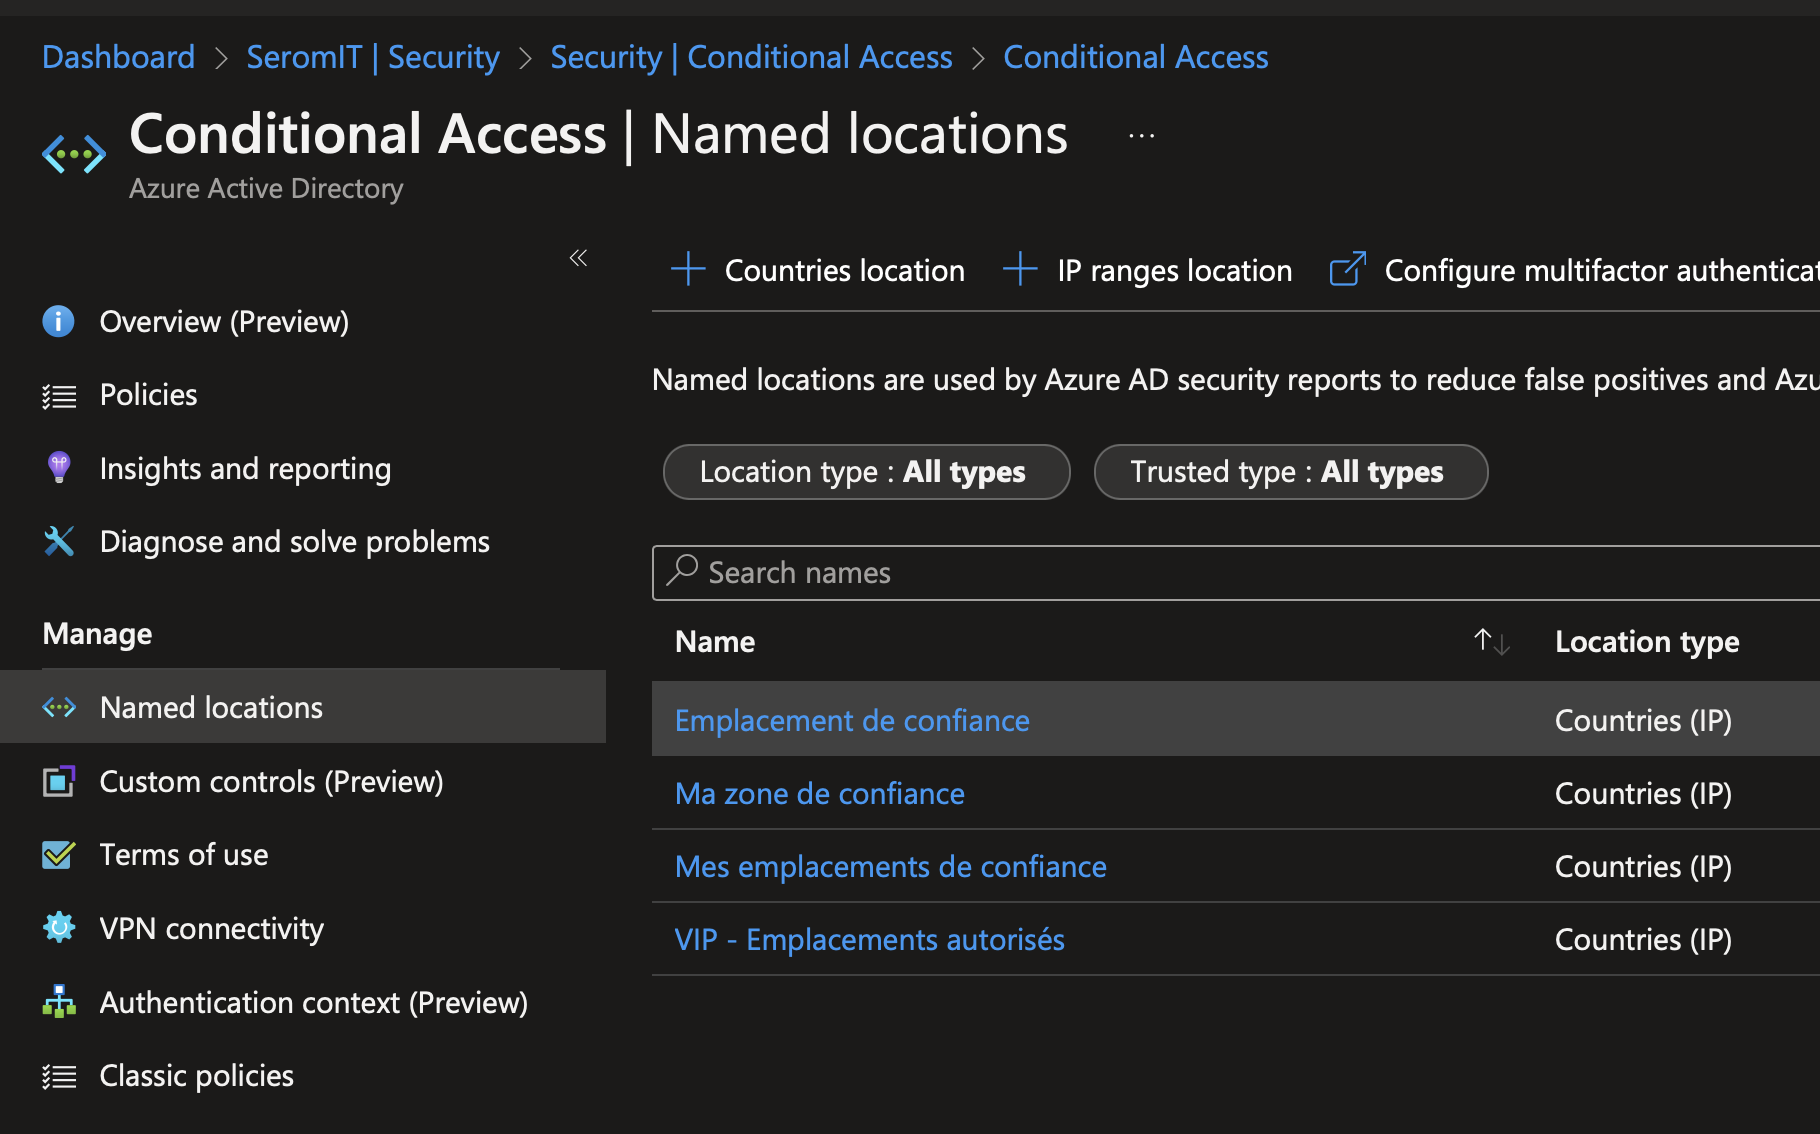
First of all, we have to create a conditional access to deny access from specific countries. To do that we also need a named location. Open your Azure AD and navigate to Security > Conditional Access and Named Location. Click on Country Locations.
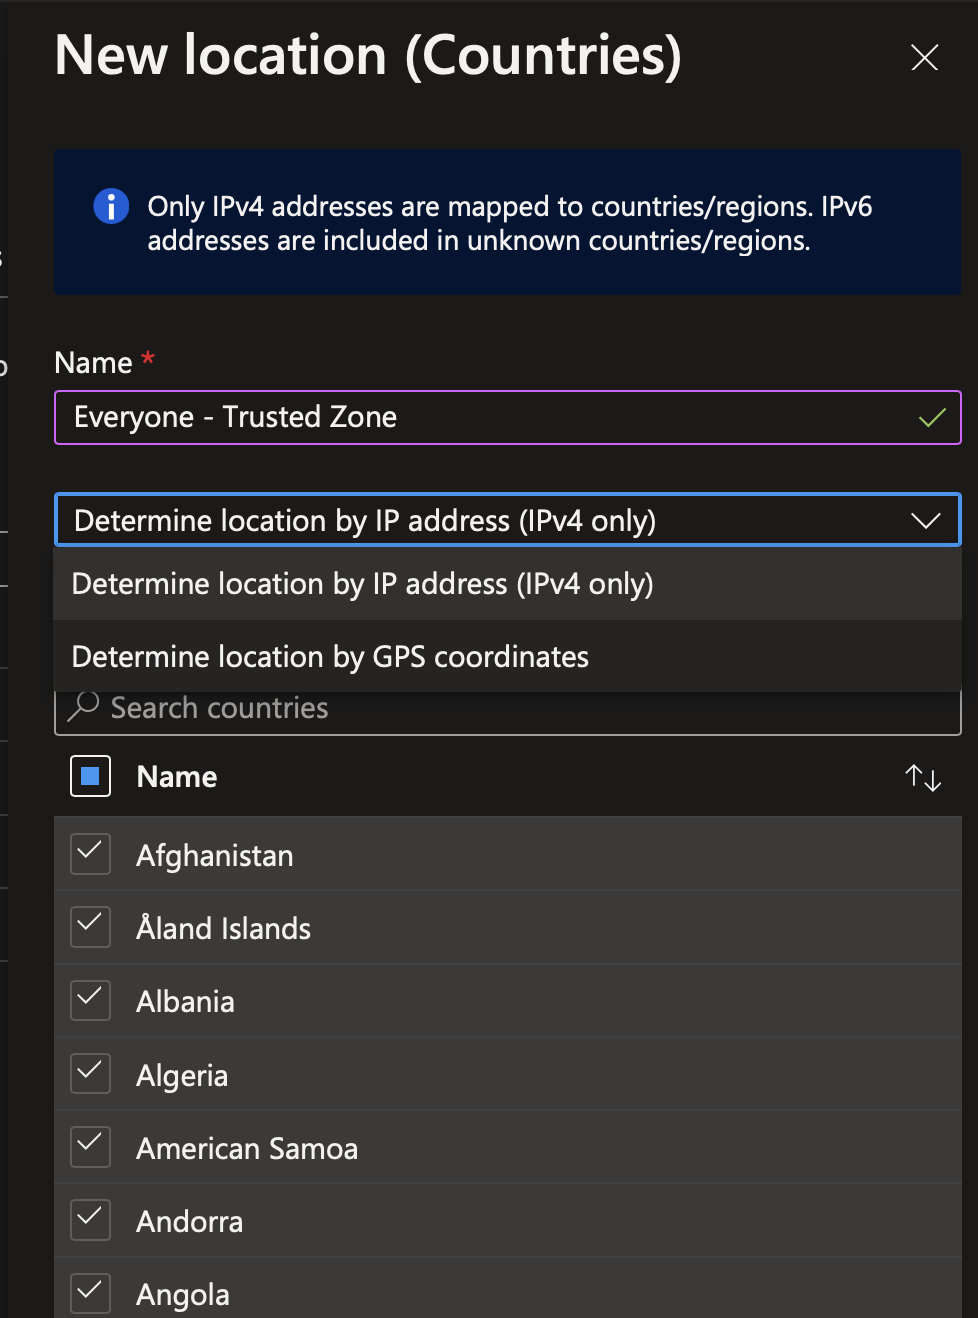
Provide a name to your named location. Then you can select how to determine the location of the users: By IPv4 (IPv6 are only included in unknown countries) or by using GPS. If you choose GPS, the user must have Microsoft Authenticator App on Smartphone and have to share their location from this app.
Then tick all countries excepted those you want to allow.
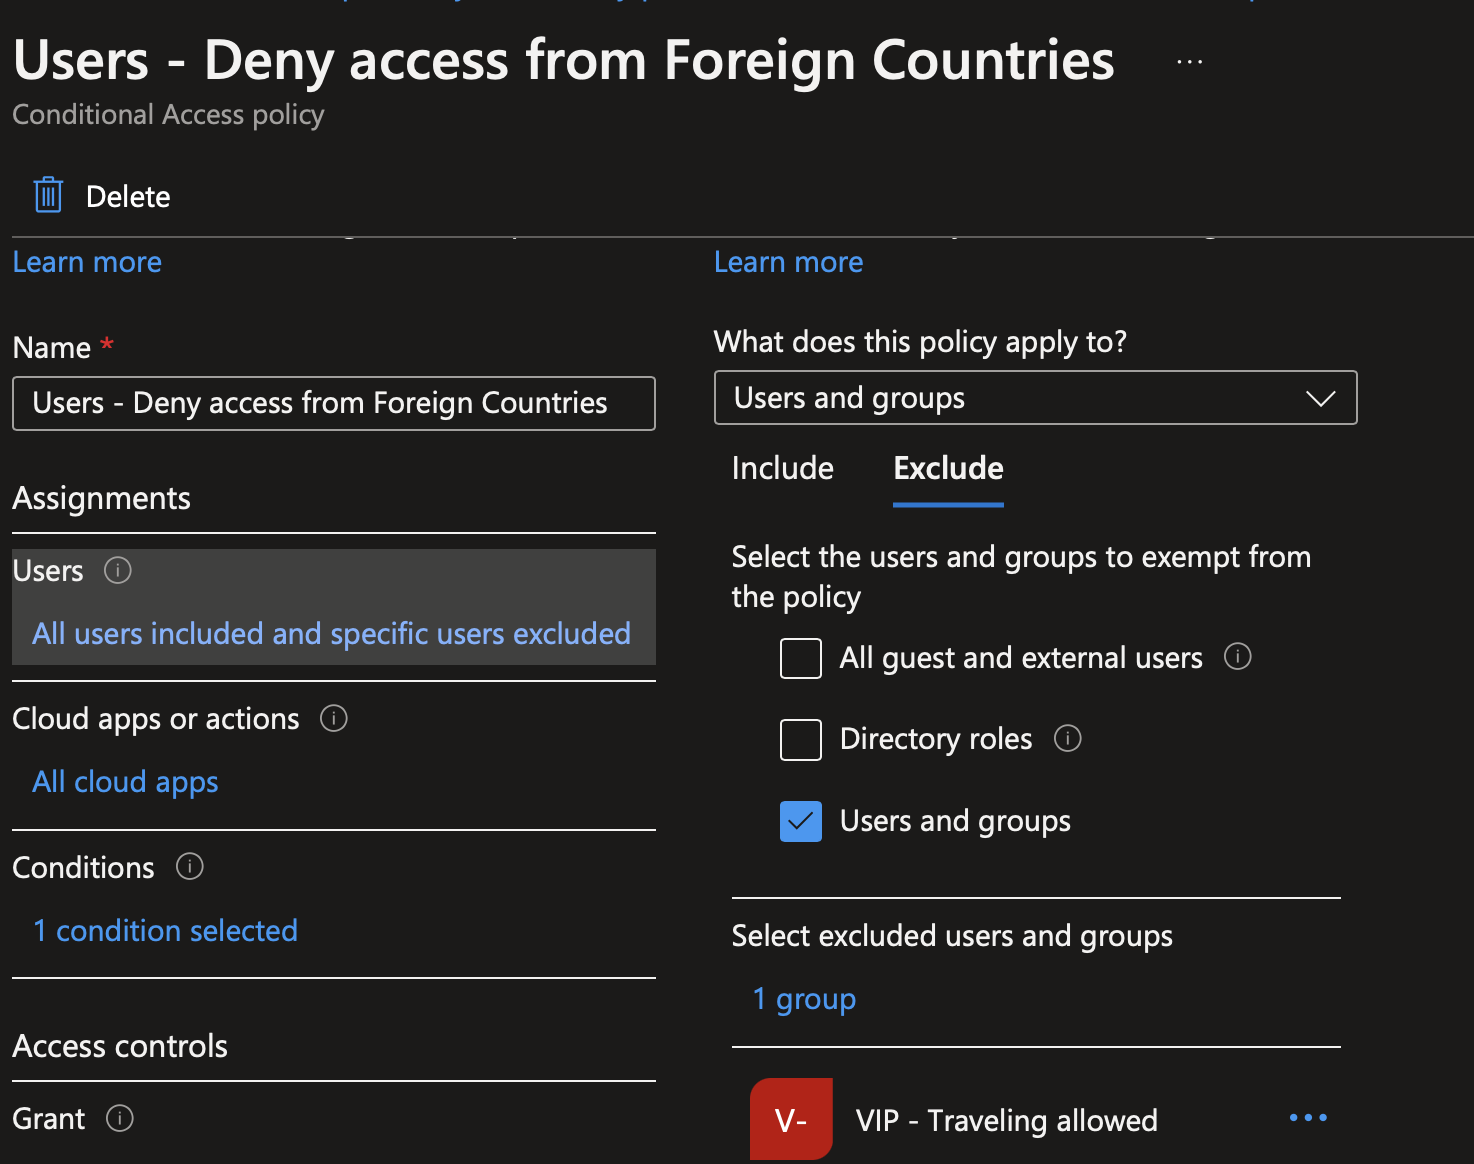
Now navigate to Security > Conditional Access > Policies and create a new one. Provide a name to your conditional access. Then navigate in Users and Workload identities and select all users.
Tips: The first time you make this rule, I suggest to you to add yourself in Exclude to avoid losing access if something is misconfigured. In addition, if you use a break the glass account, add this account in Exclude.
In Cloud Apps or Actions, select all cloud apps.
In Conditions, navigate to location and select the named location we created just before.
In Grant, select to block access.
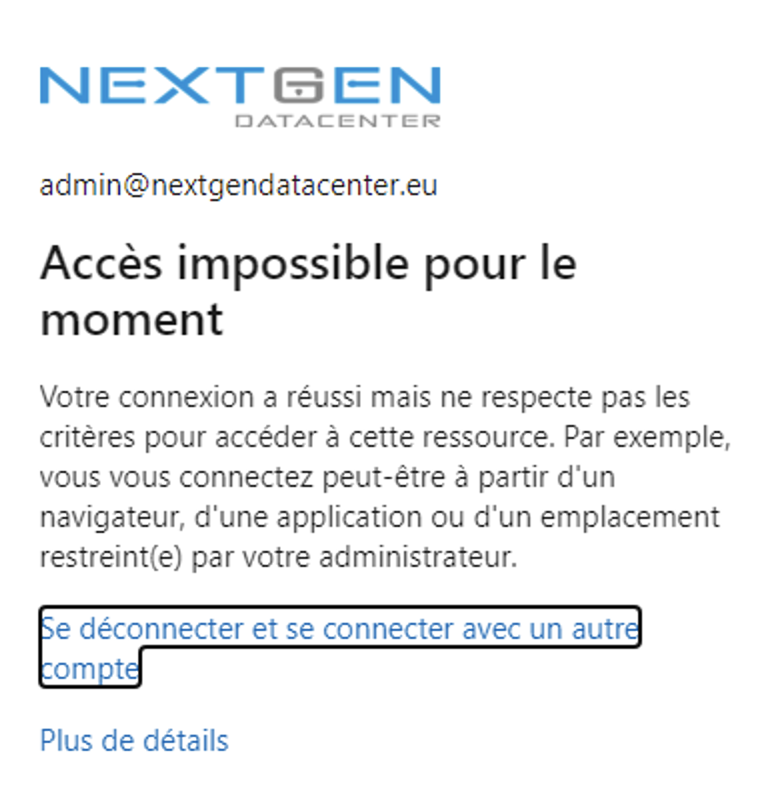
Now if you try to connect from a country you select in the named location, Azure AD should deny you (sorry for the French screenshot but it says that the access is denied because of a policy).
Step 2: Allow Access from foreign countries for VIPs
First we have to create a Azure AD group for these people
Then edit the conditional access we created just before. In Exclusion, add this group:
Now we have to create a new named location specific to people who travels. Just as before, tick all countries and untick only countries where your VIP are allowed to travel.
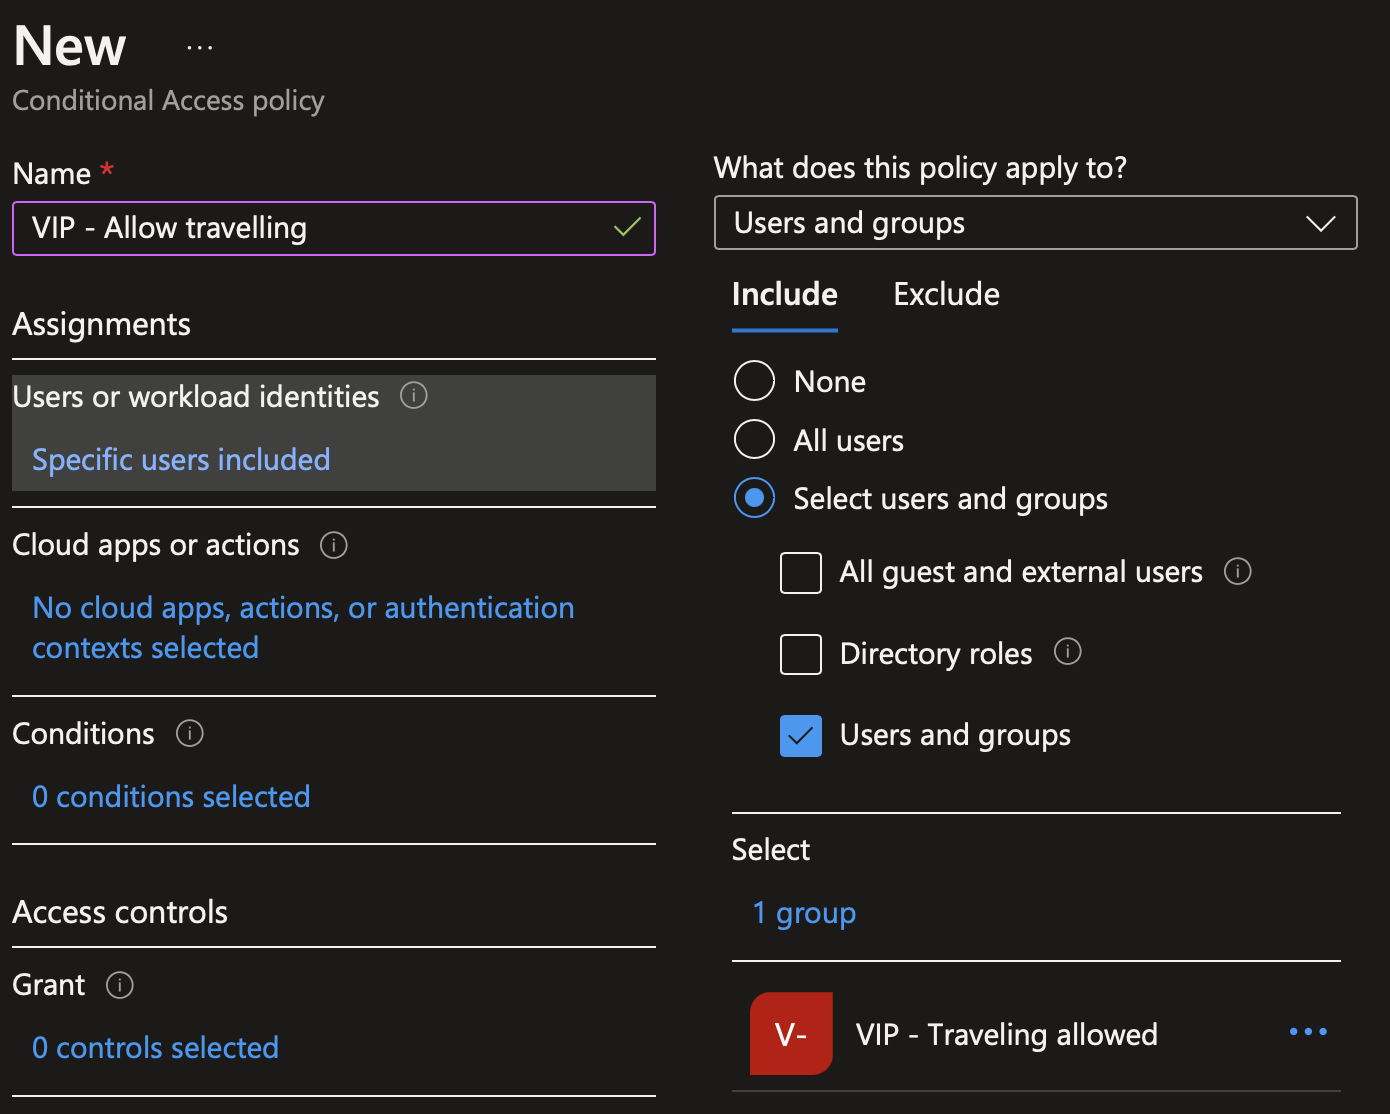
In conditional access, create a new policy. Provide a name to your policy. Then in Users or workload identities, select the group you just created.
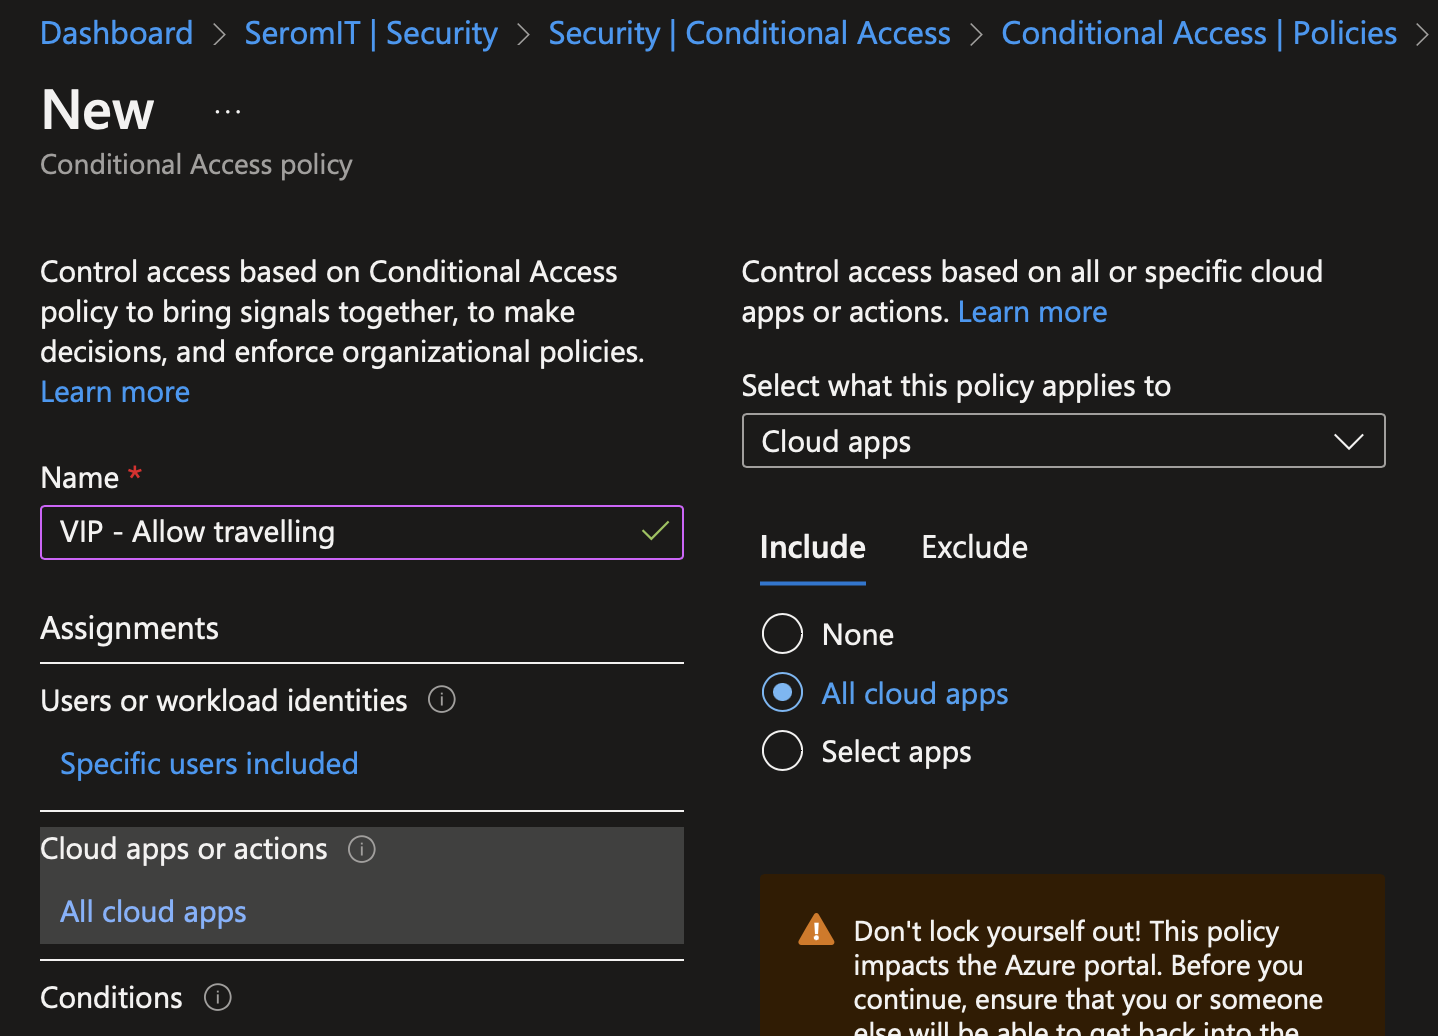
In Cloud apps or actions, select all cloud apps.
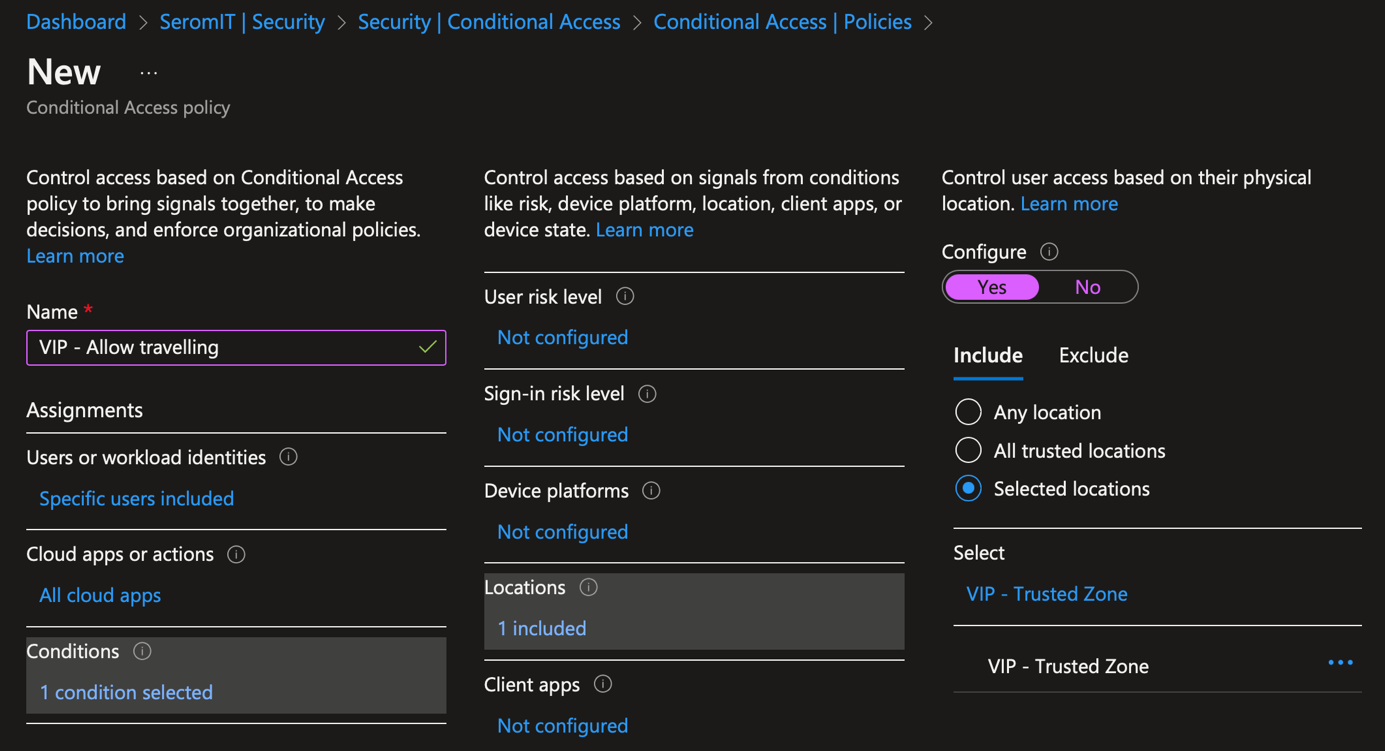
In conditions, navigate to locations and select the named location for VIP you just created.
In Grant, select block access.
Now users in the VIP group should be able to connect from your allowed foreign countries.
Step 3: Use Access Package to make an approval workflow
To avoid adding user manually in the group, we can use access package. With Access Package, users will request access to this group by their own. You require Azure AD P2 to be able to use Access Package.
To create an access package, navigate to identity governance > Access Package. Create a new access Package.
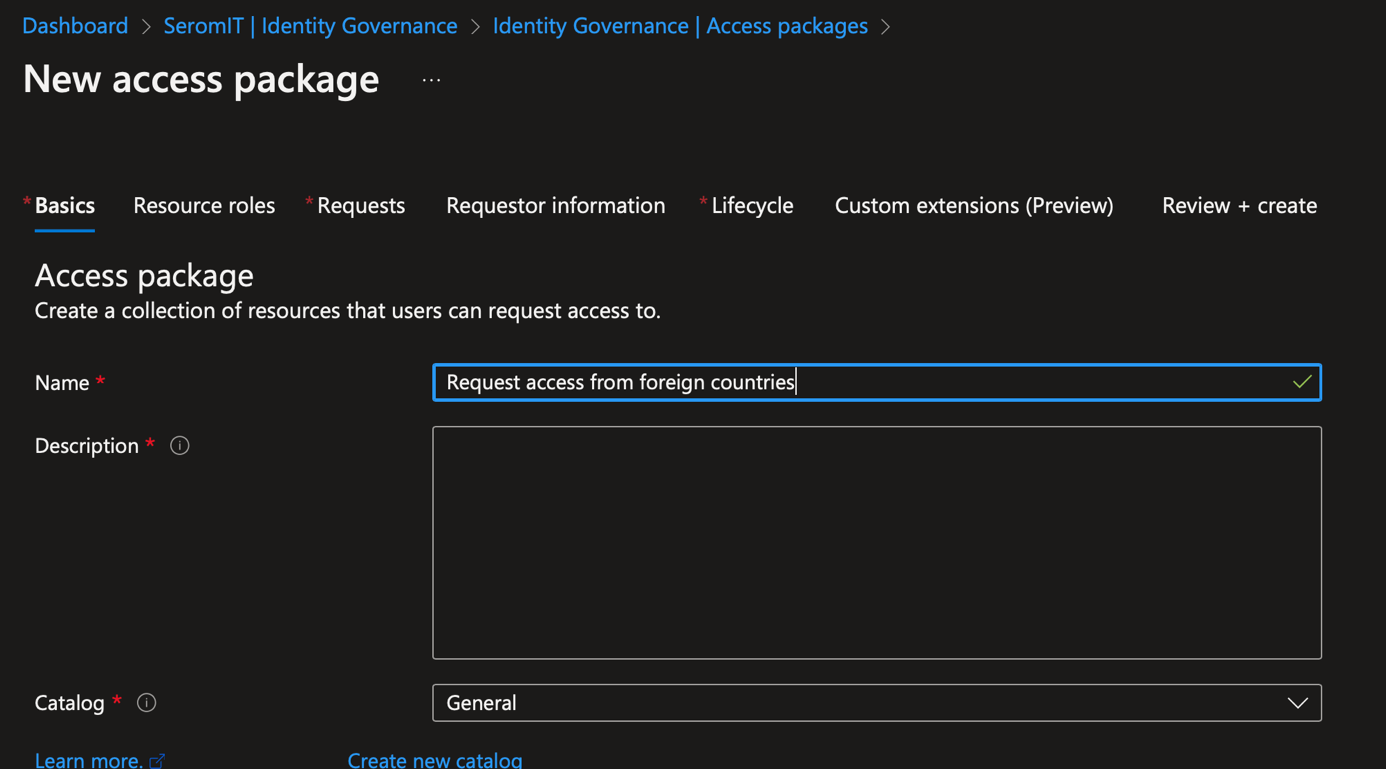
Provide a name to your access package
In resource roles, select the group you created.
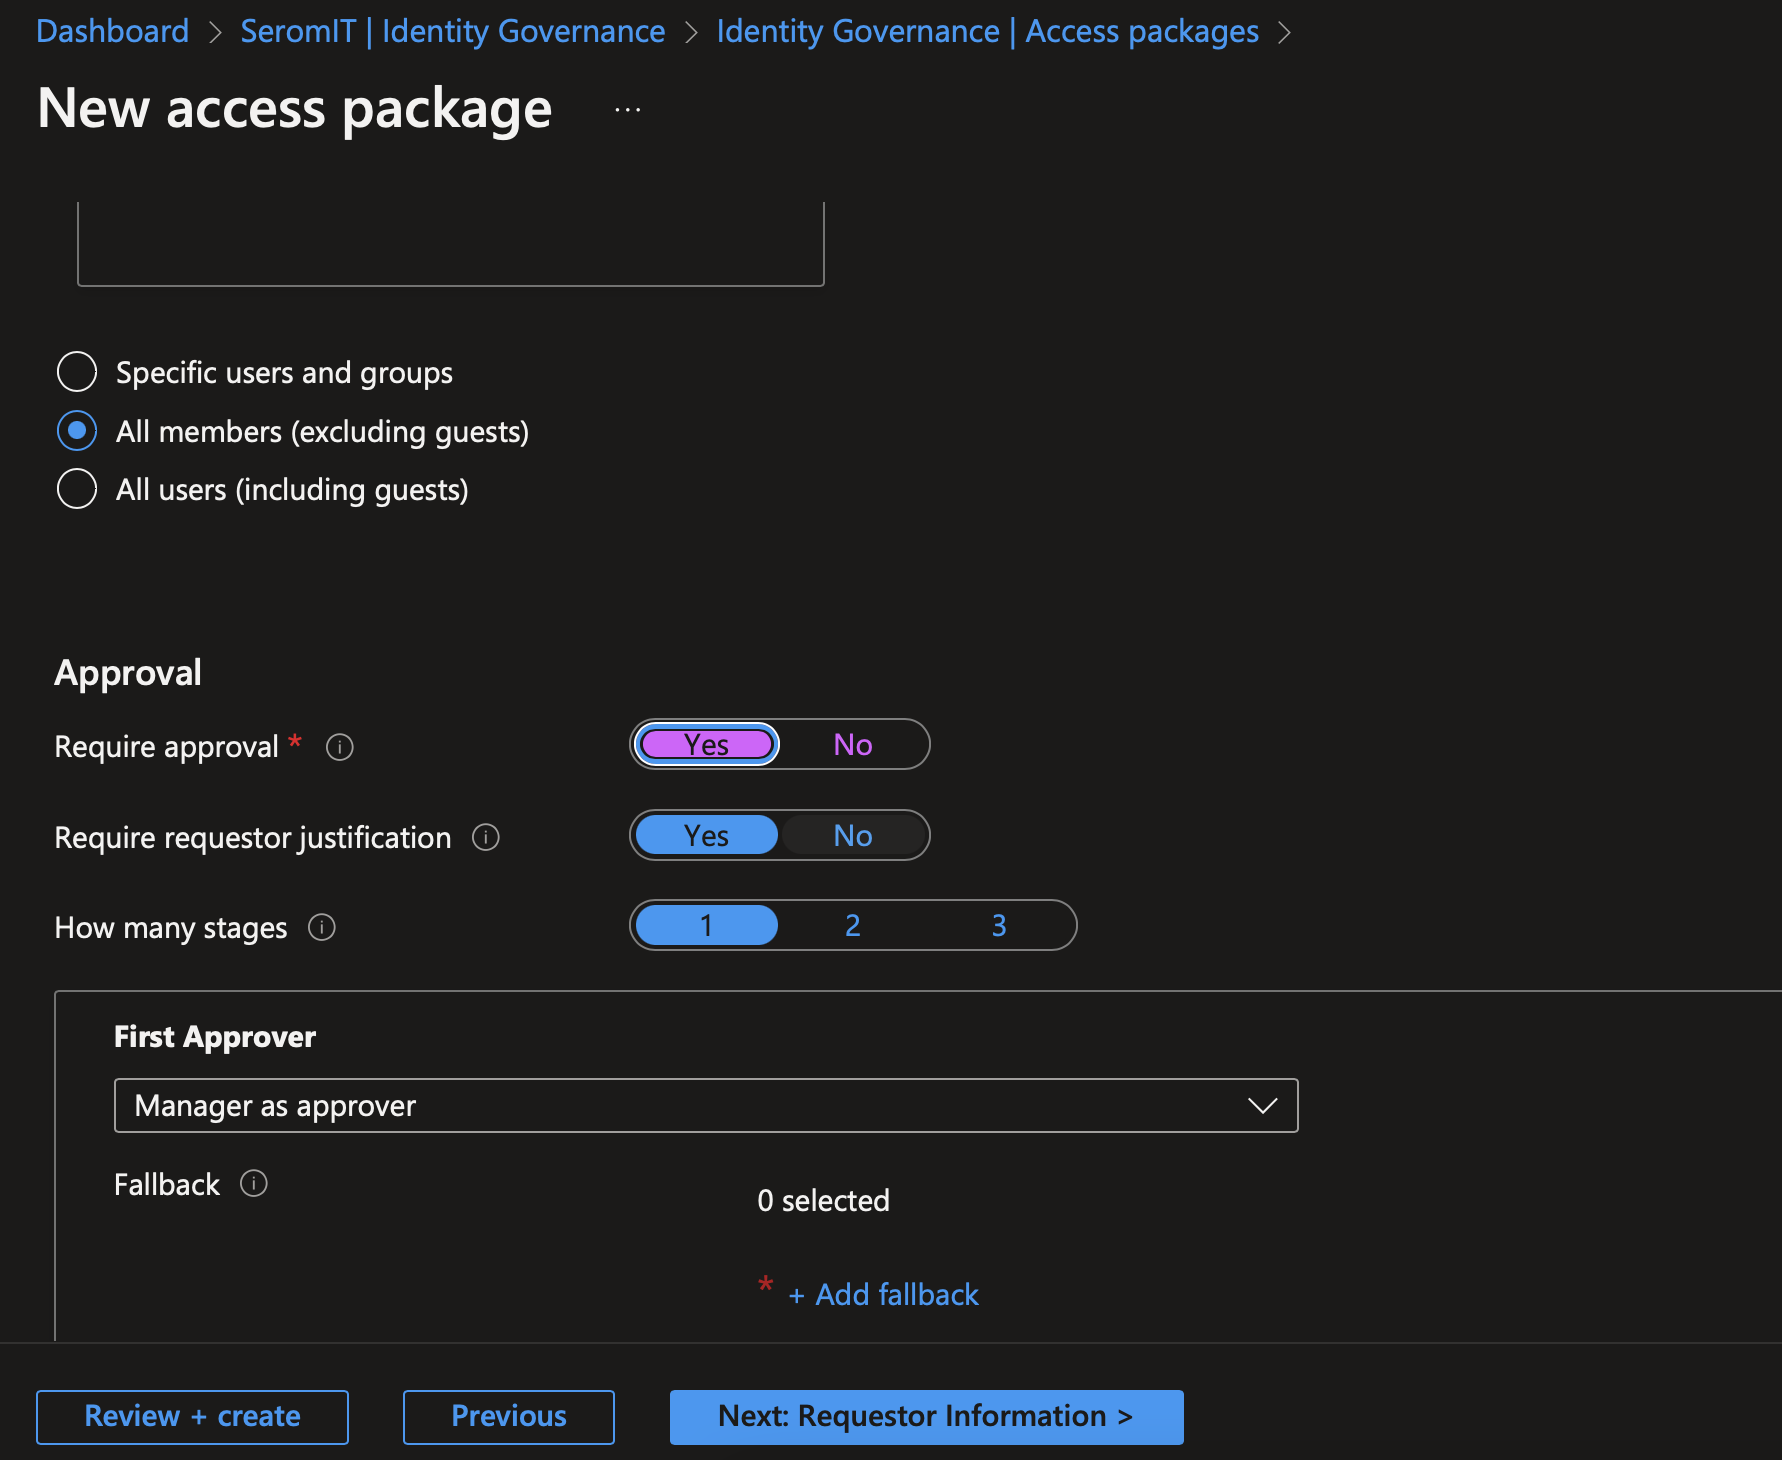
In the next screen you can define your approval process.
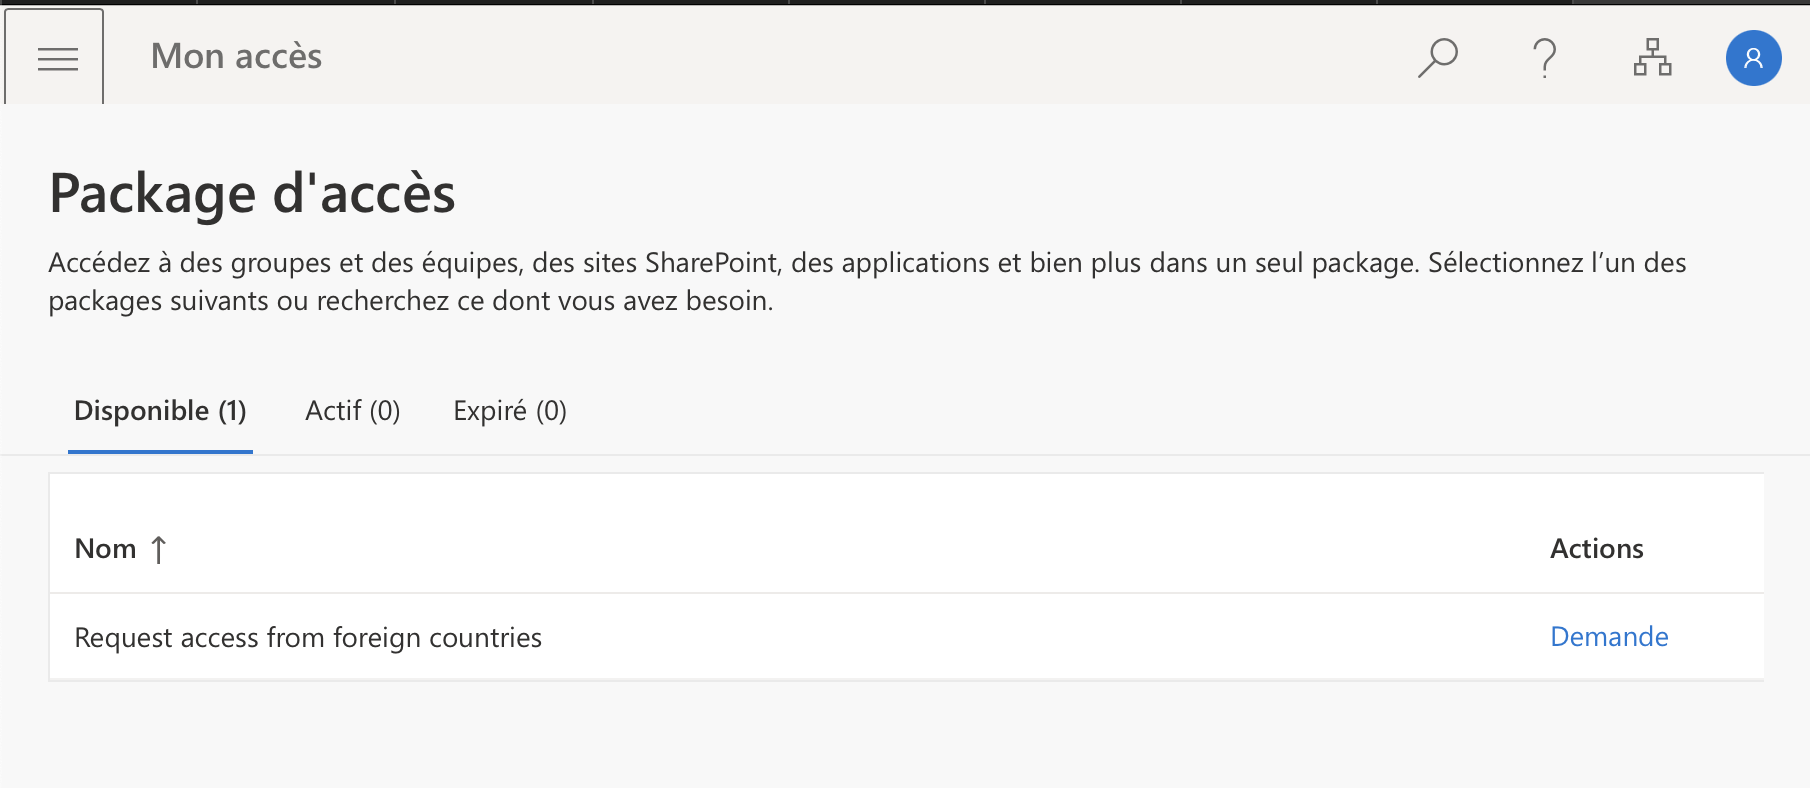
Once you have configured access package, you can connect to myapps.microsoft.com. In Myapps, navigate to my access: now you should have an access package and you can request access.
Once the manager has approved the request, the user is added in the group and has access to IT from allowed foreign countries.


