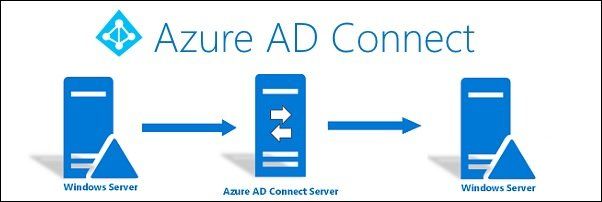
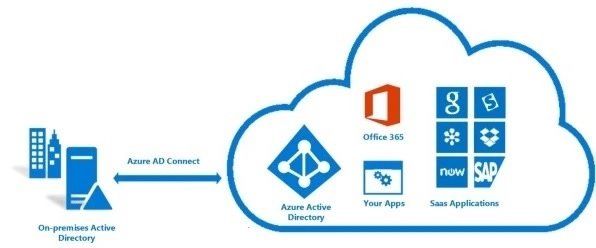
To synchronize Active Directory accounts with the Office 365 environment, the sync tool used to achieve this scope is Azure AD Connect (AAD Connect).
For whatever reason (infrastructure upgrade plan, for instance), you may need to migrate the server with the Azure AD Connect tool installed to a new one.
To succeed with server replacement, the Azure AD Connect tool must be migrated following the correct steps to avoid potential synchronization issues.
Install Azure AD Connect to the New Server
The new server should be joined to the AD domain with a static IP address and updated with the latest patches.
Although it is not mandatory, it is recommended to migrate AAD Connect instances with the same build in order to have the same features and options. When the new server is ready to go, download from Microsoft website the Azure AD Connect tool and copy it into the new server.
Run the installer and accept the EULA. Click Continue.
Select Customize to customize the AAD Connect installation.
Based on your current infrastructure, specify the required components, then click Install.
AAD Connect components are being installed on the new server.
Select preferred Sign-in options and click Next.
Enter the Office 365 Administrator credentials to connect to Azure AD, then click Next.
Credentials are being validated.
Click Add Directory to add your directories.
Select Create new AD account and enter the Enterprise Admin credentials to create a new account used by the tool for periodic synchronization. Click OK.
The directory has been added successfully. Click Next.
To sign-in to Azure with the same credentials as your on-premises directory, a matching Azure AD domain is required. Check Continue without matching all UPN suffixes to verified domains option if one UPN suffix is not added. Click Next.
To specify OUs to synchronize, choose Sync selected domains and OUs option and specify required OUs.
Specify how users should be identified in the on-premises directories then click Next.
Select Synchronize all users and devices and click Next.
Specify optional features then click Next.
To enable single sign-on, click Enter credentials and specify the Domain Admin credentials. Click OK.
When the forest has been configured successfully, click Next.
Select Enable the staging mode option to avoid exporting any data to AD or Azure AD. Click Install.
The Azure AD Connect tool is being installed.
After a few minutes, the installation process is complete. Click Exit to close the wizard.
Migrate AAD Connect to the New Server
The migration process is pretty quick and, during the procedure changes between directories, won’t be synchronized.
Enable Staging Mode in the OLD Server
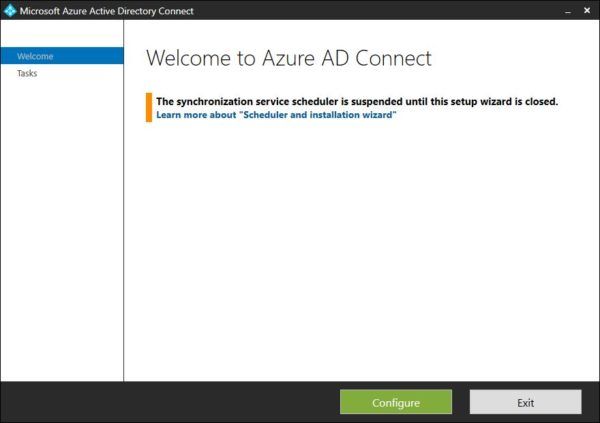
From the old server, run the AAD Connect tool and select Configure.
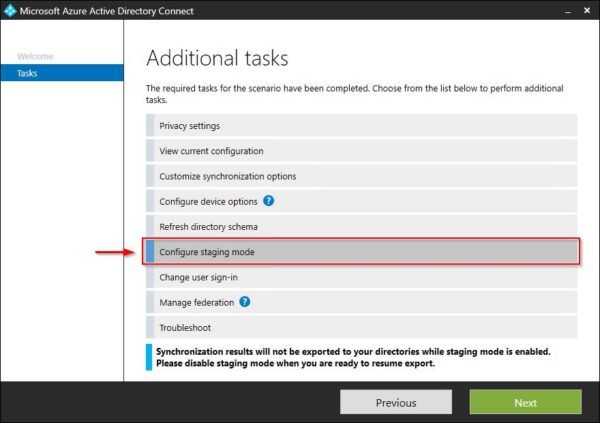
Select Configure staging mode and click Next.
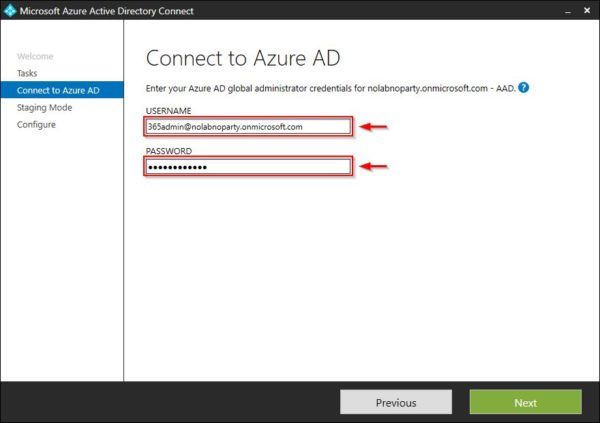
Enter the Azure AD administrator credentials and click Next.
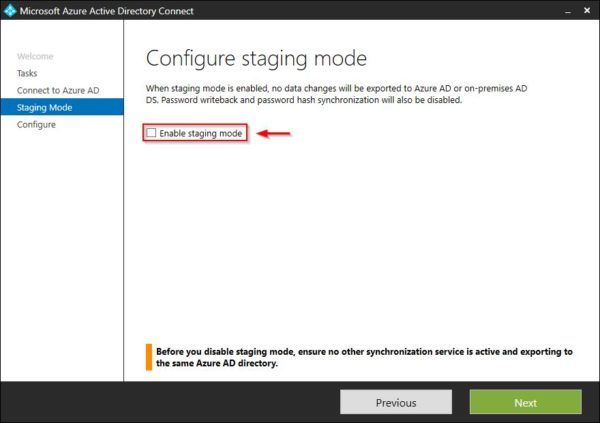
Tick Enable staging mode checkbox then click Next.
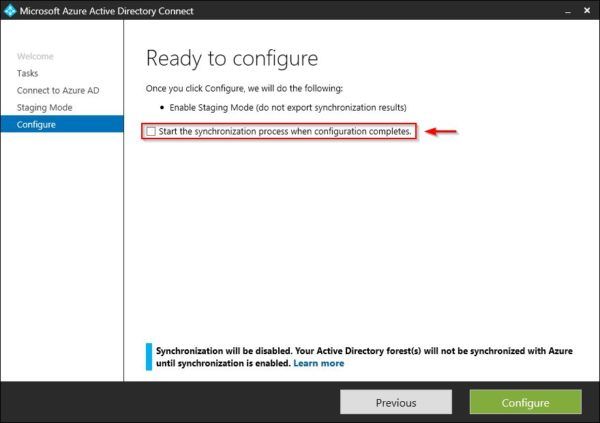
Disable Start the synchronization process when configuration completes option and click Configure.
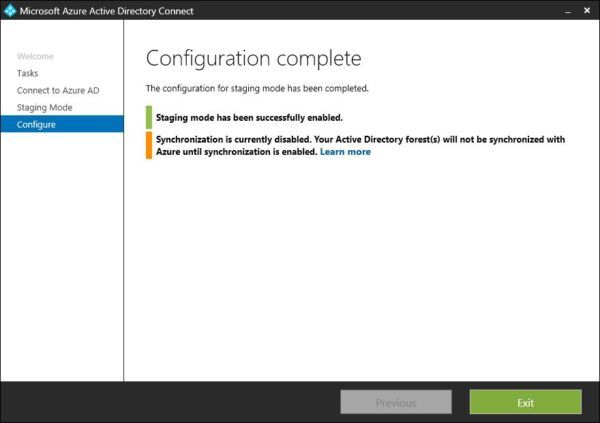
When the staging mode feature has been enabled, click Exit to close the wizard.
Disable Staging Mode in the NEW Server
From the new server, open the AAD Connect tool and select Configure.
Select Configure staging mode and click Next.
Enter the Azure AD administrator credentials and click Next.
Uncheck Enable staging mode checkbox then click Next.
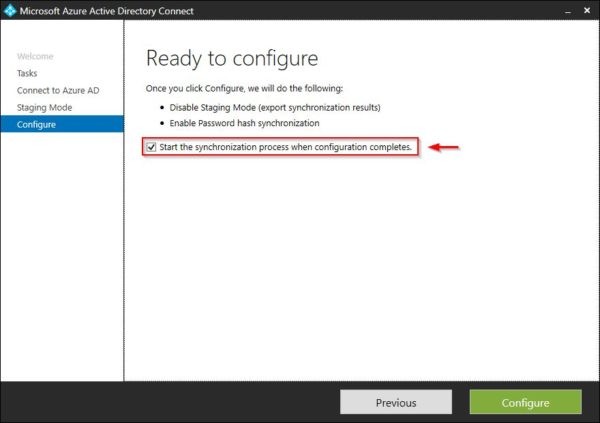
Enable Start the synchronization process when configuration completes option and click Configure.
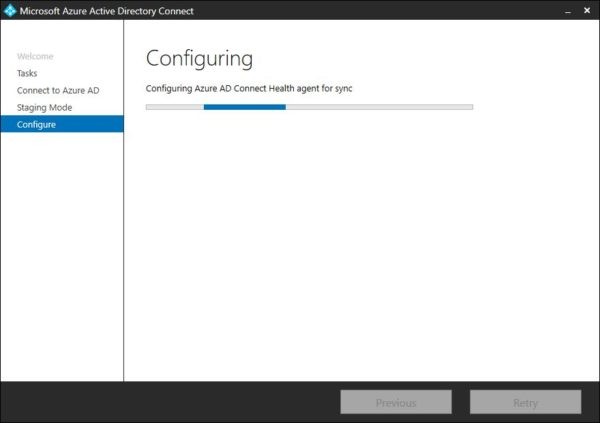
The environment is being configured.
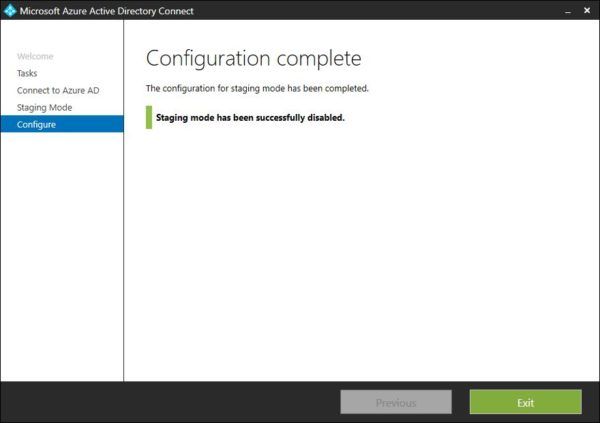
When the staging mode feature has been disabled, click Exit to close the wizard.
Decommission the OLD Server
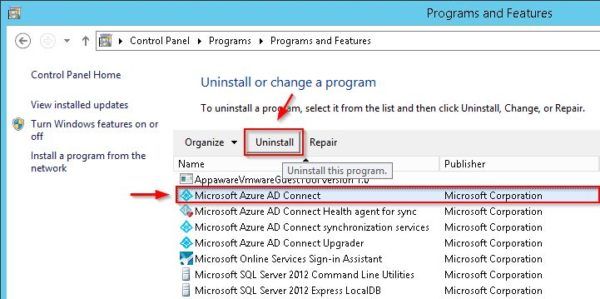
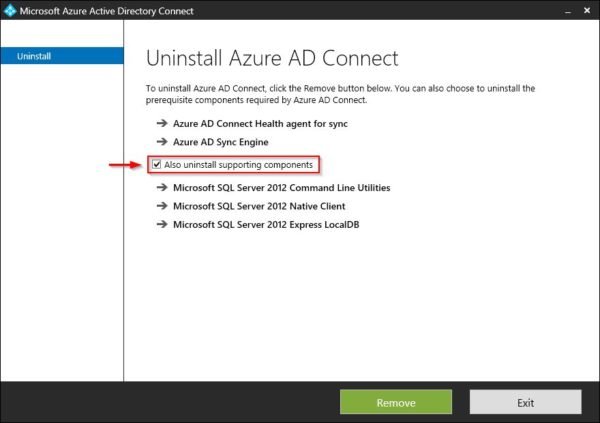
If you no longer need the old AAD Connect server, you can safely decommission it through the uninstall procedure. Open the Control Panel and access the section Programs > Uninstall a program. From the list, select Microsoft Azure AD Connect and click Uninstall.
If you no longer need to keep these components, enable Also uninstall supporting components and click Remove.
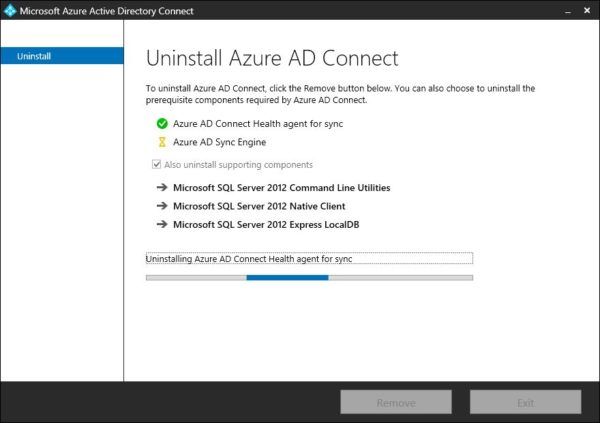
Components are removed being from the system.
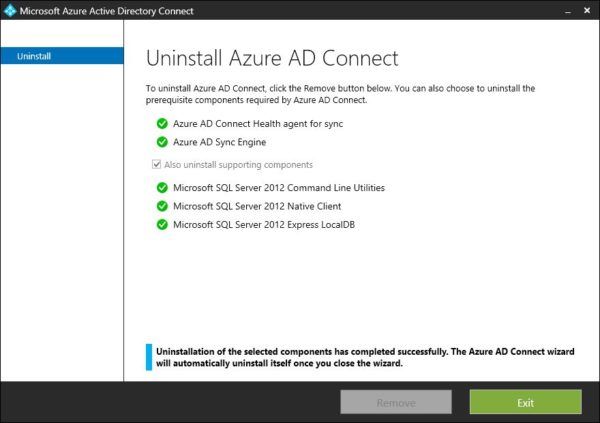
When the uninstall process completes successfully, click Exit. The Azure AD Connect tool has been removed from the old server.
Check Synchronization
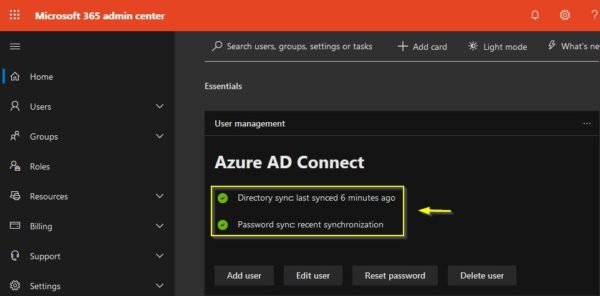
Log-in to your Office 365 portal, and check the synchronization status.
The new server is now fully operative and the old server can be safely removed from the domain and dismissed.


