If you need to migrate a Citrix XenServer VM to VMware vSphere platform, there is a specific procedure to follow since a direct migration is not supported.
The migration procedure is composed by three steps: export, disk conversion, finalization.
Export XenServer VM to VMware
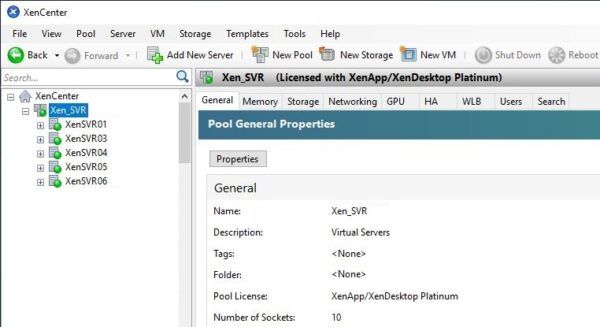
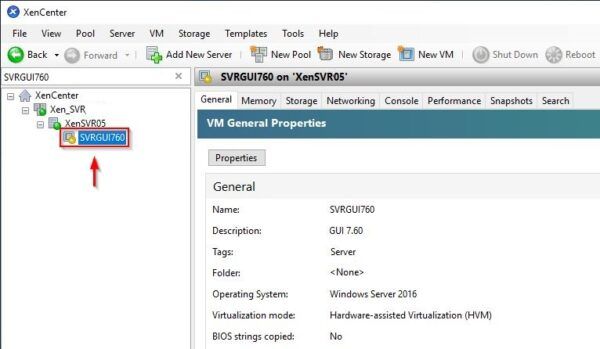
To export a XenServer virtual machine, login to the XenCenter and locate the cluster to process.
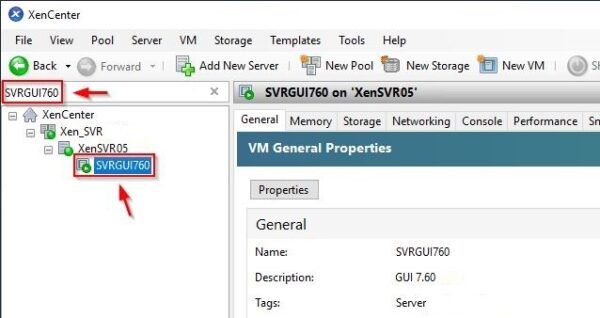
Search for the VM to export.
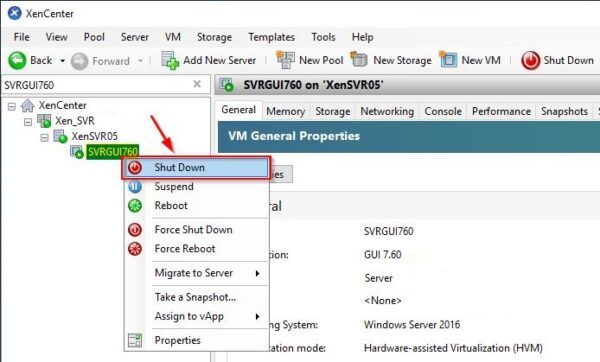
To finalize the export, the VM must be powered off. Right click the desired VM and select Shut Down.
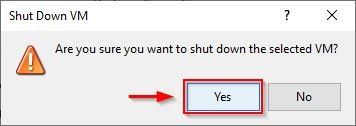
Click Yes to confirm.
The VM is being powered off.
When the shutdown operation has been completed, right click the powered off VM and select Export. Keep in mind that XenServer cannot export VMs bigger than 2 TB. The source VM is not deleted.
Click Browse and select the target Location to save the exported disk and the package Format. Click Next.
The system checks if sufficient permissions have been granted to the used account to export the disk.
Select the VM to export. You can also export more than one VM at time. Click Next.
No need to include a EULA document, click Next.
By default the package is exported as OVF but you can create an OVA package instead. OVF file can be compressed to save space but this will require a long time to complete the process. Click Next to continue.
Select the Network to use and optionally the Network Settings. Click Next.
Click Finish to proceed with the VM export.
You have the option to Verify export on completion but it will require lot of time to complete. Leave this option disabled.
The VM is exported to the specified target location.
After some minutes the export completes. As you can notice, we have one .OVF file as expected and the VM disk in .VHD format. VHD is not a supported format for vSphere since it requires a .VMDK file. The disk must be converted to VMDK to be compatible with vSphere.
Convert VHD disk to VMDK
To convert a VHD disk to VMDK, there is a great free tool by StarWind called StarWind V2V converter. Download and install the StarWind tool to a computer then run the software to convert the disk. Because the export has been saved to a network storage device, select Local file to select the image to convert. Click Next.
Click the three points (…) to select the source image.
When the image has been selected, click Next to continue.
Now, select the location where to save the converted file. Since we are migrating the VM to VMware platform, select Remote VMware ESXi Server option and click Next.
Enter the IP address and the root credentials of the target ESXi Server. Click Next.
In the example, the exported VM does not exist in the target ESXi Server. Click Create a new virtual machine to create a new one.
Select the datastore to use and click OK.
Eneter the VM Name and specify the required VM settings. Click OK to save the configuration.
The created virtual machine in the ESXi host. Click Next.
Select ESXi pre-allocated image option to create a thick lazy zeroed disk. Click Next.
The converted disk will be saved in the specified datastore. Click Convert to begin the conversion.
The virtual machine is being created and the exported disk converted to VMDK format.
After a while, the conversion procedure completes successfully. Click Finish to exit the wizard.
Finalize the conversion
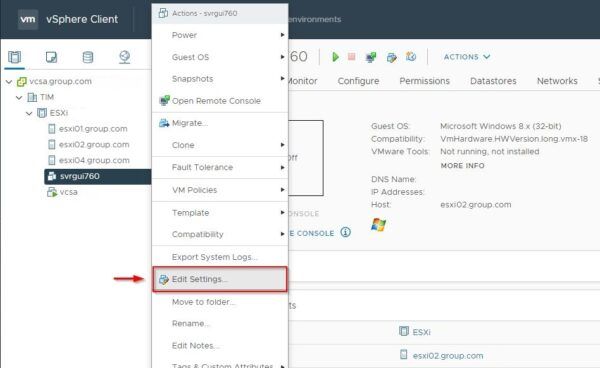
Open the vSphere Client, right click the just created VM and select Edit Settings.
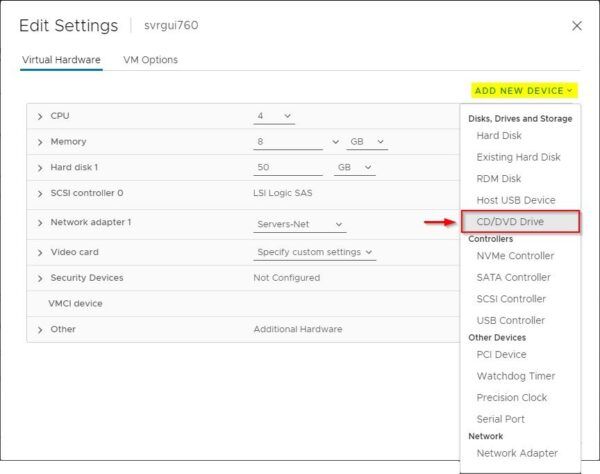
Click Add New Device and select CD/DVD Drive to install the device since VMware Tools installation will require it. Keep in mind the Network adapter configured after the creation is set to E1000 type.
Power on the virtual machine to check if everything works as expected.
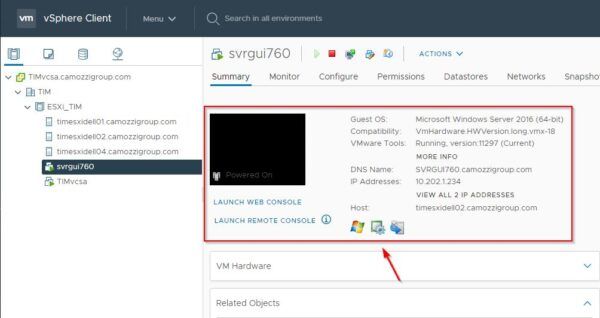
The virtual machine is now running on the vSphere platform. Make sure the source virtual machine on XenServer is not powered on to avoid IP address conflict.


