

Nano Server is a new way to deploy Windows Server in your datacenter or in the Cloud. Nano Server is a low footprint operating system which handles what you need and no more. When you create the Nano Server, you choose the role that you want to add to the image (Hyper-V, Storage, containers and so on). Nano Server doesn’t contain Windows Logon, 32-bit legacy or cannot be managed by GPO.
Currently, I don’t really like Nano Server for some jobs as Hyper-V or storage. Nano Server comes with the Current Branch for Business servicing model. So, to be fully supported, your Nano Server has to be upgraded two or three times in a year. You can imagine what happens with hundreds of Hyper-V/Storage nodes? Anyway, Nano Server can run other jobs as IIS and Containers, and in these cases, it could be fine.
In this topic, I’ll show you how to prepare a Nano Server image which will be deployed in a virtual machine. The operating system will be configured to run containers. To create the Nano Server image, I’ll use the Nano Server Image Builder tool which is a graphical interface to prepare the image in VHD, VHDX or WIM file format.
Warning: If the operating system where you are using Nano Server Image Builder is in another language than English (US) and the tool crash at the end, change the regional settings to English (United States).
Requirements
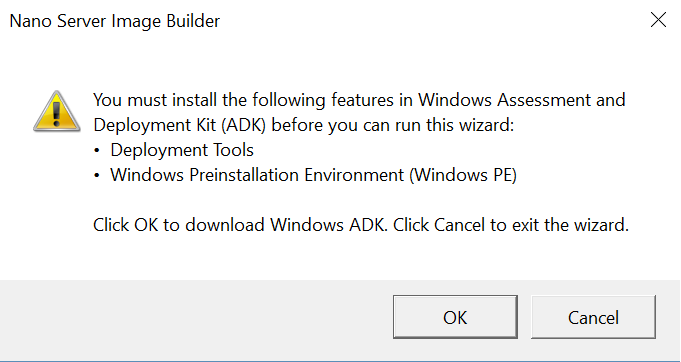
Firstly, Nano Server Image Builder requires Windows Assessment and Deployment Kit (ADK) in the last version with the following features:
- Deployment Tools
- Windows Preinstallation Environment (Windows PE)
If you have not installed ADK, when you open Nano Server Image Builder you’ll be prompted to install ADK.
Secondly, the tool requires a Windows Server 2016 ISO file. The ISO will be mounted in the system and the tool will take sources from this location.
Use Nano Server Image builder
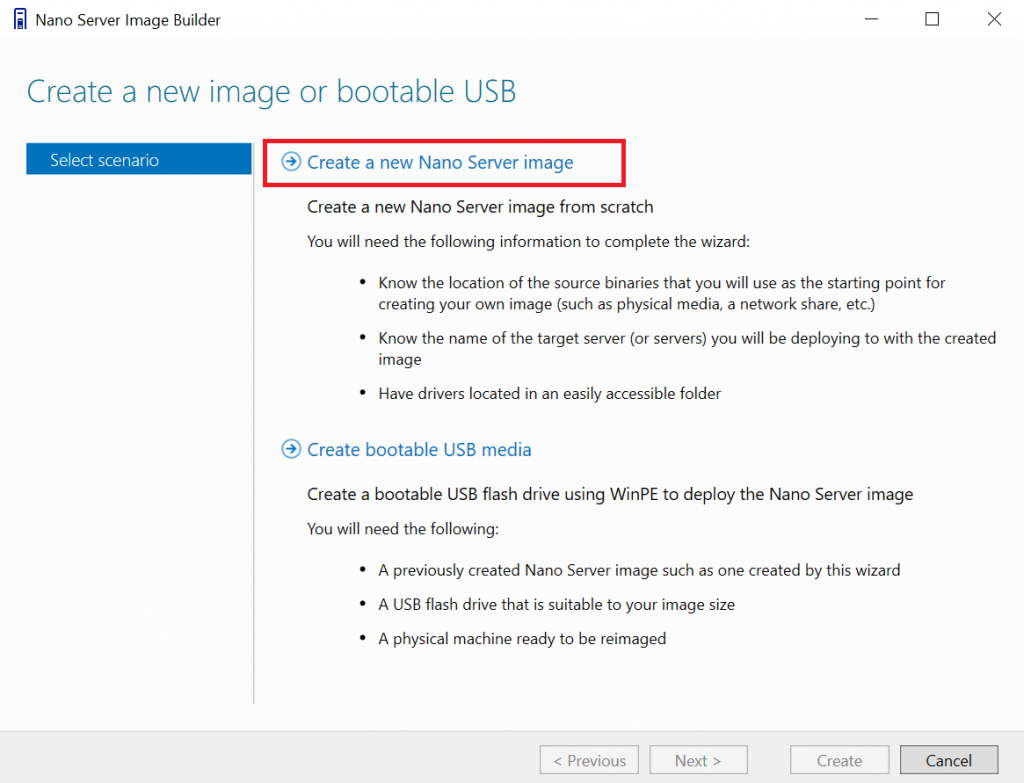
When you run the Nano Server Image Builder, you are asked to create an image or a bootable USB Media. The first option enables to create a Nano Server image and the second enables to create a bootable USB Media with a previously created Nano Server image. For this topic, I choose only Create a new Nano Server image because I create a VHDX for a virtual machine.
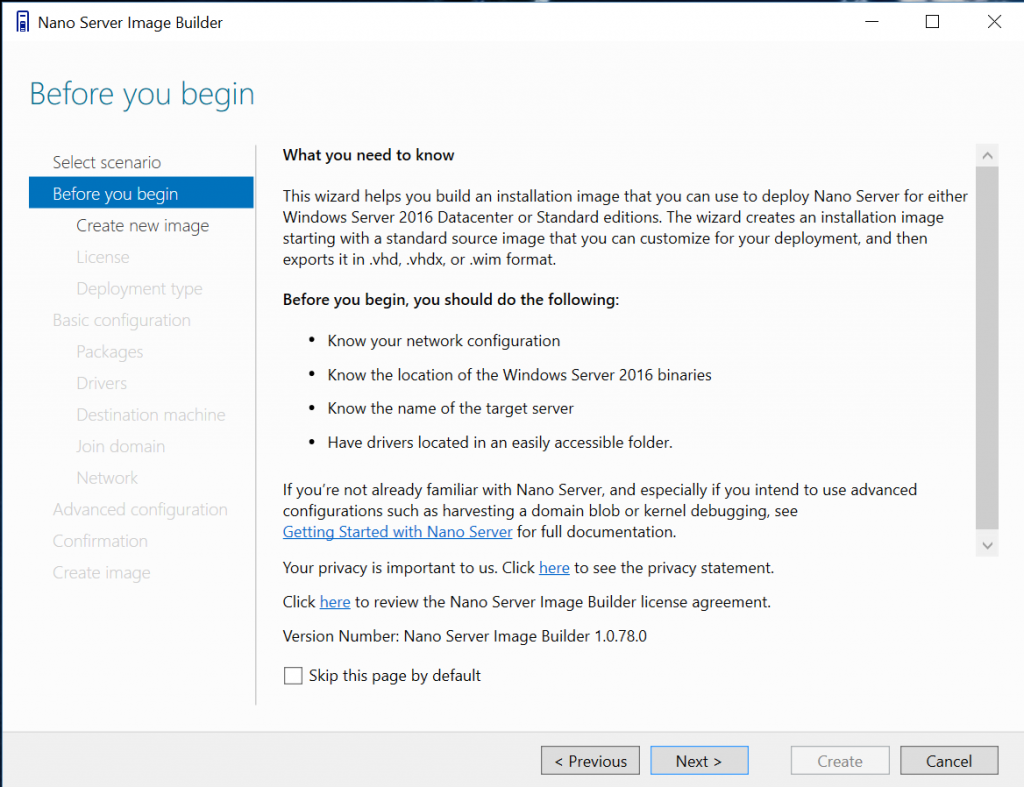
On the next screen, the wizard tells you what you need to continue. Just click on next.
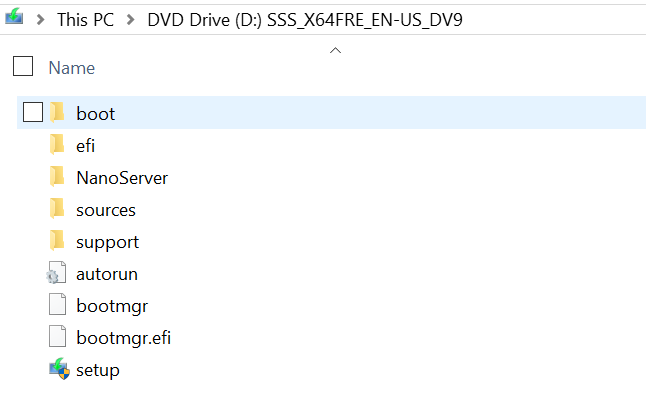
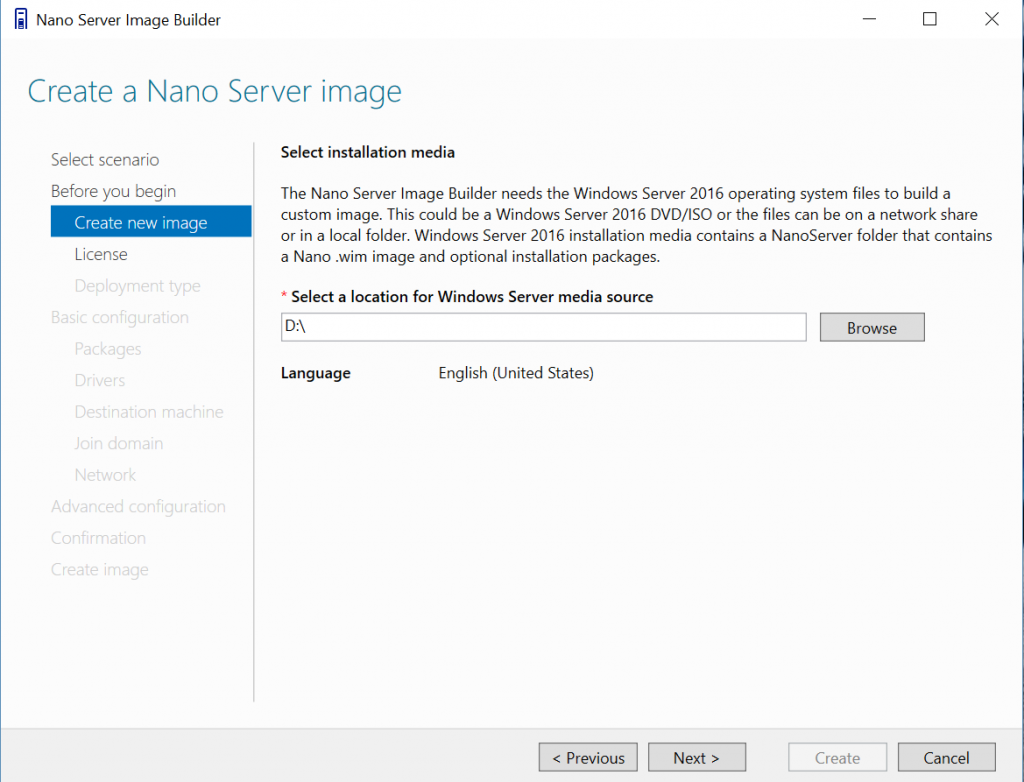
I have mounted the Windows Server 2016 ISO on D: letter. So, I will use this letter in the Nano Server Image Builder.
In the next window, I specify the D letter. You can see below that the language is detected automatically.
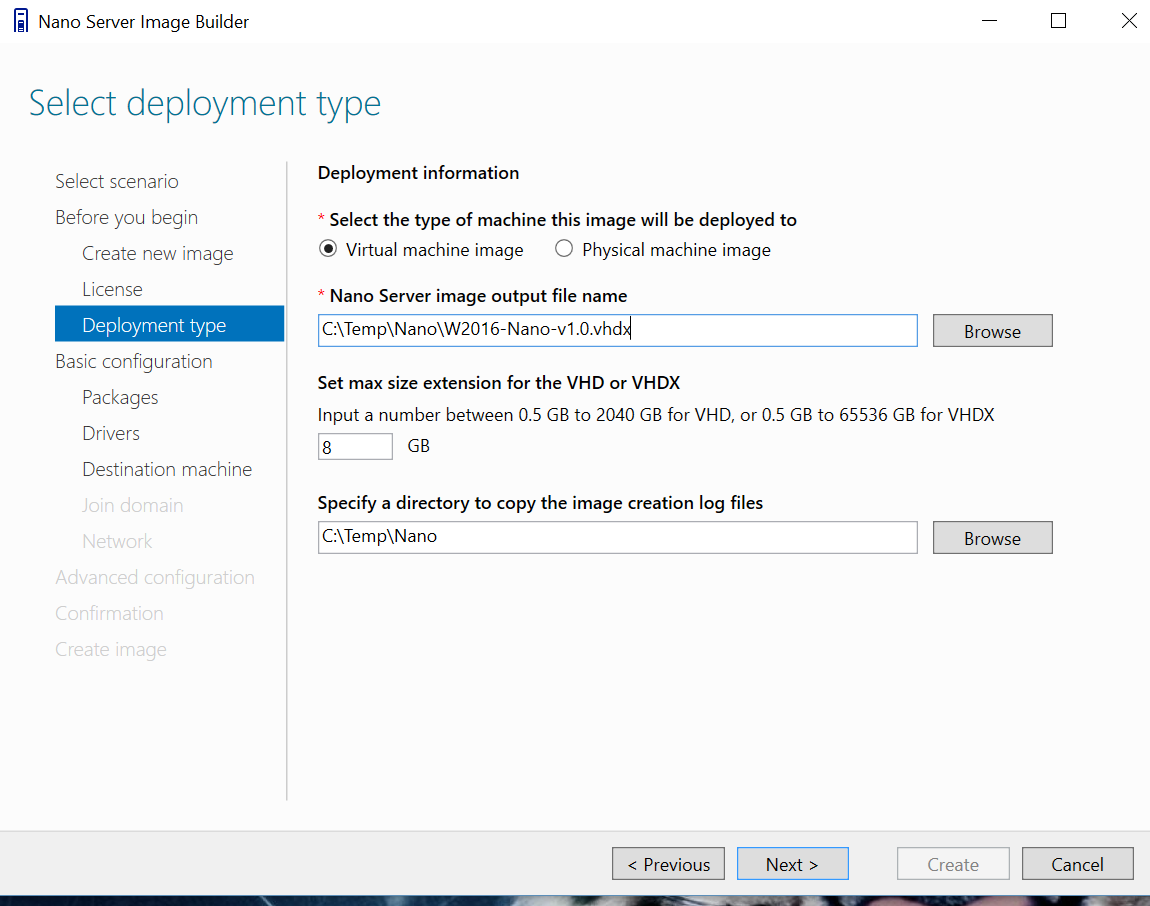
Then select the type of machine (VM or physical) where the image will be deployed. For this topic, I choose Virtual machine image. Next specify there the Nano Server image will be generated and the file format (VHD, VHDX or WIM).

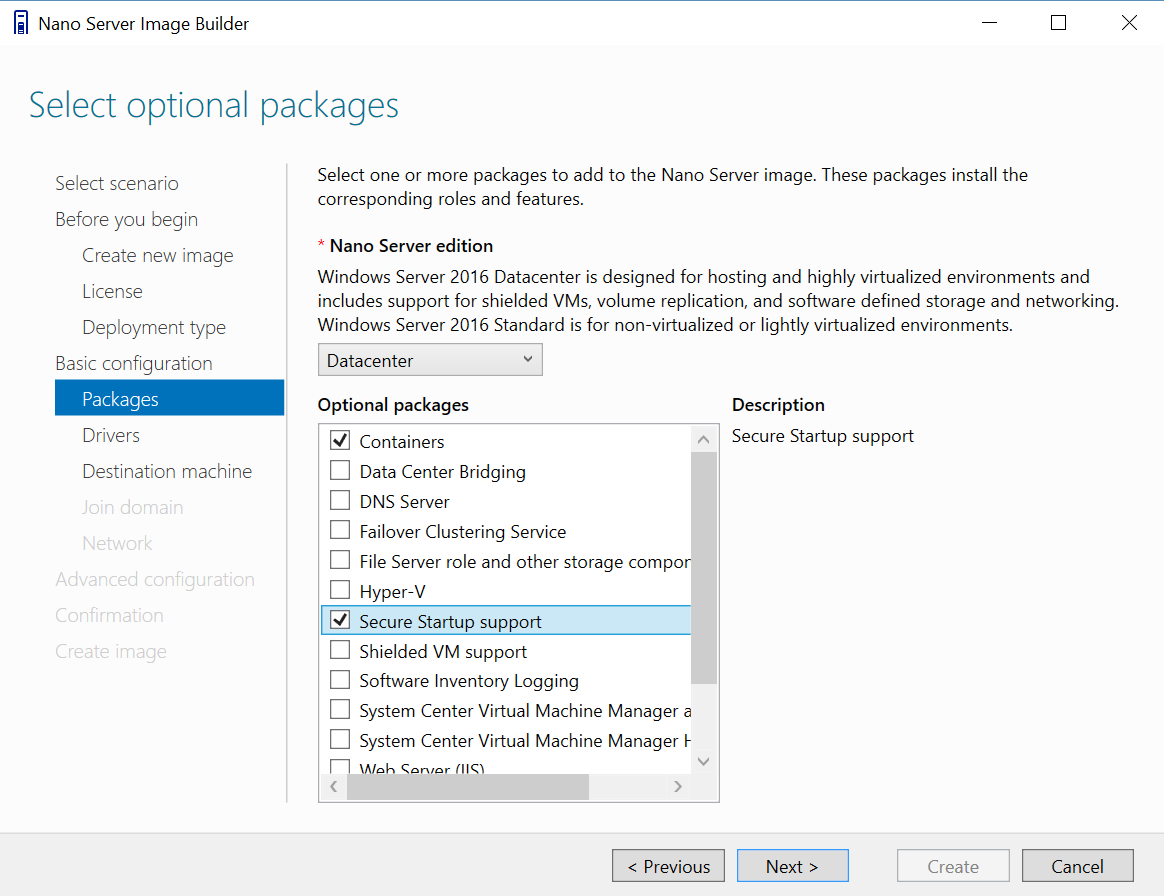
In the next window, choose the Nano Server edition and the package that you want to add to the image.

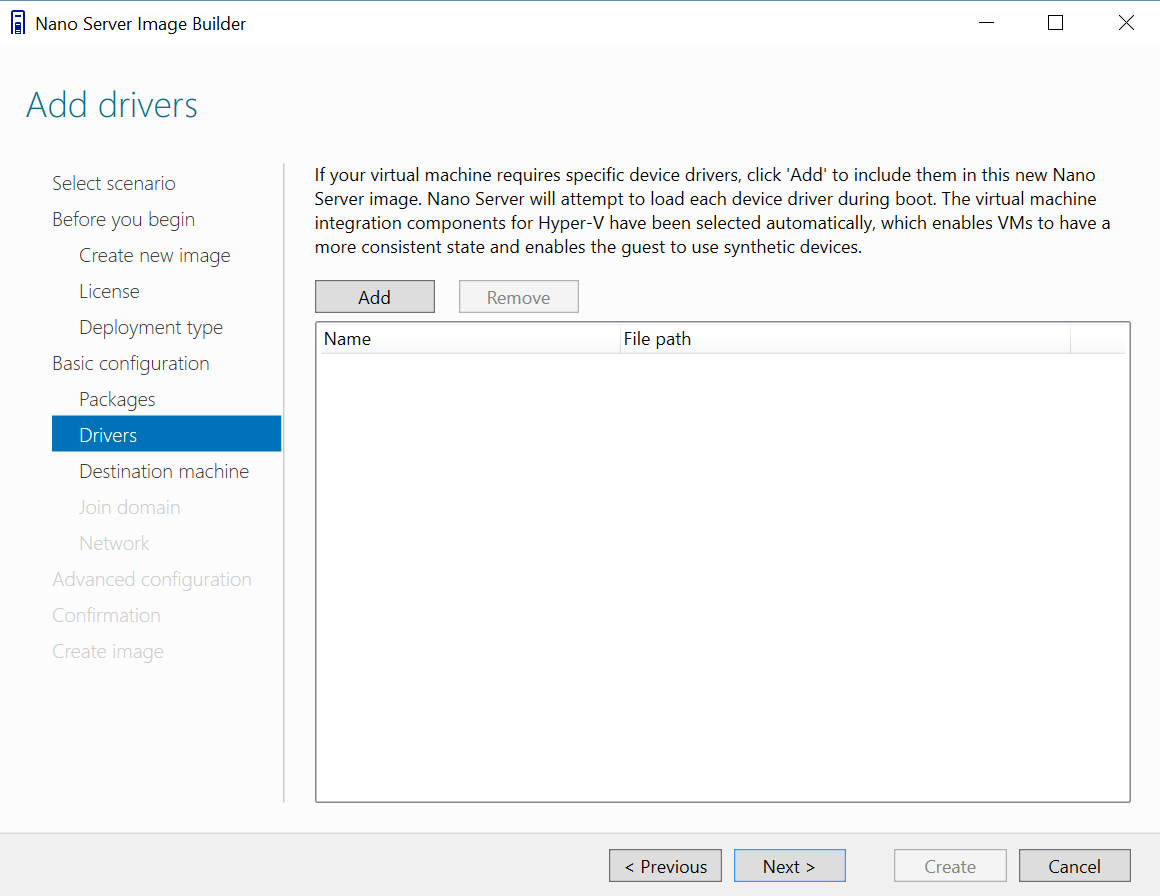
In add drivers screen, I don’t add driver because the image will be deployed in a virtual machine. For a physical server, you should add all required drivers (inf files).

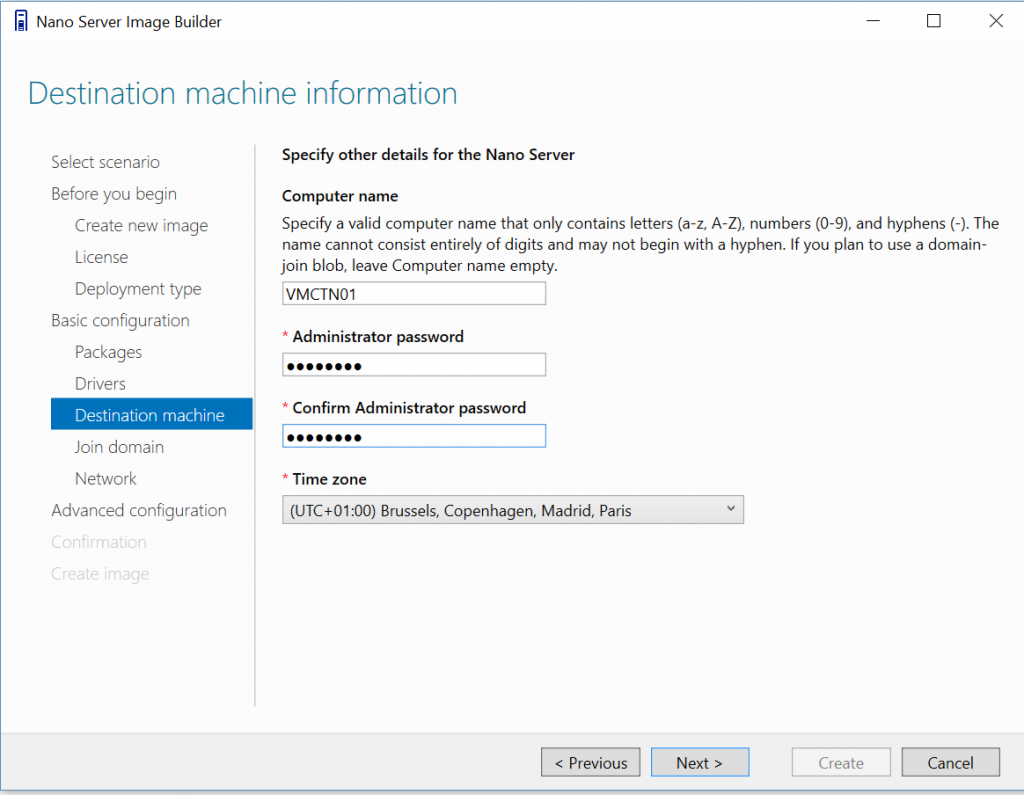
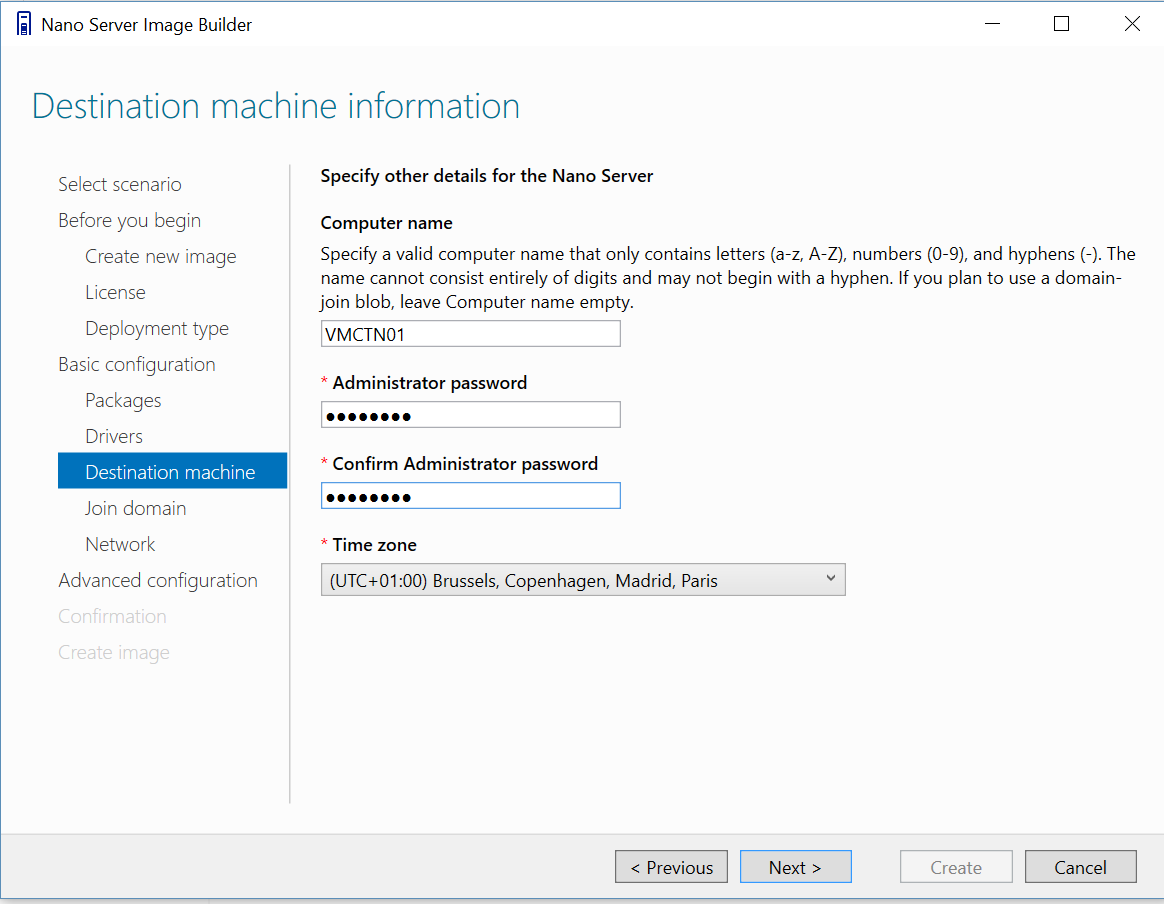
Then specify the computer name and the administrator password.
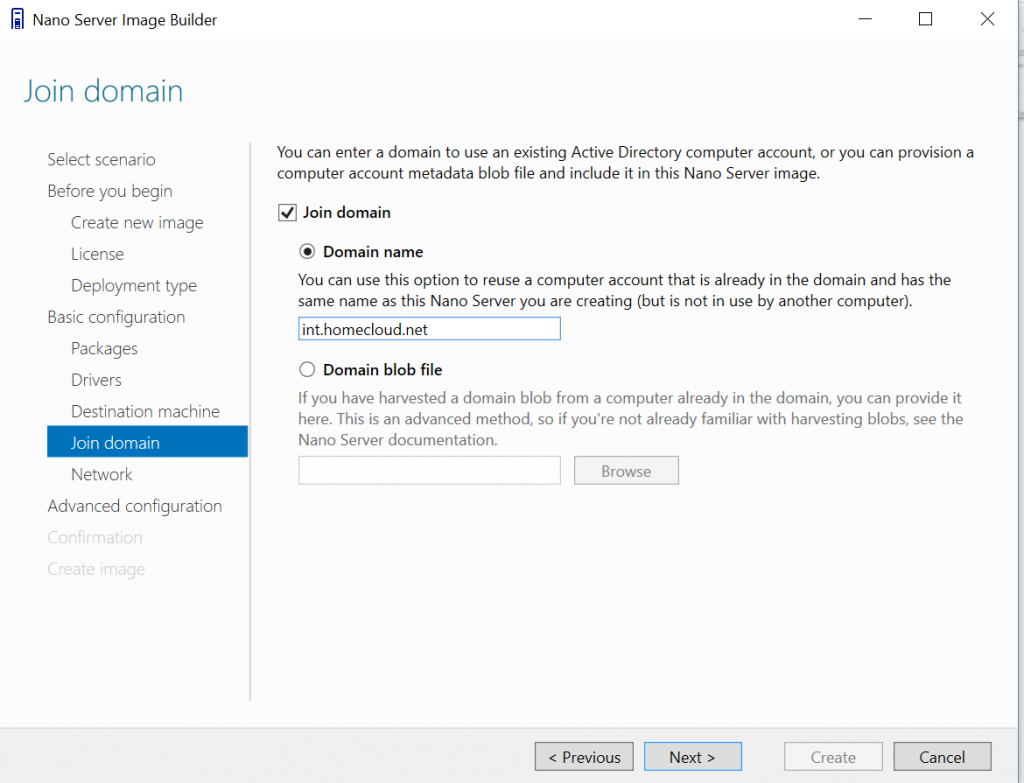
If you want to join your machine to a domain, specify the domain name or use a domain blob file (generated by using netdom).
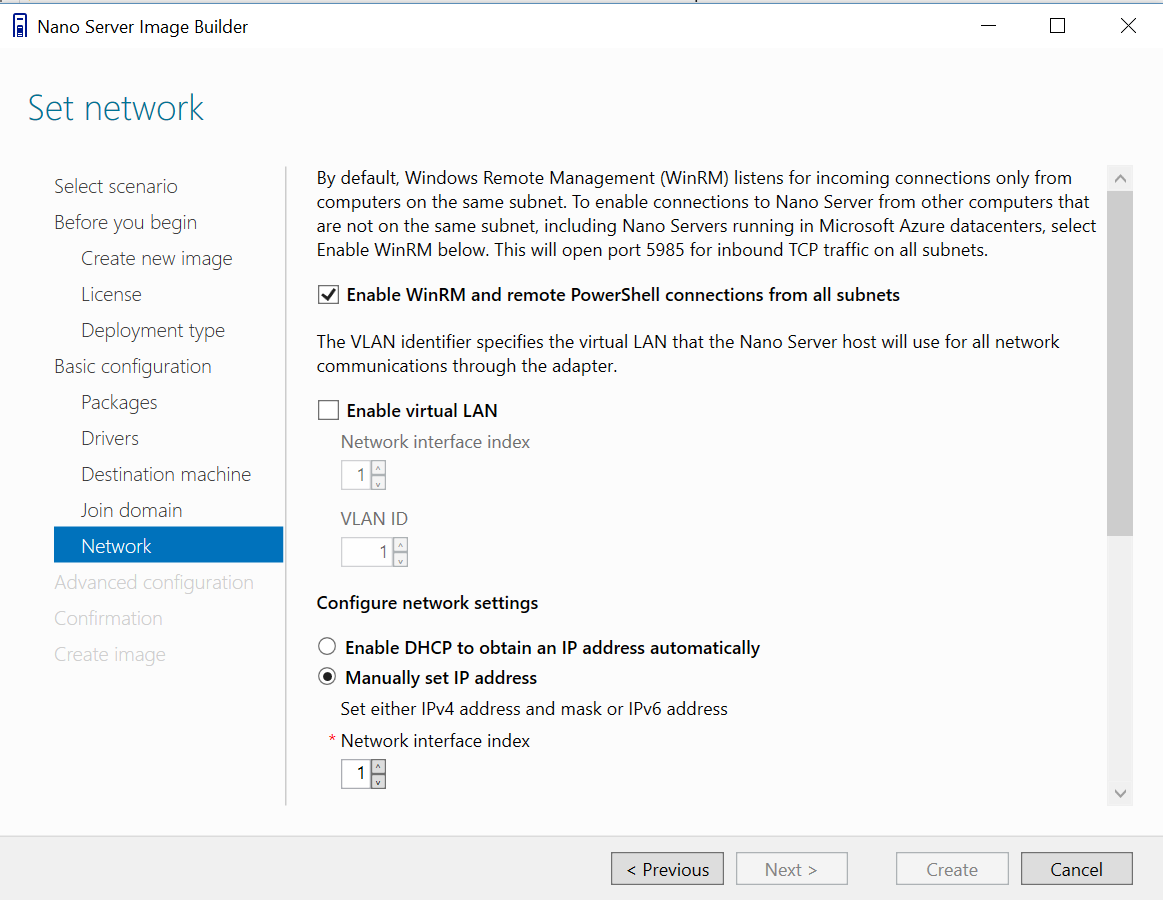
Then specify if you want to enable WinRM and remote PowerShell from all subnets. Next choose if you want configure VLAN and a static or DHCP address.
Bug version 1.0.78: Be careful, for the moment the static IP is not applied while Nano Server deployment due to a bug (in version 1.0.78). Moreover, the interface index 1 is the loopback. So, don’t specify index 1. The static IP configuration is currently bugged. This configuration is written to a file called c:\windows\setup\script\SetupComplete.cmd. It seems the configuration is applied while the network adapter is not ready. So, the configuration is not applied.
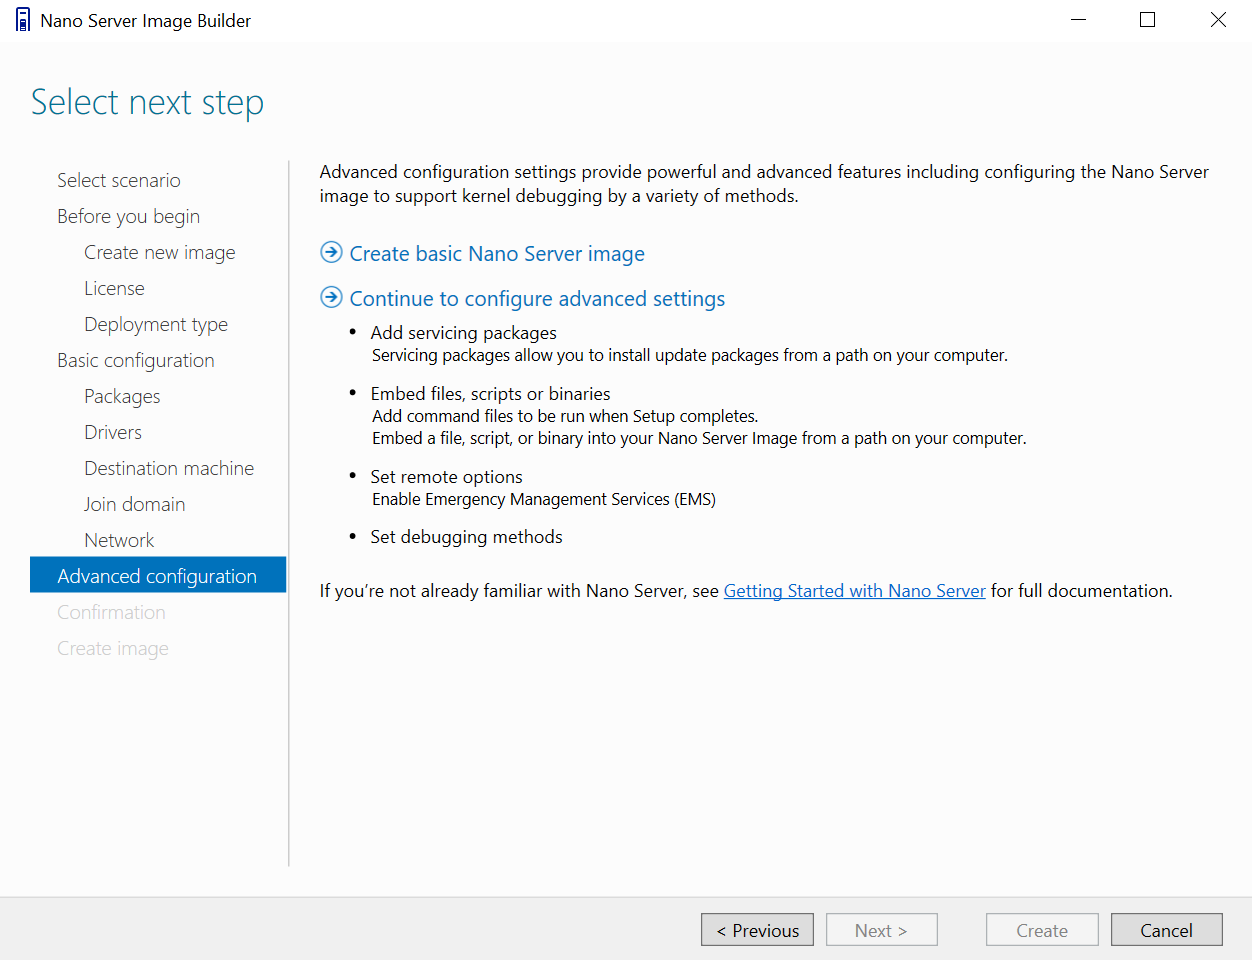
In the next window, choose basic Nano Server image except if you need to add some scripts, packages or if you need to enable EMS.

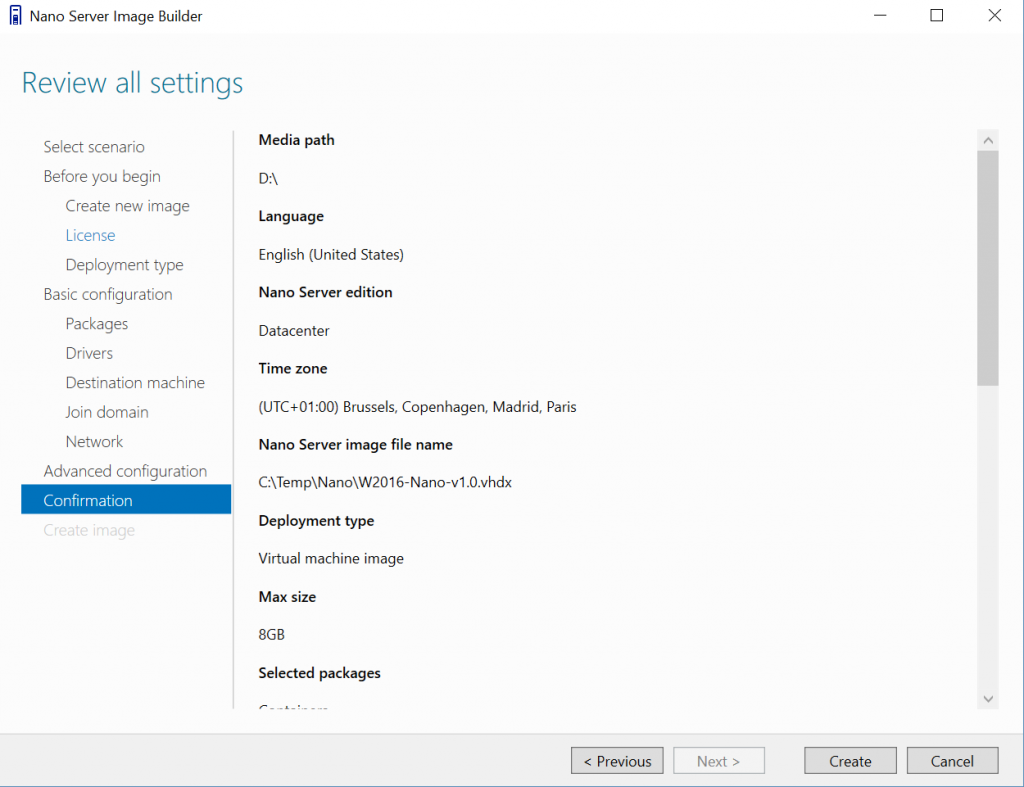
After reviewing all settings, just click on create.
Try the image
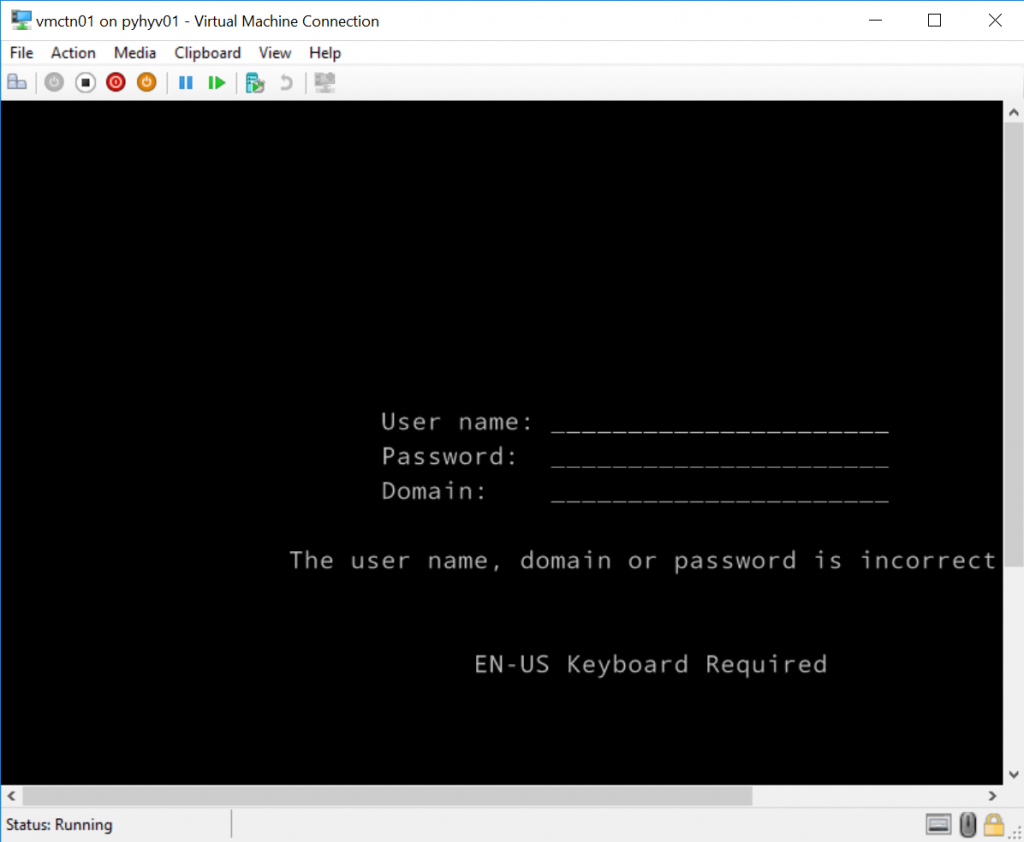
To test the image, I have created a Gen2 virtual machine and I have bound the Nano Server VHDX to the VM. After, I have started the VM and the server is ready except I can’t connect to the domain. It is because the Static IP is not well set due to the bug explained in the previous part.
Conclusion
The Nano Server Image Builder helps you to create Nano Server image. Before this tool exists, all the information had to be fill in a PowerShell cmdlet. Now you don’t need to know PowerShell to deploy a Nano Server image.
