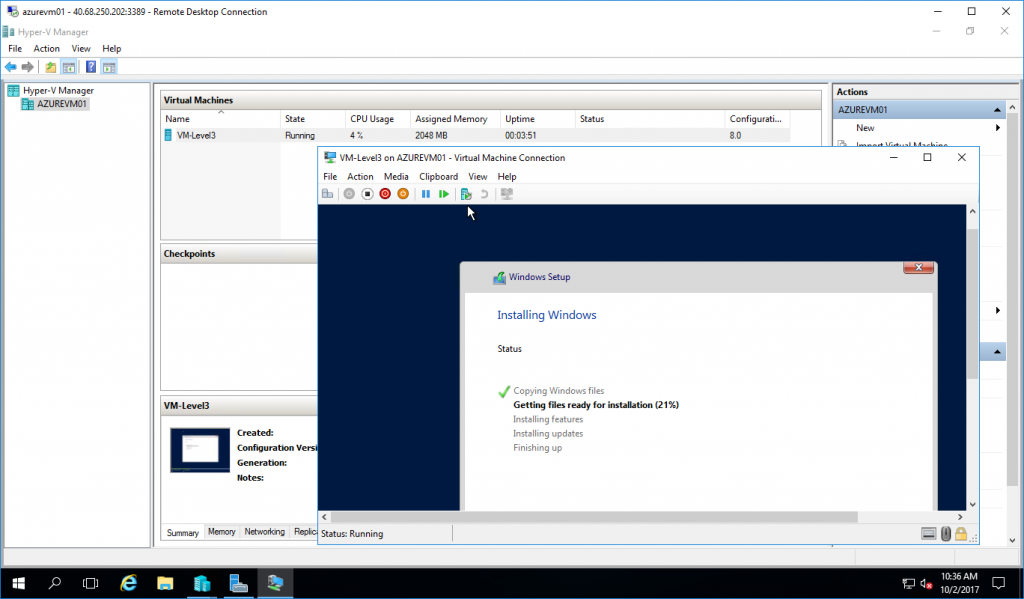
At Microsoft Build 2017, the Nested Virtualization support in Azure has been announced. Now you can enable nested virtualization using the Dv3 and Ev3 VM sizes – not a wide variety, but Microsoft is going to expand the support for more VM sizes in the upcoming months.
Therefore, not only Hyper-V containers with Docker but also Hyper-V VMs can be created inside the Azure VM. So now, nested virtualization, in addition to providing flexibility in development, testing, etc., also allows setting up a Hyper-V cluster between on-premise and Azure. For that purpose, by configuring StarWind Failover Cluster to handle shared storage replications across locations, businesses get maximum availability and extra redundancy for their mission-critical applications and services.
Availability
Nested VMs are available in the following geographic locations:
- US
- West 2
- East
- Europe
- West
- Asia Pacific
- Southeast
Configuring Nested Virtualization
To deploy the nested virtualization in Azure, proceed with the following steps:
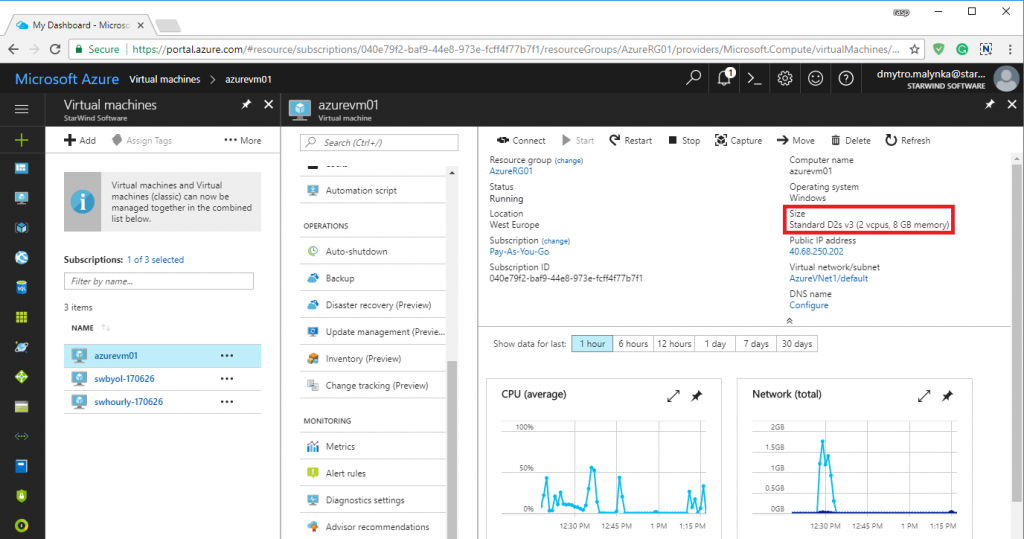
- Create the Dv3 or Ev3 series VM
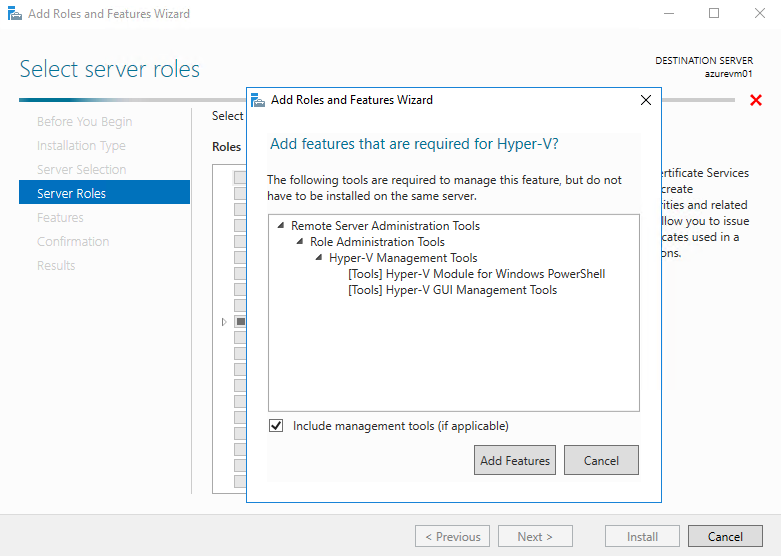
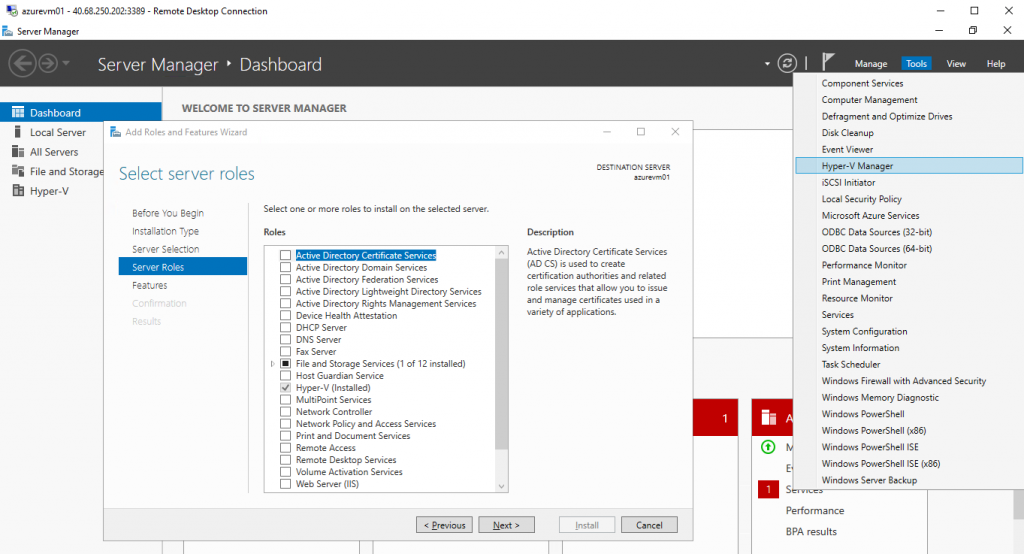
- Install the Hyper-V role
After the VM reboot, the Hyper-V role installation is finished.
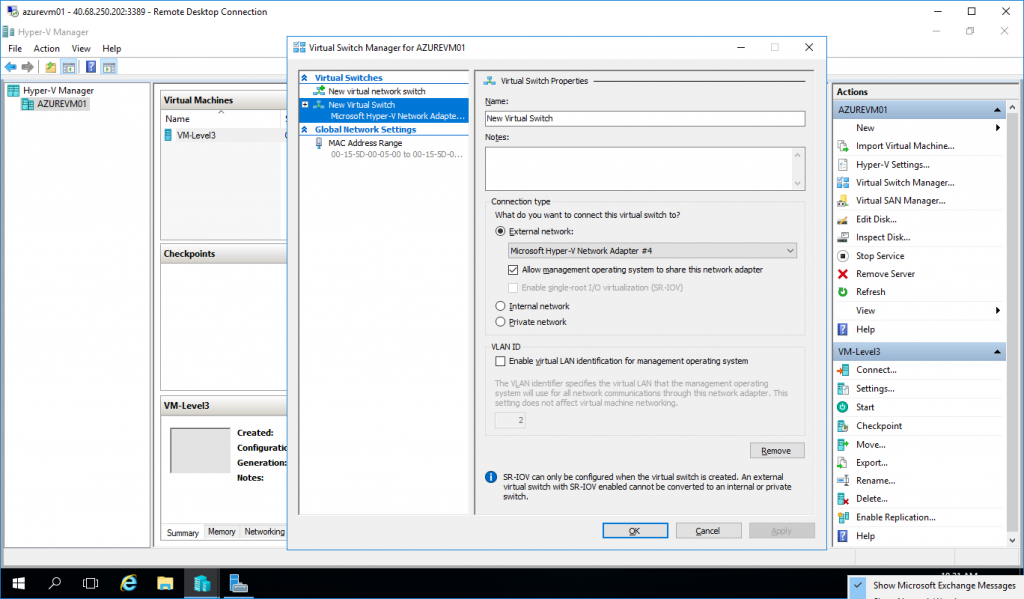
- Configure Hyper-V Switch
- Create a Hyper-V VM
The basic Hyper-V configuration is set. You can deploy as many L3 nested VMs as you want with regards to chosen Dv3/Ev3 VM specifications.
Alternatively, you can use the PowerShell script written by Charles Ding, a Microsoft Engineer, to setup the nested VM.
Keep following our blog, and in the following articles, we will discuss the StarWind Hybrid Cluster configuration to emphasize tips and tricks in nested Hyper-V implementation on top of StarWind shared storage.


