Introduction
There is no doubt that LTO is great for archival storage. However, its maintenance and management costs can very well overcome the associated benefits. Therefore, the question arises: what storage can provide maximum cost savings when replacing physical tapes? While Virtual Tape Libraries (VTL) on Hard Disk Drives (HDDs) are effective, a more efficient solution is cloud storage. AWS, Azure, Backblaze B2, Wasabi, and other S3-based public cloud storage providers offer inexpensive cloud storage, which is a great fit for archival purposes. In addition, object locking protects against ransomware, meaning that your business data is always safe. And that’s where StarWind VTL comes in once more – to offload your backups to a public cloud.
In previous parts of these blog-post series (Part 1, Part 2), we covered how to set up StarWind VTL for IBM i and configure and perform backups to it. In this final part, we will take a look at how to configure cloud replication in StarWind VTL.
Configuring cloud replication
With StarWind VTL, you can configure cloud replication for the existing VTL device or create a new one with cloud replication. For the sake of clarity, I have created a new VTL device on which I will set cloud replication to the Azure Archive tier. Of course, you first need to configure your cloud storage account and container before setting up replication to the cloud.
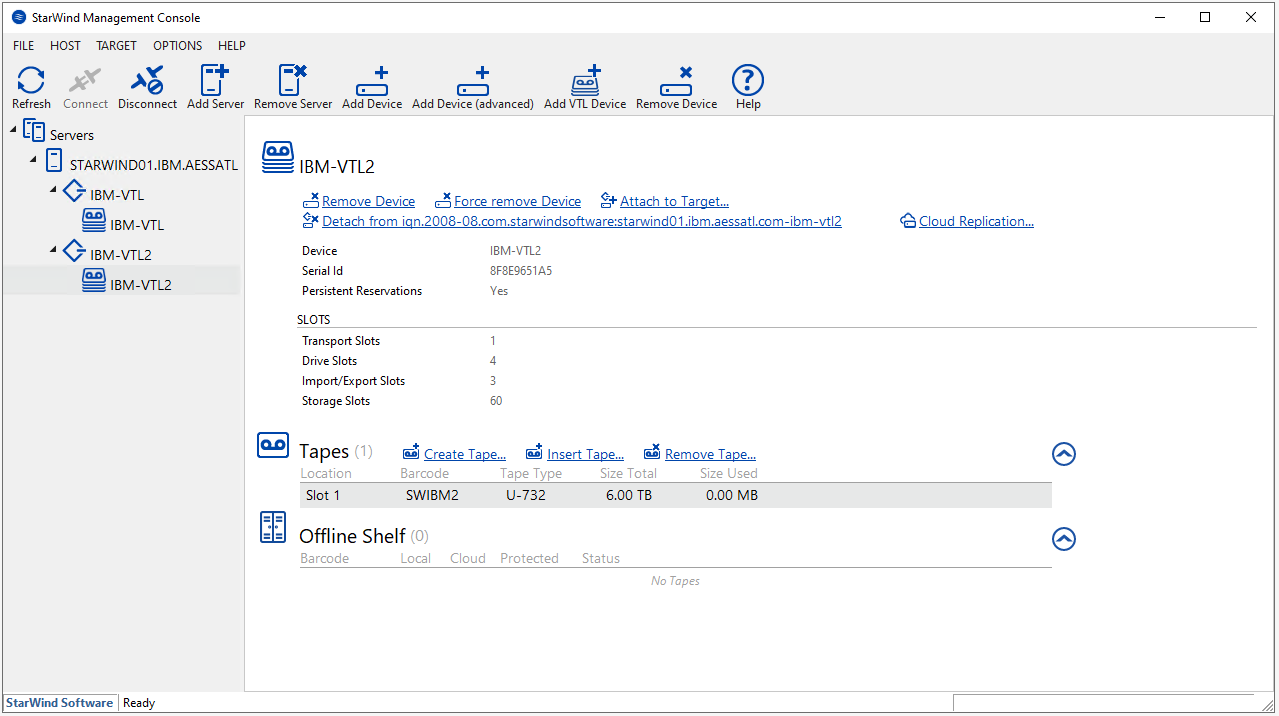
Here, we have our new VTL device called IBM-VTL2 with one tape SWIBM2.
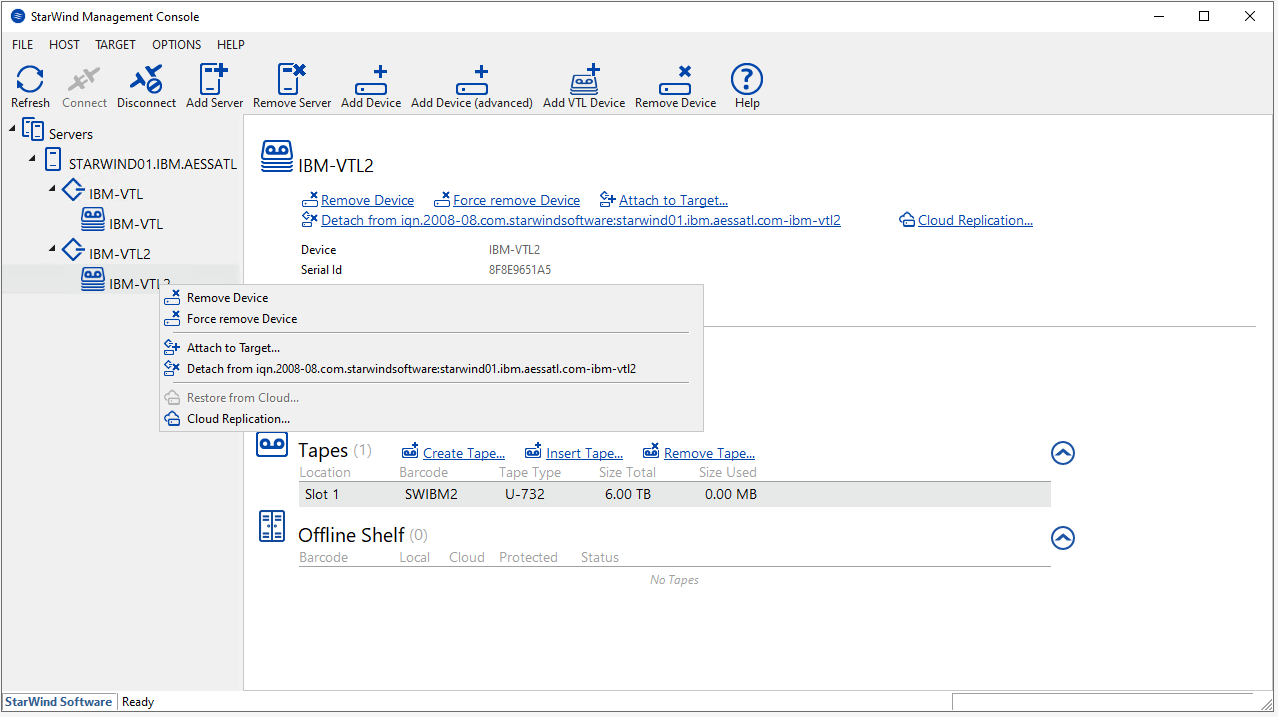
Right-click on the VTL device and select “Cloud Replication…”.
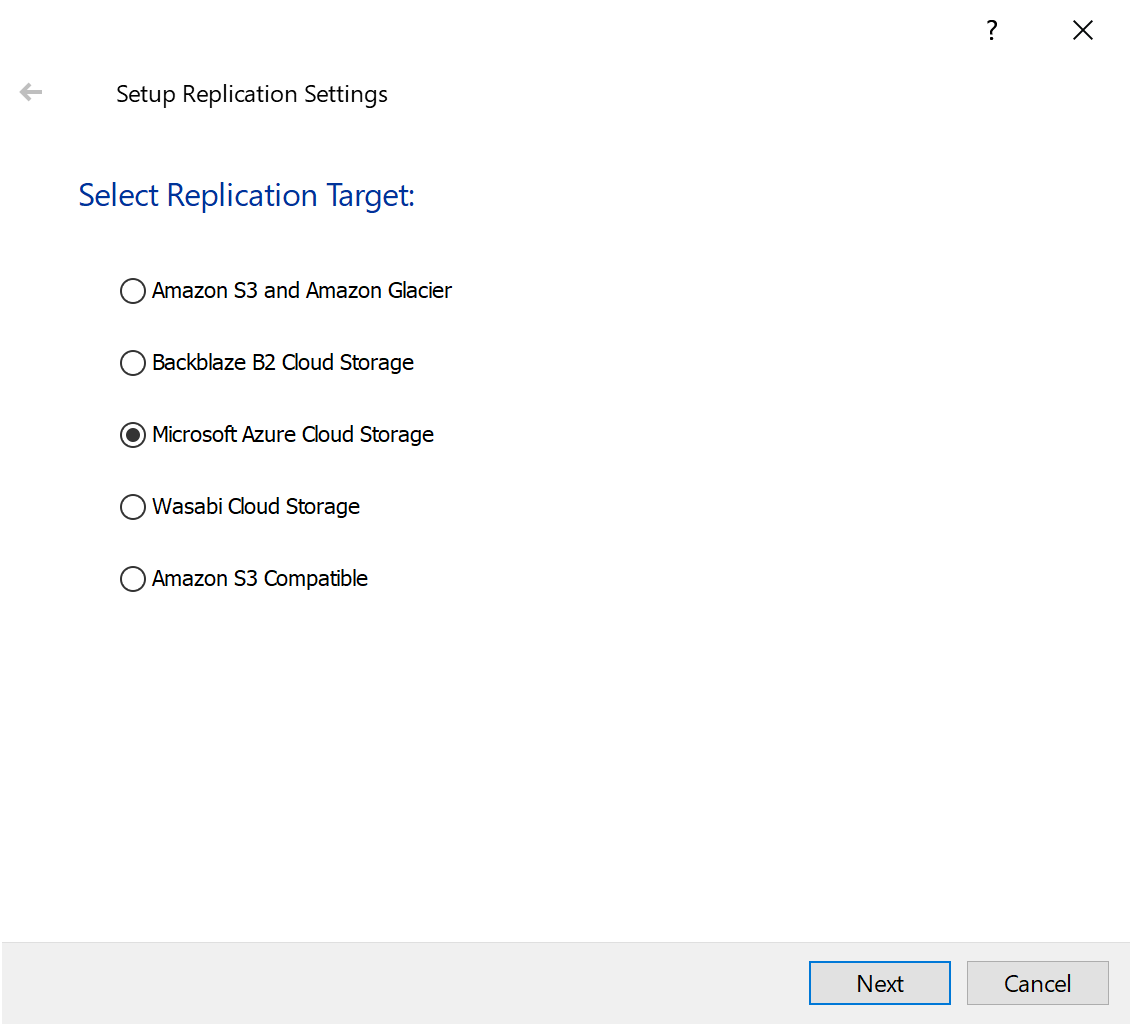
Here, select your preferred cloud storage provider. Keep in mind this can be any S3-compatible public cloud or on-premises object storage such as Cloudian. In my case, it is Microsoft Azure.
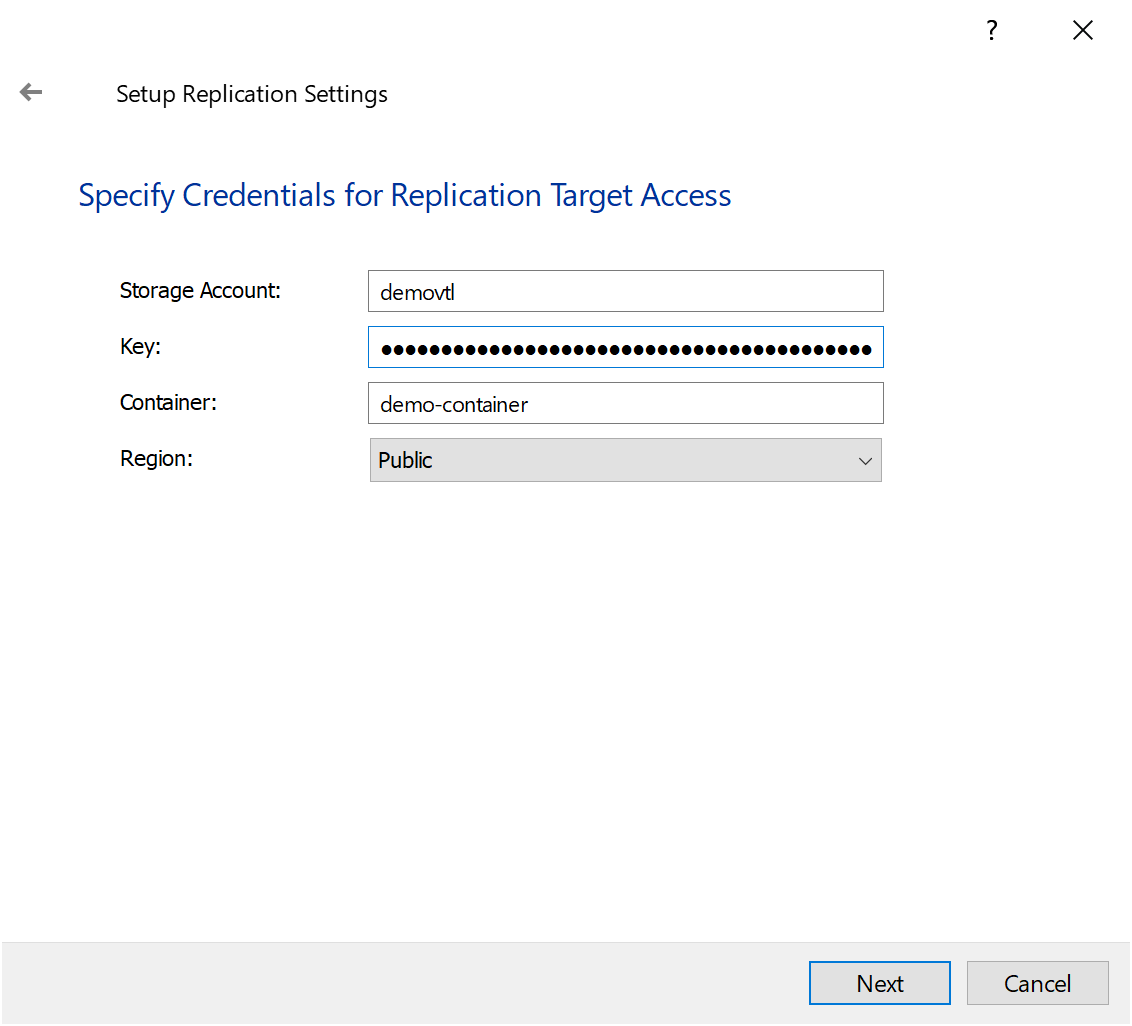
Next, we need to specify all the required credentials: storage account name, secret key, container name and region (public).
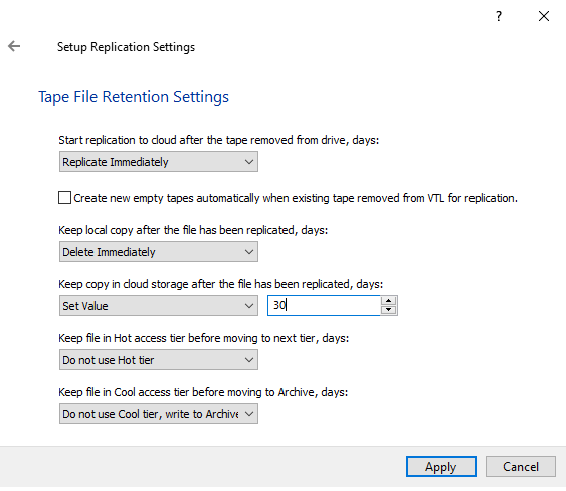
After this, configure the retention settings. First, decide if we want to start replication immediately once the tape is ejected after backup or start it later. Then, we also have an option to create new tapes automatically after previous ones have been uploaded to the cloud. We can also set StarWind VTL to remove the local copy straight away once the tape has been uploaded to the cloud. Now, we have the option to keep it forever or for a certain number of days on the local storage. Then, select how long we want to keep the tape in the cloud. Finally, StarWind VTL allows you to upload tapes directly to the Azure Archive tier without going through Hot and Cool tiers first.
Now, we just click “Apply” and the configuration is complete. Really simple and straightforward.
Upload to cloud
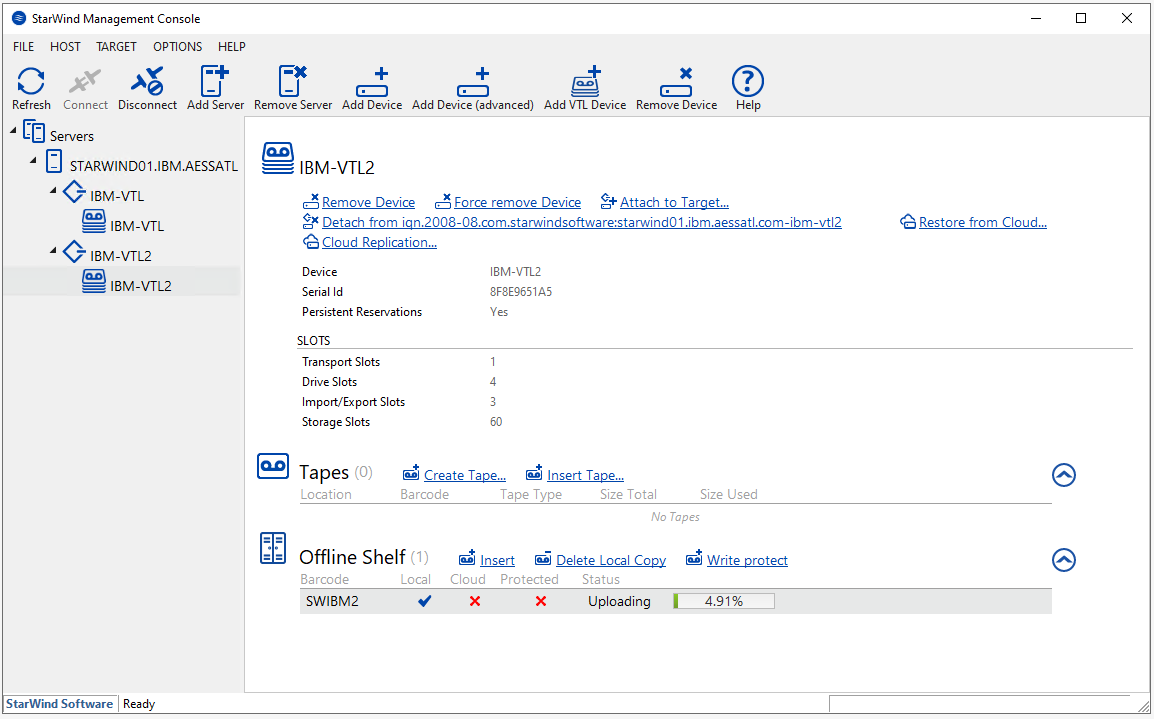
Now, you can run another backup to StarWind VTL. I’m not covering all the steps with tape library initialization to keep it simple. You can find the full backup process described in the previous part. Once the backup is complete, we need to remove the tape, and this is what triggers the upload to cloud. We can see that the upload has started in the StarWind Management Console. The tape is kept on the local storage first.
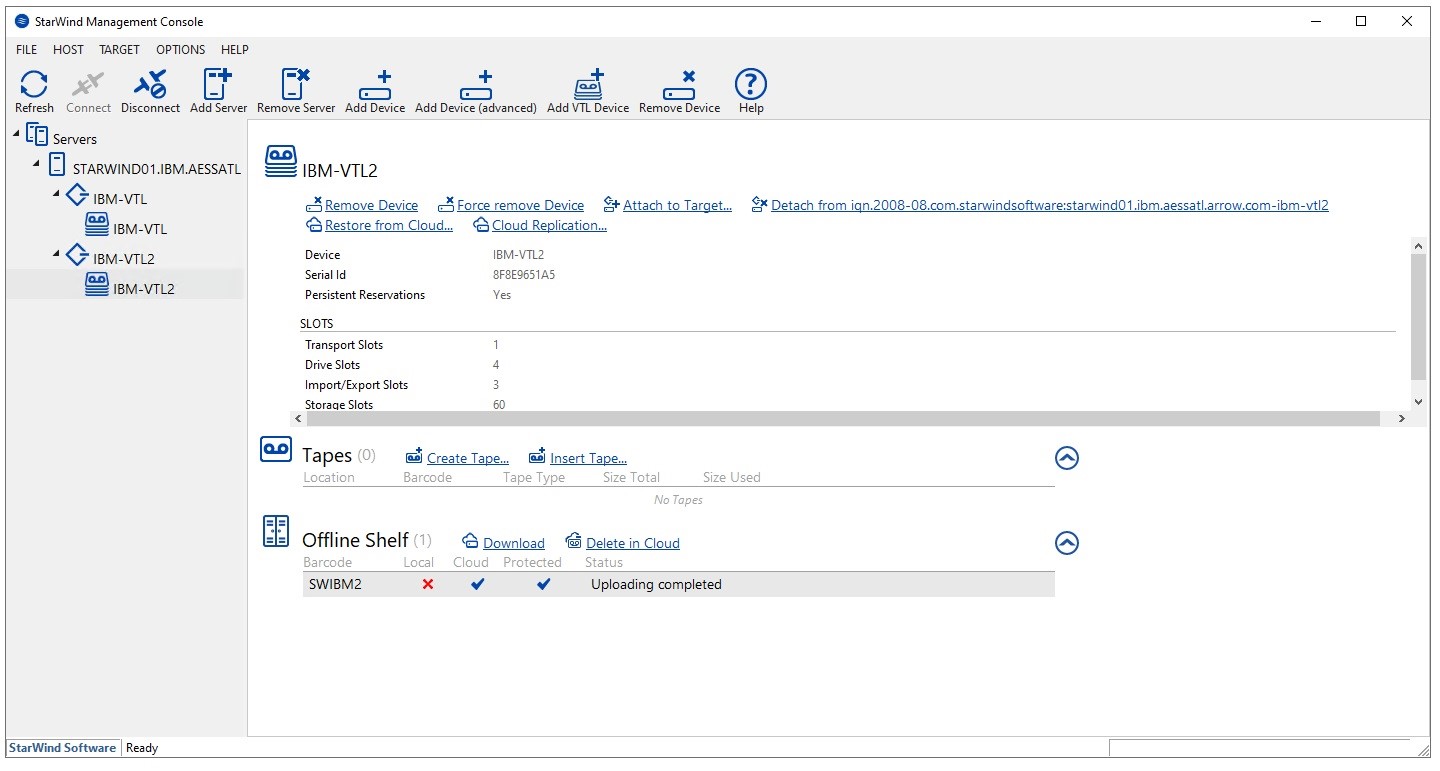
And once the tape has been moved to cloud, the local copy is removed according to my previously set retention policy.
Now, your data is safely stored in cloud and can be further downloaded when needed to perform a restore.
Conclusion
Throughout these blog series, we have covered how configure StarWind VTL, connect it to an IBM i system, perform a backup and also configure cloud replication. Overall, StarWind VTL for IBM i is a simple solution to replace your physical IBM tapes with virtual that can be kept on local storage or uploaded to cloud for even higher cost efficiency and data safety.


