Veeam enables to restore a VM to Azure from the latest recovery point. The main goal of this feature is disaster recovery. In case of failure, you can restart VMs in Azure. This feature can also be used to migrate the workload from On-Prem to Microsoft Azure. You can also restore a VM in Amazon EC2. In this topic, we’ll see how to restore a VM from Veeam to Microsoft Azure.
Requirements
To follow this topic, you need the following requirements:
- An active Azure Subscription
- A deployed virtual network
- A deployed Storage Account
- Veeam Backup & Replication 9.5 U4a
Create a Cloud Credentials in Veeam
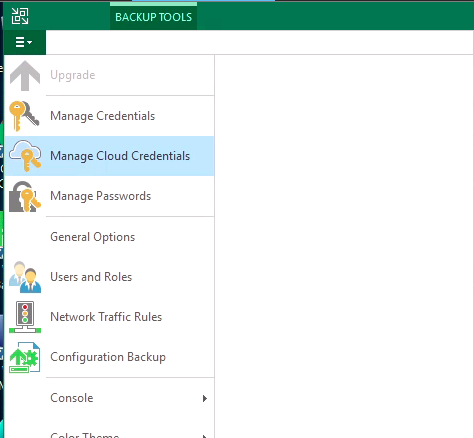
Open the following menu and select Manage Cloud Credentials.
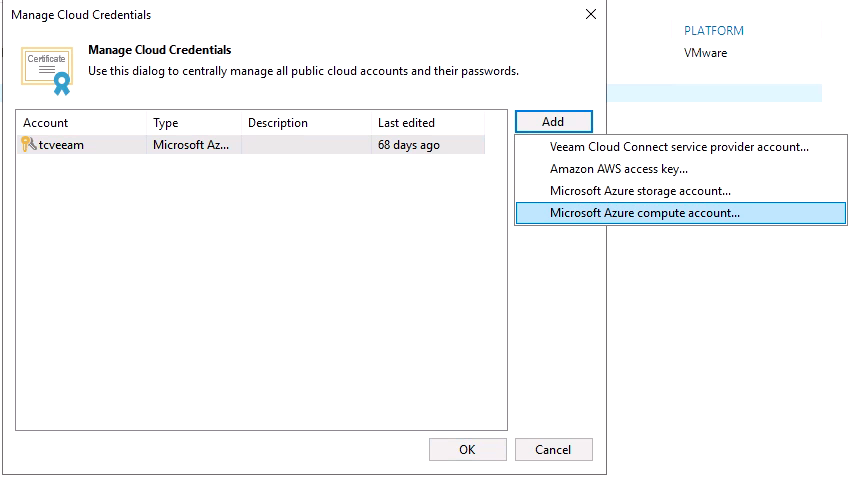
Then click on Add and select Microsoft Azure compute account.
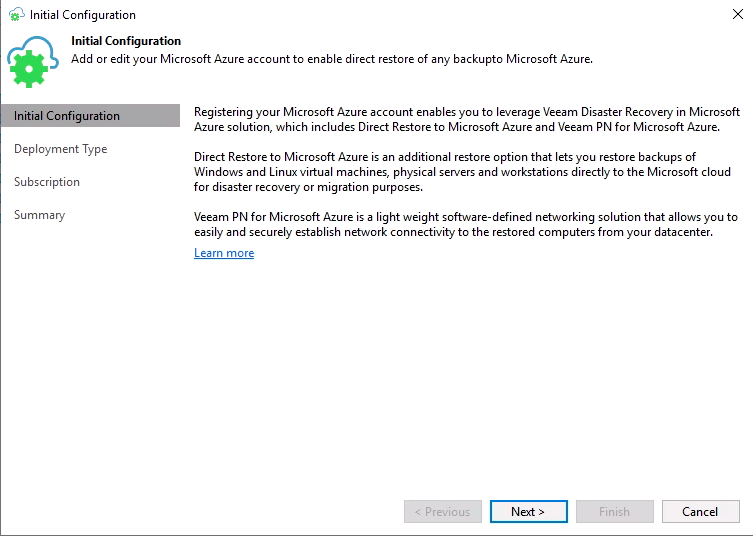
On the initial configuration screen, just click on next.
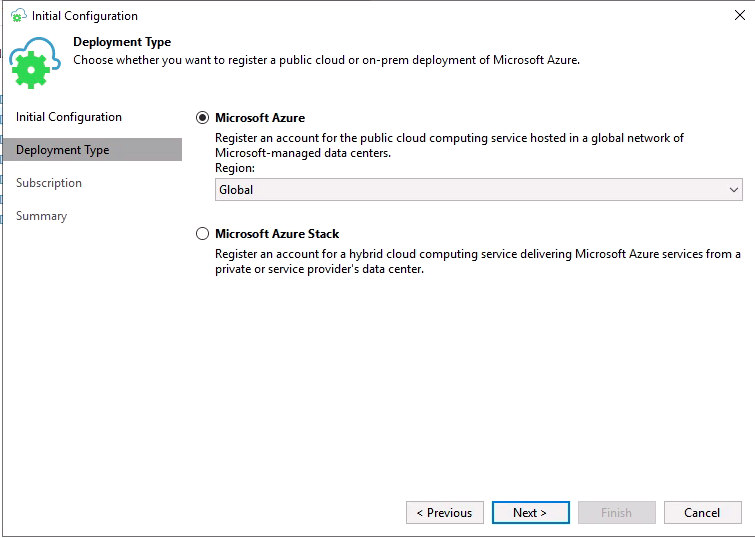
As you can see in the following screenshot, you can restore a VM in Microsoft Azure or in Microsoft Azure Stack. For this example, I choose Microsoft Azure.
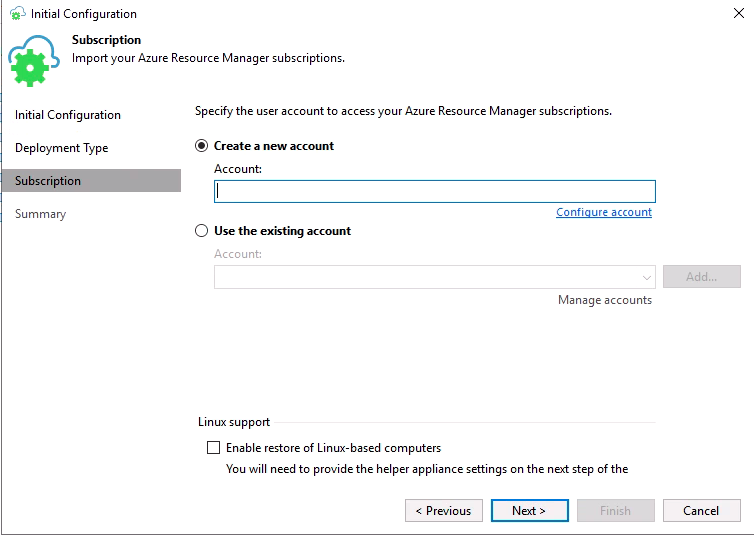
Next click on Configure Account.
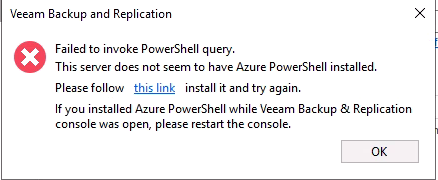
The first time you create Cloud credentials, you may have the following error. Veeam needs Azure Powershell installed. So, click on this link and the Azure PowerShell cmdlet (of 2017…) will be installed. I don’t know if the current Azure PowerShell module works.
Once the module is installed, restart the Veeam console and start again the Cloud Credentials wizard. Then click again on Configure account. A pop-up should raise asking you Azure credentials.
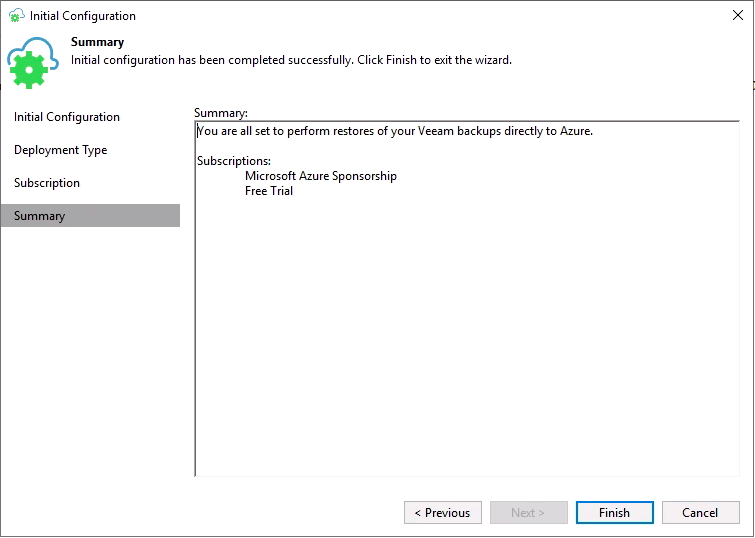
Finally, click on finish to create the Cloud credentials.
Restore a VM to Microsoft Azure
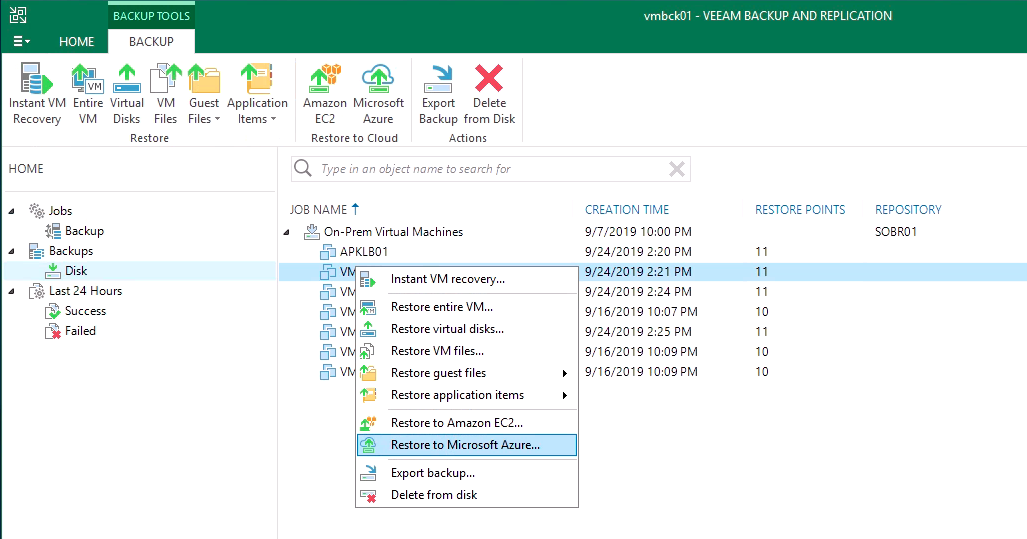
Now that cloud credentials are created, you can run the restore to Microsoft Azure. Pick a VM, right click on it. Then select Restore to Microsoft Azure.
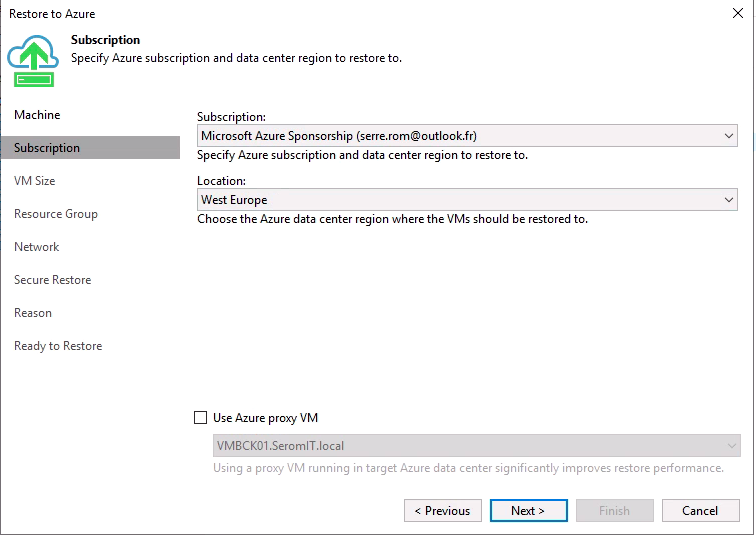
Select your Azure subscription and the location and click on Next.
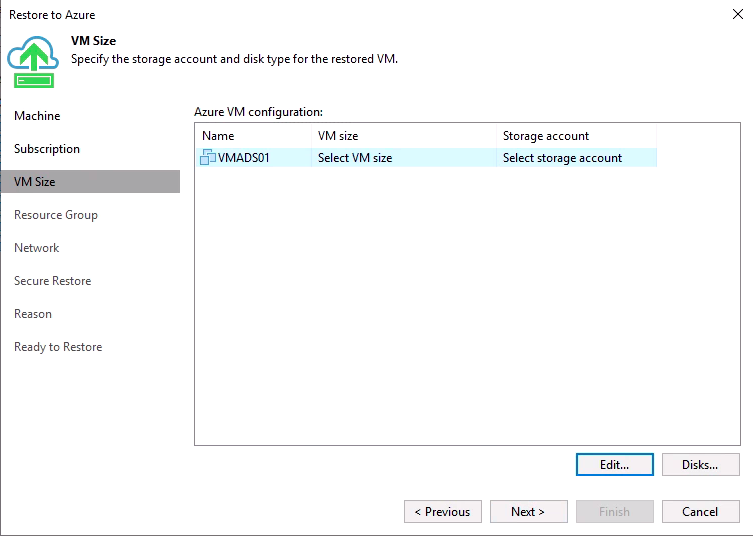
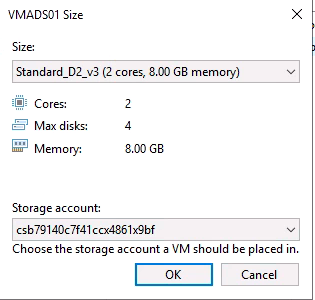
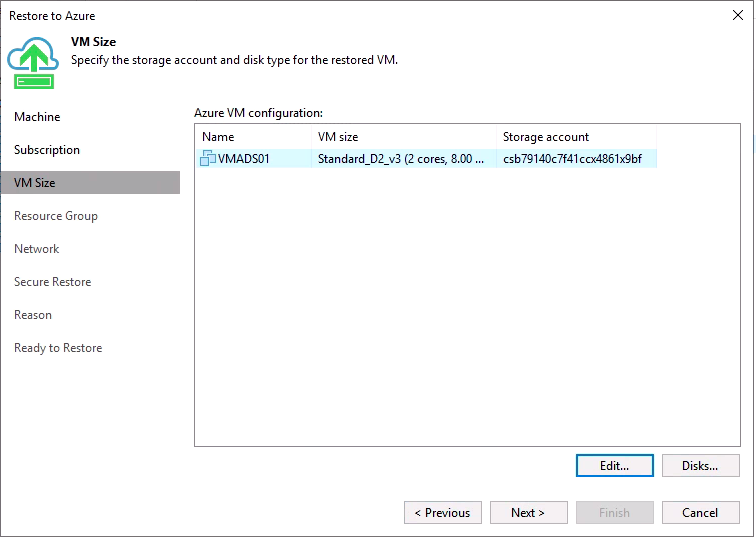
Select the VM and click on Edit to choose the VM Size and the storage account.
Once you selected the VM Size and the storage account, you can choose which disks you restore in Azure. Then just click on Next.
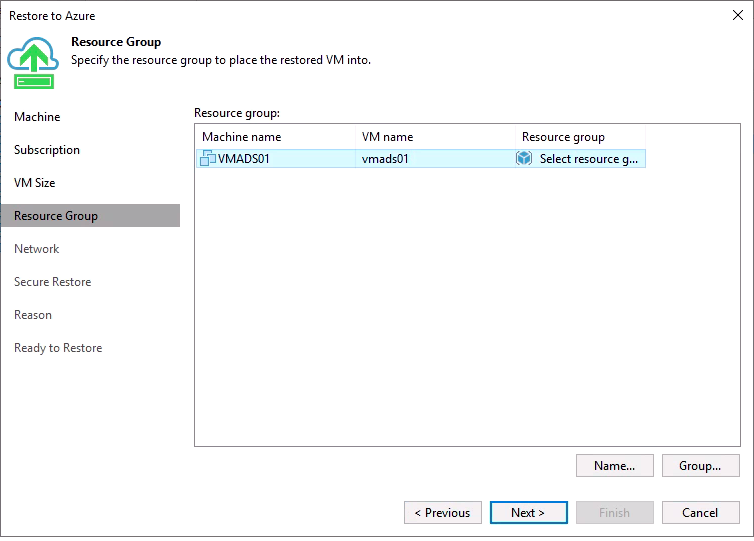
Then you need to specify the resource group. Click on edit.
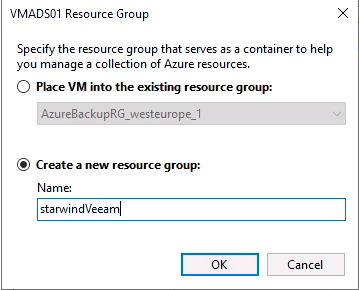
Veeam lets you choose an existing resource group or you can also create a new resource group.
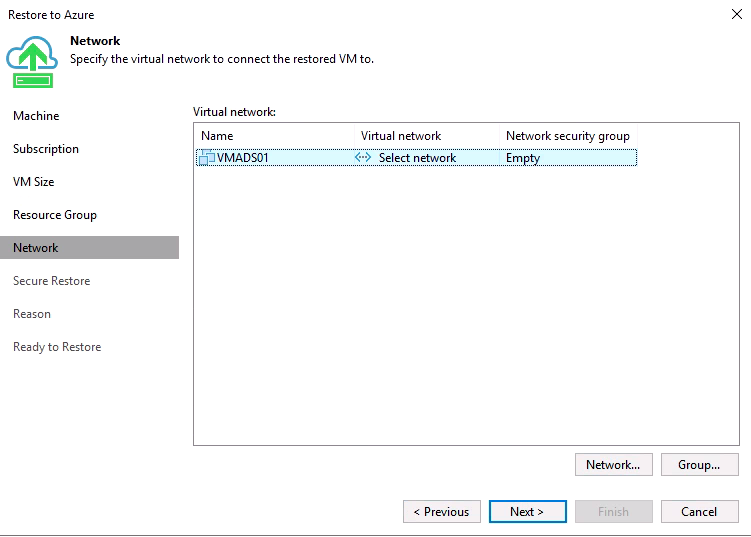
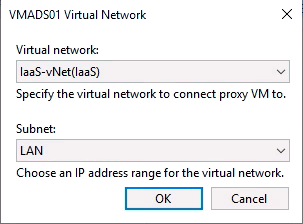
Next, you need to configure the network. The network button enables you to configure the virtual network while the group button enables you to configure a Network Security Group.
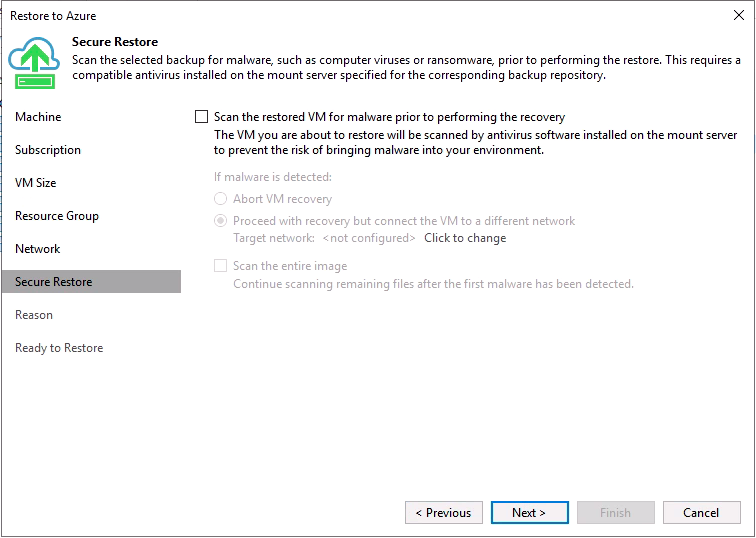
Before the VM is restored, Veeam can scan the restore point to verify if there is no malware, especially ransomware.
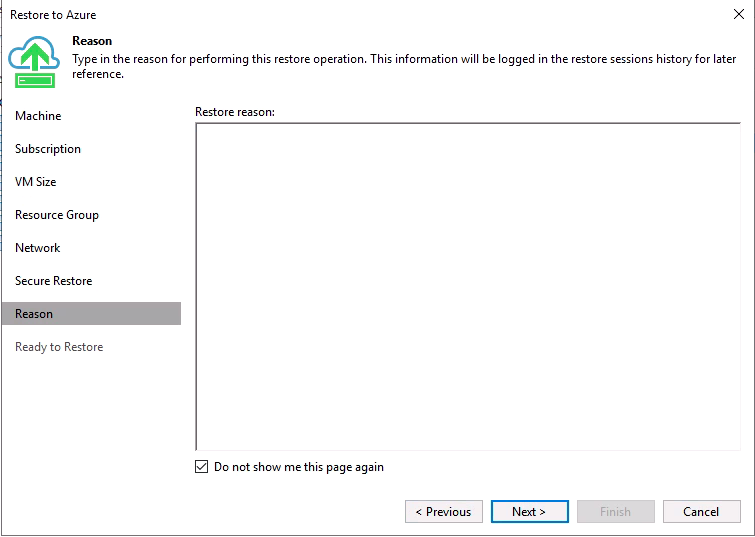
After that you can specify a reason for the restore. Then click on Next to finish the wizard.
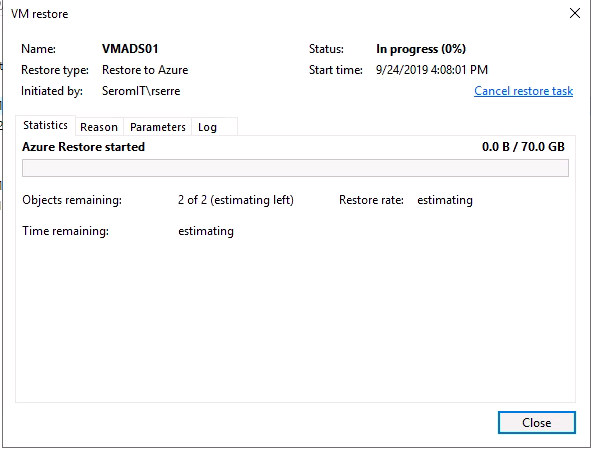
Once the wizard is closed, a statistic window raises. The restore process can take a while, depending on your internet bandwidth.
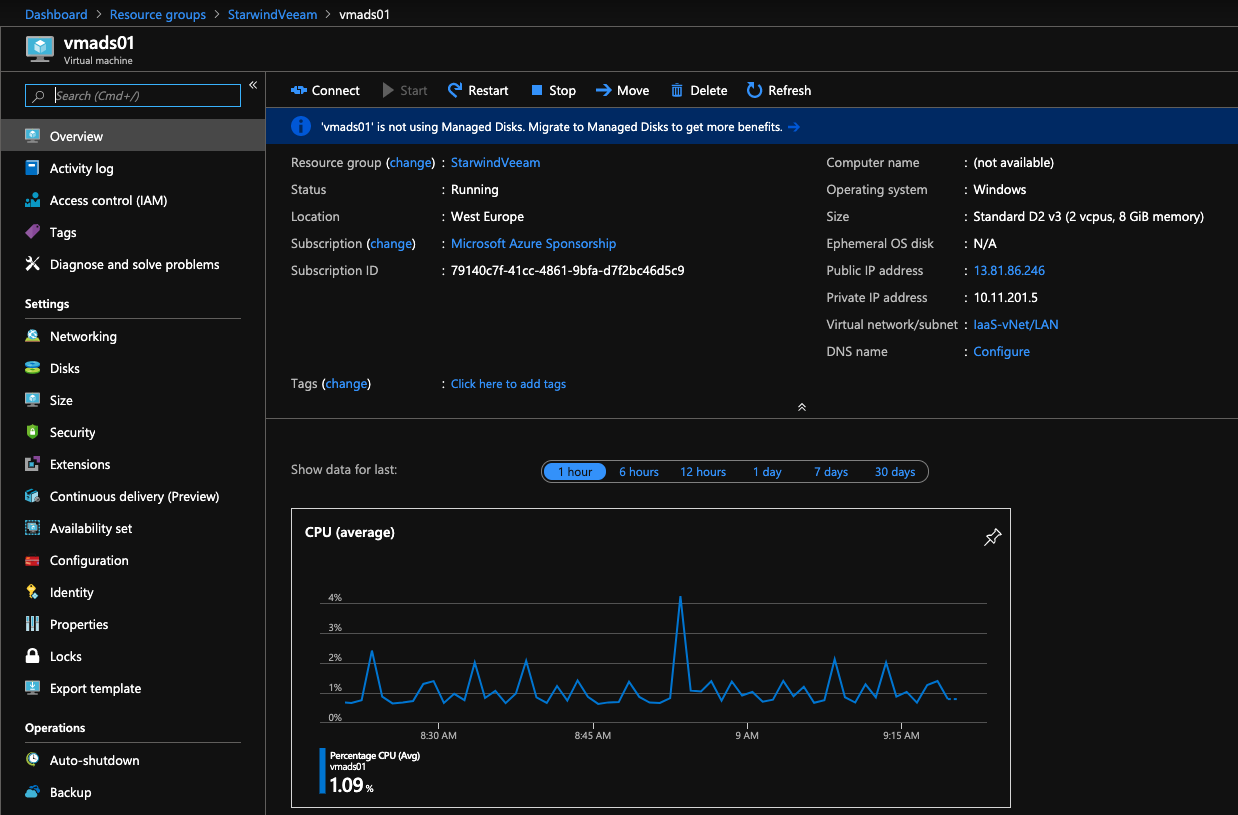
Once the process is finished, you VM should be running in Microsoft Azure as below:
Conclusion
Veeam provides an easy way to restore VMs to Microsoft Azure. However, some options are not available such as managed disks. Currently you can only restore disks in a storage account. But apart from that, this tool makes it easy to migrate to Microsoft Azure from a restore point even for a disaster recovery scenario.


