The next release of Azure Stack HCI brings a lot of new features. Among them, there are a new shinny OS called Azure Stack HCI OS and stretched cluster. Meanwhile, Microsoft works hard on the cluster creation extension in Windows Admin Center to ease Azure Stack HCI deployment. In this topic I show you how to deploy an Azure Stack HCI stretched cluster from Windows Admin Center
Details about my lab
To write this topic, I use nested virtualization. That means that I created four VMs and I enabled nested virtualization for each of them. Below you can find the configuration of each VM:
- 4vCPU (nested virtualization enabled)
- 8GB of memory
- 1x OS disk with Azure Stack HCI OS installed (you can download it here)
- 4x Dynamic disks of 127GB for Storage Spaces Direct
- 3x virtual NICs:
- 1x for management
- 2x for storage
Before I start this topic, I have installed Azure Stack HCI OS in each VMs, I set IP addresses and I joined the machine to the domain. In addition, I have installed Hyper-V role offline because there is a bug in Azure Stack HCI OS when Hyper-V role is enabled, and nested virtualization is on. To enable Hyper-V role offline in each VM, I ran the following cmdlet:
Install-WindowsFeature -Vhd ‘path/to/OS/VHDX’ -Name Hyper-V -IncludeManagementTools
You also need a working and running Windows Admin Center 2007 at least.
Azure Stack HCI deployment
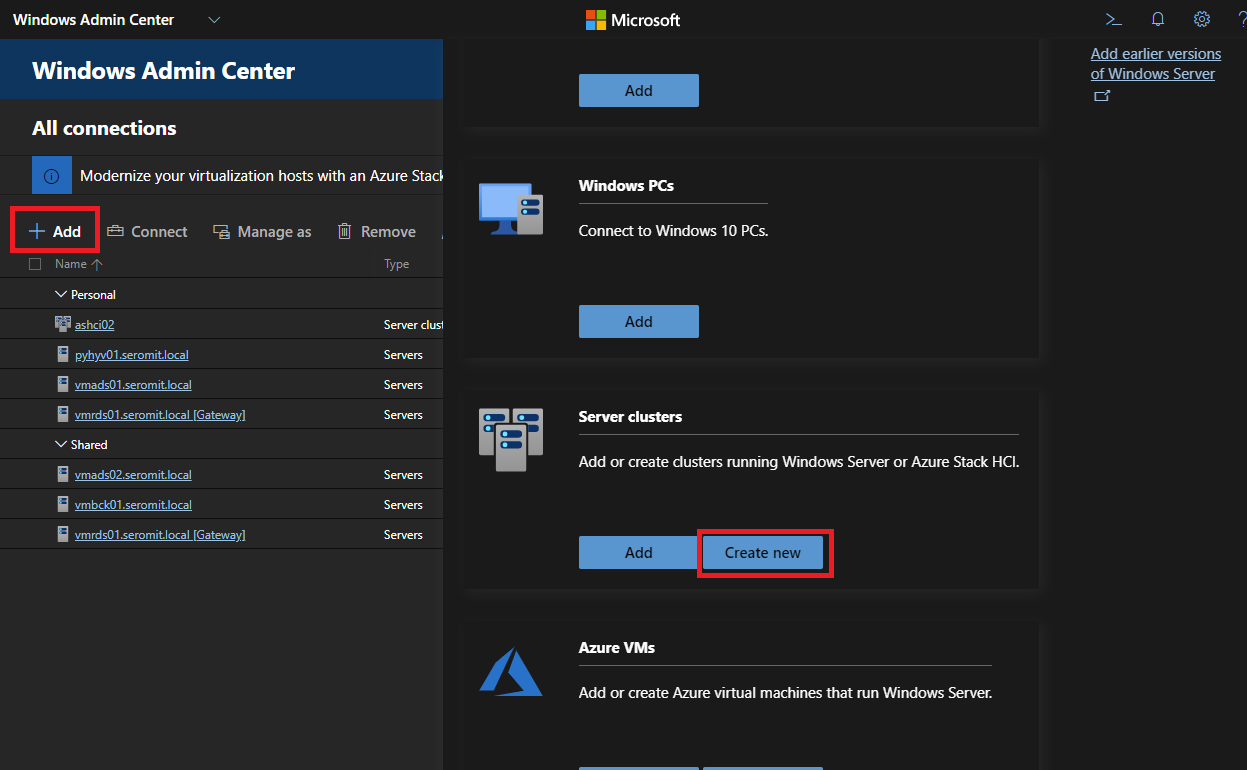
Open Windows Admin Center from a web browser and click on Add and then Create new.
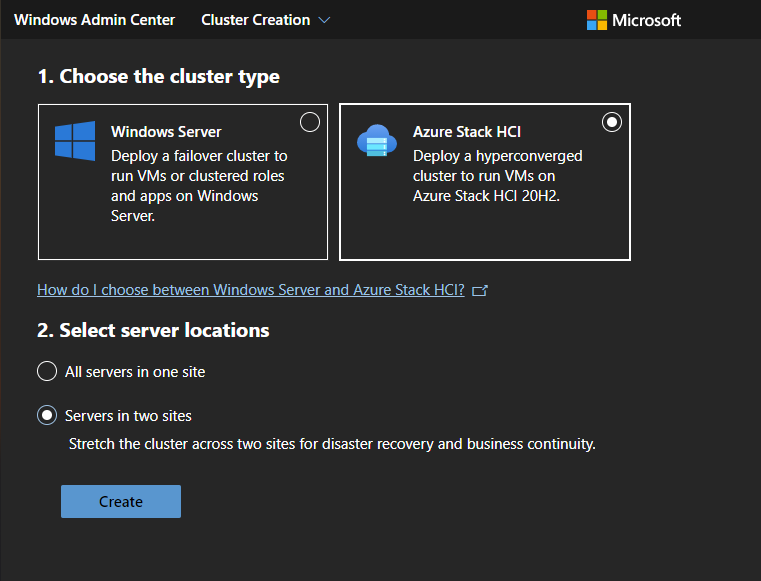
Then choose Azure Stack HCI as cluster type and servers in two sites to deploy a stretched cluster.
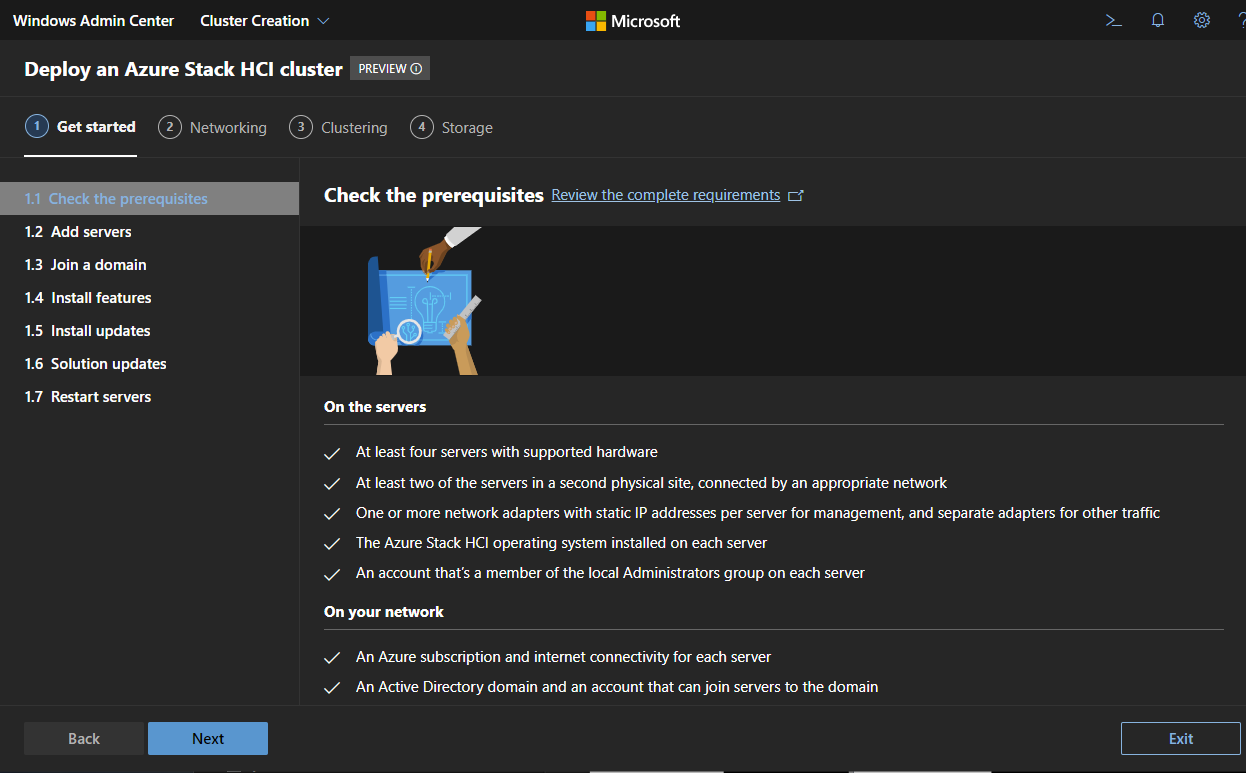
Next you are on a getting started pane. This pane explains to you the prerequisites and what will be done through this wizard.
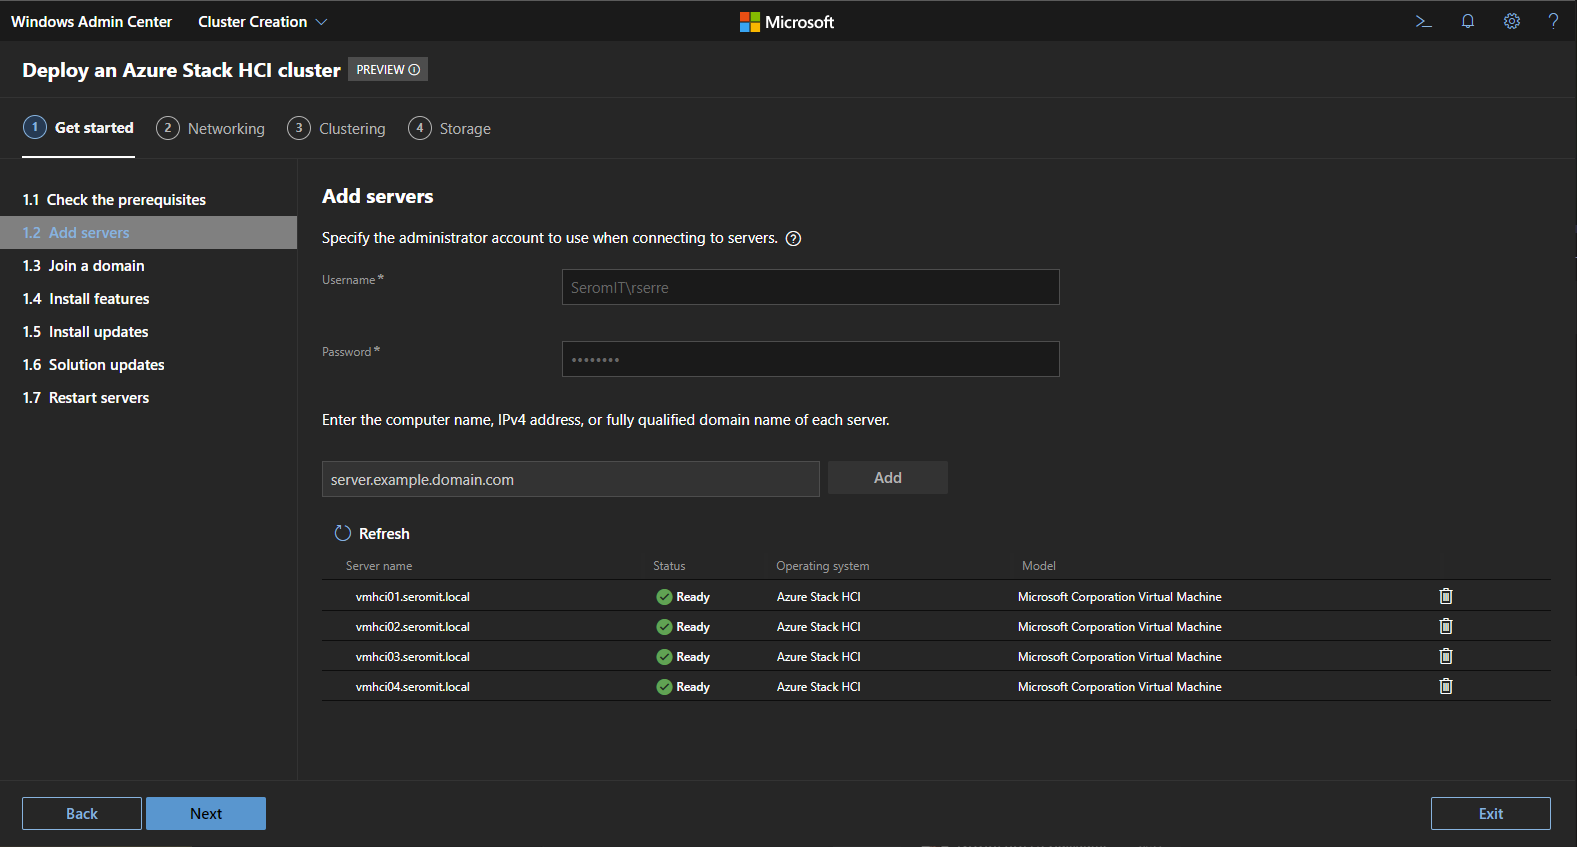
In the next pane, specify your credentials to connect to the Azure Stack HCI nodes and the node names. It can take a few minutes while the wizard checks the prerequisite.
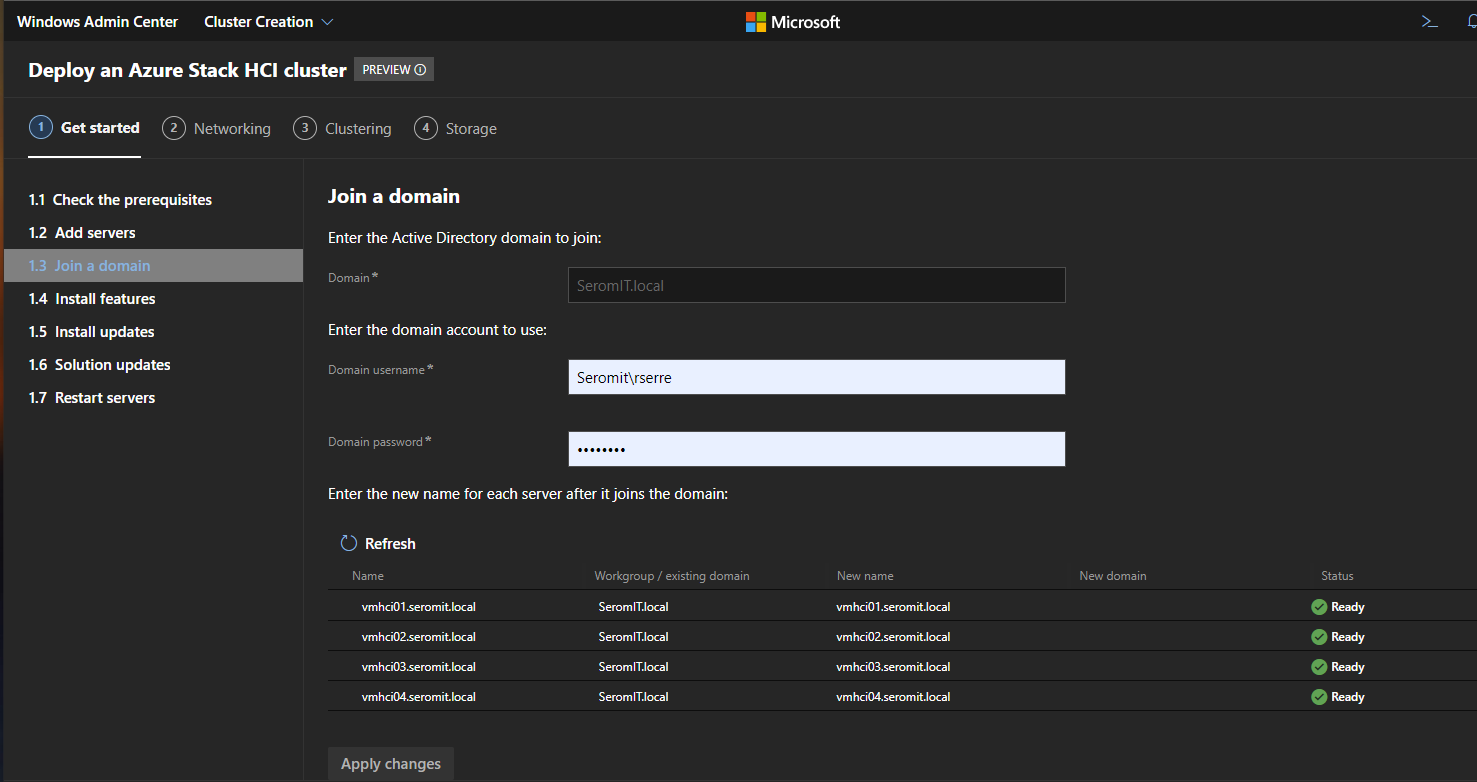
The wizard can add servers to the domain for you. I prefer to do that by myself to add Azure Stack HCI nodes in the proper OU before deployment to apply the right GPOs.
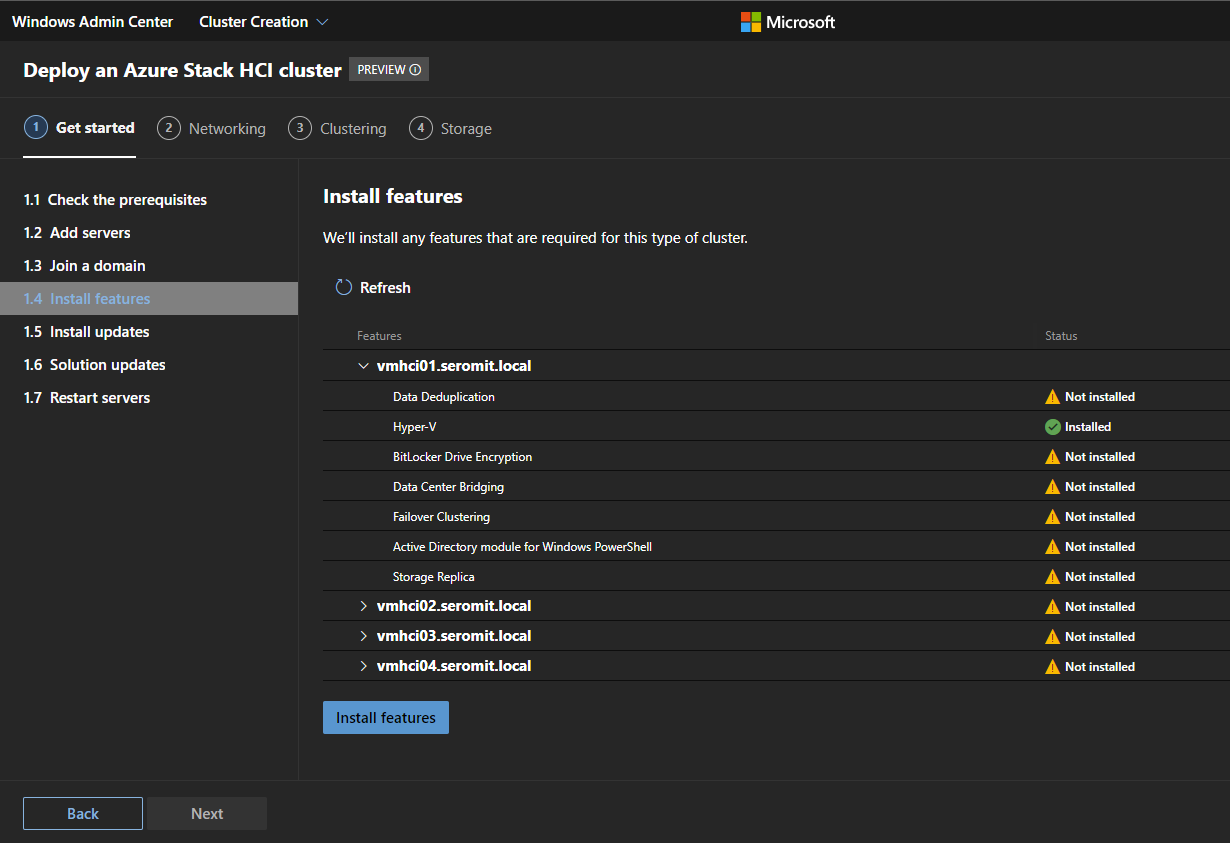
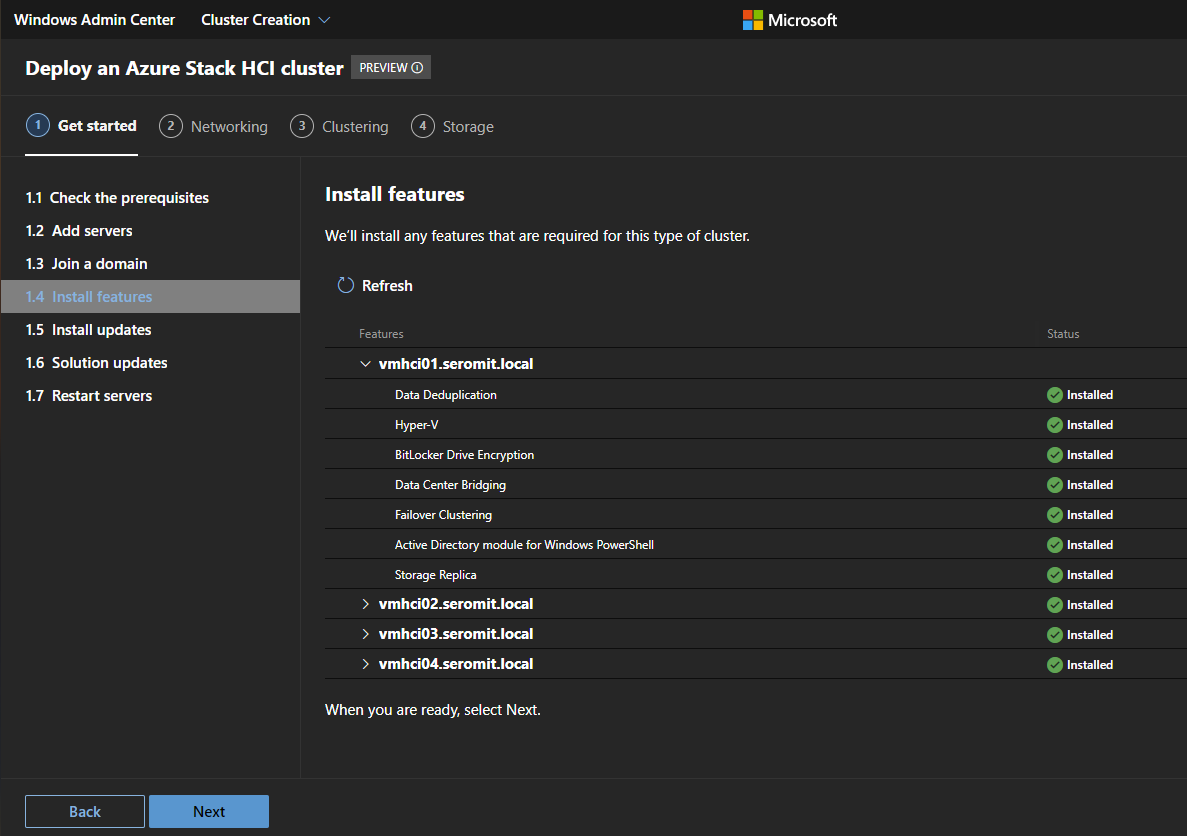
Then the wizard checks if required roles and features are installed. If not, they are installed automatically for you.
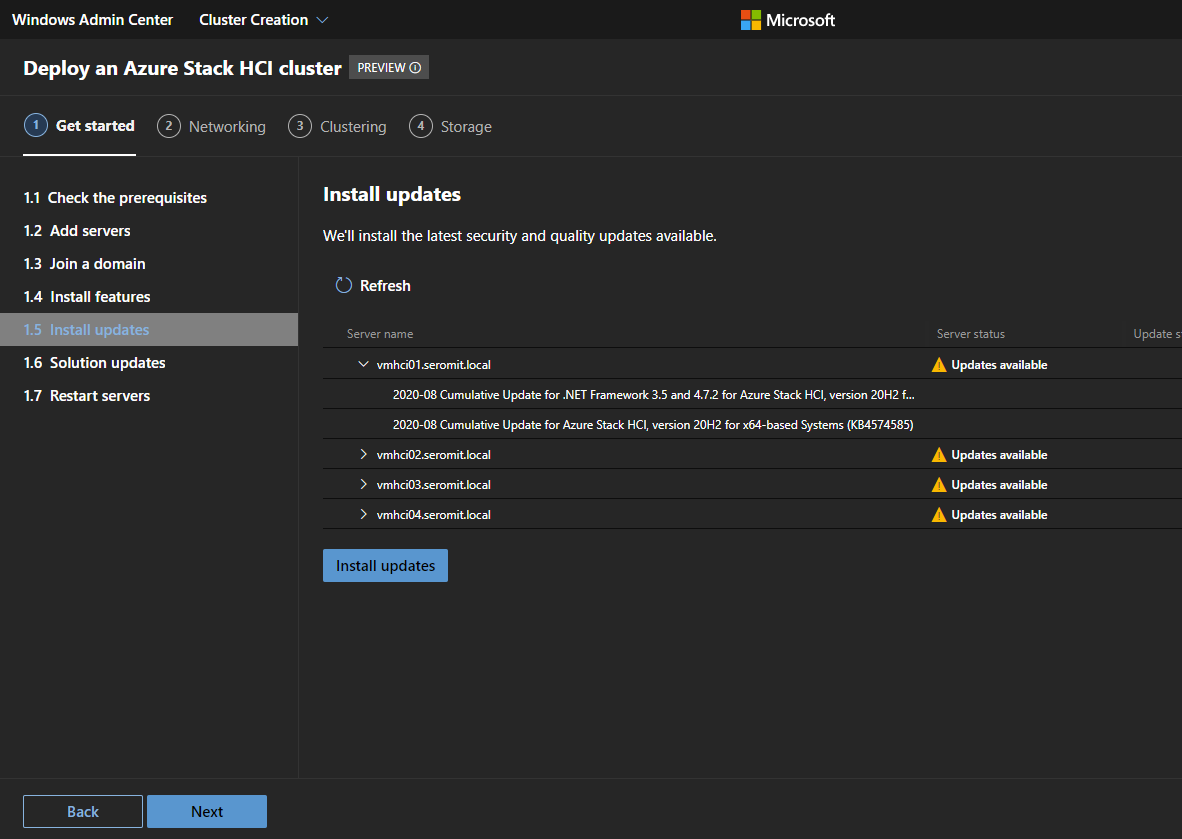
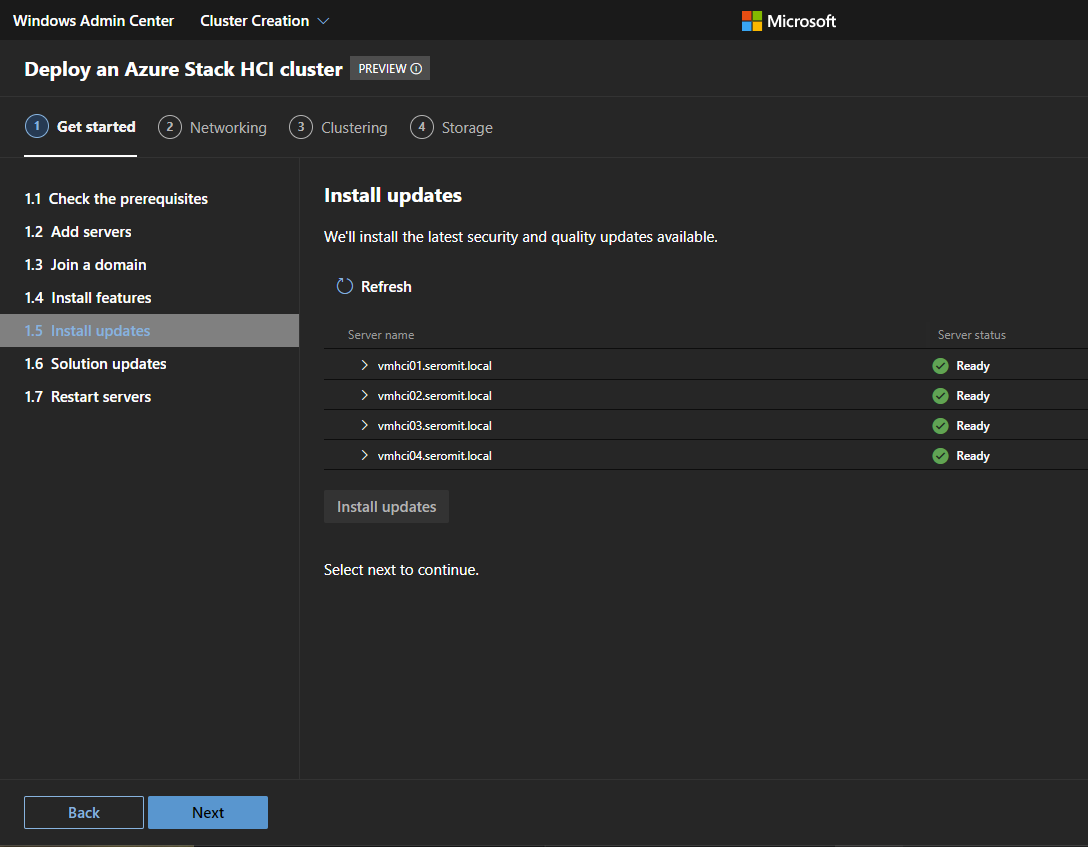
Then the wizard ensures that nodes are up to date. So, updates are applied and all nodes are at the same update level.
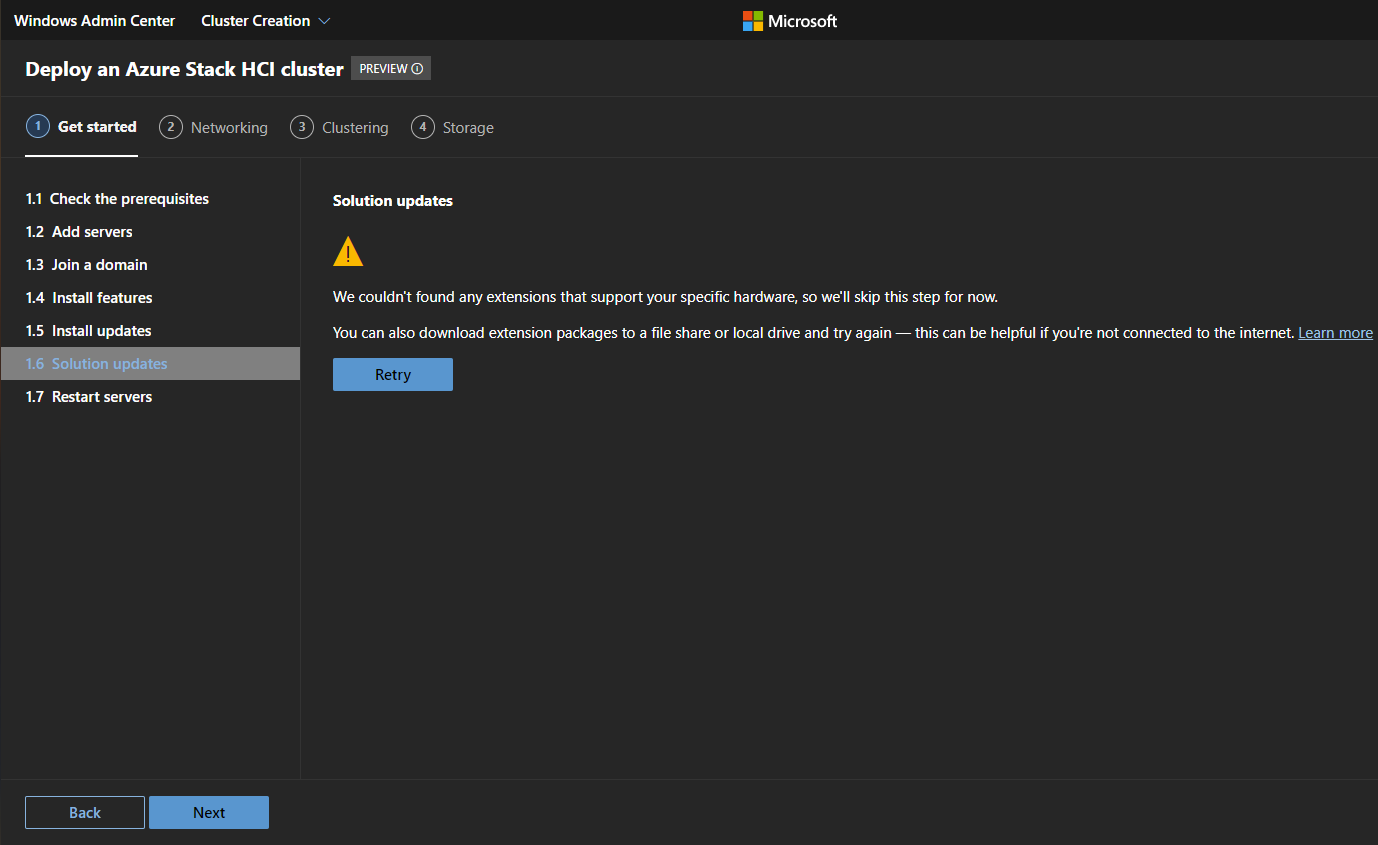
If you bought validated hardware such as Dell or Lenovo ready nodes, the wizard downloads drivers and firmware update for you and install them on each node. Because my machine are VMs, they are not recognized; this is why I have this warning.
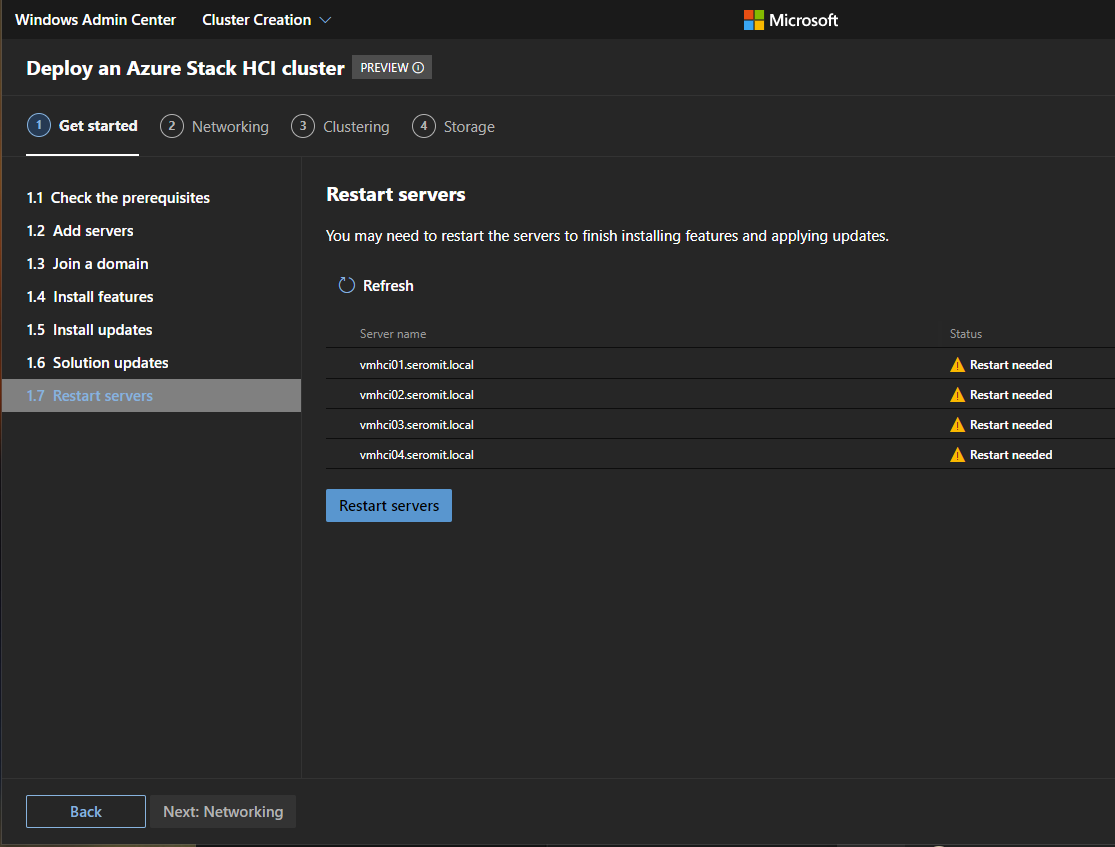
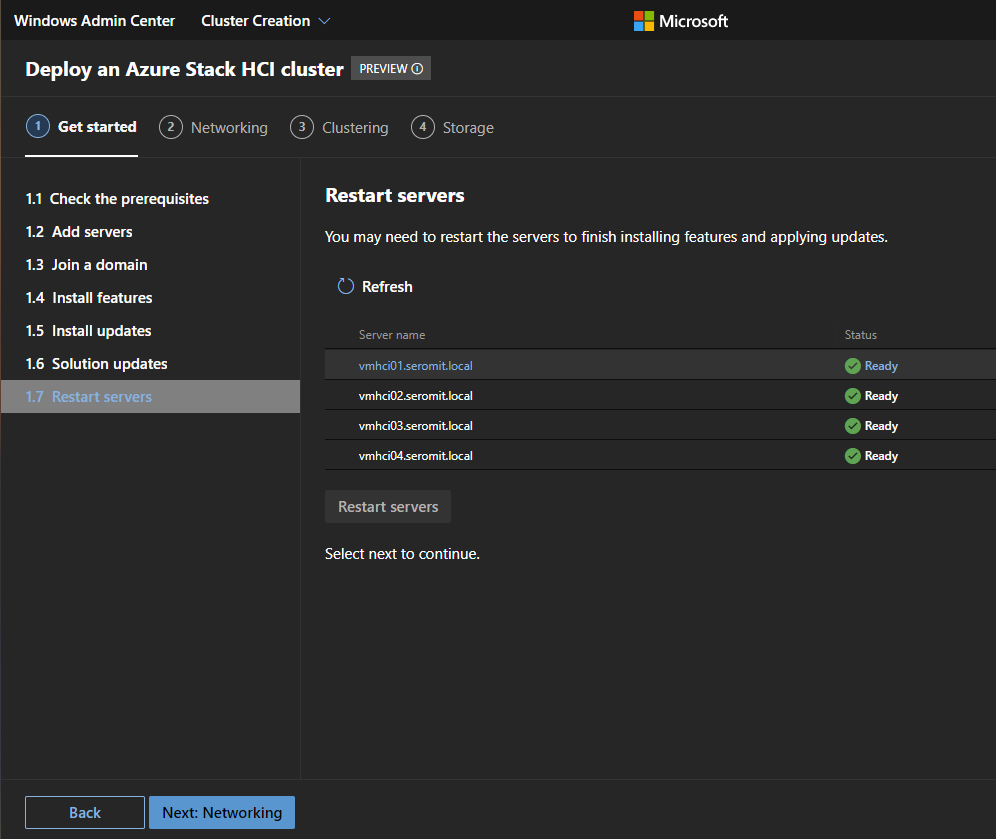
Then servers must be restarted. By clicking on restart servers, all nodes are restarted and when they are back online, you can move to network configuration.
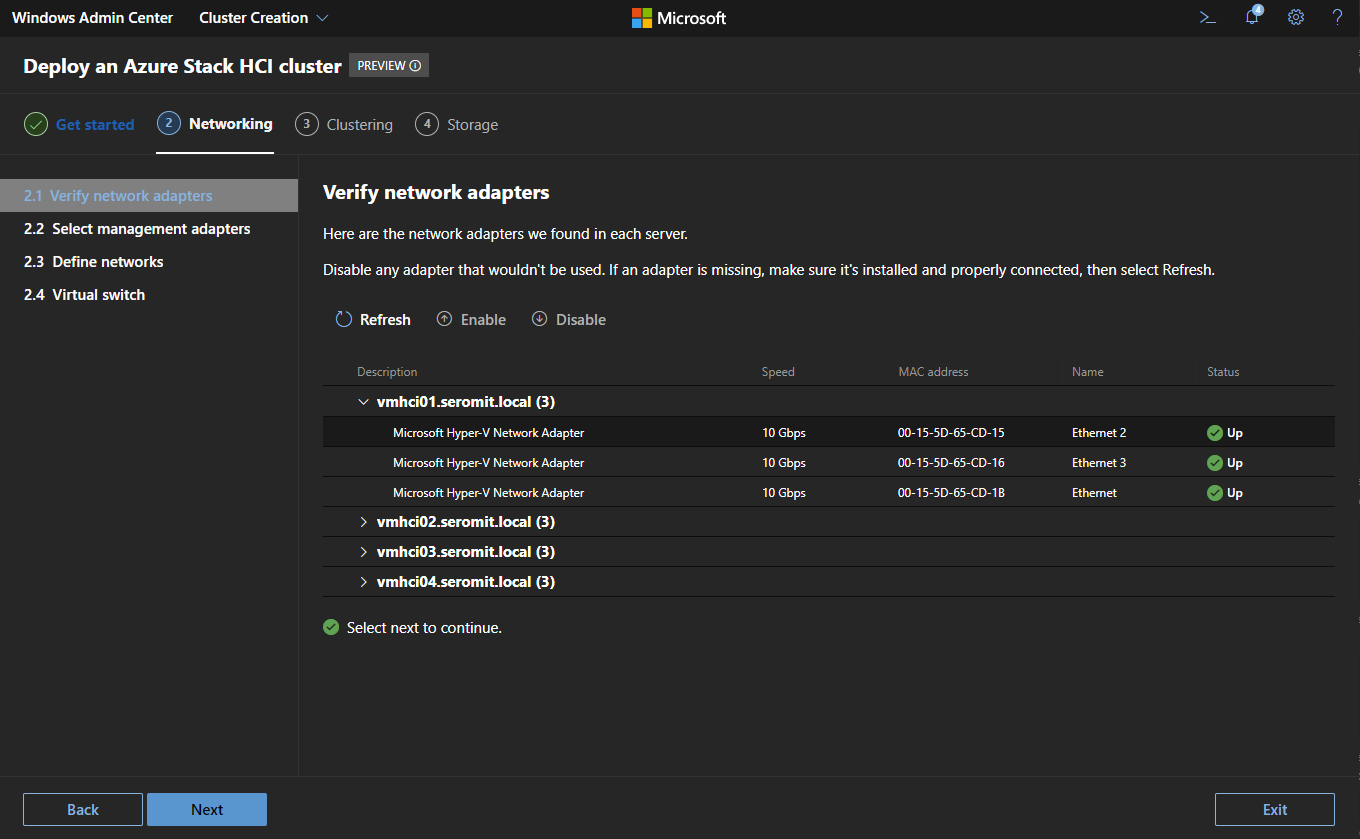
In the first pane of network configuration, the wizard checks the prerequisites and looks for network adapters.
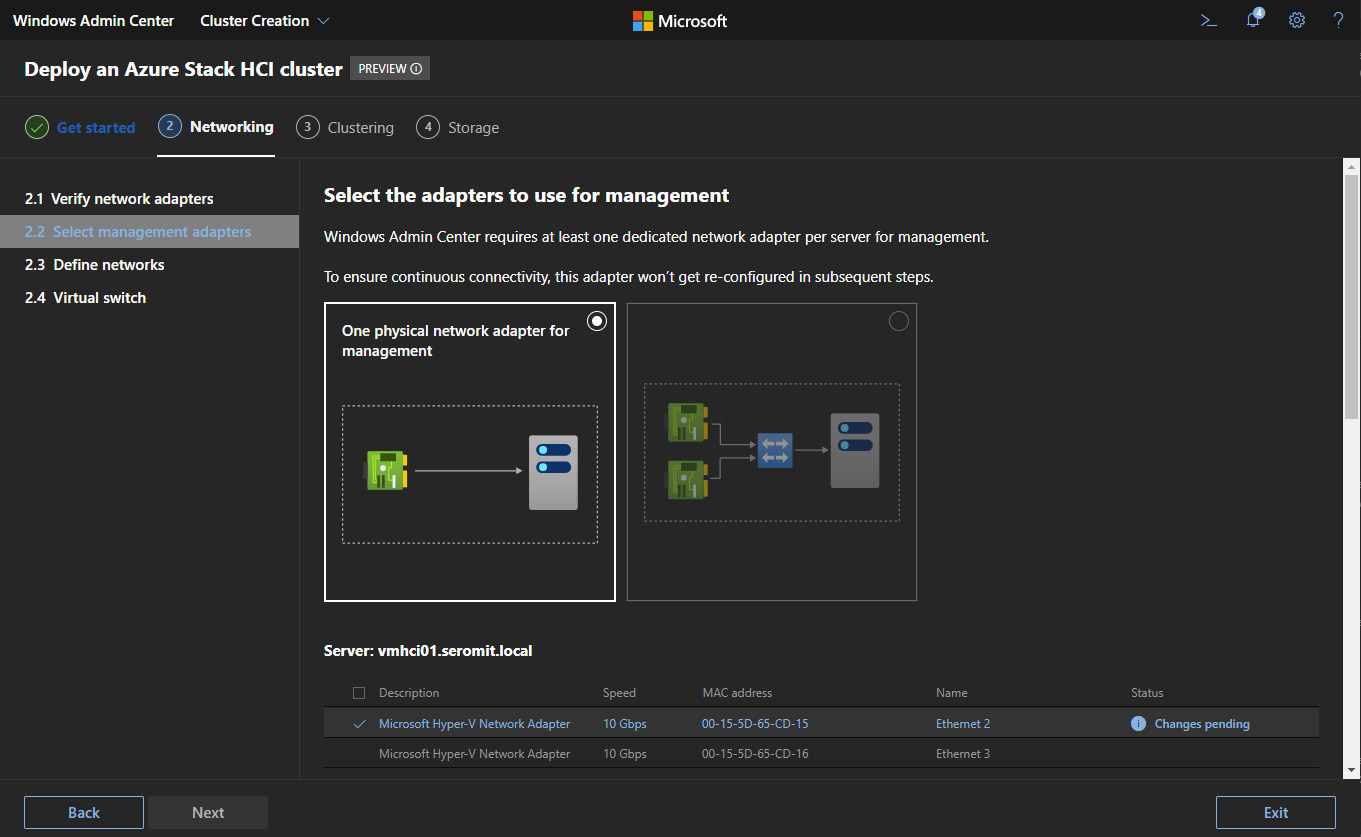
Then Windows Admin Center asks for a network topology for management. Most of the time you will choose the second one to create a virtual switch for management. Because my nodes are VM, I don’t deploy virtual switch and I have created a dedicated network adapter for management. So I choose the first one. Select network adapters that will be part of your management network.
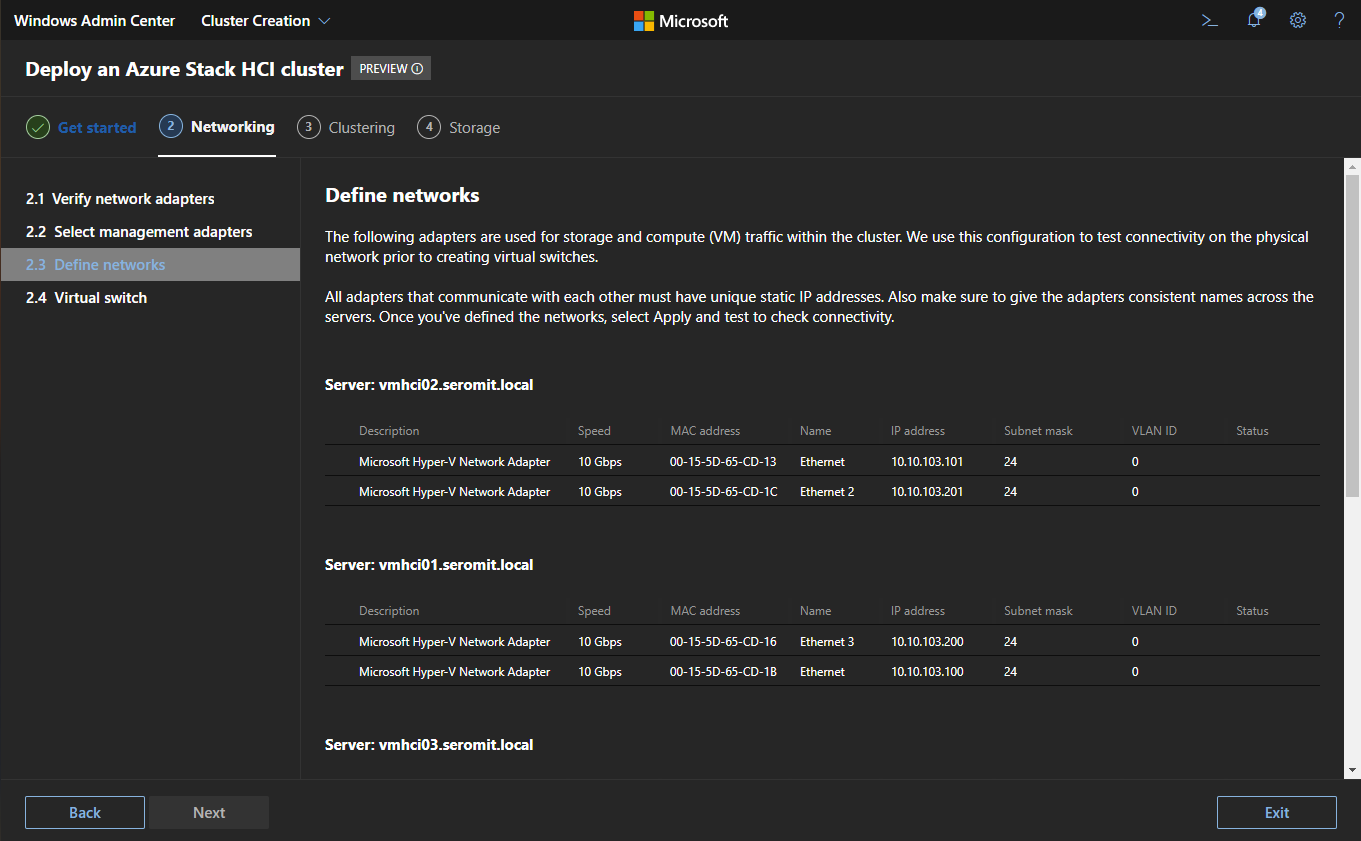
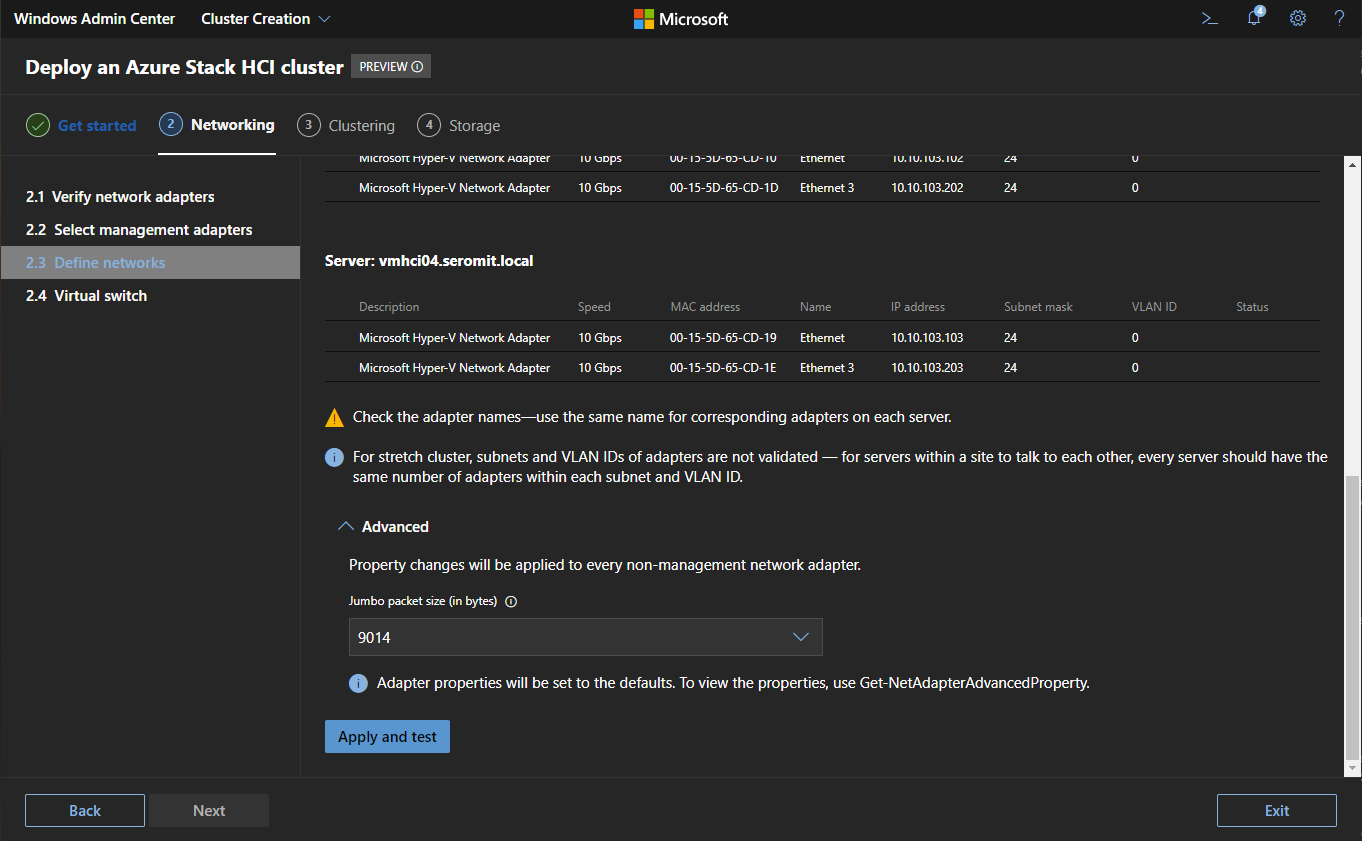
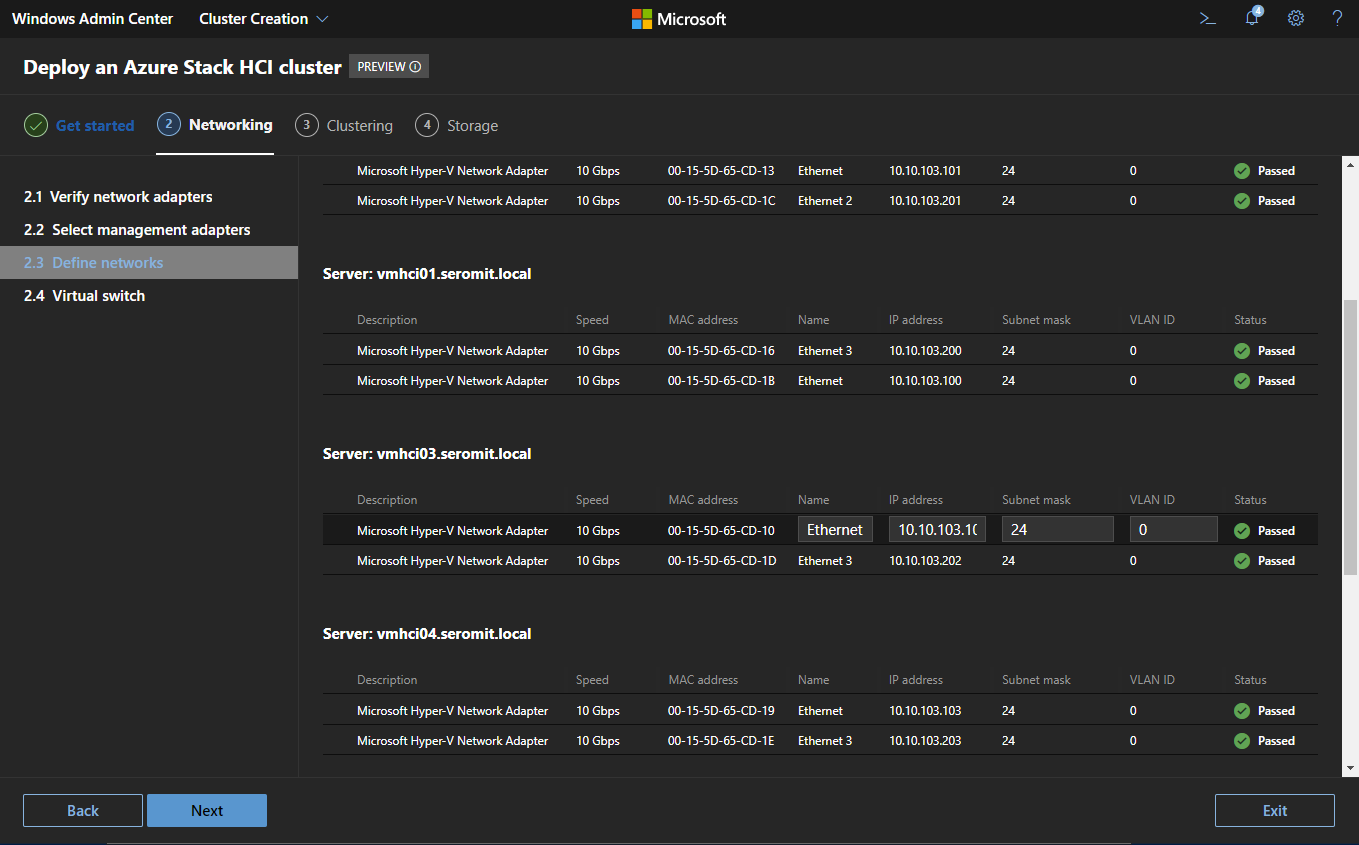
Next the wizard asks you for IP addresses in your other network adapters. Moreover you can set Jumbo Frame.
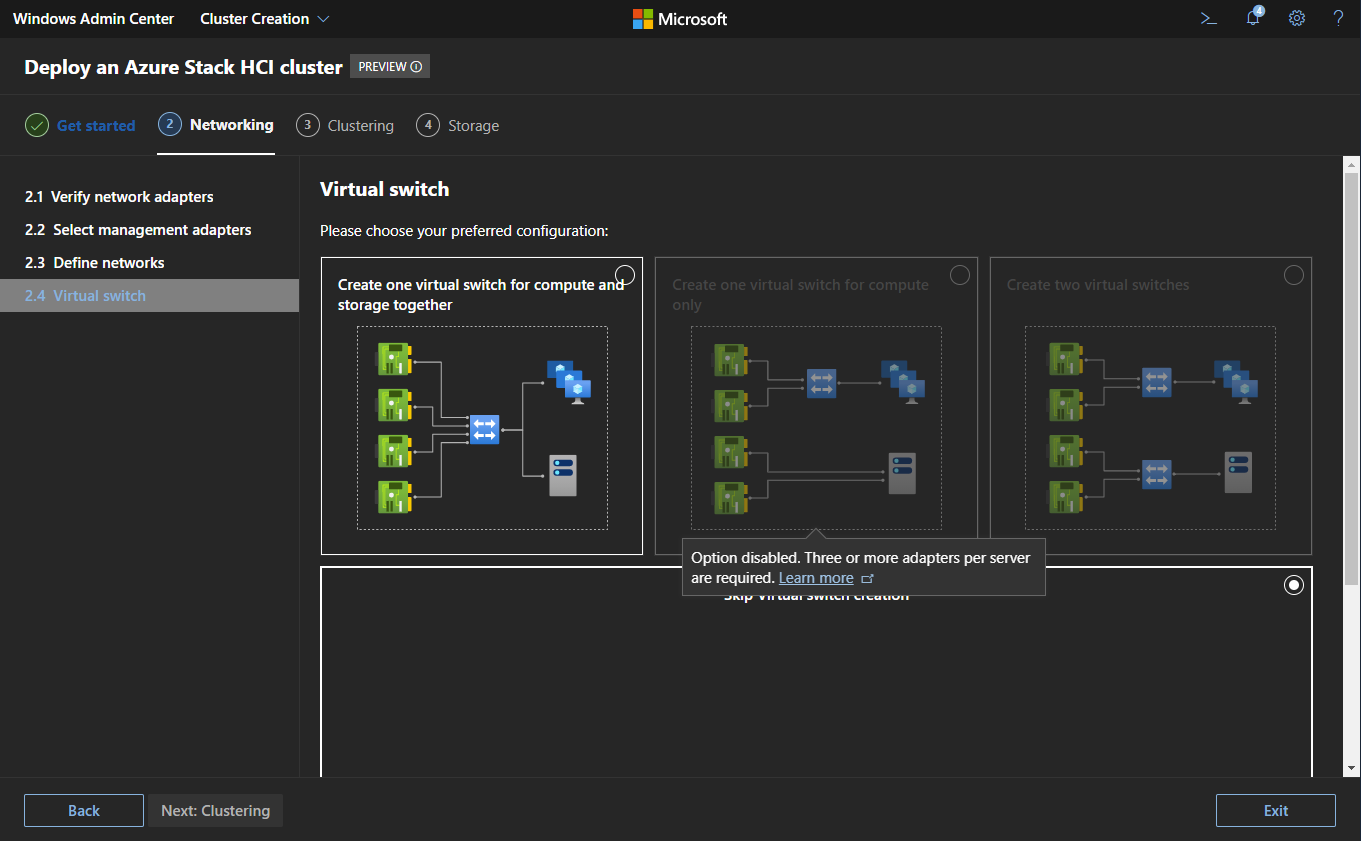
Next choose a network topology for virtual switch. In my example I choose no virtual switch because my nodes are VMs.
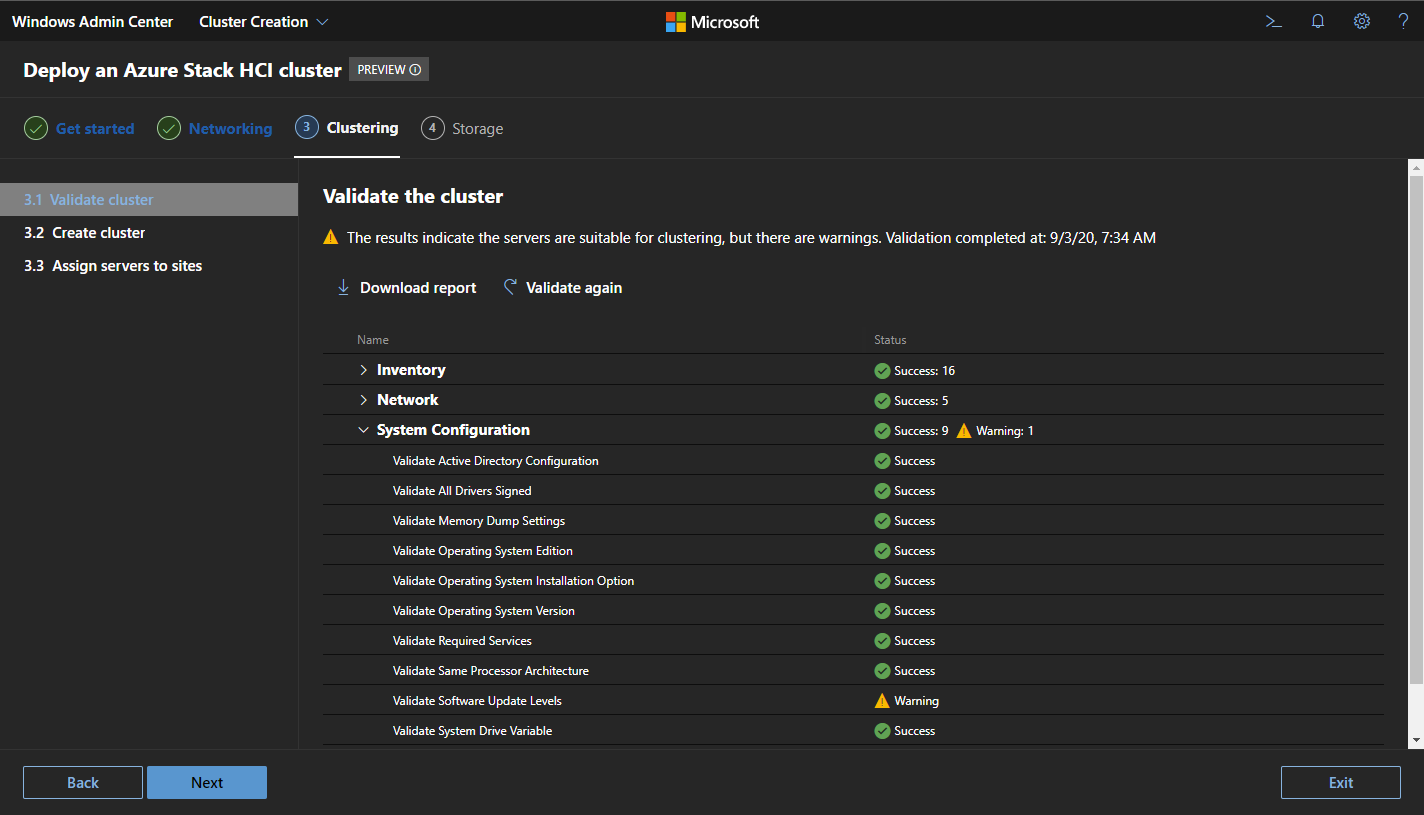
The next wizard section is about cluster creation. First you have to validate the cluster before creating it. I have a little warning because of a Windows Defender definition. I choose to continue.
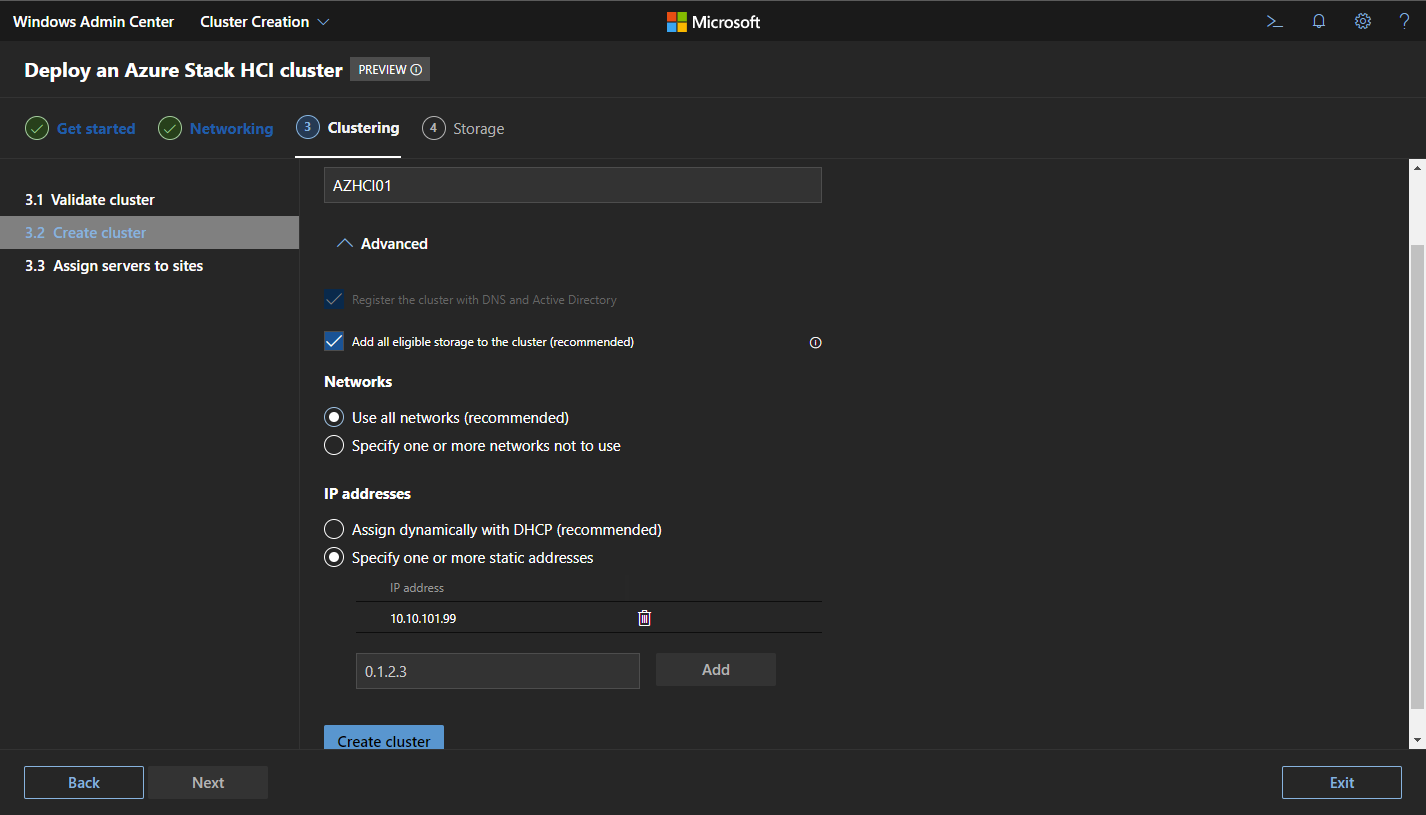
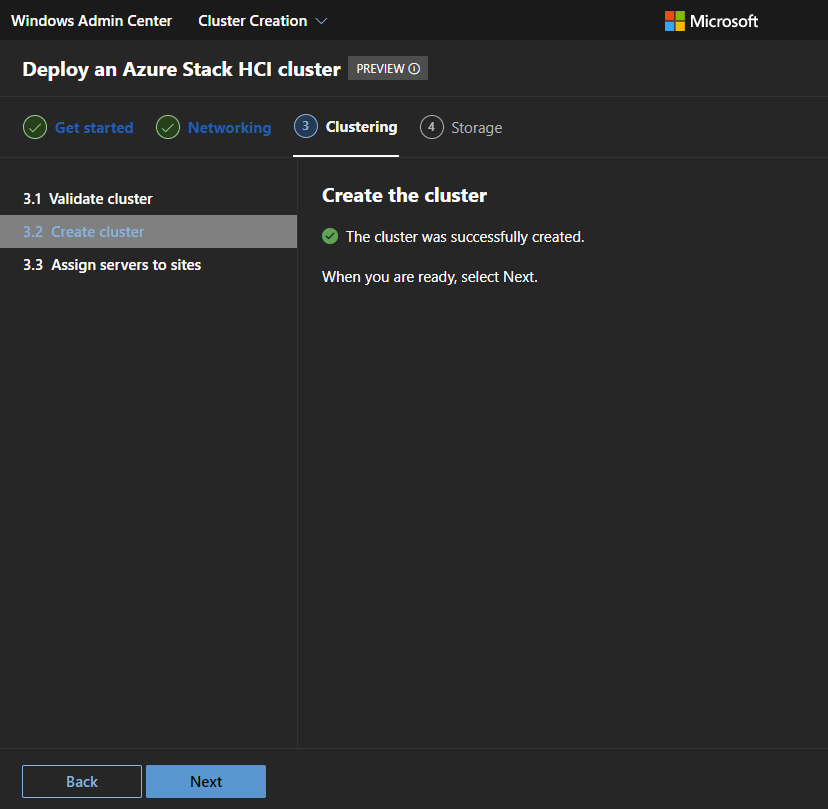
Then specify the name of the cluster and its IP address. By clicking on Next, the cluster will be created.
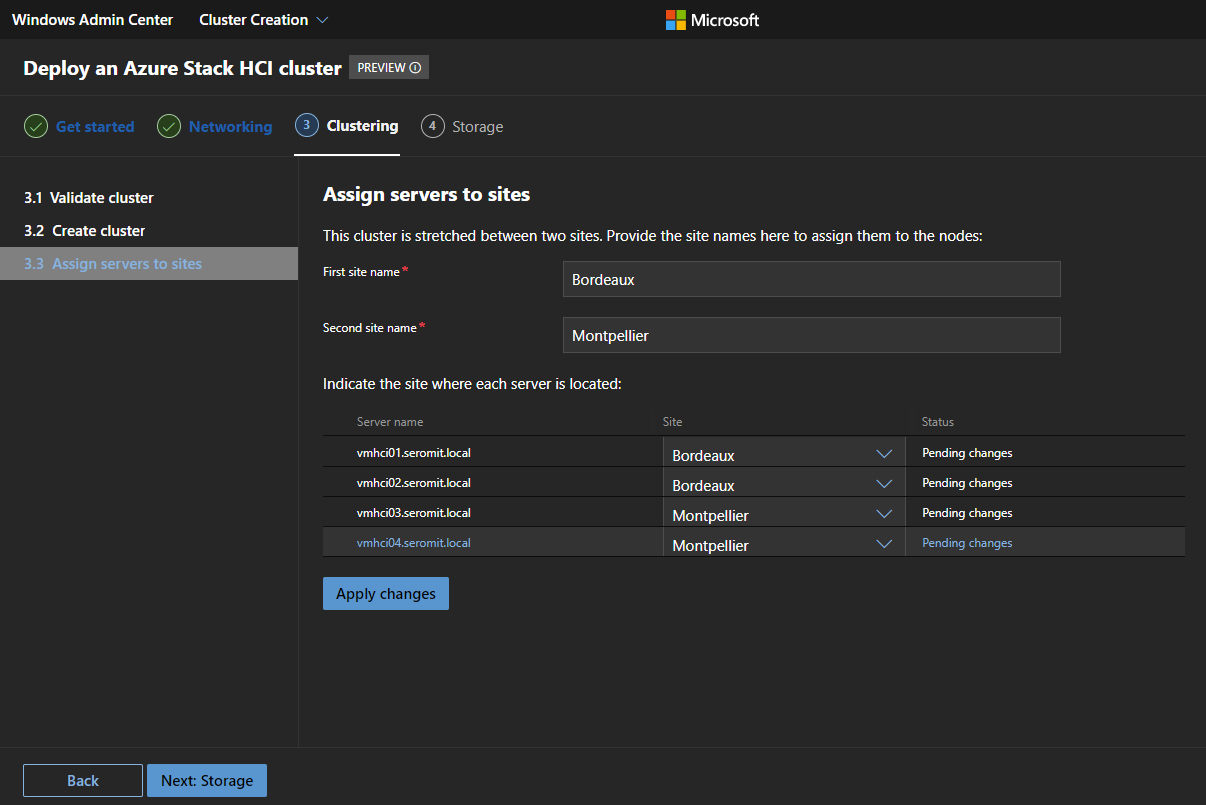
In this pane, you configure your stretched cluster by placing nodes in the right site. Two sites must be defined and you have to set a site for each node.
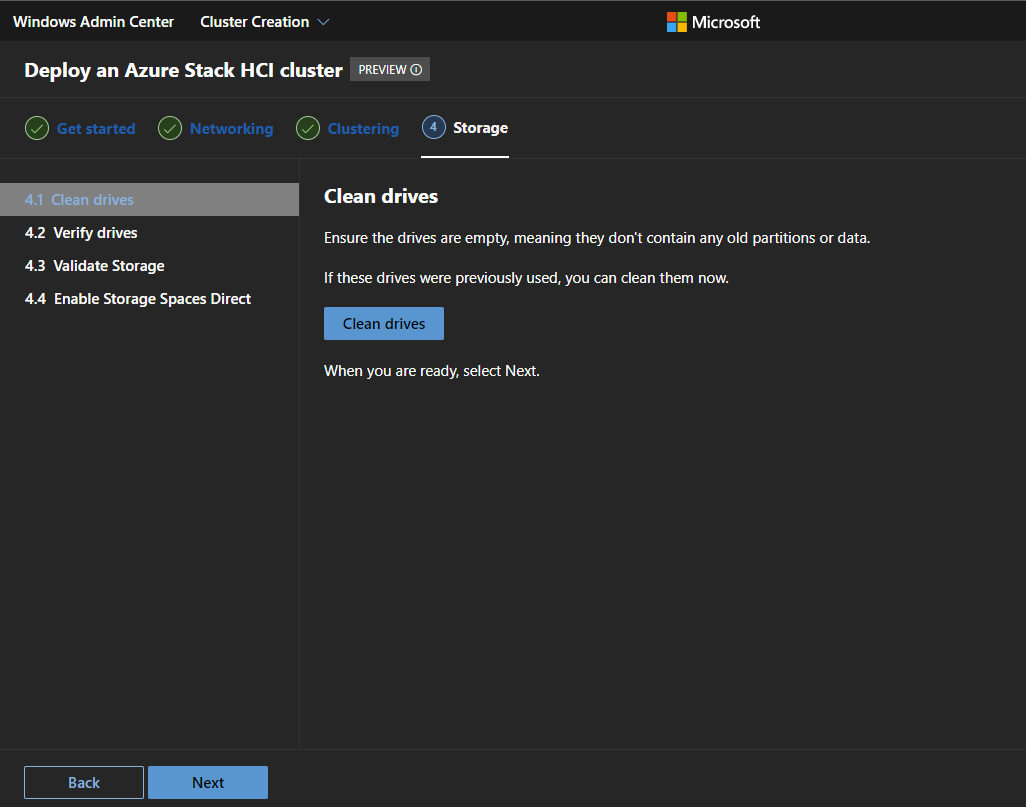
The last stage regards Storage Spaces Direct. If your disks were used in a previous cluster and you want to clean disks, you can do it here.
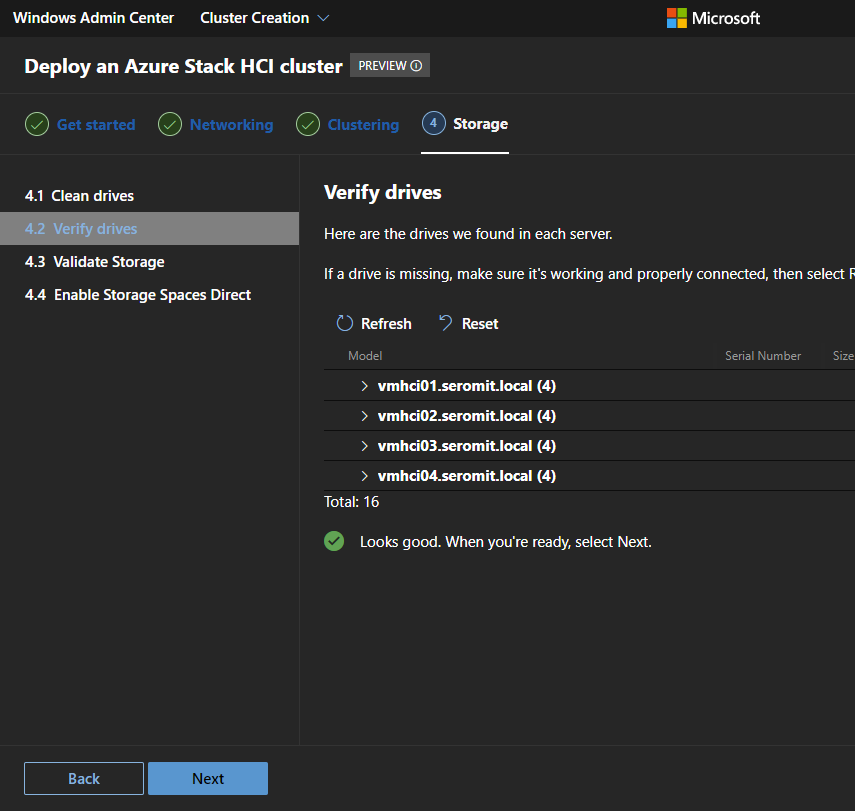
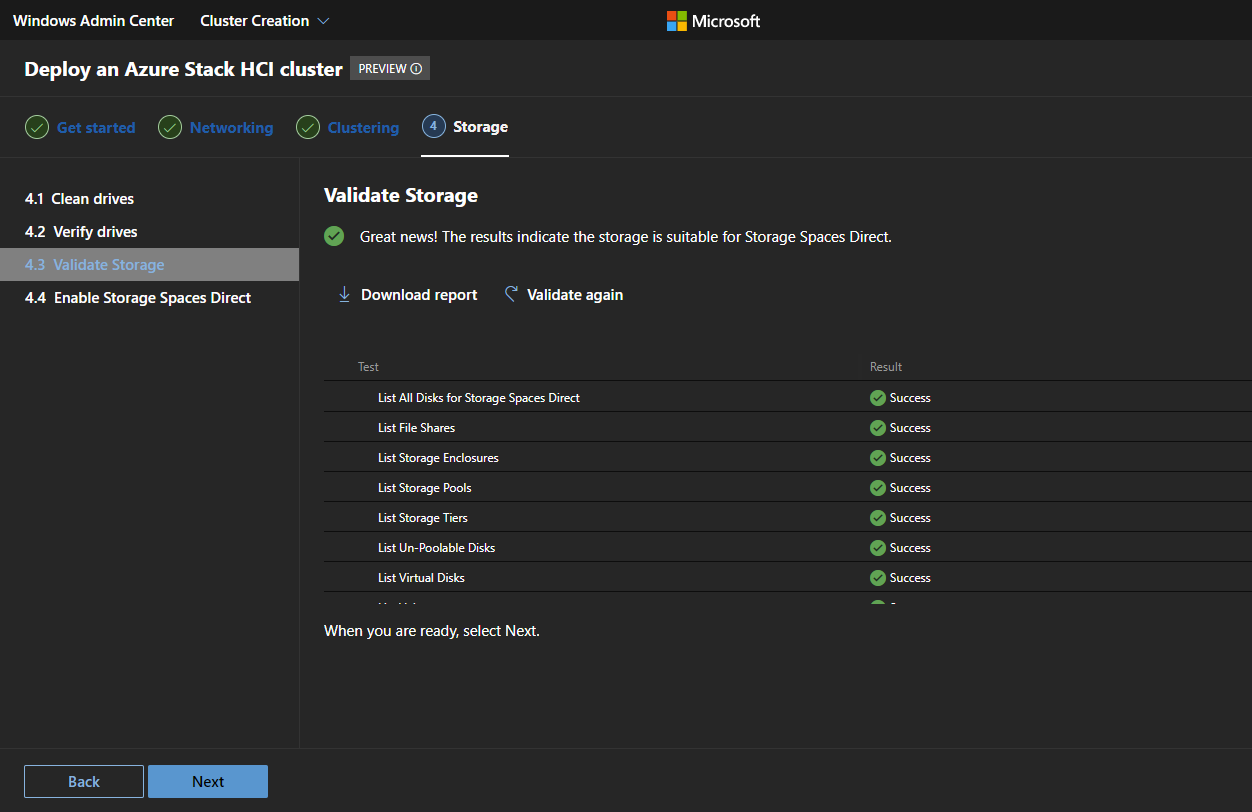
Then Windows Admin Center ensures that disks suit Storage Spaces Direct.
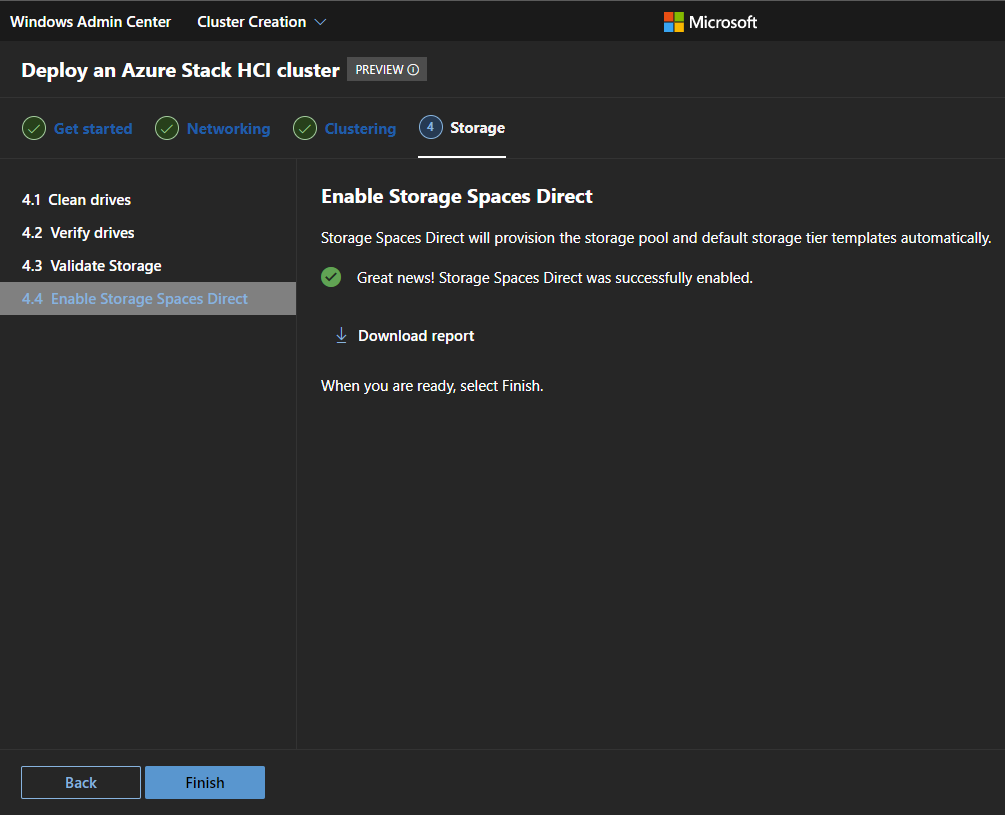
Next the wizard checks the prerequisites and enables Storage Spaces Direct.
Conclusion
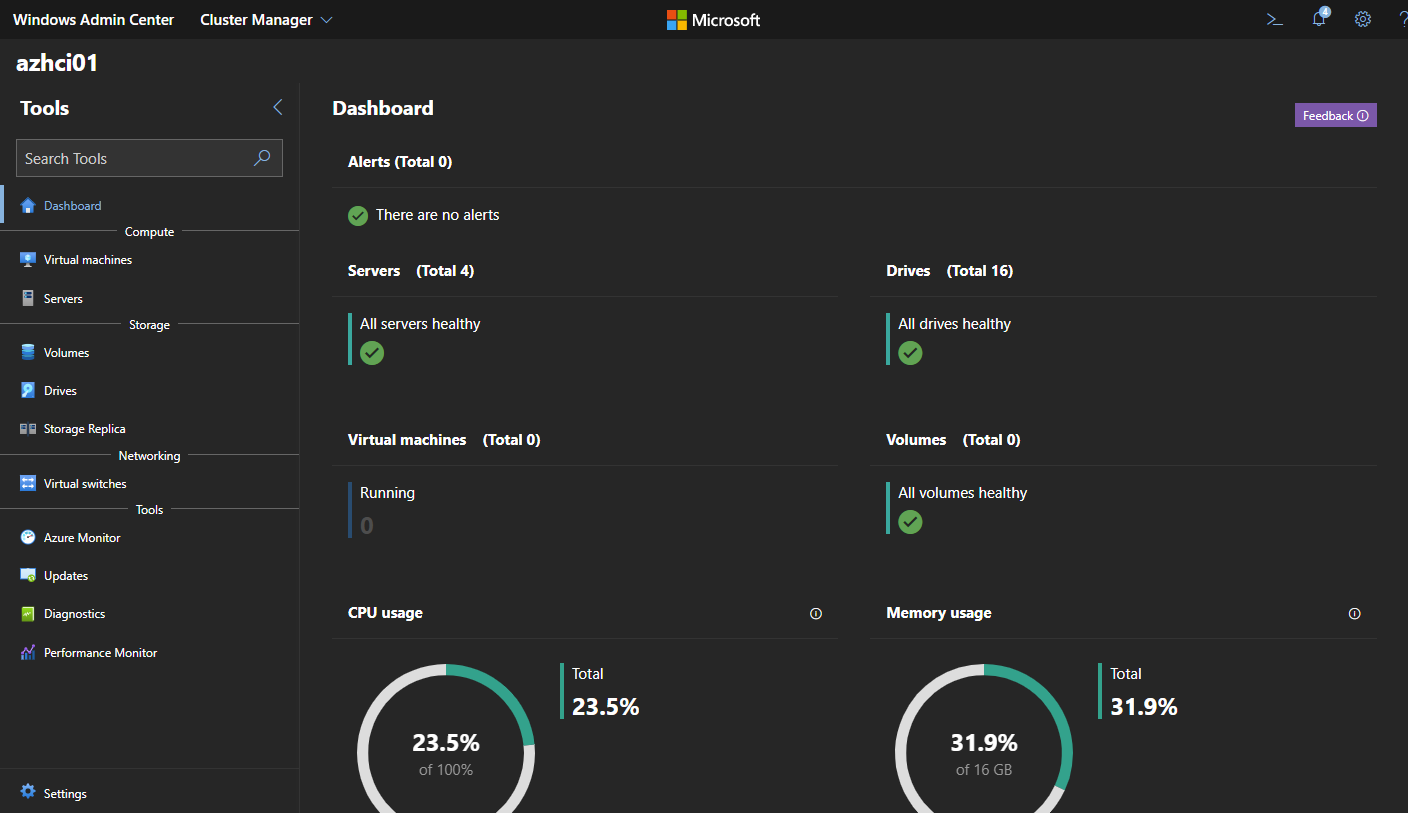
After the wizard has finished, the Azure Stack HCI is ready for prime time as you can see below.
Even if the extension creates the cluster automatically, I noticed some settings that are not best practices. A few examples:
- Block cache size is not set
- RSS and VMQ are not set
- Cluster networks are all in “Cluster and Client”. I recommend to set the network for cluster communication to “Cluster Only”
- The cluster witness is not set
- Integration in Microsoft Azure
I love the new iteration of Azure Stack HCI, especially Azure Stack HCI OS, stretched cluster and the cluster creation extension. Before you had to use PowerShell a lot to deploy an Azure Stack HCI. Now you can do it in 1 hour by click-click. I’m really impressed by all of this!


