


Today, we will see how to join an Ubuntu server (version 16.04) to an Active Directory domain. It could be useful in case if you want that your administrators use their domain account to connect to servers, etc.
To start, connect to your server and execute the following command to install packets that will help us to join the domain:
sudo apt-get -y install ntp vim ntpdate winbind samba libnss-winbind libpam-winbind krb5-config krb5-locales krb5-user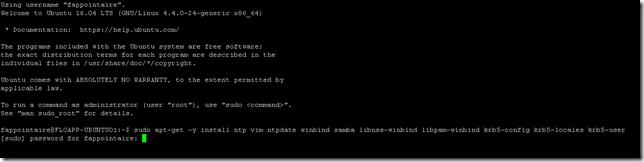
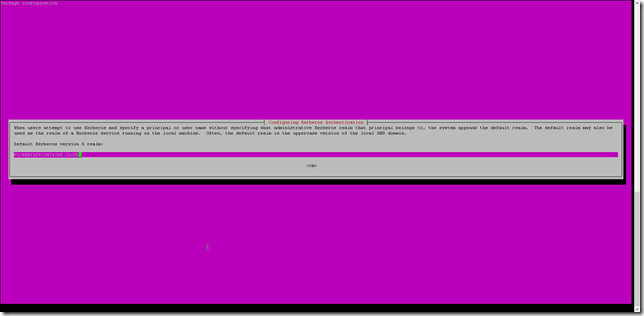
A new page will open and ask you the domain name, so write it:
Now, you need to configure the date to have the same that your domain controller. Edit the file ntp.conf and provide the name or the IP of your domain controller:
sudo vim /etc/ntp.conf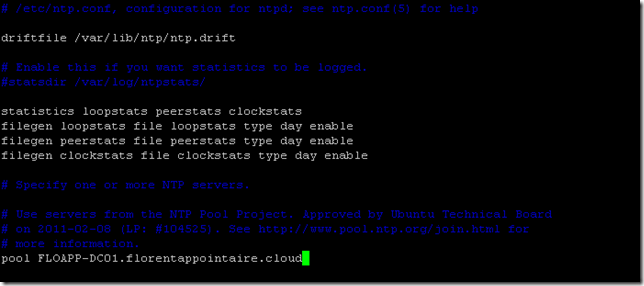
Restart the NTP service:
sudo service ntp restartYou can show your date/hour with the command date:
Now we will configure the Kerberos part. Because our configuration is new, we will delete everything inside the file and insert our new configuration. Execute the following commands:
sudo truncate -s0 /etc/krb5.conf
sudo vim /etc/krb5.conf
Adapt the configuration to your values:
[libdefaults]
ticket_lifetime = 24000
default_realm = FLORENTAPPOINTAIRE.CLOUD
default_tgs_entypes = rc4-hmac des-cbc-md5
default_tkt__enctypes = rc4-hmac des-cbc-md5
permitted_enctypes = rc4-hmac des-cbc-md5
dns_lookup_realm = true
dns_lookup_kdc = true
dns_fallback = yes

[realms]
FLORENTAPPOINTAIRE.CLOUD = {
  kdc = floapp-dc01.florentappointaire.cloud
  kdc = floapp-dc02.florentappointaire.cloud
  default_domain = floapp-dc01.florentappointaire.cloud
}

[domain_realm]
.florentappointaire.cloud= FLOAPP-DC01.FLORENTAPPOINTAIRE.CLOUD
florentappointaire.cloud = FLOAPP-DC01.FLORENTAPPOINTAIRE.CLOUD

[appdefaults]
pam = {
   debug = false
   ticket_lifetime = 36000
   renew_lifetime = 36000
   forwardable = true
   krb4_convert = false
}

[logging]
default = FILE:/var/log/krb5libs.log
kdc = FILE:/var/log/krb5kdc.log
admin_server = FILE:/var/log/kadmind.log
Save the file. We will create a token for a user in our AD, who has rights to join the server to the domain. Execute the following command:
sudo kinit fappointaireAnd, to verify that the token has been created correctly, execute the command sudo klist:

We will modify the configuration file for Samba. If you want to have another name that the name in /etc/hostname, add the line NetBIOS name = newservername. Replace the line workgroup = WORKGROUP in the configuration file by the following, adapting to your values:
sudo vim /etc/samba/smb.conf

workgroup = FLORENTAPPOINTA
security = ADS
realm = FLORENTAPPOINTAIRE.CLOUD
encrypt passwords = yes

idmap config *:backend = rid
idmap config *:range = 5000-100000

winbind allow trusted domains = no
winbind trusted domains only = no
winbind use default domain = yes
winbind enum users  = yes
winbind enum groups = yes
winbind refresh tickets = yes

template shell = /bin/bash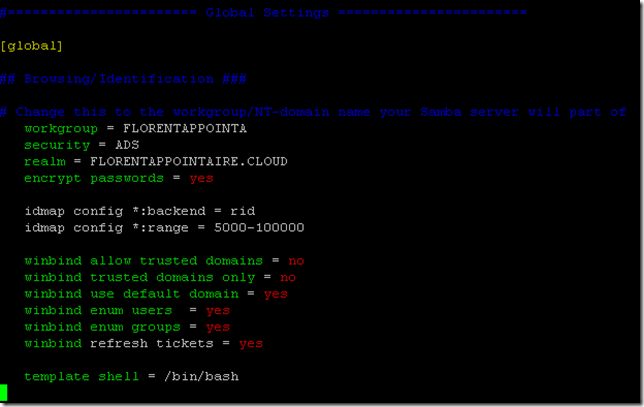
Save the configuration. Now we will modify the file nsswitch.conf to indicate that we use groups and users of the Active Directory (winbind):
sudo vim /etc/nsswitch.conf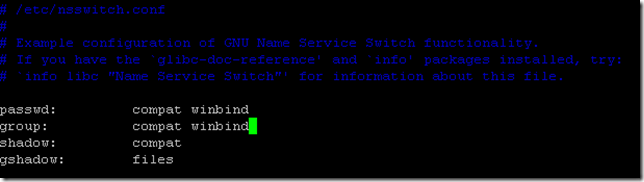
Now it’s time to join our Ubuntu Server 16.04 to our Active Directory. Use the following command:
sudo net ads join –k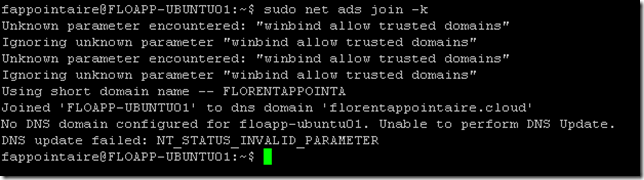
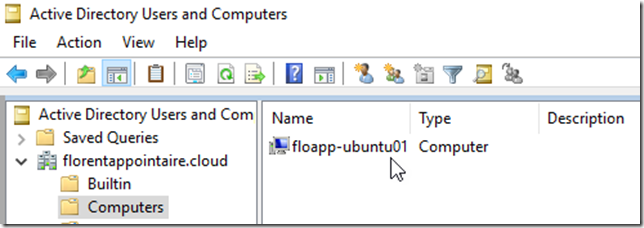
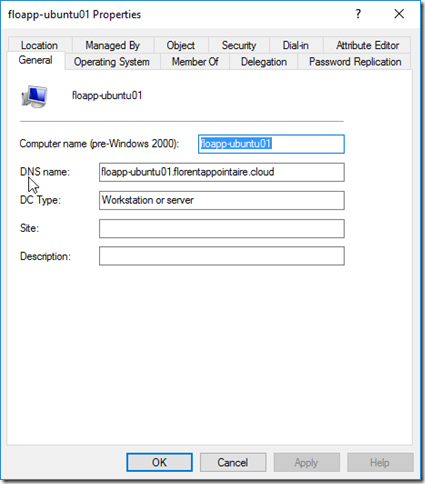
You can ignore the error concerning the DNS. The object in the Active Directory:
We will try that the Active Directory authentication is working fine. Use the following command:
sudo pam-auth-updateA display appears. Be sure that the line Winbind NT/Active Directory authentication is selected. I selected the line to create a default repository for each user, when he will connect to the server:

Restart services to apply all changes:
sudo service smbd restart
sudo service nmbd restart
sudo service winbind restart
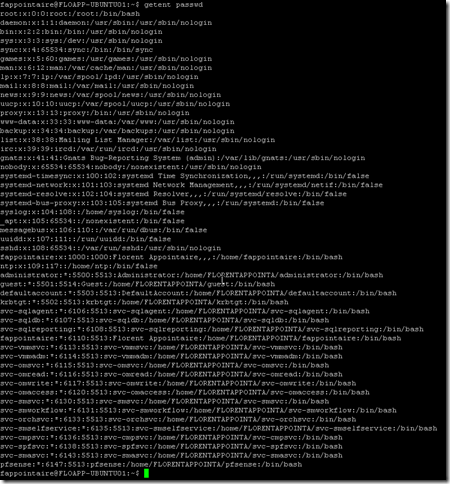
You can use the following commands to check that the Active Directory synchronization is working fine:
wbinfo -u
wbinfo -g
wbinfo -i fappointaire
getent passwd
getent group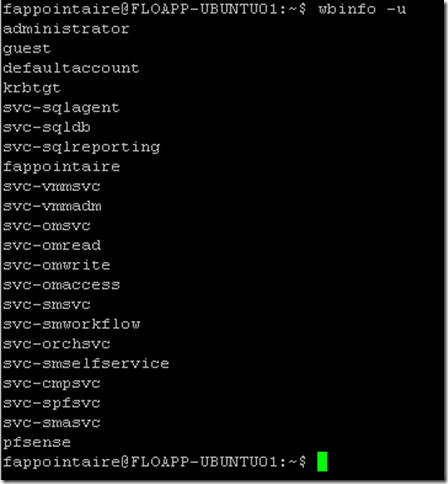

I added my username in the sudoer group:
sudo adduser fappointaire sudo
You can connect to your Ubuntu server with your domain account and move to root:

The next article will be about the installation and utilization of the SQLCMD tool to manage your SQL Server databases from a Linux server 
