We’re not done yet. In part II we moved from the older CSP provider to a KSP provider but now we want to start issuing certs with a SHA256 hash. That’s what we’ll do here in part III.
Move from SHA1 to SHA256
The final step is that we move from SHA1 to SHA256 and tell the CA to work with the KSP. This is a tedious job that involves creating registry files in order to change the existing registry keys we already backed up before.
We create a registry file to edit the CSP key and save it as the CSPNEW.REG file:
|
1 2 3 4 5 6 7 8 9 10 11 12 13 14 15 |
Windows Registry Editor Version 5.00 [HKEY_LOCAL_MACHINE\SYSTEM\CurrentControlSet\Services\CertSvc\Configuration\PKI\CSP] "CNGHashAlgorithm"="SHA256" "CNGPublicKeyAlgorithm"="RSA" "HashAlgorithm"=dword:ffffffff "MachineKeyset"=dword:00000001 "Provider"="Microsoft Software Key Storage Provider" "ProviderType"=dword:00000000 |
Then we import that registry file into the registry by double-clicking it.
Click “yes” to confirm you want to do this.
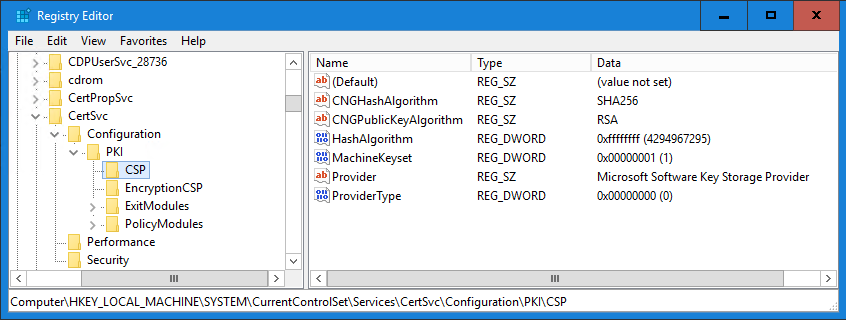
Basically, we moved the HKEY_LOCAL_MACHINE\SYSTEM\CurrentControlSet\Services\CertSvc\Configuration\<Your CA Common Name>\CSP registry key from this:
To this:
We create a registry file to edit the EncryptionCSP key and save it as the CSPEncryptionNEW.REG file:
|
1 2 3 4 5 6 7 8 9 10 11 12 13 14 15 |
Windows Registry Editor Version 5.00 [HKEY_LOCAL_MACHINE\SYSTEM\CurrentControlSet\Services\CertSvc\Configuration\PKI\EncryptionCSP] "CNGEncryptionAlgorithm"="3DES" "CNGPublicKeyAlgorithm"="RSA" "EncryptionAlgorithm"=dword:6603 "MachineKeyset"=dword:00000001 "Provider"="Microsoft Software Key Storage Provider" "ProviderType"=dword:00000000 "SymmetricKeySize"=dword:000000a8 |
Then we import that registry file into the registry by double-clicking it.
Click “yes” to confirm you want to do this.
Again, basically, we moved the HKEY_LOCAL_MACHINE\SYSTEM\CurrentControlSet\Services\CertSvc\Configuration\<Your CA Common Name>\EncryptionCSP registry key from this:
To this:
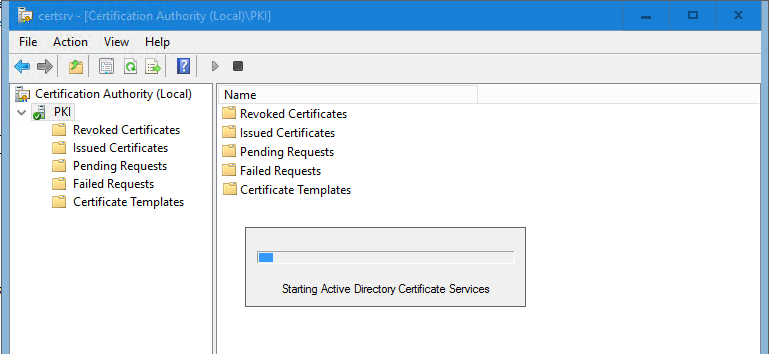
Now we can start the certificate services again:
|
1 |
Start-Service -Name “certsvc” |
That’s it! Together, we’ve upgraded your Windows certification authority from a CSP to a KSP and from SHA-1 to SHA-256. All new certs issues by your PKI will use SHA256. The next computer cert your laptop or workstation gets via autoenrollment will be signed with an SHA256 cert. Just like any cert you request for a web server or other internal use case (switches for example).
NOTE: I’ve actually been working on editing the registry in PowerShell by mounting it as a drive. I still leverage a registry key export as a backup and failsafe mechanism.
Re-issue the CA Cert
Finally, we re-issue the root CA certificate. That will make it SHA256 signed as well. Strictly speaking, as this is the root CA this isn’t really necessary. You can hand out new certs that are signed with SH256 whole the root CA remains signed with SHA1. That’s perfectly legit and you’ll notice that many public PKI are operating that way today.
Normally as you have control over your environment this should not cause issues. However, if you have 3rd party services relying on your exported PKI cert, you might not want to reissue the cert without verifying they can handle the newly issued cert as well. That requires they can handle two certs during the period while the old SHA1 certificates expire in your environment and are renewed by the new PKI cert. If not you can wait with reissuing the cert. but don’t forget, as that cert expires, you’ll need to reissue it sometime in the future, so plan for this anyway.
As were in control we might as well do it all and prove a point that as long as the root CA of a chain is there and can be checked all is OK. So, while your old SHA1 issued certs expire and get replaced by new SHA256 issued certs, leave the old cert in place in the PKI, don’t delete it!
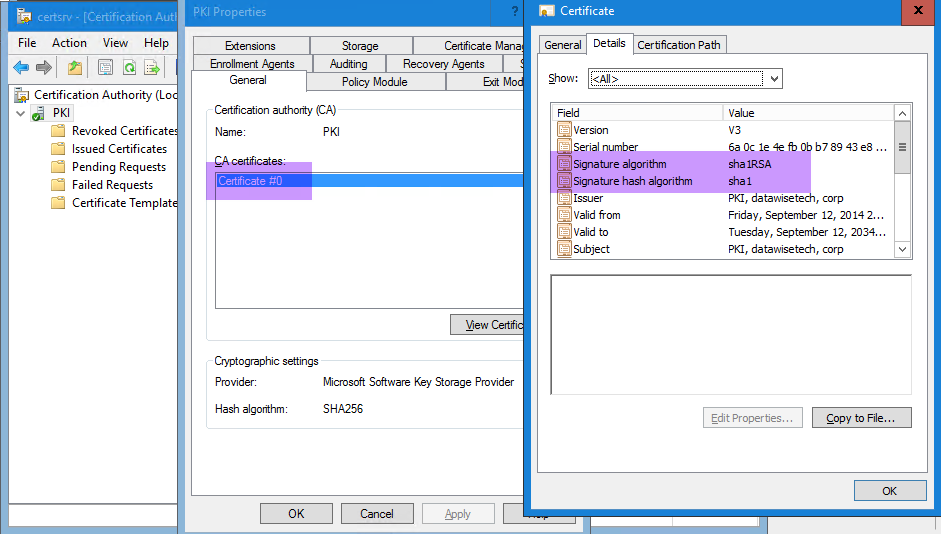
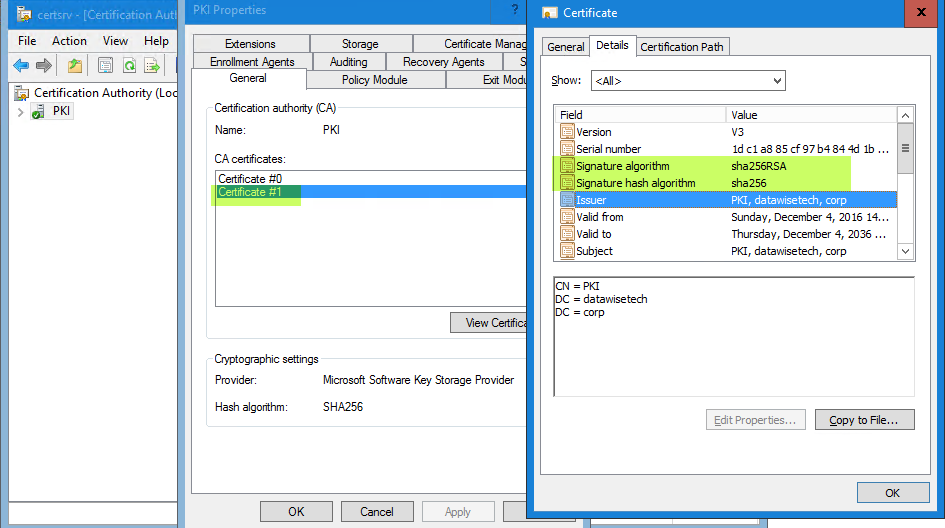
Look at the original CA certificate. While it’s now stored in a KSP with a SHA256 hash algorithm it still was signed with SHA1.
To change this, we need to reissue the CA cert.
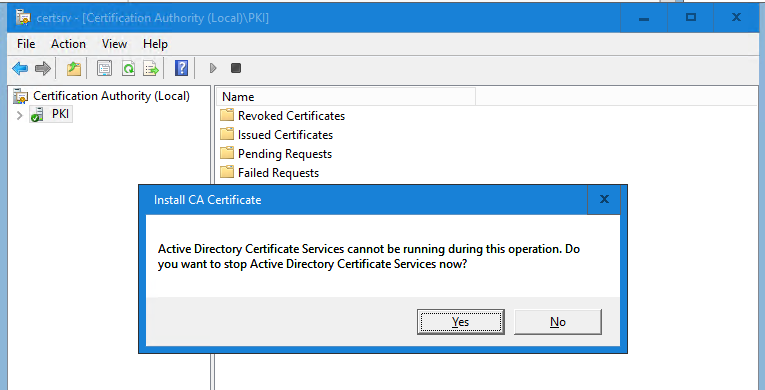
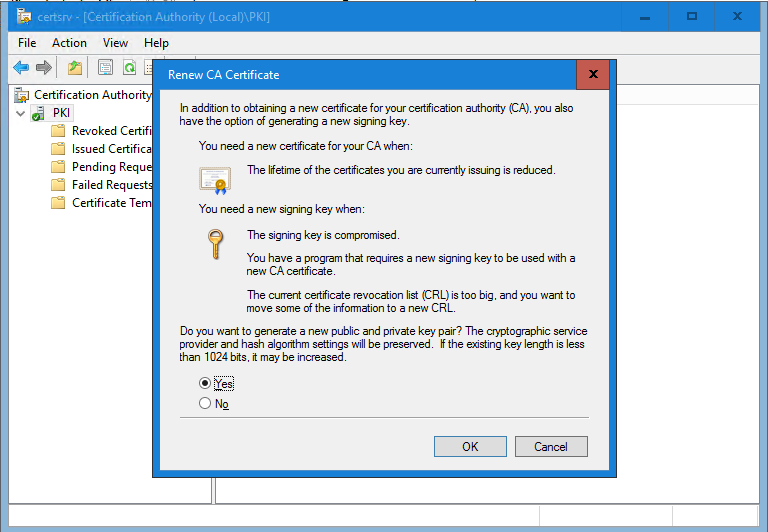
Right click the PKI, click “All Tasks” and select “Renew CA Certificate …”
Confirm that you want to do this.
Click OK. The CA cert will be reissued and the CA will be started again.
Now, look at the new CA certificate.
As this is an online 1 tier enterprise root CA this new PKI cert will be pushed to your domain joined windows clients store automagically. Any newly generated cert will be a SHA256 hash signed cert whether you reissued the PKI cert or not.
Remember this doesn’t cause problems for existing and still valid SHA1 certificates. As long as you leave your SHA1 PKI cert in place (which has already been distributed by AD to the “Trusted Root Certification Authorities” of your clients, just like the reissued one will be added there) the certificates that have been issued by it will still work. During the renewal of expired certificates, they will be signed by the SHA256 hash.
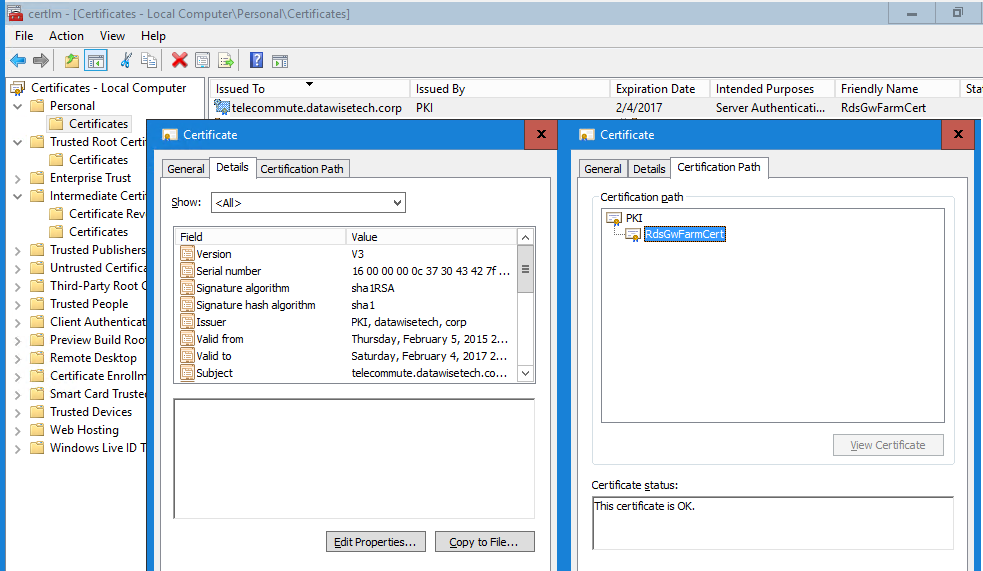
Here’s an example of this. The telecommute.datawisetech.corp cert was issued before the upgrade we just performed but the cert is still valid. The chain still checks out OK.
So, as long as you have clients, devices, and applications that can handle SHA256 certificates you’re good to go. Do note that as those SHA1 certs expire over time, they’ll be replaced by SHA256 ones. This means that, as stated before, that if you have apps, devices etc. that cannot handle SHA256, you’ll really have to keep an SHA1 PKI infrastructure around just for those and set up a separate SHA256 PKI infrastructure to be used by all clients, devices, and applications that can handle it. That decision is up to you after a correct assessment of your environment and infrastructure.
Conclusion
If you found this all a bit intimidating all you need to do is relax and test it out in the lab. Microsoft also provides blogs and scripts to help you with all this. See Migrating your Certification Authority Hashing Algorithm from SHA1 to SHA2. If you have a 2 tier PKI look here. Some there is extra work involved but the ideas & approach remain SHA1 Key Migration to SHA256 for a two-tier PKI hierarchy and The biggest warning I can give you about the MSFT script is that IT DOES NOT handle PKI names with spaces. So test and adopt the script before you run it!
As a final warning, Microsoft provides a great PowerShell script in a blog series on this here Migrate Windows CA from CSP to KSP and from SHA-1 to SHA-256: Part 1. But if you have a PKI name that has spaces in it DO NOT run this script without adapting it or the certutil commands they send to the command line via PowerShell will fail. You’ll need to adapt it to deal with double quotes and verify what the PowerShell script sends to the command line will work. Once more, test all this on an isolated copy.
It does take some time however to understand. But once you wrap you head around it, you’ll see and understand the where what and why of it all. Do note that your environment can be different in design, history and use cases. This means you’ll need to work out a customized plan for the environment at hand.
Appendix
While having a one-tier online enterprise root CA is easy, it’s not exactly the best practice for highly secure environments. However, it might be sufficient for your needs. If you want and need to move to a higher security level the way to go is at least a two-tier PKI infrastructure and have the root CA offline. Splitting out the subordinate CA’s to one for code signing and one for client and user certificates also makes sense. The actual solution design depends on the needs. The budget for the OPEX comes with the true need. That shouldn’t be a worry, it’s literally a case where needing it means you can afford it. Naturally, this is a migration project by itself. For smaller shops, if needed, it can be done by converting an existing online Enterprise root CA to an offline one and introducing a subordinate CA. It can also be achieved by introducing a new PKI infrastructure in parallel. Another consideration is to separate out some of the roles and make them high available such as CA, Web enrollment, CRL publishing etc. This is a huge subject with many variables but these make for fun projects.


