Microsoft explains that adaptive cards are platform-agnostic snippets of UI, authored in JSON, that apps and services can openly exchange. When delivered to a specific app, the JSON is transformed into native UI that automatically adapts to its surroundings. It helps design and integrate light-weight UI for all major platforms and frameworks.
What is very interesting with adaptive card is that you can use it in Microsoft Teams to interact with your users. Basically, you can send text, forms, etc. and parse their answer. Then, you can easily use their answer to use it in your Microsoft Flow.
In this article, I will explain how to create an adaptive card, and how to send it in Microsoft Teams.
Getting Started
If you are wondering how to create the adaptive card JSON structure, then it is very simple. Thanks to the adaptive cards designer: https://adaptivecards.io/designer/ you can design and build your card through a web interface and then just copy/paste the JSON code.
Let’s start by creating a new card, click “New card”
We have a blank adaptive card that appears in the console
- On the left, you can notice the different cards elements that you can just drag and drop into your card
- On the bottom, you can notice when you add new card elements, then the card payload editor will update the JSON schema code automatically
- On the right, you can notice the card structure with the properties panel in which you can customize the card elements
Let’s start by adding a TextBlock element into the adaptive card to confirm that the JSON code will be updated
Now, If you want to have a preview of your adaptive card, then just click on “Preview mode”
To exit from the preview mode, just click again on “Preview mode”. That’s very simple!
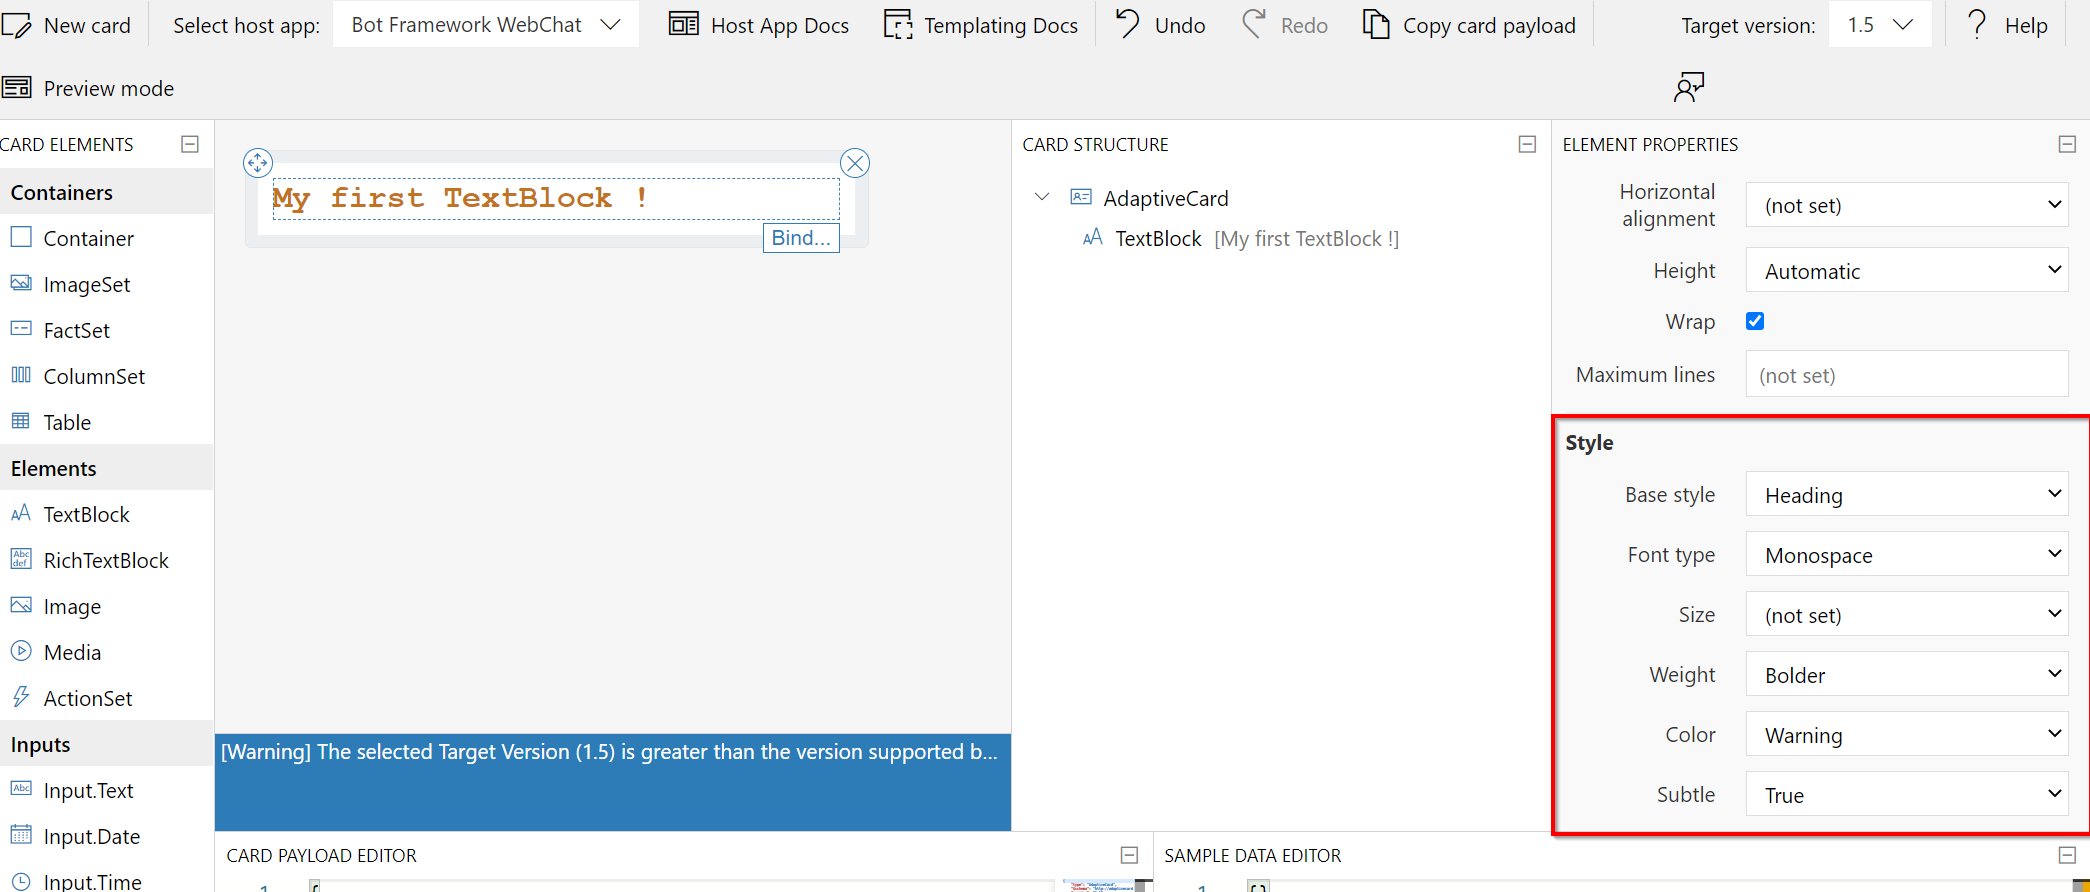
You can customize easily your TextBlock, just scroll down and you will notice the “style” section, you can modify the color, the size, etc.
We can add the action by clicking “Add an action” (don’t forget to uncheck the TextBlock to see the action menu)
Click on “Action.OpenUrl” and then you can customize your URL. In this example, I add a link to the ITSM portal in order to check the tickets.
As you can see, building adaptive cards is very simple, so now, I will publish my card.
Open a new tab in your web browser, and go to Power Automate to create a new blank flow.
Add a “recurrence” trigger, in my case, I want a notification each morning
Then click on “New step”
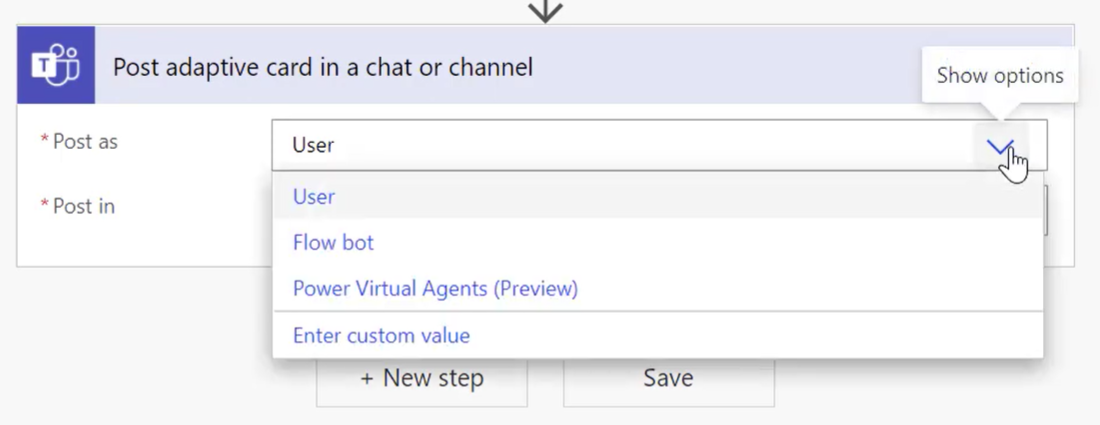
Then, you must select how you want to post your card
- Post as a user means that the card will be posted on behalf of you
- Post as flow bot means that the card will be post via the Power Automate bot
And then, you must select where do you want to post your card. You can post the card on a channel, in a group chat, …
To finish, you need to copy/paste your JSON code from the adaptive cards designer to the Adaptive Card field and save the flow.
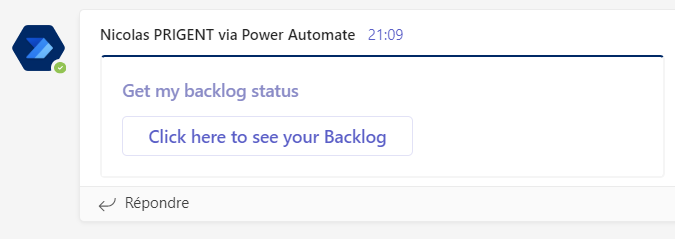
Let’s test the flow manually to confirm if it works
You can easily adapt adaptive cards depending on your needs.
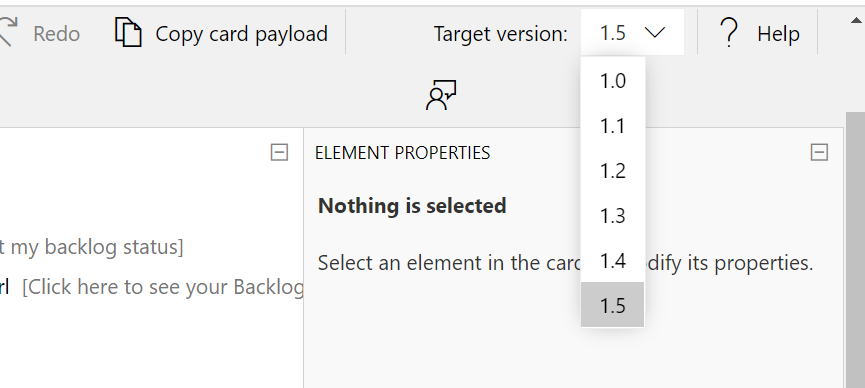
Note that if you get this message:
then modify the version of your JSON code in the adaptive cards designer. Select 1.4 or 1.3 and it will work.


