If you have a Linux VM configured with the ZFS file system, the traditional snapshot-based backup won’t be able to capture data contained in the machine.
The ZFS file system is a particular advanced file system available in some Linux distributions that can be tricky to backup due to its nature.
The ZFS file system cannot be backed up with traditional snapshots therefore most of backup solutions based on snapshot technology may result unable to process this type of FS. If you try performing a file-level restore of a ZFS VM, the ZFS partition will result empty.
Veeam how to backup ZFS file system
Because ZFS is not supported by snapshot-based backup, you need a specific backup configuration to process data that resides in a file system mounted to the root file system of the machine. To backup these machines you need to use the Veeam Agent for Linux configured to create file-level backup in the snapshot-less mode.
Snapshot-less mode is an option available in the Veeam Agent file-level backup job properties that doesn’t create a snapshot of the backed up volume but reads files and directories selected to backup and then copies data to the target backup repository.
Create a Protection Group
Because we need to perform an Agent-based backup, the Protection Group is the object we need to create first.
From Veeam Backup and Replication console, go to Inventory section, select Physical Infrastructure and click on Create Protection Group.
Enter a Name and optionally a Description. Click Next.
Choose Individual computers option and click Next.
Click the Add button then enter the Host name or IP address of the VM to backup. Specify the correct Credentials to use then click OK.
Click Next.
Specify the settings that best fit into your needs then click Next.
Click Apply.
When required components have been configured, click Next.
Select Run discovery when I click Finish to run the discovery operation immediately then click Finish.
The discovery operation takes place and the Veeam Agent is installed into the selected VM. Click Close when the Agent has been installed.
Create a Backup Job
When the Protection Group has been created successfully, right click the configured VM and select Add to backup job > New job.
Select Server as VM Type and Managed by backup server as Mode. Click Next.
Enter the backup Name and optionally a Description. Click Next.
The VM to backup is already there. Click Next.
To perform a snapshot-less backup, you need to select the File level backup (slower) option and enable the Backup directly from live file system checkbox.
If processed files and folders change their location since the time when the backup process started, you will have an inconsistent state of the backup because Veeam Agent doesn’t track the location changes during the backup. To have a consistent state, you should avoid performing write operations in the ZFS file system during the backup process. Click Next.
Click Add and specify the path of the object to backup. Click Next to continue.
Select the target Backup repository and click Next.
Click Next.
Specify the Schedule then click Apply.
Enable Run the job when I click Finish option then click Finish.
The created Backup Job starts immediately to process the backup.
Depending on the amount of data to process, after few minutes the backup completes successfully.
Perform a File level restore
When the backup operation has been completed, run the File-Level Restore operation of the just processed VM.
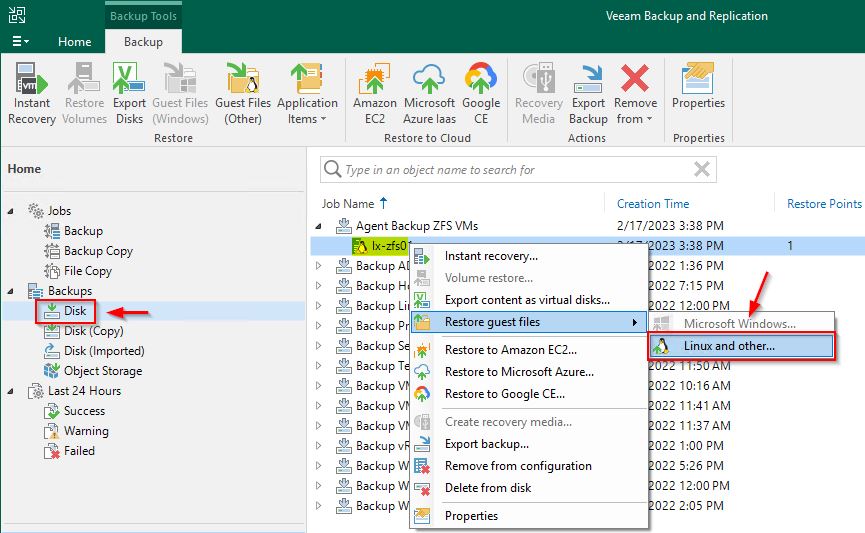
Access the Backups section and select Disk. Right click the ZFS VM and select Restore guest files > Linux and other.
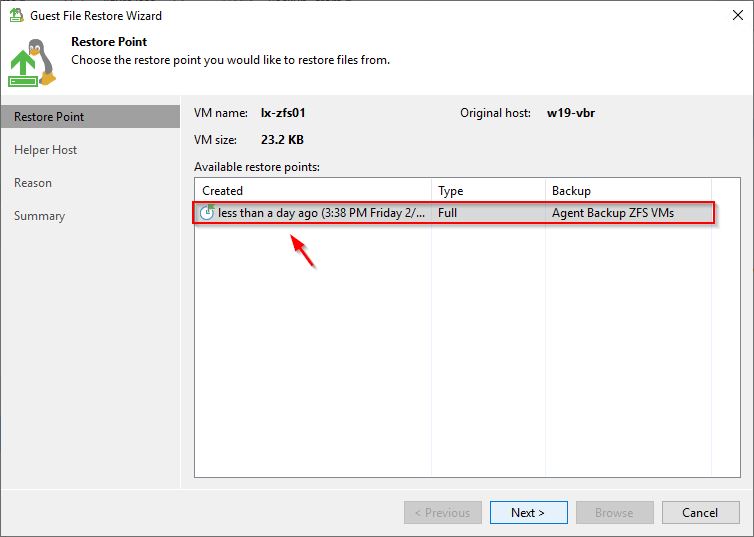
Select the Restore Point to use and click Next.
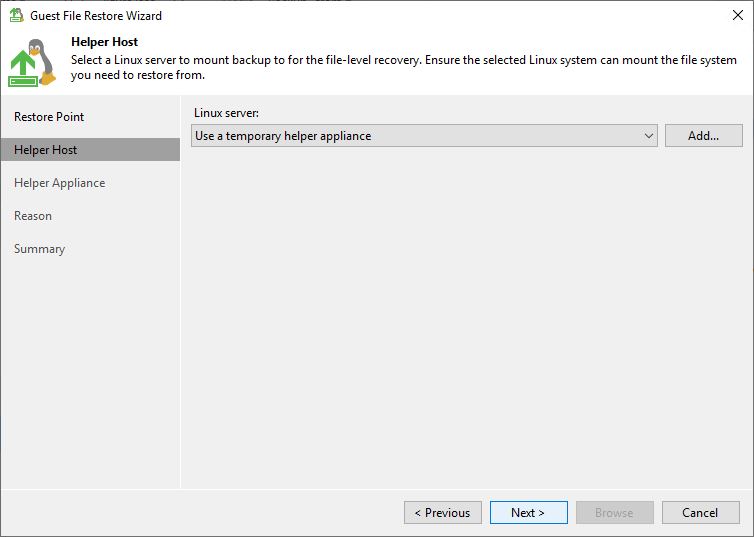
Specify the Linux server to use as helper then click Next.
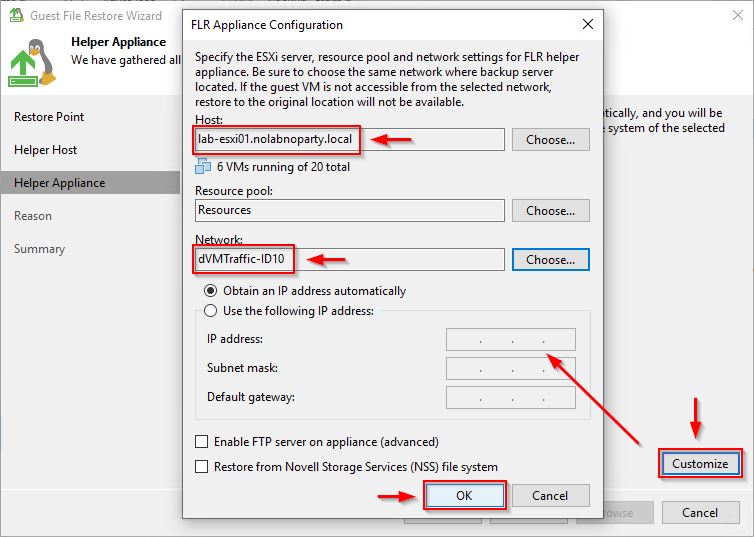
If you selected the Use a temporary helper appliance, click Customize and specify the FLR Appliance Configuration. Click OK when done.
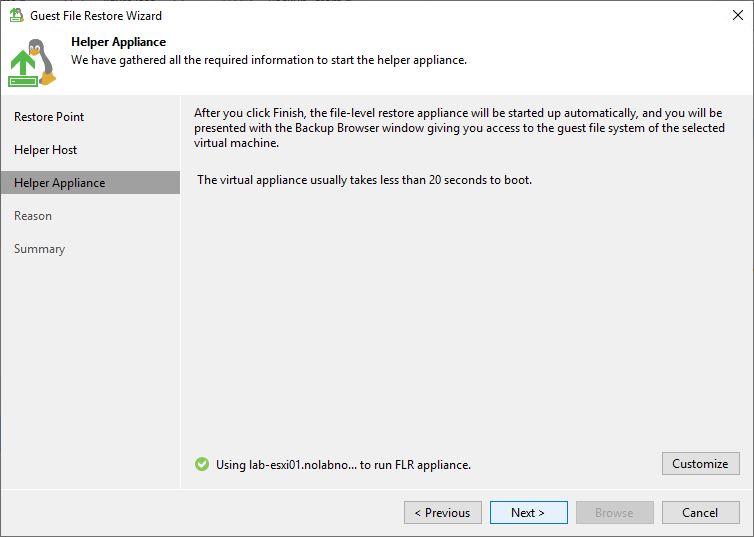
Click Next.
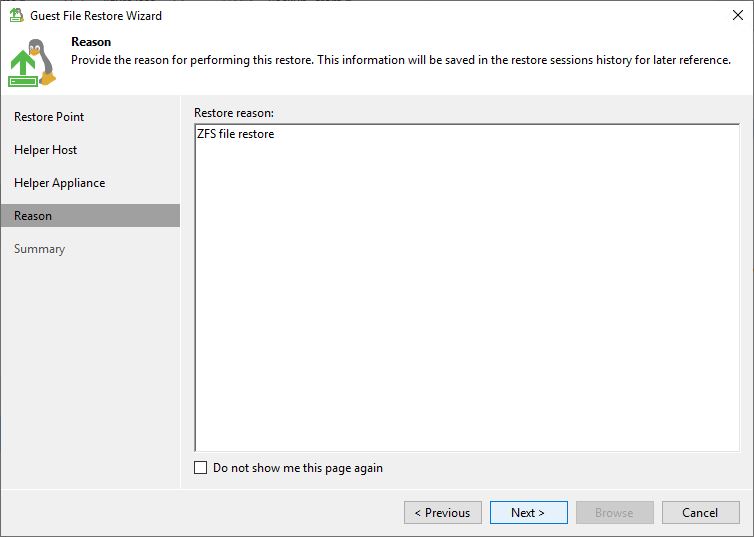
Optionally enter a Restore reason then click Next.
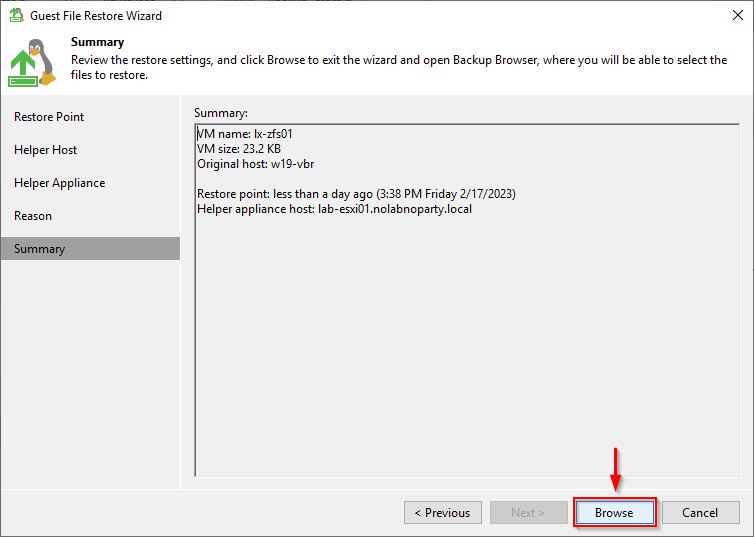
Click Browse to open the Backup Browser.
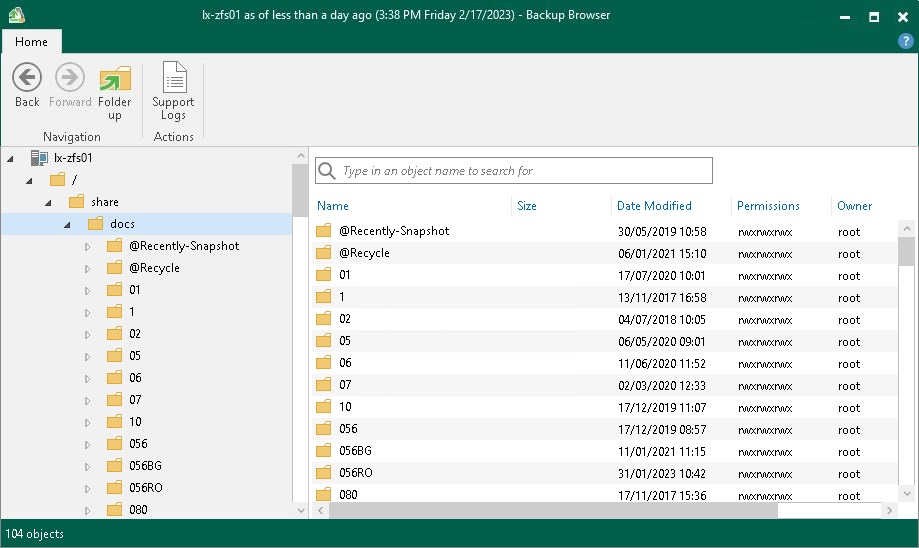
Using the snapshot-less mode, the ZFS file system has been processed successfully and you are now able to restore the requested files.
Although ZFS file system is not massively used in VMs, you may need to backup some servers running this file system. Snapshot-less is the option you need to use for a successful backup.


