Introduction: What’s It For
VMware vSAN cluster is basically an aggregation of several ESXi hosts wherein the local disks containing VM data are configured in disk groups. Removing, transferring, or creating virtual machine disk objects can affect disk space distribution significantly. In general, it leads the cluster disk space to become unbalanced, which means that some objects of the system are overloaded, while other objects are very lightly loaded:
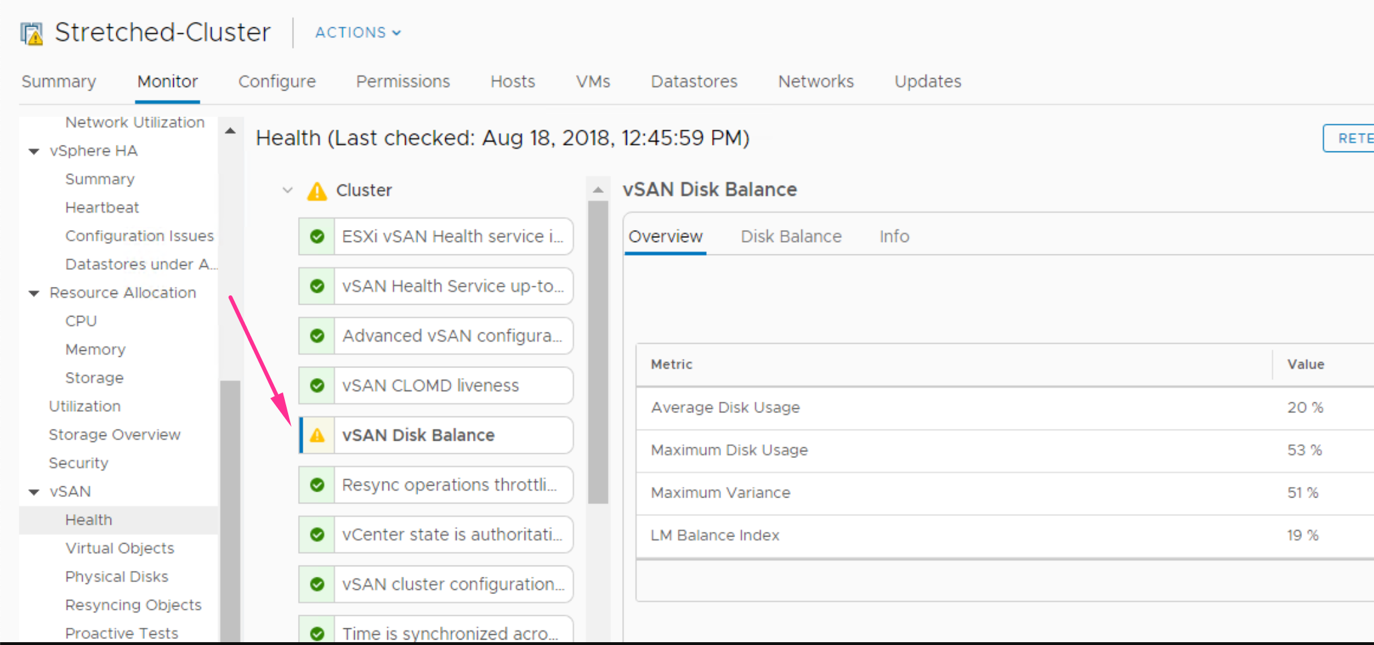
If you have your VMware vSAN cluster disks unbalanced, in vSphere Client console Monitor tab, you’ll receive vSAN Disk Balance warning from vSAN Health section (the system performs vSAN health check every 30 minutes by default):
In order to avoid any trouble in this regard, VMware vSAN employs a mechanism that initiates automatic cluster rebalancing – Automatic Rebalance, which is related to vSAN cluster disk objects, that are distributed around the vSAN cluster in various disk groups of the different hosts. If this option is enabled, the vSAN cluster can determine whether the ESXi disks distribution is unbalanced and start off rebalancing automatically.
Automatic or Proactive?
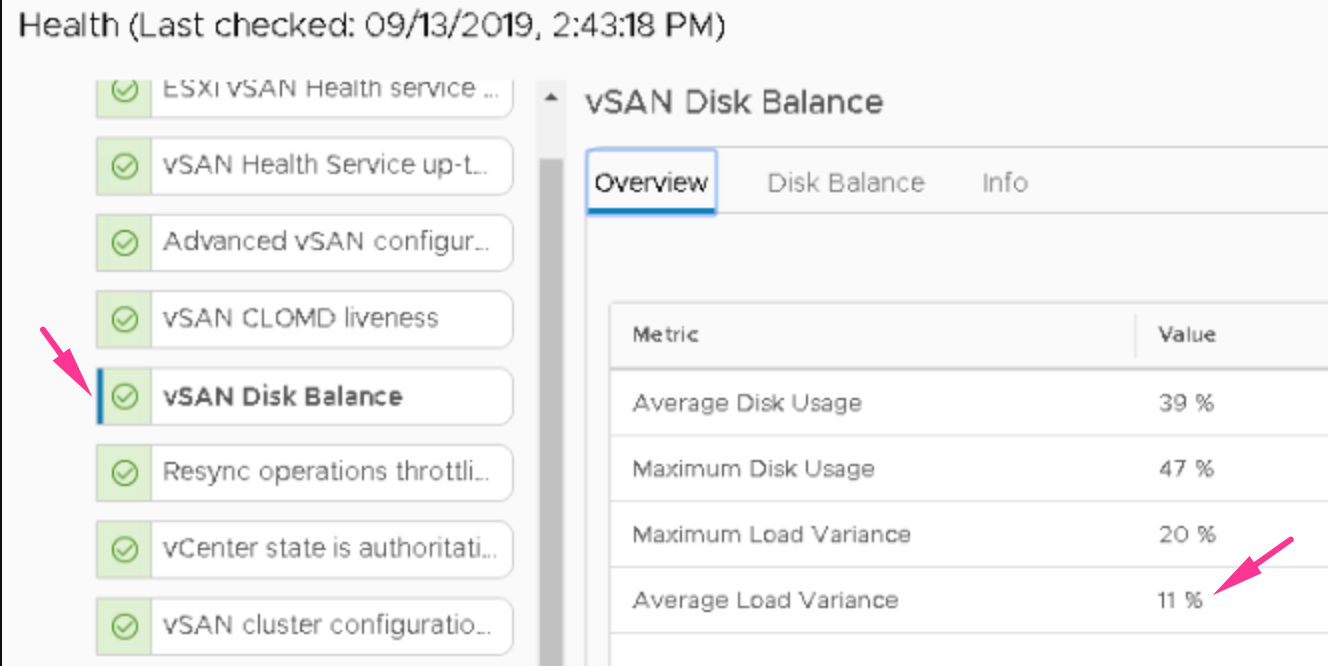
The default threshold to initiate rebalance is set to 30% (Average Load Variance – an average percentage difference between the minimum and maximum disk usage). That means that if any of the two disks have this load variance, the automatic rebalancing of components begins. The process will continue until the variance reaches the value of 15% by default or less.
When any disk in your cluster becomes over-utilized (80 percent and more), vSAN automatically rebalances the cluster. You, however, ought to keep in mind that this option can overload your disks, so watch out so that automatic rebalancing won’t consume lots of resources.
In case your Automatic Rebalance option is enabled at all times, the vSAN cluster will try to maintain its health status as “green.” If its disabled and the vSAN disk balance fails, an admin has to initiate the Rebalance Disks task.
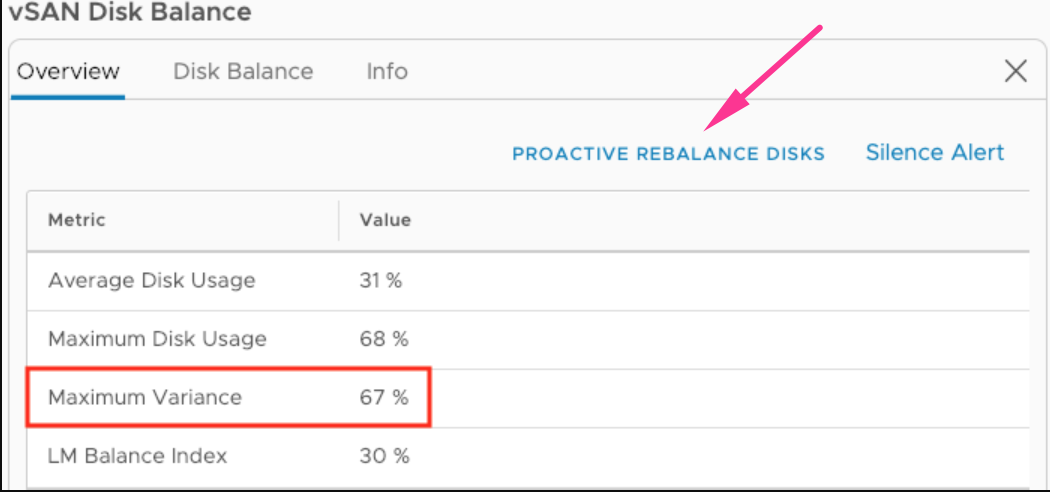
This option is a proactive rebalance, and you need to run it manually. You know it’s time to run a proactive rebalance when the difference in space utilization of two or more disks reaches higher than 30%:
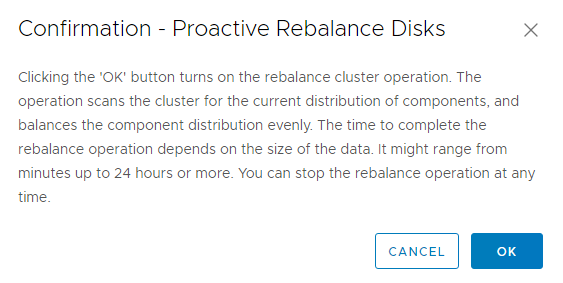
If you initiate a rebalance operation manually, it might take up to 24 hours to complete before it stops automatically.
Tips & Tricks
Nevertheless, you have to realize that the rebalance operation is an entirely different option than, say, vSAN Resync. Its only purpose is to make sure that the cluster load is balanced on a disk level.
Also, there’s a possibility to keep the rebalance operations in check with the use of the Ruby vSphere Console (RVC) interface. You should switch namespace to computers and use the following RVC command to verify the current disk balance status:
vsan.proactive_rebalance_info <vSAN cluster number or symbol "." for current RVC console path>The result may look like this:
/localhost/Test-DC/computers/Test-CL> vsan.proactive_rebalance_info .

2019-08-16 19:31:08 +0000: Retrieving proactive rebalance information from host esxi-3.labs.org ...

2019-08-16 19:31:08 +0000: Retrieving proactive rebalance information from host esxi-1.labs.org ...

2019-08-16 19:31:08 +0000: Retrieving proactive rebalance information from host esxi-2.labs.org ...

2019-08-16 19:31:09 +0000: Fetching vSAN disk info from esxi-3.labs.org (may take a moment) ...

2019-08-16 19:31:09 +0000: Fetching vSAN disk info from esxi-2.labs.org (may take a moment) ...

2019-08-16 19:31:09 +0000: Fetching vSAN disk info from esxi-1.labs.org (may take a moment) ...

2019-08-16 19:31:10 +0000: Done fetching vSAN disk infos

Proactive rebalance start: 2019-08-16 19:30:47 UTC

Proactive rebalance stop: 2019-08-17 19:30:54 UTC

Max usage difference triggering rebalancing: 30.00%

Average disk usage: 56.00%

Maximum disk usage: 63.00% (17.00% above minimum disk usage)

Imbalance index: 10.00%

No disk detected to be rebalanced
If you see something like this, the rebalance operation isn’t needed. Still, if you feel like running it anyways, use the following command:
vsan.proactive_rebalance -s <vSAN cluster number or symbol "." for current RVC console path>What you’ll see should look like this:
/localhost/Test-DC/computers/Test-CL> vsan.proactive_rebalance . -s

2019-08-16 19:30:55 +0000: Processing vSAN proactive rebalance on host esxi-3.labs.org ...

2019-08-16 19:30:55 +0000: Processing vSAN proactive rebalance on host esxi-1.labs.org ...

2019-08-16 19:30:55 +0000: Processing vSAN proactive rebalance on host esxi-2.labs.org ...
At any given moment, you can check the rebalance operation status in a specific cluster using the command:
vsan.proactive_rebalance_infoAnd of course, you can define how long manual rebalance operation will be running. Just set the value in seconds using the following command (for example, let’s take 7 days):
vsan.proactive_rebalance . -t 604800To Sum Up
Automatic Rebalance is one of the Advanced Options, designed to help you to keep your vSAN cluster disk devices from unbalancing; otherwise, it may affect overall performance significantly, and not in a good way. However, it is the only thing this option does, so you’ll have to understand that its use is quite narrowed.


