StarWind HCI Evaluation Kit Appliance
- April 22, 2021
- 6 min read
- Download as PDF
Introduction
StarWind HyperConverged Appliance is a turnkey solution designed to make deploying a new infrastructure an effortless process. Starting from your initial idea of refreshing or building a new IT infrastructure, and up to the day before the production launch, StarWind takes care of all the process. We architect a solution that is tailored specifically towards your requirements, ensuring the reliability of every component within the solution, configuring all the required software components, and benchmarking every part of our HCA to make sure you will get maximum performance for your applications. As soon as we are 100% sure that our solution meets the highest criteria, we ship it to you and make final configuration steps before running the production.
All this process remains invisible to you and we want it to stay that way, because we are looking to minimize your time and efforts spent on IT infrastructure deployment. But can you actually feel the same benefits when you are willing to try out StarWind HCA to understand its operation and functioning? We have prepared the StarWind HCI Evaluation Kit to allow you to test the functionality of StarWind HCA in an effortless way. Just on a single server, you can now deploy StarWind HCA cluster without a need to look for specific hardware, install separate components and further tinker to make the whole thing work.
StarWind HCI Evaluation Kit is deployed as a Linux-based virtual machine with a web-based wizard that will deploy all the necessary components for the Hyper-V sandbox cluster.
System requirements
Hypervisor (either physical or virtual):
Microsoft Windows Server 2019 with installed Hyper-V role
Storage:
~50 GB free storage space for the StarWind HCI Evaluation Kit Appliance and installation files
Up to 150 GB of free storage space for the HCI Evaluation Kit cluster (depending on the selected deployment size)
RAM:
14 GB of free RAM for a single node deployment
24 GB of free RAM for a dual-node deployment
Web browser:
Google Chrome, Mozilla Firefox, Chromium-based web browsers (Chromium, MS Edge, etc.), or Opera
Installation
1. Extract the StarWind HCI Evaluation Kit archive and run Installation Wizard.
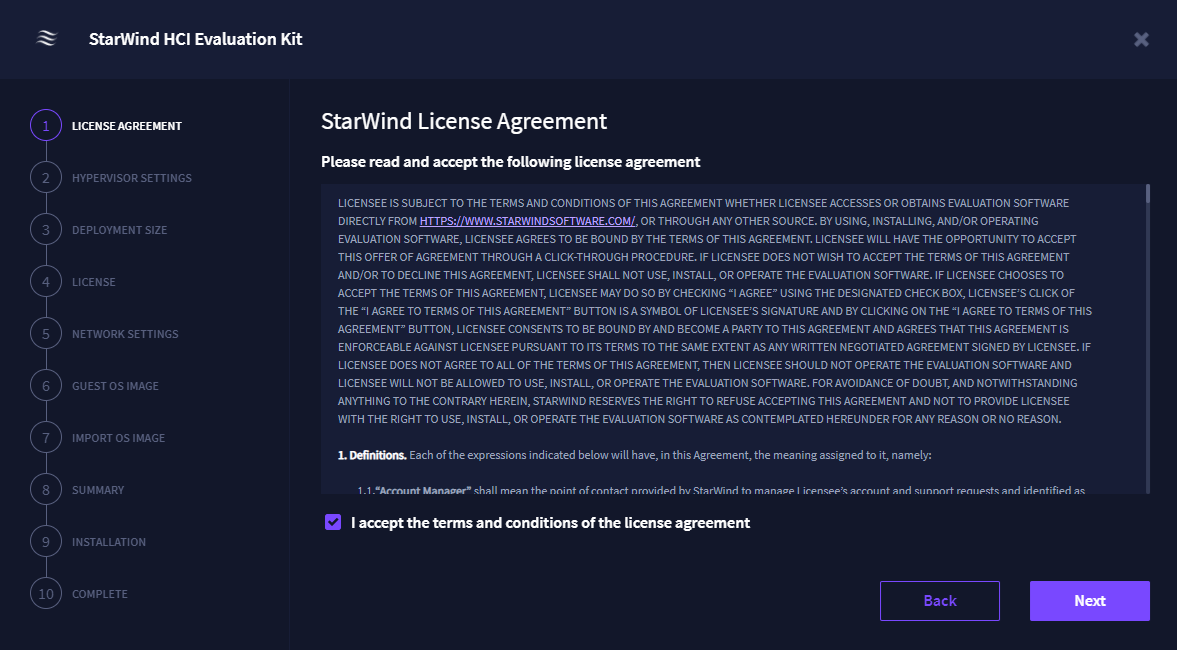
2. Read and accept the license agreement.
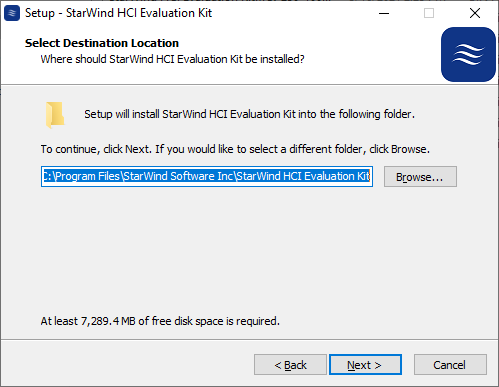
3. Select the destination path to install the StarWind HCI Evaluation Kit Appliance.
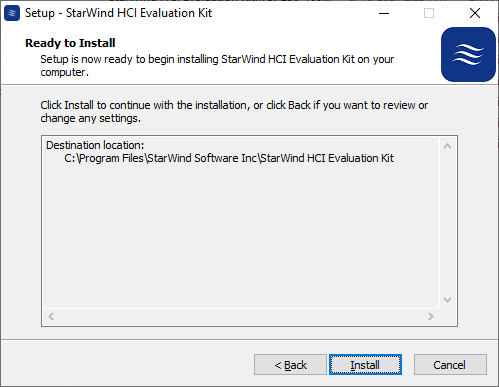
4. Click Install to start the installation.
NOTE: This process will install and register the virtual machine on Hyper-V.
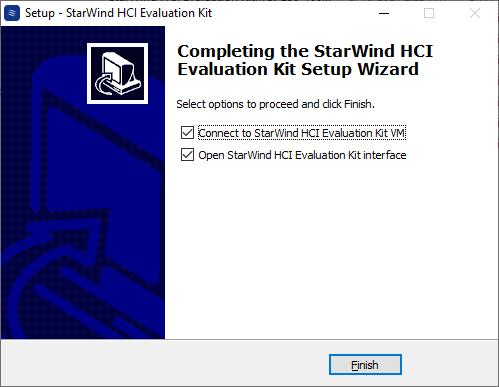
5. Select the checkboxes to connect to StarWind HCI Evaluation Kit VM and open the web-based wizard and click Finish. The IP address for the web-based wizard will appear in the VM console.
NOTE: StarWind HCI Evaluation Kit web console has been tested with Google Chrome, Mozilla Firefox, Chromium-based web browsers (Chromium, MS Edge, etc.), and Opera. Due to architecture specifics, Internet Explorer is not supported for the web-based installation.
6. Select the Deploy option. The Launch and Reset options will become active once the installation is completed.
- Deploy – this option starts the initial sandbox cluster configuration wizard.
- Launch – this option opens the StarWind Command Center of the installed sandbox cluster.
- Reset – this option completely removes the installed sandbox cluster.
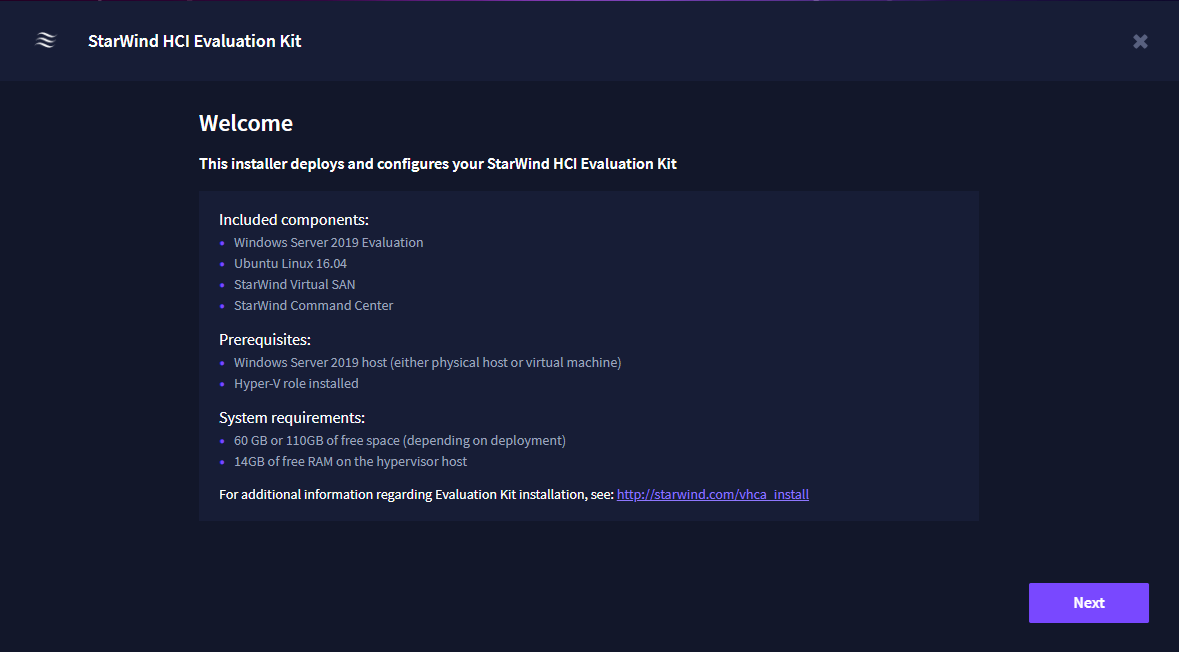
7. Verify that the prerequisites and system requirements for the installation are met and click Next.
8. Read and accept the license agreement and click Next.
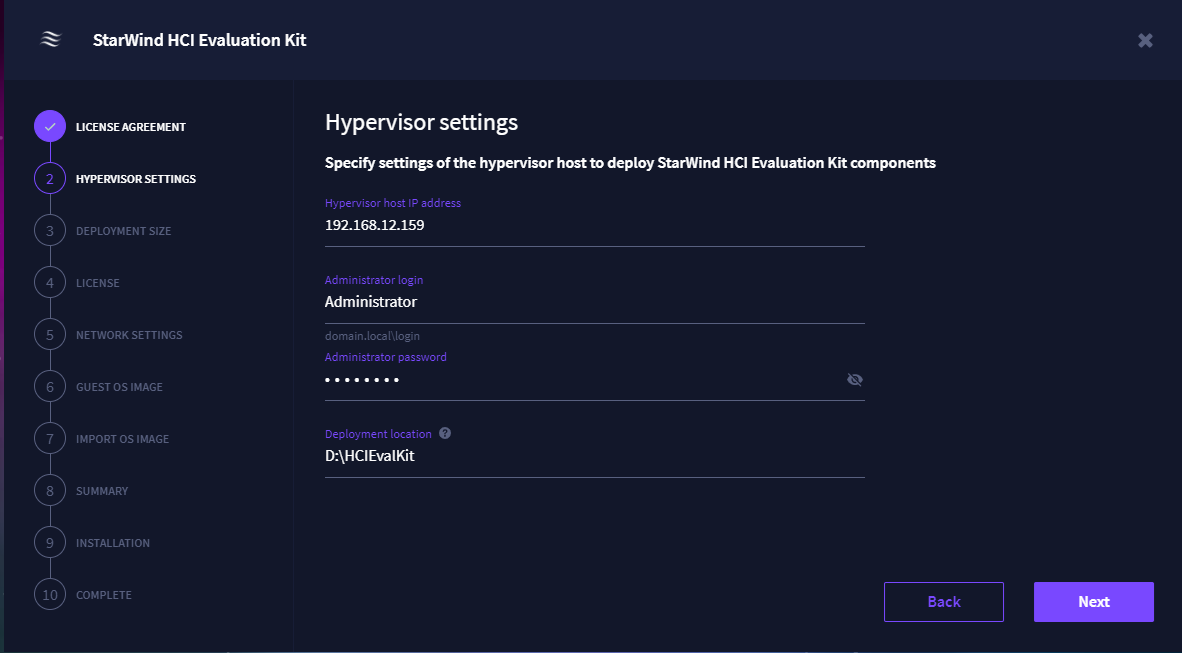
9. Specify the hypervisor IP address, login, password and location where the sandbox VMs will be installed. It will verify the connectivity with the hypervisor. Click Next.
NOTE: You can use either a local user with the administrator rights or a domain account. In case of domain account, you should specify the domain account login as follows: domain.local\user.
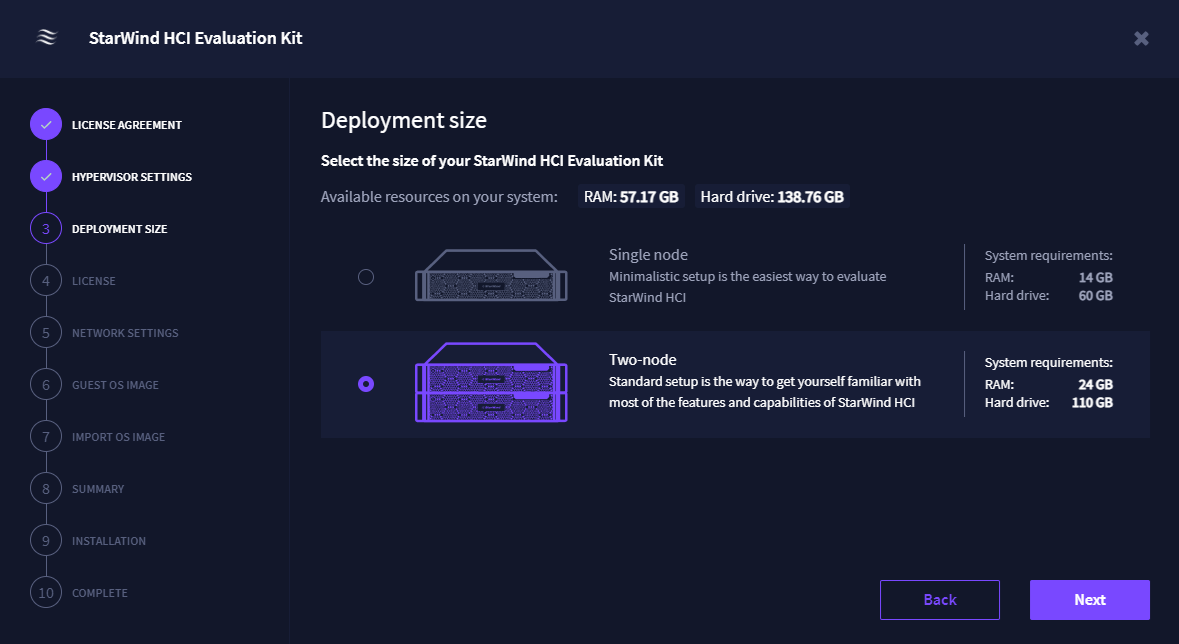
10. Select the deployment size and click Next.
- Single-node – a sandbox cluster will be comprised of a single VM with no high availability.
- Two-node – a standard two-node sandbox cluster with high availability enabled.
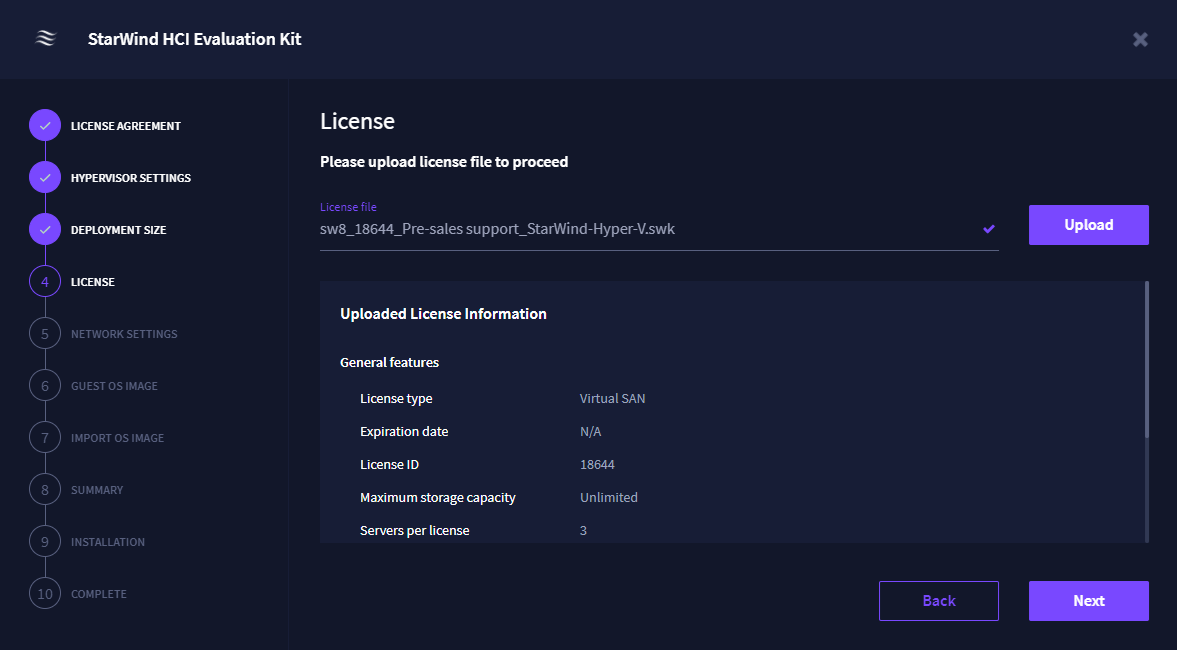
11. Upload the license key provided by StarWind and click next.
NOTE: This product is eligible for use only with a trial license.
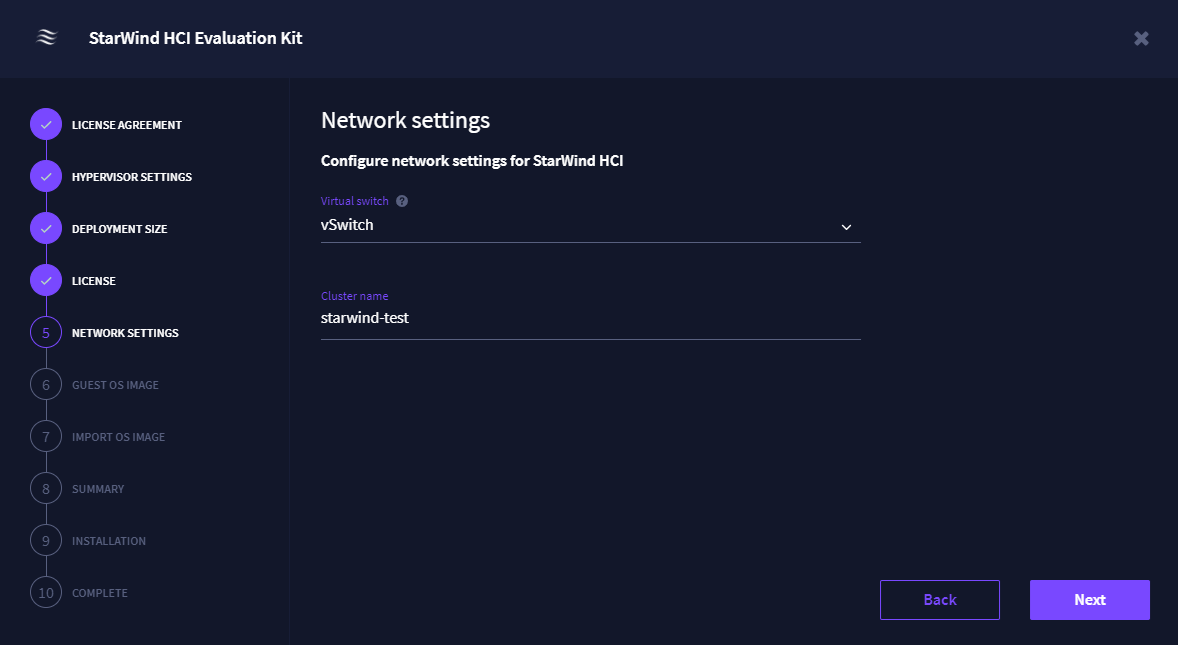
12. Select the virtual switch and specify the name for the sandbox cluster. Click Next.
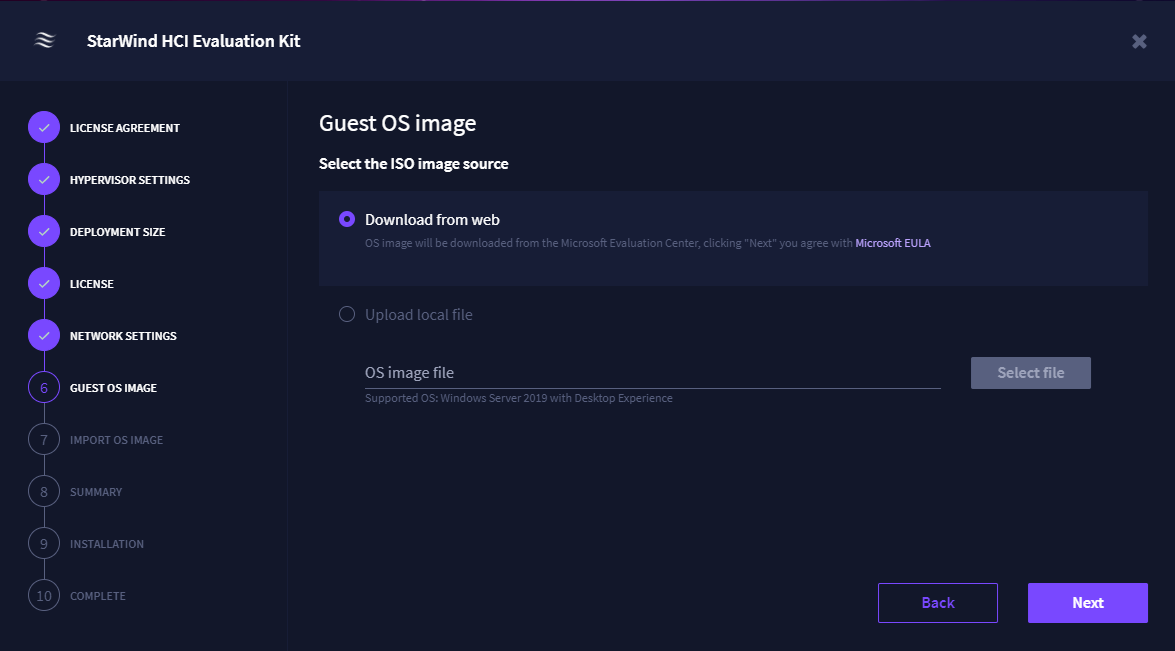
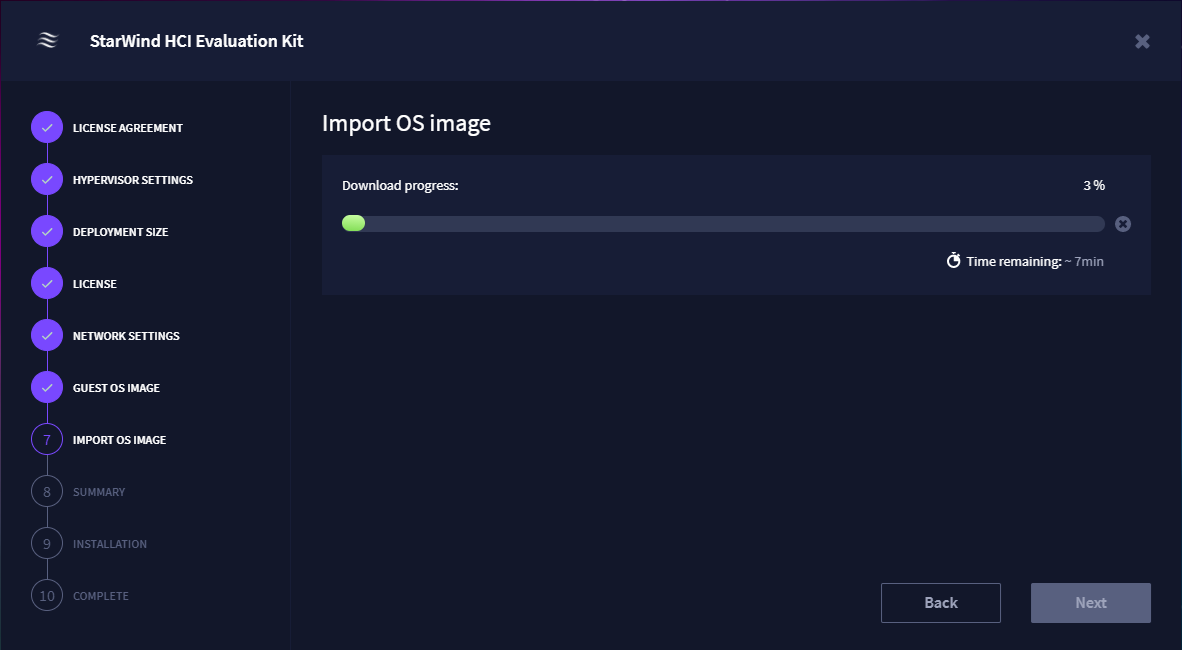
13. To deploy virtual machines that will be the sandbox cluster members, the wizard will require Windows Server 2019 ISO. You can either download it from the web or upload your own ISO image. Select the appropriate option and click Next.
NOTE: The wizard will download the ISO image from the Microsoft Evaluation Center.
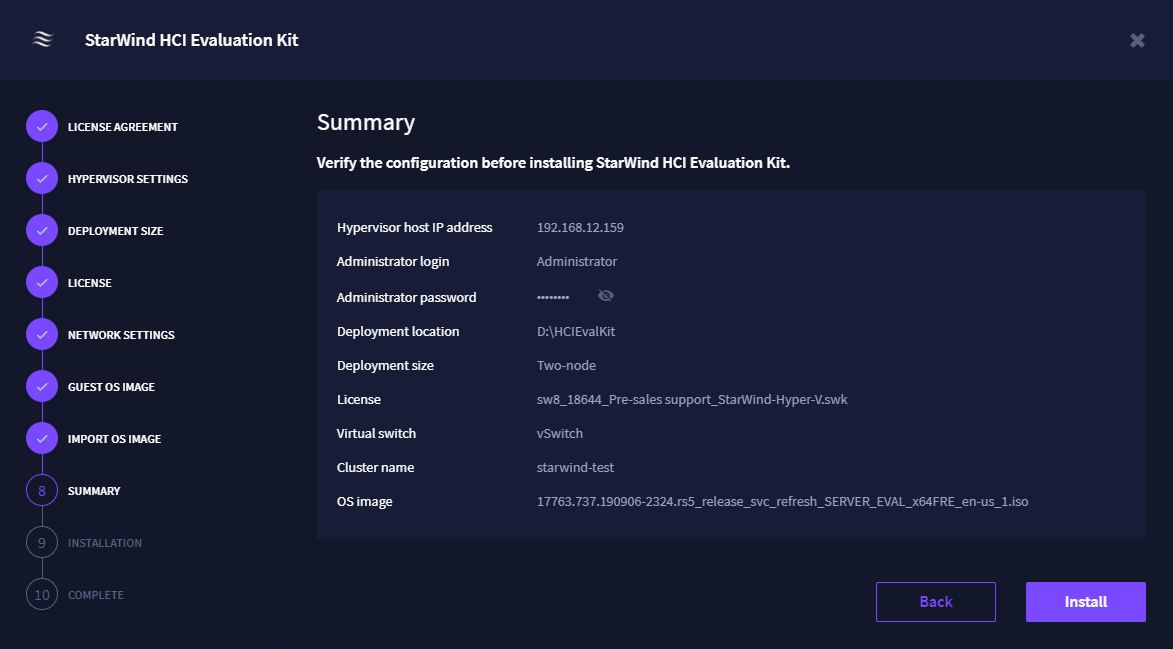
14. Check the summary and click Install.
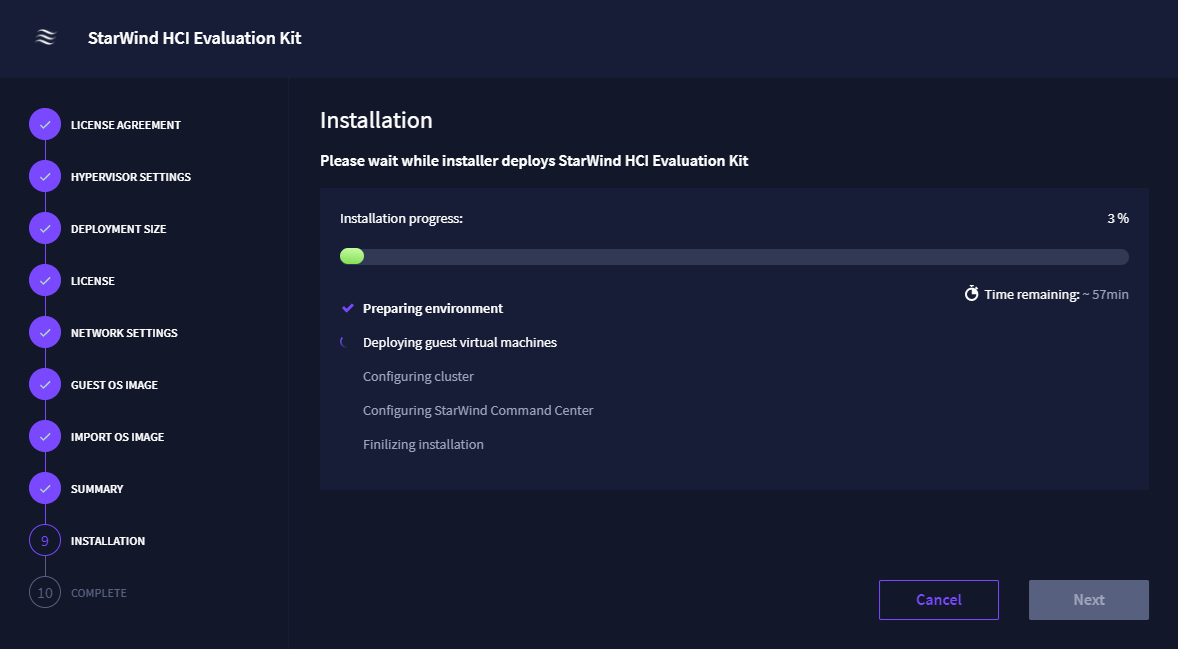
The installation process may take up to two hours depending on the selected deployment size
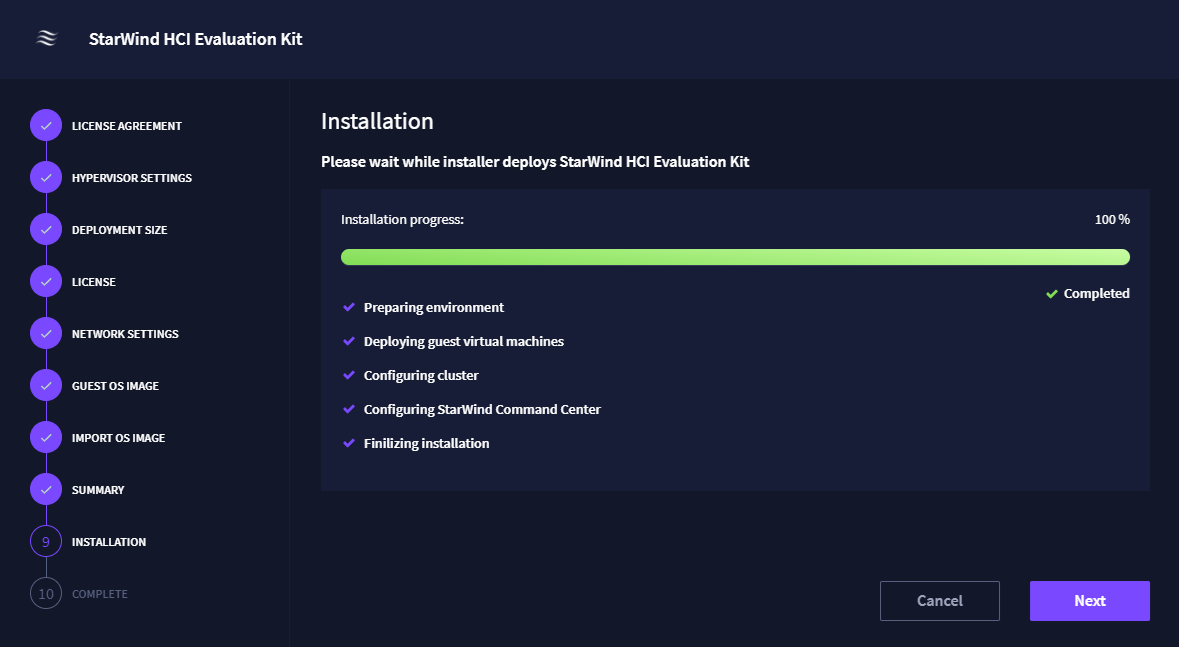
15. Once the installation is completed, click Next.
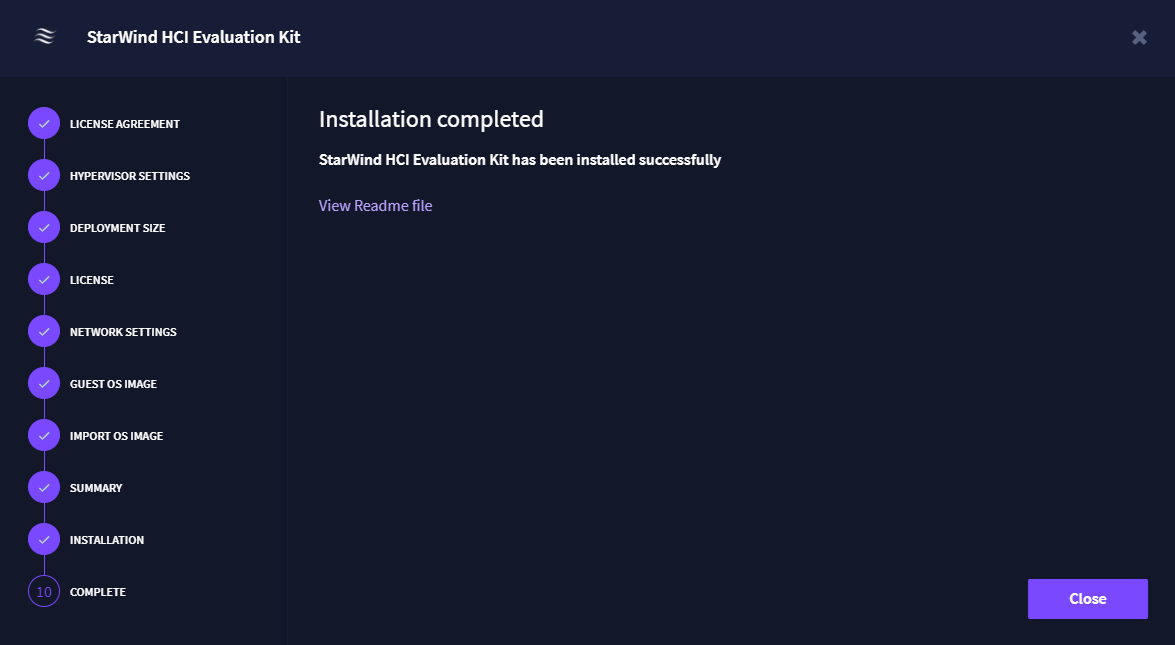
16. You can download the “Readme File” with all the installation summary information. By clicking Close, you will be automatically redirected to StarWind Command Center.
17. Log in to StarWind Command Center.
NOTE: The default login credentials:
Login: demo
Password: demo


