StarWind Virtual HCI Appliance: Configuration Guide for Microsoft Windows Server [Hyper-V], VHCA Deployed using Automated Installation
- June 26, 2023
- 7 min read
- Download as PDF
Annotation
Relevant products
StarWind Virtual HCI Appliance (VHCA)
Purpose
This document outlines how to configure a StarWind Virtual HCI Appliance (VHCA) based on Microsoft Windows Server, with VSAN running as a Controller Virtual Machine (CVM). The guide includes steps to prepare Hyper-V hosts for clustering, configure physical and virtual networking, and set up the Virtual SAN Controller Virtual Machine.
Audience
This technical guide is intended for storage and virtualization architects, system administrators, and partners designing virtualized environments using StarWind Virtual HCI Appliance (VHCA).
Expected result
The end result of following this guide will be a fully configured high-availability StarWind Virtual HCI Appliance (VHCA) powered by Microsoft Windows Server that includes virtual machine shared storage provided by StarWind VSAN.
Prerequisites
Prior to configuring StarWind Virtual HCI Appliance (VHCA), please make sure that the system meets the requirements, which are available via the following link:
https://www.starwindsoftware.com/system-requirements
Recommended RAID settings for HDD and SSD disks:
https://knowledgebase.starwindsoftware.com/guidance/recommended-raid-settings-for-hdd-and-ssd-disks/
Please read StarWind Virtual SAN Best Practices document for additional information:
https://www.starwindsoftware.com/resource-library/starwind-virtual-san-best-practices
Solution Diagram:

Prerequisites:
1. 2 servers with local storage, which have direct network connections for Synchronization and iSCSI/StarWind heartbeat traffic.
2. Servers should have local storage available for Microsoft Windows Server and StarWind VSAN Controller Virtual Machine. CVM utilizes local storage to create replicated shared storage connected to Windows Server nodes via iSCSI.
3. StarWind HA devices require at least 2 separate network links between the nodes. The first one is used for iSCSI traffic, the second one is used for Synchronization traffic.
Note. The network interfaces on each node for Synchronization and iSCSI/StarWind heartbeat interfaces should be in different subnets and connected directly according to the network diagram above. Here, the 172.16.10.x subnet is used for the iSCSI/StarWind heartbeat traffic, while the 172.16.20.x subnet is used for the Synchronization traffic.
Hardware Configuration
Access the BIOS on each server:
1. Change “Boot mode select” to [UEFI]

2. Enable AC Power Recovery to On;

3. Set System Profile Settings to Performance;

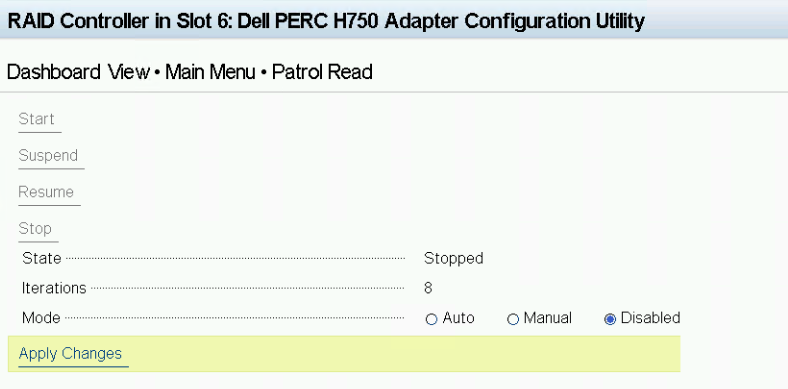
4. Disable Patrol Read in case of SSD disks;
5. Enable SR-IOV for network cards;

6. Configure the storage for OS and for data, or single RAID for OS and Data according to Supported RAID configurations here.
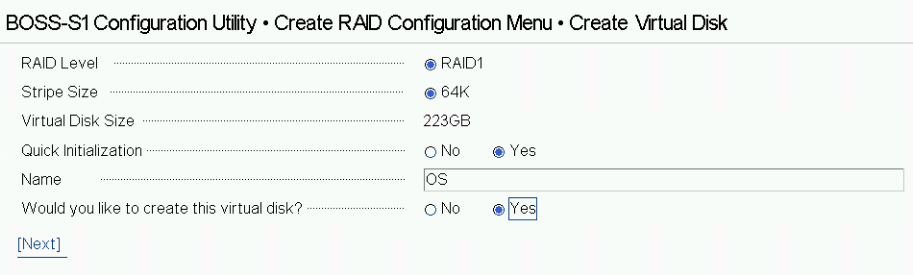
Settings for OS RAID1:
Virtual disk name: OS
Disk cache policy: Default (enabled by default)
Write policy: Write Through
Read policy: No read ahead
Stripe Size: 64K
Storage for data:
Supported RAID configurations for main data storage you can find here.

Files for StarWind vHCI configuration
The StarWind files for vHCI configuration should be downloaded to Windows machine, which will be used for configuration. Run “StarWind Folders.ps1” script to form StarWind Files folder.
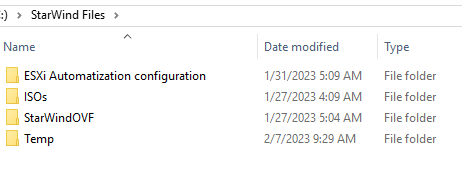
Structure of the StarWind Files folder:
C:\StarWind Files
C:\StarWind Files\ESXi Automatization configuration
C:\StarWind Files\ISOs
C:\StarWind Files\StarWindOVF
C:\StarWind Files\Temp
Create StarWind Files folder and copy scripts:
C:\StarWind Files\ConfigurationScript.ps1
C:\StarWind Files\PostInstall.ps1
C:\StarWind Files\Write-Menu.ps1
C:\StarWind Files\CheckFirmwareUpdates.ps1
C:\StarWind Files\InstallDellFirmwareupdate.ps1
Scripts that are included in the “StarWind Folders.ps1” script.
C:\StarWind Files\Temp\ISOs Download.ps1
ISOs Download.ps1 allows to download the customized ISOs and OVF for vHCI configuration:
Windows 2019/2022
Install Windows
1. Mount the ISO to the iDRAC/IPMI from the folder C:\StarWind Files\ISOs.
2. Start the server to boot/install the OS.
3. Choose the Core or GUI version of the OS.
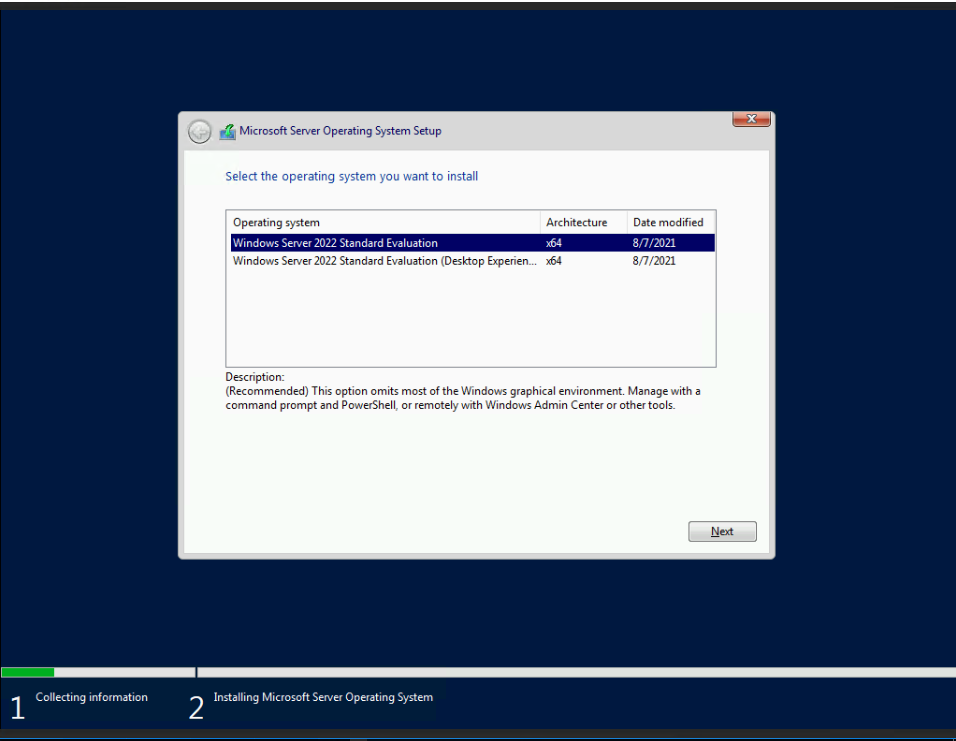
4. Choose the drive for OS.
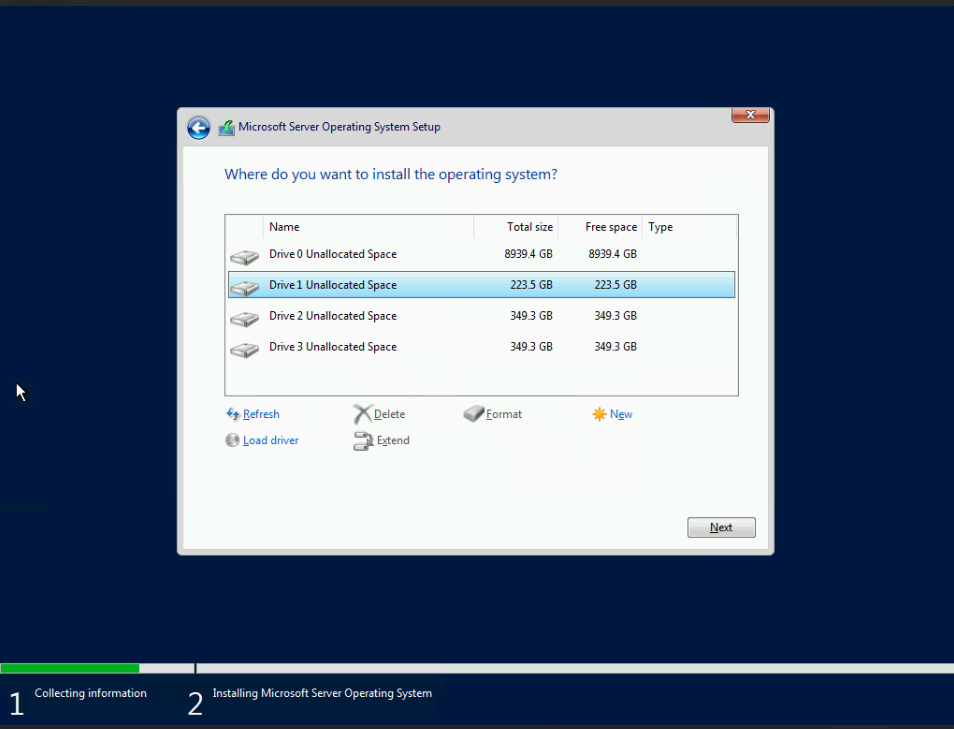
5. Wait for installation.

Windows Configuration
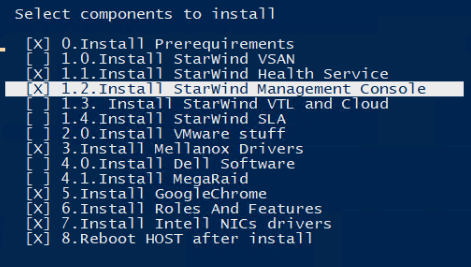
1. During the first boot, the PostInstall.ps1 script will start.
2. Choose the components according to the hardware provider.
3. DELL
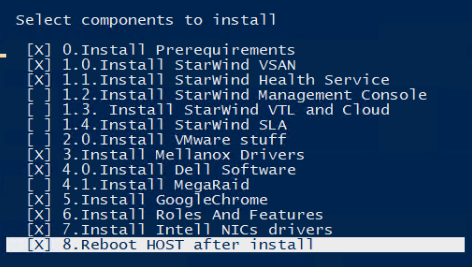
SuperMicro
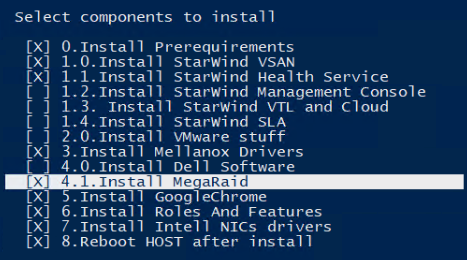
Other
4. Choose the number of the node.
Node 1

Node 2

5. Choose the disk via the number for the S drive. ( StarWind devices storage )
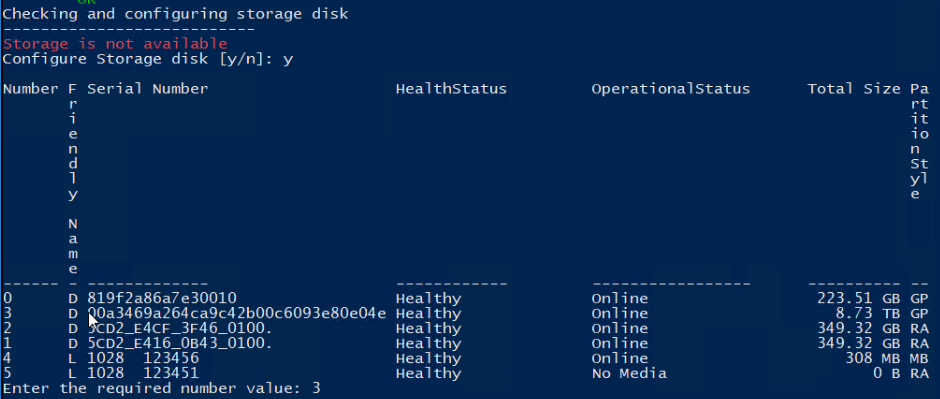
6. Choose the archive disk number. ( Video Appliance )

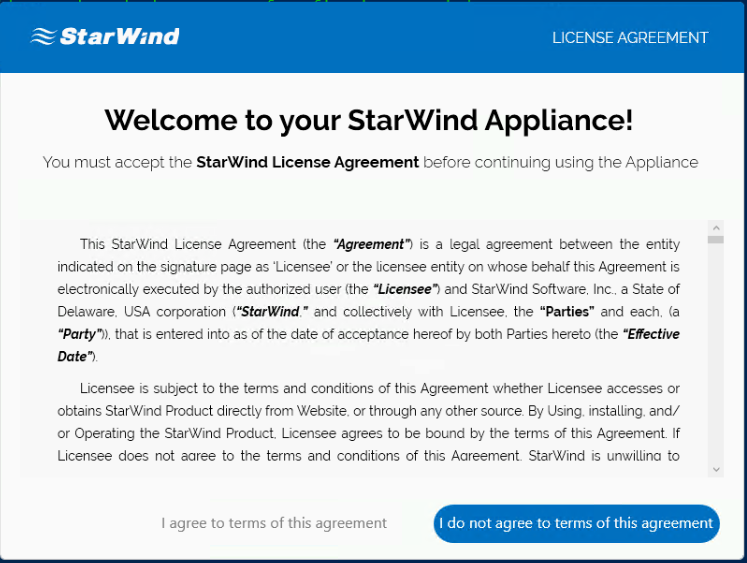
7. Click on “I do not agree to the terms of this agreement. ( The customer should do it during the final check )

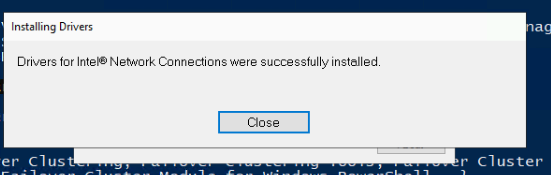
8. Proceed with Intel drivers installation. ( drivers will be updated only in case of Intel networks availability )

9. Wait for the servers to restart.
10. Click on “I do not agree to the terms of this agreement. ( The customer should do it during the final check )
11. The Configuration Script.ps1 will start after the restart.
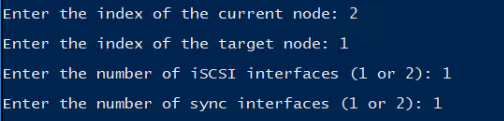
12. Choose the number of the node and partner, as well as number of the iSCSI and Synchronization network ports.
Node 1

Node 2
13. Set the network interfaces for Management, iSCSI, and Synchronization.
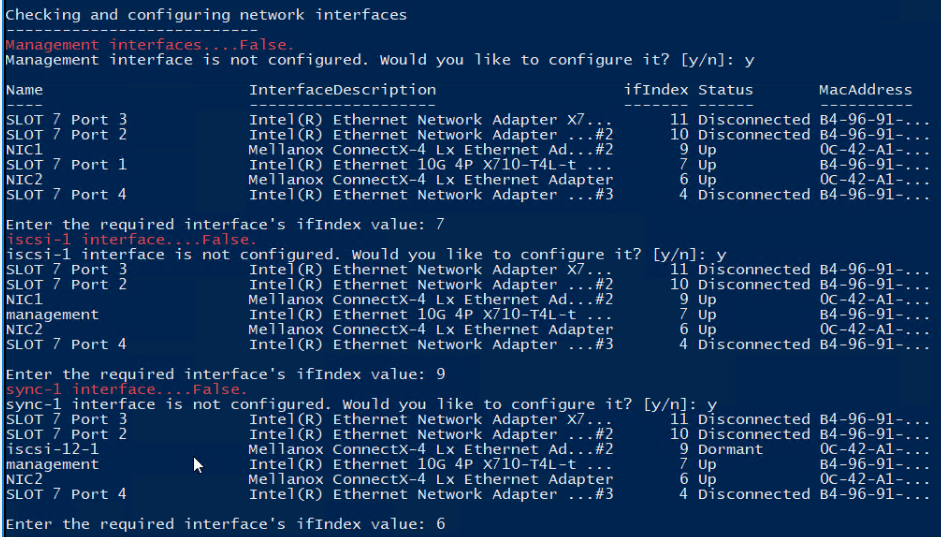
14. Perform step 13 on both servers.
15. Check the iSCSI and Synchronization availability to communicate.

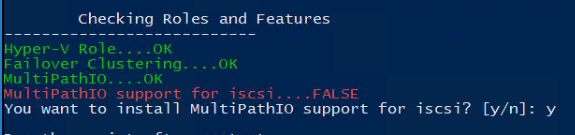
16. Add iSCSI support for MPIO.
17. Choose to restart a server. ( run a script again in case you had issues during the first run )

StarWind devices creation
1. Copy the StarWind License key of the first node to the folder C:\HCA
2. Go to the folder C:\HCA\SW_Scripts_Wind and run the 3.0 script on both nodes
3. Run 3.2 script from the first nide
4. Run 3.3 script on the first node to create StarWind devices ( v14 for StarWind before the 15000 build / v15 for StarWind after the 15000 build )
5. Run 3.4 script on both nodes
6. Run 3.5 script on the first node to connect StarWind iSCSI targets on both nodes
7. Run 3.6 script to create a partition on top of StarWind devices
Conclusion
Following this guide, a StarWind Virtual HCI Appliance (VHCA) powered by Microsoft Windows Server was deployed and configured with StarWind Virtual SAN (VSAN) running in a CVM on each host. As a result, a virtual shared storage “pool” accessible by all cluster nodes was created for storing highly available virtual machines.
