StarWind Virtual SAN® Management Console “Thin” Client Configuration Guide
- April 05, 2021
- 5 min read
- Download as PDF
Introduction
This document describes the deployment and configuration processes of the web client of StarWind Management Console.
The Management Console is the Graphical User Interface (GUI) part of the program that monitors and controls the storage-related operations ( for example – creation of devices on the available target servers). After its installation, StarWind Management Console connects to StarWind Service remotely.
The “thin” client allows the user to manage StarWind-based infrastructure by
connecting to the Management Console from any HTML5-capable web browser on PC or Android, iOS or Windows mobile device.
A full set of up-to-date technical documentation can always be found here, or by pressing the Help button in the StarWind Management Console.
For any technical inquiries, please visit our online community, Frequently Asked Questions page, or use the support form to contact our technical support department.
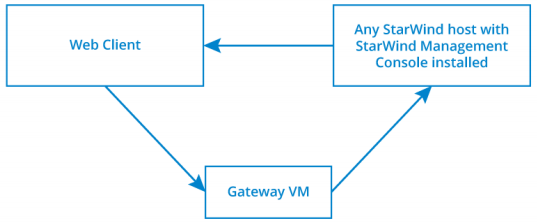
Web Console components
• Gateway Virtual Machine
Gateway virtual machine accepts incoming HTTP connections and transforms them into RDP sessions.
• Target Server
Physical host or VM that has LAN/Internet access to StarWind Nodes and has StarWind Web Console feature installed.
Note: StarWind Node can also act as Target Server if there is Web Console feature installed.
Gateway Virtual Machine requirements
Gateway VM is available for download and comes as OVF or VHDX pre-built image.
Download link: https://www.starwind.com
Virtual machine requirements:
Hard drive: 10 GB
CPU: 1 vCPU
RAM: 512 MB
Deployment quick steps
1. Download the Gateway VM template.
http://starwind.com/tmplink/StarWindManagementConsoleWebOVF.zip for OVF template.
Open Virtualization Format is an open standard for packaging and distributing virtual appliances or, more generally, software to be run in virtual machines.
http://starwind.com/tmplink/StarWindManagementConsoleWebVHDX.zip for Hyper-V template.
VHD (Virtual Hard Disk) is a file format which represents a virtual hard disk drive (HDD). It may contain what is found on a physical HDD, such as disk partitions and a file system, which in turn can contain files and folders. It is typically used as the hard disk of avirtual machine.
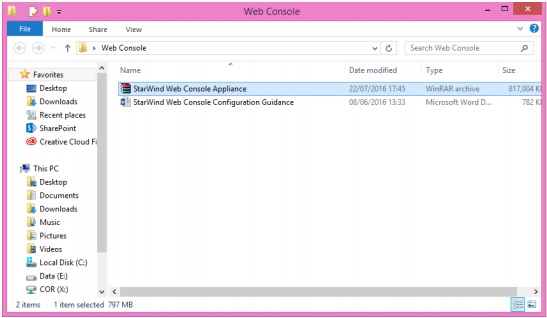
2. Extract virtual machine files
3. Deploy virtual machine to hypervisor of your choice
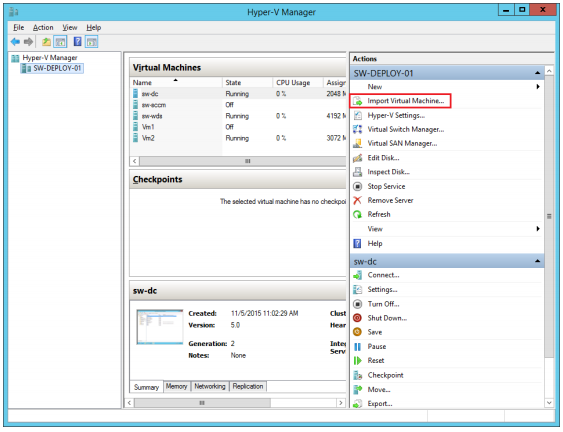
• Use “Import Virtual Machine” for Hyper-V
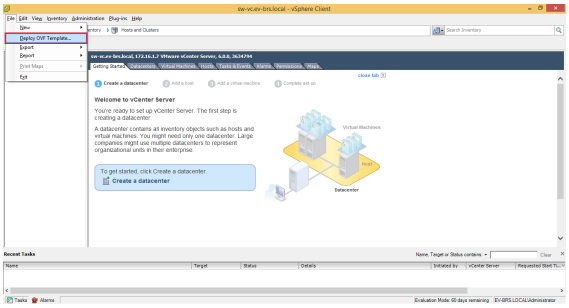
• Use “Deploy OVF template” for VMware
4. By default, Gateway virtual machine will recieve automatic IP address via DHCP. It is recommended to create a DHCP reservation, configure DNS resolving and set a static IP address for this VM. In order to access StarWind Web Console outside from your local network, Gateway virtual machine must have Internet access.
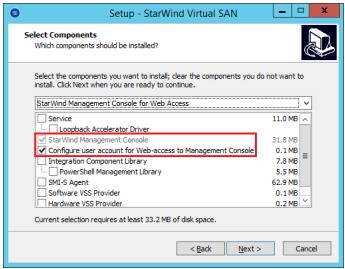
5. Install StarWind Web Console feature using StarWind Virtual SAN Installer Wizard. You can install that to any Windows-based physical host or virtual machine that has LAN access to your StarWind Virtual SAN servers. It is recommended to install StarWind Web Console feature on StarWind Virtual SAN servers to keep the configuration simple.
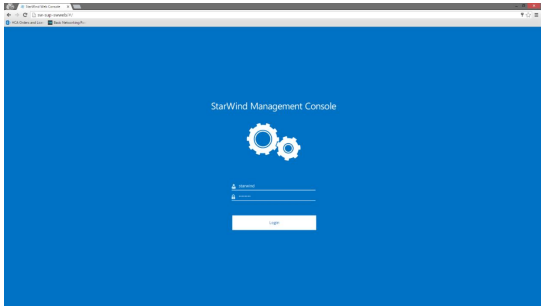
6. Open your web browser and enter IP address or hostname of the Gateway VM.
7. Enter default credentials and press “Login” button:
Username: starwind
Password: starwind
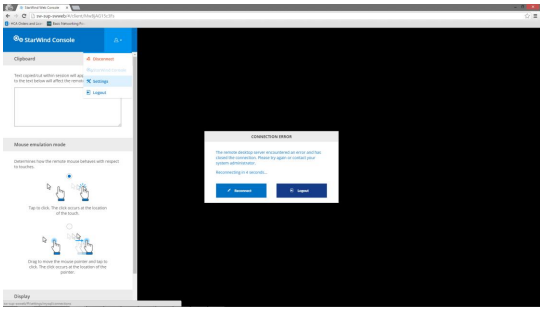
8. After successful login, press “ALT+CTRL+SHIFT” combination.
9. Navigate to “Settings” menu using pop up sidebar:
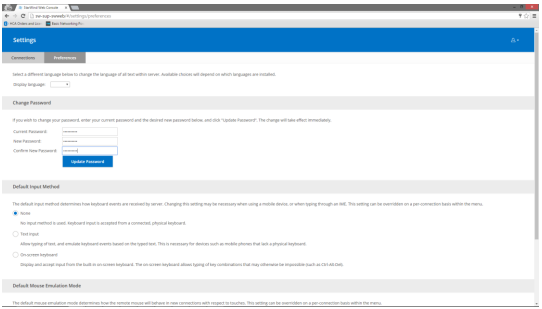
10. Optionally, navigate to “Preferences” screen and change the default password:
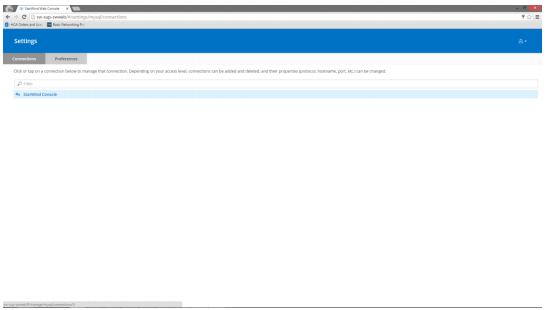
11. Navigate to “Connections” tab and select StarWind Console settings.
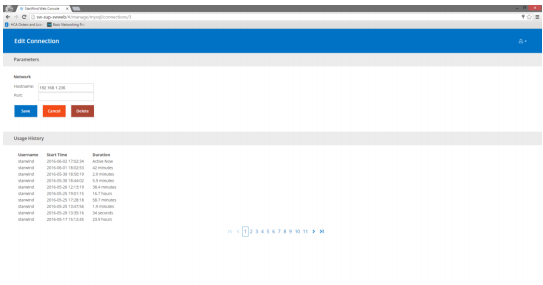
12. Specify the IP address of the Target Server and leave the “Port” value unchanged if default RDP port is used. Set corresponding “Port” value if you have configured a custom RDP port on the Target Server. Save changes.
After finishing the Gateway VM configuration, you will be able to connect to the Target Server by following Gateway VM URL.

